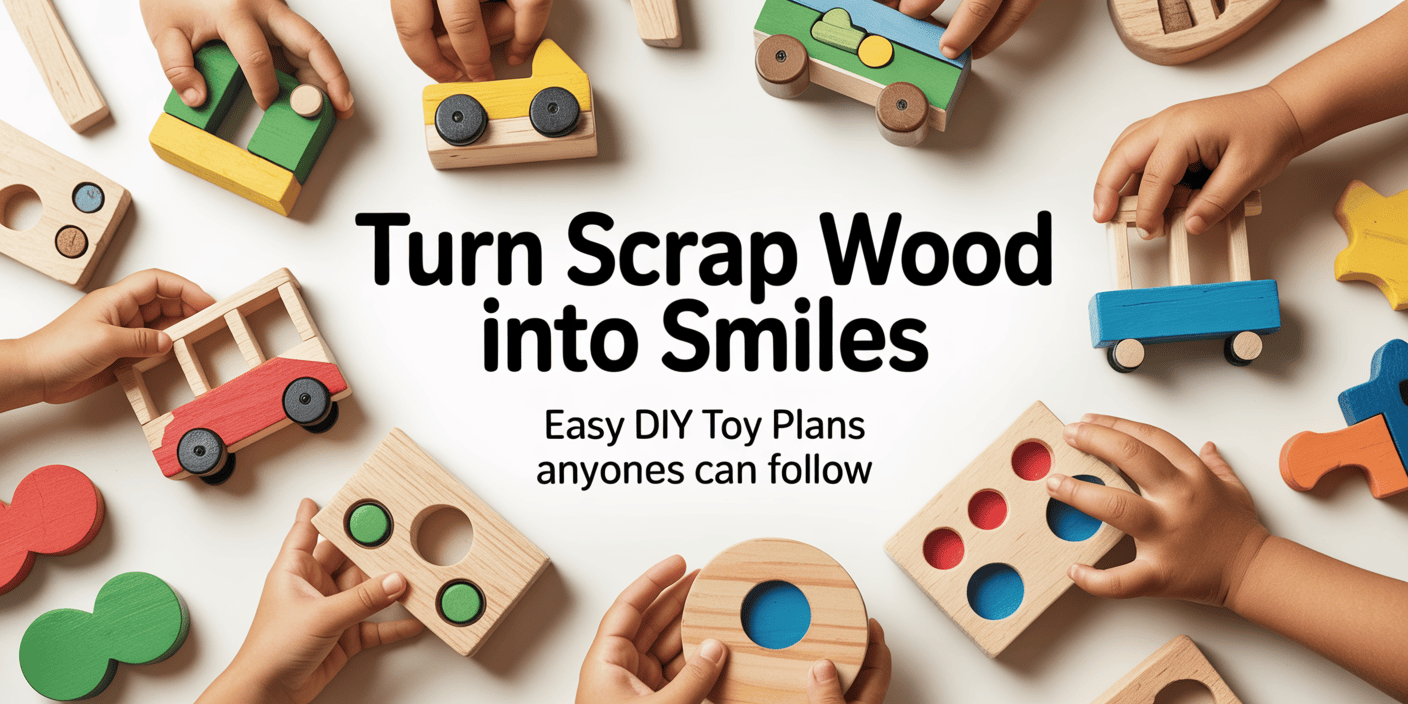
Creating Easy DIY wooden toys at home is a fun and rewarding experience that brings out your creativity while making safe, natural playthings for kids.
Whether you’re crafting a simple wooden car or a classic stacking toy, these Easy DIY wooden toys not only help develop fine motor skills but also last longer than plastic alternatives.
With just a few tools and materials, you can build unique wooden toys that make perfect gifts or family keepsakes!
Giving handmade gifts is a meaningful way to show you care. Making homemade wooden toys is a great start. With basic tools and materials, you can craft unique, personalised gifts that will be cherished for years.
Building your own toys is a fun, rewarding experience. It lets you unleash your creativity and make something special. Plus, with free plans available, you can start right away.
Key Takeaways
- Create unique and personalised gifts with homemade wooden toys
- Use simple tools and materials to get started
- Unleash your creativity and have fun building your own toys
- Access free plans to help you get started
- Create something truly special that will be treasured for years to come
The Joy and Benefits of Making Wooden Toys
Making wooden toys at home is rewarding for both kids and adults. It lets you create something special and personal. Plus, it helps your child grow and is good for the planet.
It’s a fun way to teach kids important skills and values.
Educational Value for Children
Wooden toys boost kids’ thinking, hand skills, and creativity. They spark imagination, which is key for kids to grow.
Sustainability and Eco-Friendly Aspects
Wooden toys are better for the planet. Wood is a green choice if used right. Choosing beginner woodworking plans helps the environment, too.
Creating Family Heirlooms
Handmade wooden toys become family treasures. They carry memories and become part of your family’s story. Jaime Costiglio’s DIY projects show how to make lasting keepsakes.
By making wooden toys, you’re doing something special. You’re helping the planet and making memories that will last forever.
Essential Tools and Materials for DIY Wooden Toys
Making wooden toys for kids needs basic tools and the right wood. To start your woodworking projects, you’ll need some key tools and materials.
Basic Woodworking Tools for Beginners
You don’t need to buy expensive tools as a beginner. Essential basic woodworking tools include a saw, a drill, sandpaper, and a hammer. Start with manual tools and move to power tools as you get better.
- A hand saw or a circular saw for cutting wood
- A drill press or a handheld drill for making holes
- Sandpaper for smoothing out the wood surface
- A hammer for tapping pieces into place

Recommended Woods for Children’s Toys
Choosing the right wood for kids toy projects is crucial. Safety and durability are key. Here are some recommended woods:
| Type of Wood | Characteristics |
|---|---|
| Pine | Hardwood, durable and resistant to wear |
| Beech | Hardwood, durable, and resistant to wear |
| Maple | Hardwood, smooth grain, and ideal for staining |
Woodworking expert says, “The wood you choose greatly affects your toy’s quality and safety.”
“Always choose woods free from toxic chemicals and with a smooth finish for kids’ safety.”
Safety Considerations for Homemade Wooden Toys
When making homemade wooden toys, safety is key. You need to make sure the toys are safe for kids. This means choosing the right materials and designing the toy carefully.
Choosing the right materials is very important. This includes the wood and any finishes or paints. Child-safe finishes and paints are crucial to keep kids safe.
Child-Safe Finishes and Paints
When finishing your wooden toys, pick non-toxic finishes that are safe for kids. Water-based or natural oil finishes are good choices. They don’t have harmful chemicals. Also, choose paints that are labelled as child-safe and meet international safety standards.
Design Safety Tips by Age Group
Designing toys with safety in mind means thinking about the child’s age. For young kids, avoid small parts that could be choking hazards. For older kids, make sure the toys are sturdy and won’t cause injuries. Following step-by-step toy tutorials and beginner woodworking plans can help you make homemade wooden toys that are both fun and safe.
By focusing on these safety tips, you can make homemade wooden toys that are fun and safe for kids to play with.
Easy DIY Wooden Toys Free Plans: Resources and Tips
You don’t need to be a pro at woodworking to make cool wooden toys for kids. There are many free plans online. These resources give you the plans and tips to make them easier, based on your skill level.
Online Sources for Free Wooden Toy Plans
Many websites offer free DIY wooden toy plans. Some top sites include:
- Woodworking websites like Woodcraft and Woodworking Magazine
- Online forums such as Reddit’s r/woodworking
- Pinterest boards focused on woodworking and DIY projects
These sites have plans for all skill levels. You can find something that fits your abilities.
How to Modify Plans for Your Skill Level
When using free DIY wooden toy plans, you might need to make changes. Here are some tips:
- Break down hard cuts into smaller steps for easier handling.
- Choose different materials if the plan’s wood is hard to find or too pricey.
- Change the toy’s size to fit your child’s age and abilities.
By tweaking the plans, you can make your DIY wooden toy project fun and fulfilling.
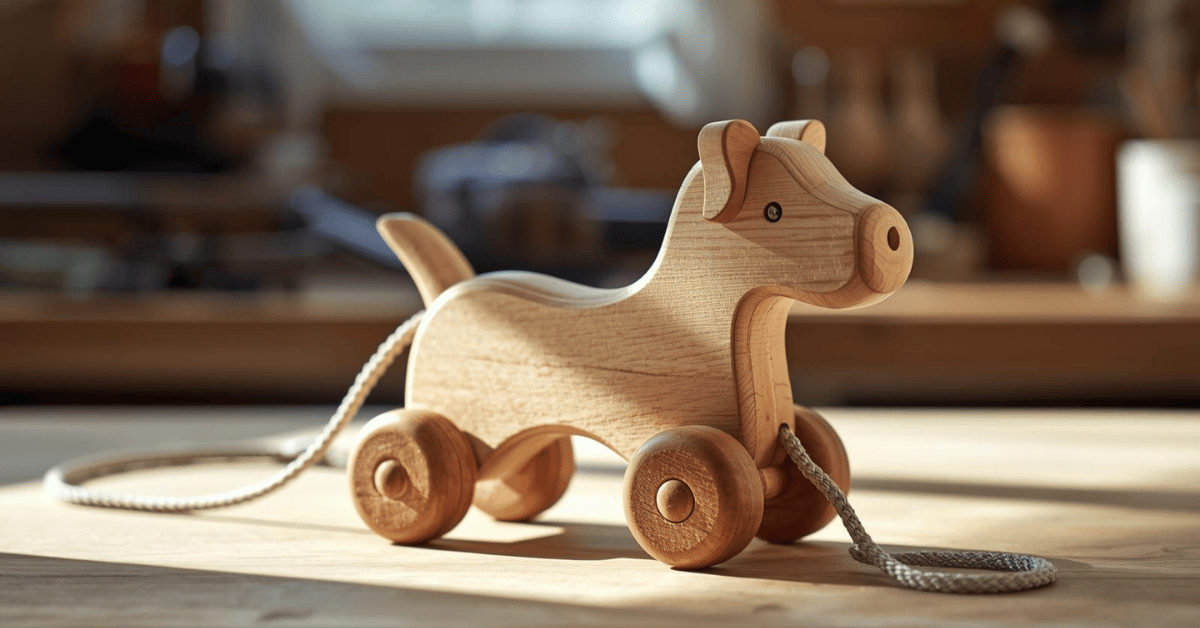
DIY Wooden Pull-Along Puppy
Learn to make a wooden pull-along puppy that’s fun and educational for kids. This homemade wooden toy boosts imagination and fine motor skills.
Materials and Tools List
To begin your woodworking project, gather these materials and tools:
| Material | Quantity |
|---|---|
| Wood (e.g., pine or birch) | 1 piece (1″ x 4″ x 6″) |
| Wheels | 4 |
| Axle | 1 |
| Pull string | 1 |
| Sandpaper | 1 sheet |
| Non-toxic paint or finish | 1 |
Cutting and Shaping the Body
Start by cutting the wood to the right size for the puppy’s body. Use a saw to cut out the shape. Then, sand the edges to make them smooth. You can use a template or draw the shape directly onto the wood.
Assembling the Wheels and Pull String
Attach the wheels to the bottom of the puppy using the axle. Make sure they are securely attached so that they can rotate freely. Then, tie the pull string to the front of the puppy, ensuring it’s secure and comfortable for little hands to pull.
Finishing and Decorating Tips
Finish the puppy with non-toxic paint or a natural finish. You can add details like eyes and a nose using paint or markers. Let your creativity shine and make it a unique kids toy project!
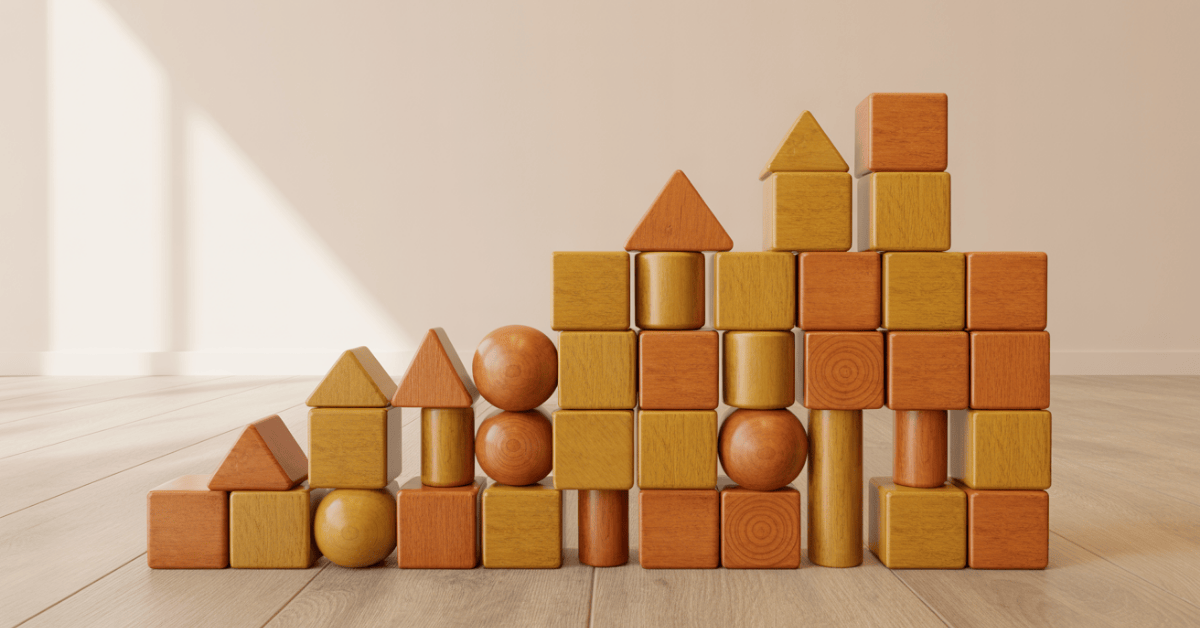
Simple Wooden Building Blocks Set
Making a wooden building block set at home can spark creativity and learning in kids. It’s a great way to start with simple toy-making and woodcraft. It’s perfect for beginners looking to try woodworking.
Materials and Tools List
To begin, gather some basic materials and tools. You’ll need wooden planks, like maple or beech, which are durable and safe. You’ll also need a saw for cutting, sandpaper for smoothing, and a drill for extra features.
Cutting Uniform Blocks
It’s important to cut blocks evenly so they fit together well. Use a precision saw or mitre saw for accurate cuts. Measure and mark the wood before cutting to keep them uniform.
Sanding and Edge Rounding for Safety
Sanding is key to making the blocks safe for kids. Use fine-grit sandpaper to smooth all surfaces, focusing on the edges. Rounding the edges also helps prevent splinters.
Natural Finishing Options
Choose natural oils or waxes for finishing. These are non-toxic and safe for kids. They protect the wood and make it look better, appealing to children.
Wooden Shape Sorter Puzzle Box
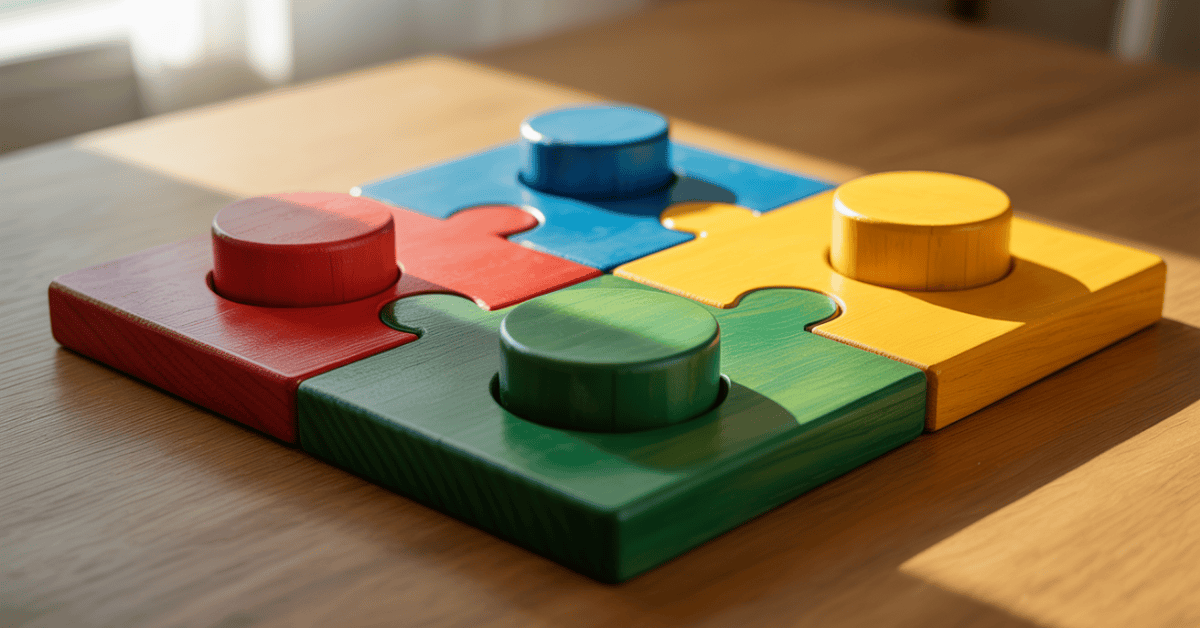
Looking for a fun woodworking project? Try making a wooden shape sorter puzzle box. It’s a great way to improve your skills and create a fun toy for kids.
Materials and Tools List
You’ll need some basic tools and materials to start. You’ll need 1/2 inch thick plywood or solid wood, a saw, sandpaper, and non-toxic finishes. Having a detailed list helps you stay organised.
Building the Box Frame
First, cut the wood to the right size for the box frame. Use wood glue and nails or dovetail joints to put it together. Make sure the corners are tight and the frame is square.
Creating Matching Shapes
Next, cut out shapes like squares, circles, and triangles from wood. Use a jigsaw or coping saw for curves. Sand the edges so they fit well in the box’s slots.
Child-Safe Finishing Techniques
Finish the wood with a non-toxic finish to keep it safe for kids. You can use natural wax or water-based paints. Always follow the instructions for a lasting finish.
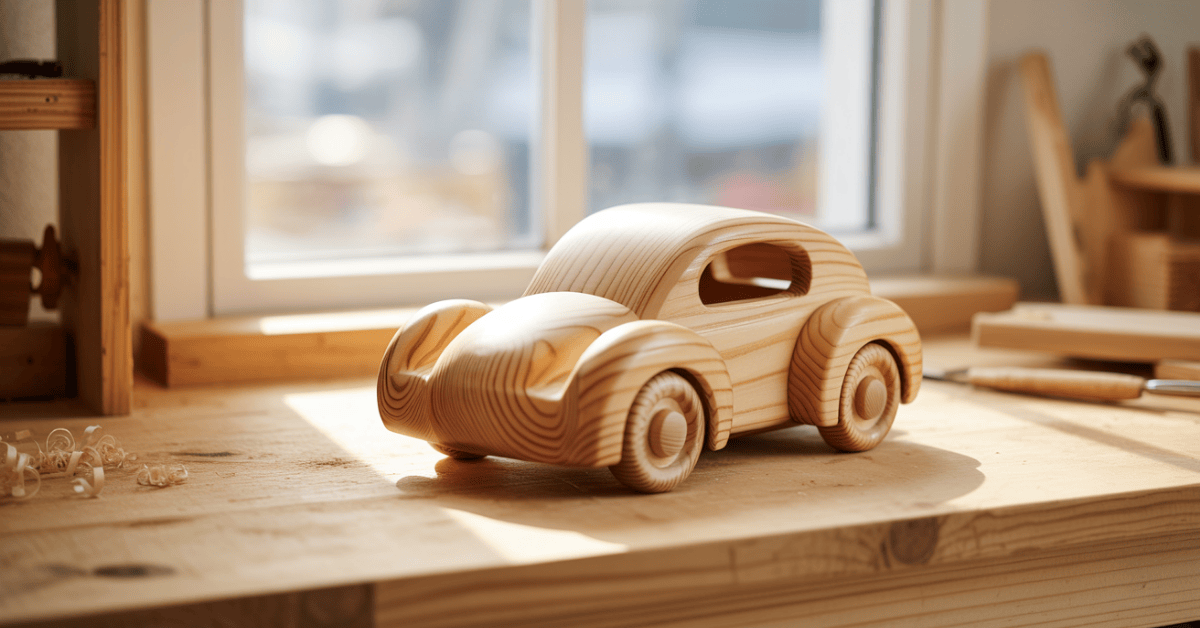
Wooden Toy Race Car
You can make a fun wooden toy race car with basic woodworking skills. It’s great for those who love woodworking projects and want to make something fun for kids.
Materials and Tools List
Here’s what you’ll need to get started:
- 1 piece of 1/2″ thick wood (e.g., birch or maple) for the car body
- 4 wooden or plastic wheels
- Axles (e.g., metal rods or wooden dowels)
- Sandpaper
- Wood glue
- Paint or varnish
- Basic woodworking tools (e.g., saw, drill, sandpaper)
Cutting the Car Body
Use a saw to cut the wood into the race car shape. You can find free templates online or design your own. Sand the edges to make them smooth.
Attaching Wheels That Roll
Drill holes for the axles and attach the wheels. Make sure they roll smoothly. Use wood glue to hold the axles in place.
Decorating Options
After assembling, decorate your race car with paint or varnish. Add colors, stripes, or designs to make it more appealing.
Making homemade wooden toys like this race car boosts creativity and gives kids a fun toy. By following these steps, you can build your own toys and enjoy creating something unique.
Classic Wooden Spinning Top
You can make a timeless toy with simple woodworking skills. A wooden spinning top is a classic toy loved by kids for generations. It’s perfect for beginners because it’s so simple.
Materials and Tools List
To begin, you’ll need these materials and tools:
| Material/Tool | Description | Quantity |
|---|---|---|
| Wood (e.g., Maple or Pine) | For the body of the spinning top | 1 piece |
| Lathe | For turning the wood | 1 |
| Chisels | For shaping and smoothing | Set |
| Sandpaper | For finishing | Various grits |
Turning the Top Body
Use a lathe to shape the wooden body of the spinning top. Start with a rough shape and then refine it. Make sure the body is symmetrical for a smooth spin.
Creating the Perfect Balance
Balance is key for a spinning top. Adjust the weight by adding or removing material. This will help it spin smoothly. Test it on a flat surface to check its balance.
Colorful Finishing Ideas
After balancing your spinning top, add a finish to protect the wood and make it look good. You can use natural oils or colorful paints. This will make your spinning top stand out.
Wooden Stacking Rainbow Toy
With a few simple tools and some carefully cut wood, you can make a beautiful wooden stacking rainbow toy. It will delight children and become a cherished keepsake. This project is a great way to improve your DIY skills and create something special for the little ones in your life.
Materials and Tools List
To begin, you’ll need the following materials and tools:
- Wood (e.g., birch or maple) for the rainbow arches and base
- Wood glue
- Sandpaper
- Non-toxic paint or stain for coloring
- A saw for cutting the wood
- A drill (optional)
Cutting the Rainbow Arches
Cutting the rainbow arches needs precision for uniform shapes that fit perfectly. Use a template or a curved cutting guide for the right shape. Sand the edges to make them smooth.
| Arch Number | Width (cm) | Height (cm) |
|---|---|---|
| 1 | 10 | 5 |
| 2 | 9 | 4.5 |
| 3 | 8 | 4 |
Creating the Base and Assembly
The base keeps the toy stable. Cut it to fit the largest arch. Start with the largest arch in the centre of the base. Use wood glue to hold them together.
“The joy of creating something with your own hands is unparalleled, and when it’s a toy for children, it’s even more special.”
Safe Coloring Techniques
For coloring, use non-toxic paints or stains. Apply a thin layer and let it dry completely before handling. This makes the toy safe for children.
Tips: Always work in a well-ventilated area when using stains or paints. Consider using a primer for a more durable finish.
✅ Ready to Take Your Woodworking Skills to the Next Level?
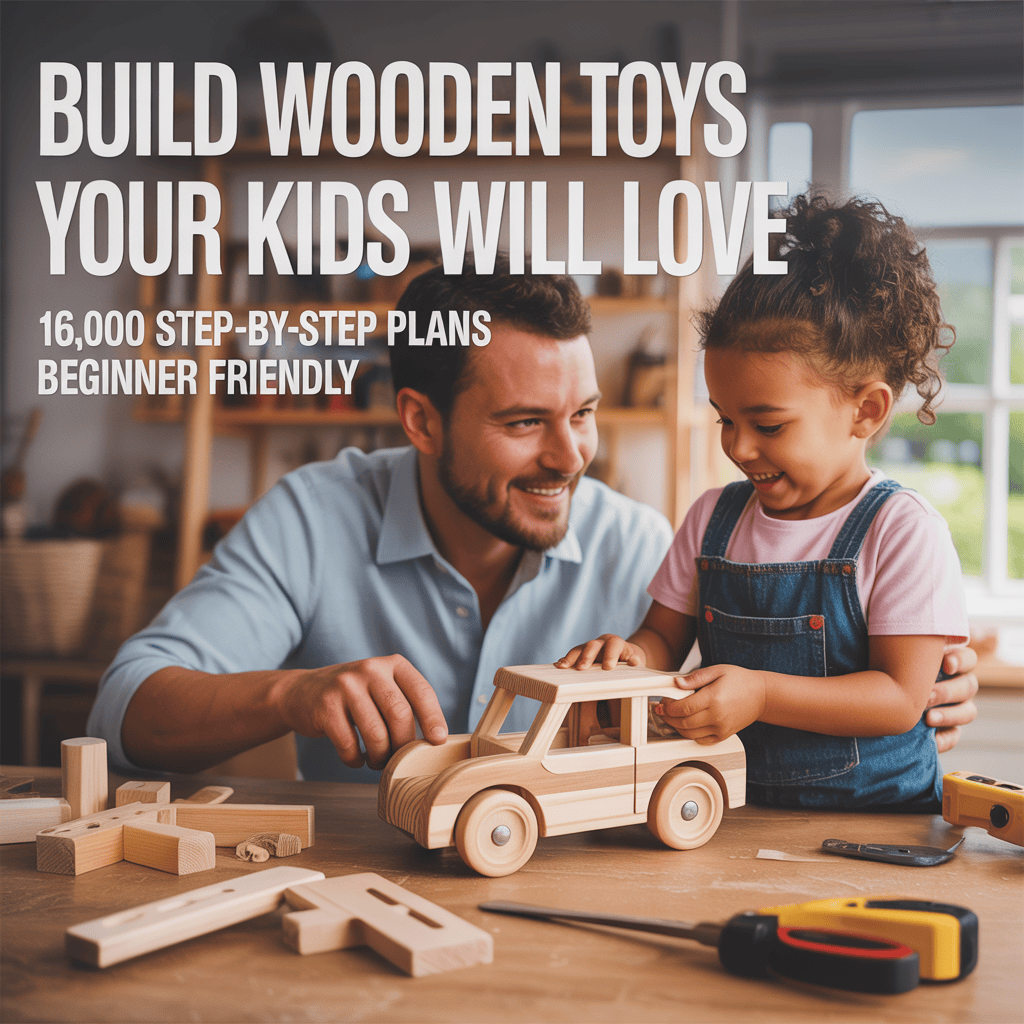
Why stop at just 10 DIY wooden toys when you can access 16,000+ done-for-you woodworking plans?
🔨 Introducing Ted’s Woodworking – The World’s Largest Collection of Wood Plans!
Here’s what you get with a one-time payment:
- 🧰 16,000+ step-by-step projects – From toys to furniture and everything in between
- 📐 Exact cutting lists and blueprints – No guesswork, no waste
- 🎥 150+ premium video tutorials – Watch and build along
- 📦 Lifetime updates + FREE monthly new plans
- 🛠️ Perfect for beginners & pros – No fancy tools needed
- 💸 60-day 100% money-back guarantee
👉 Click below and unlock unlimited DIY creativity today!
🎁 Grab All 16,000 Plans for Just $67 – Limited-Time Deal »
Conclusion: Sharing the Gift of Handmade Wooden Toys
After making your easy DIY wooden toys, think about sharing them with loved ones. Homemade wooden toys are great gifts that spark imagination and create memories. By making your own toys, you share a part of yourself with others.
Sharing your creations can motivate others to try DIY wooden toys. You can give them to kids, donate to charities, or sell them to help your community. No matter what, your handmade toys will bring happiness and encourage creativity.
Now that you’ve begun making your own wooden toys, keep learning and growing. There are many free plans online for easy DIY wooden toys. Keep creating, and you’ll become known for your skill and care. Making your own toys can truly make a difference in people’s lives.
FAQ
What are the benefits of making DIY wooden toys for children?
Making DIY wooden toys is great for kids. They learn while having fun. These toys are also good for the environment and can last for years.
What tools and materials are needed to start making wooden toys?
To make wooden toys, you need basic tools like a saw and a drill. Choose woods like pine or cedar for kids’ toys. They are strong and safe.
How can I ensure the wooden toys I make are safe for children?
Use safe finishes and paints for toys. Follow safety rules for each age group. Sand toys to remove sharp edges and avoid small parts.
Where can I find free plans for DIY wooden toys?
Free plans are available online on woodworking sites and DIY blogs. You can also change plans to fit your skills.
Can I customise wooden toy plans to fit my skill level?
Yes, you can make plans easier or harder. Use different materials or change the design to match your skills.
What are some popular DIY wooden toy projects for beginners?
Beginners can try making a wooden puppy, building blocks, or a shape sorter. You can also make a toy car, a spinning top, or a stacking toy.
How do I choose the right type of wood for my wooden toy project?
Choose wood based on durability and safety. Use woods like pine or beech that are good for kids’ toys.
What are some tips for finishing and decorating wooden toys?
Use safe finishes and paints for toys. Add colors to make them fun. Always follow safety rules when decorating.

Pingback: DIY Wooden Toys for Toddlers: Safe, Creative, and Fun Projects
Pingback: DIY Wooden Toys from Scrap Wood: Smart Ways to Reuse and Save Money
Pingback: How to Make a Beautiful Wooden Rainbow Stacker DIY