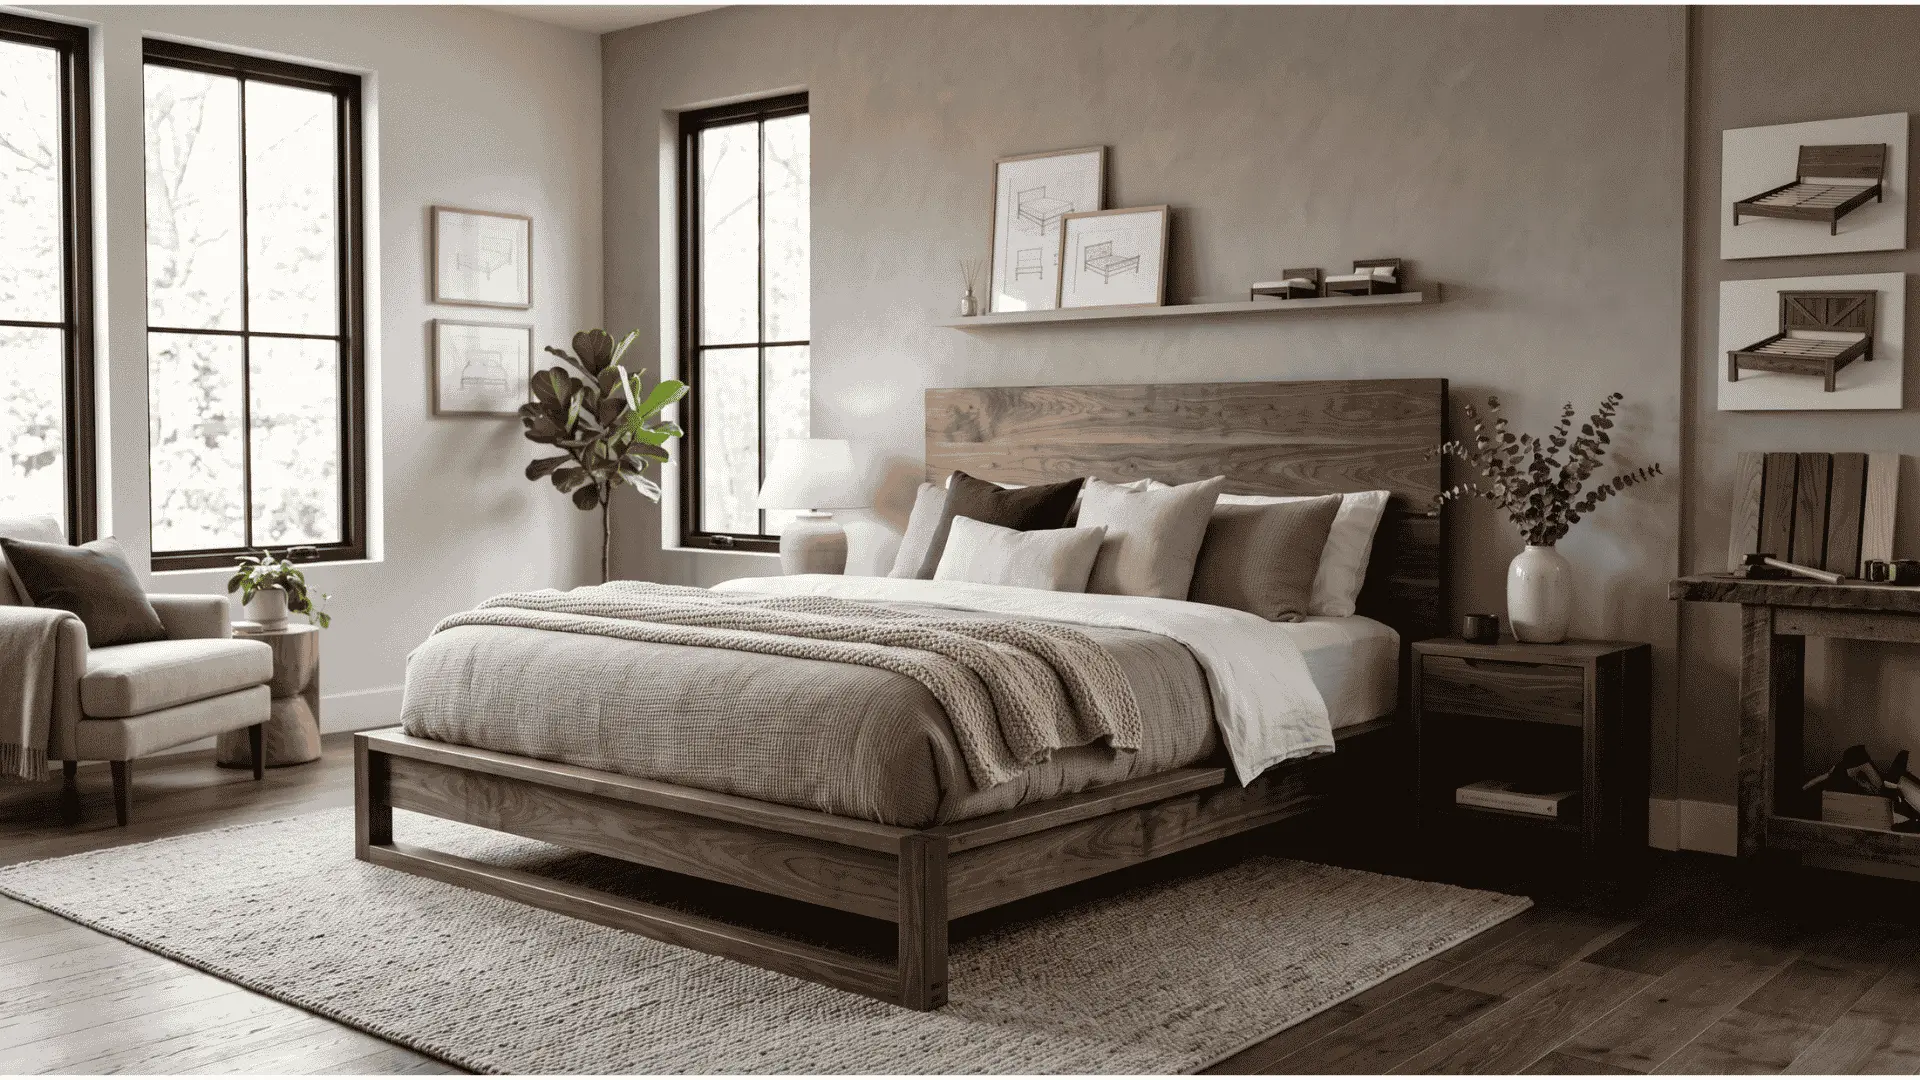
Have you ever looked at an expensive wooden bed and wondered if you could build something just as beautiful for a fraction of the price? With the right DIY wooden bed frame plans, you can create a stylish, durable bed that looks like a high-end furniture piece without spending a fortune. In this guide, you’ll discover 12 practical DIY wooden bed frame plans designed to help you build a beautiful custom bed, even if you’re still developing your woodworking skills.
From cozy farmhouse-inspired frames to clean, modern designs, these projects can complement everything from a guest bedroom to a contemporary apartment. You’ll also learn which tools and materials can help you achieve a strong, polished result while keeping your project practical and budget-friendly.
Whether you’re planning a twin, full, queen, or king-size bed, this guide will help you understand how to adapt your project to the mattress size you need. By the end, you’ll have practical ideas and guidance to confidently choose a design and create a custom wooden bed that adds character and style to your bedroom.
Key Takeaways
- Explore 12 unique designs that bring a high-end look to your bedroom.
- Learn about essential tools and materials for building your own bed.
- Understand how to choose the right style for different bedroom themes.
- Get practical tips for scaling projects to fit standard mattress sizes.
- Discover how wood selection impacts durability and appearance.
Exploring 12 DIY Wooden Bed Frame Plans: Styles, Sizes, and Essentials
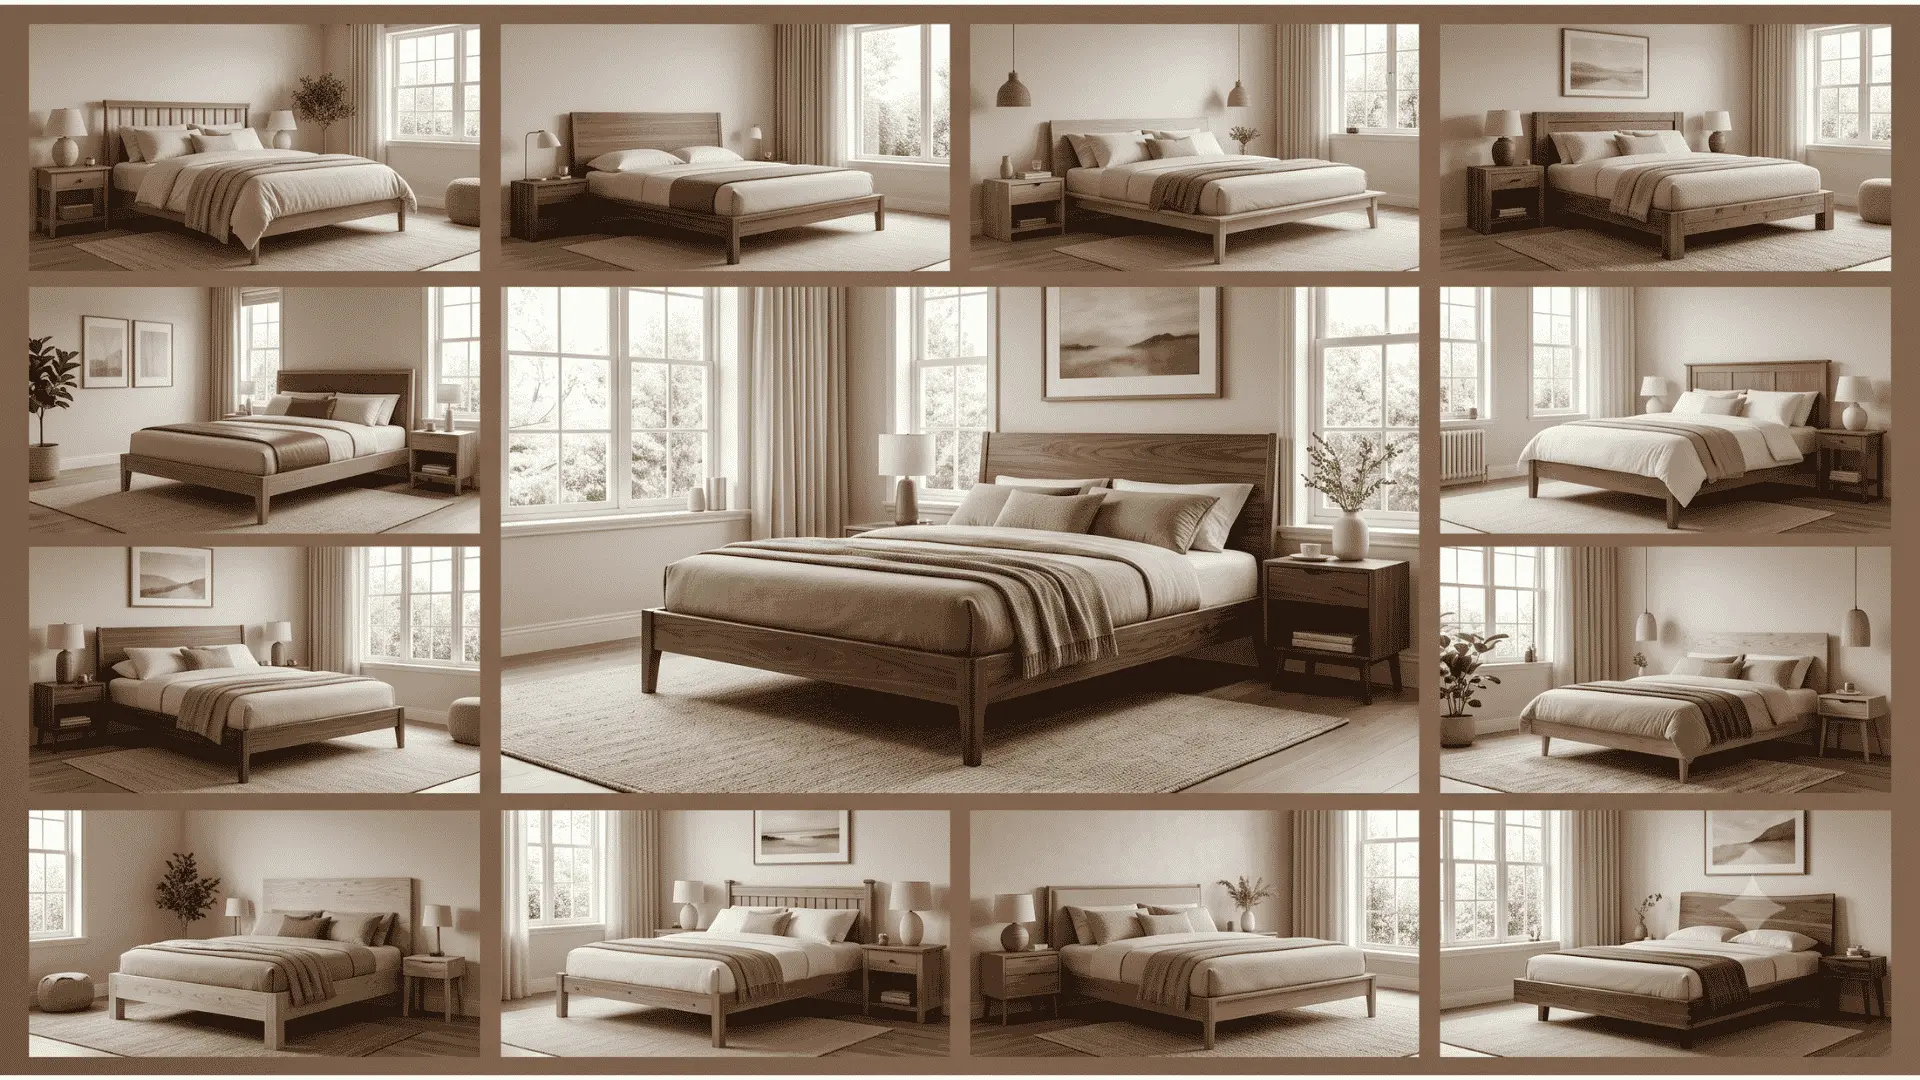
You can elevate your sleeping space with a personalized bed that rivals high-end options, all by following these straightforward designs. In this section, you will discover what to expect from the twelve plans, including various construction methods and the time commitment for each project. Completing one of these designs will leave you with a functional piece of furniture that looks far more expensive than it costs.
Introduction to DIY Wooden Bed Frame Plans: What to Expect
The twelve designs vary in style and complexity, catering to different tastes and skill levels. Each plan provides clear instructions, allowing you to create a bed that complements your bedroom beautifully. Expect to learn about the necessary materials and tools, as well as tips for achieving a premium look.
Overview of Bed Frame Styles and Suitable Bedrooms
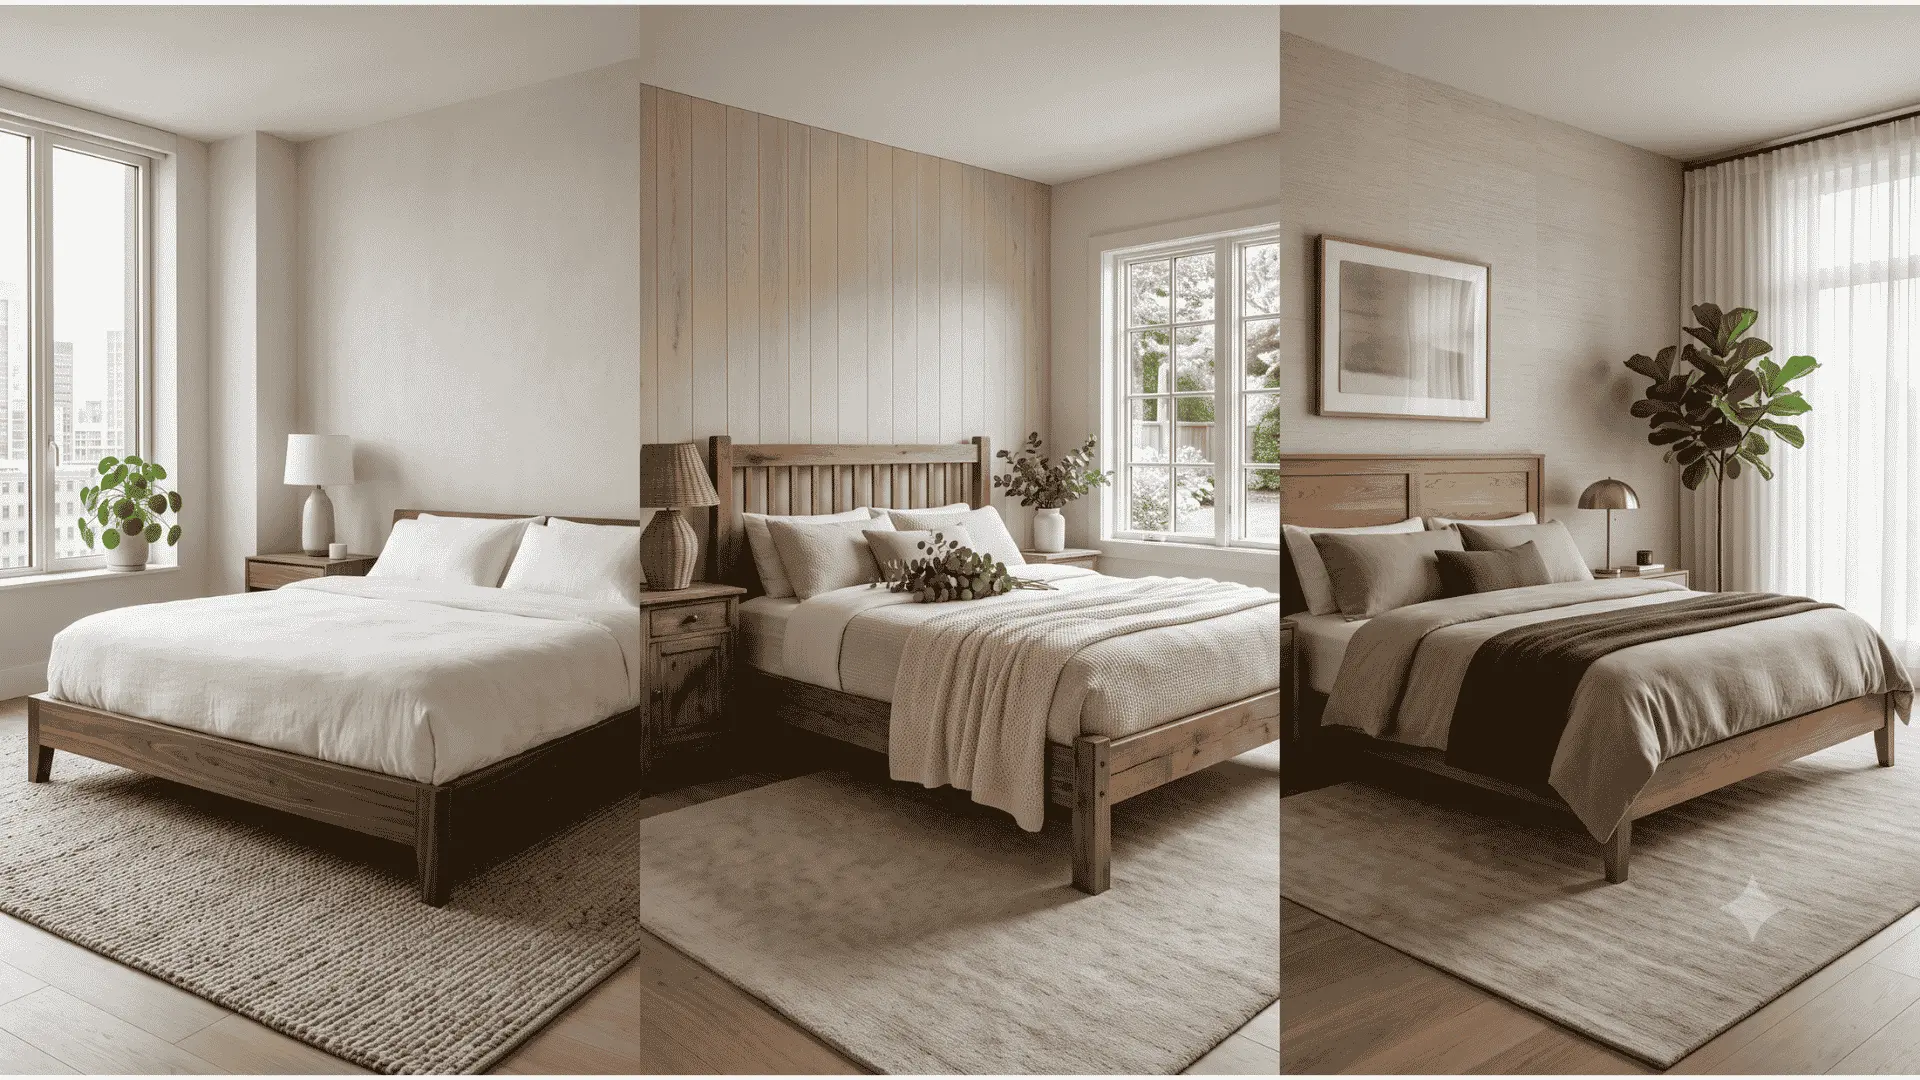
From platform beds to modern panel designs, each style serves a unique purpose. For instance, platform beds are perfect for minimalist spaces, while farmhouse designs add a cozy touch to guest rooms. Understanding these styles helps you choose the right bed for your primary bedroom, kids’ room, or apartment.
Choosing the Right Bed Size: Twin, Full, Queen, King
Choosing the correct size is crucial. Twin beds are ideal for small spaces, while full, queen, and king sizes offer more room for comfort. When adjusting plans, remember to modify side rails, headboard width, and slat count to fit your chosen size.
Estimating Difficulty Levels: From Beginner to Intermediate
Assessing the difficulty of each project allows you to select one that matches your skill level. Beginner projects often involve simple pocket hole joinery and straight cuts. In contrast, intermediate designs may require dowels or laminated posts, providing a challenge for those looking to advance their skills.
Recommended Woods for Durability and Appearance
Choosing the right wood is essential for both aesthetics and strength. Poplar offers a clean, modern look, while pine is affordable and easy to work with. For a more robust appearance, consider framing lumber like 2x8s and 2x12s, which also accept stains beautifully.
Basic Tools and Hardware for Successful Builds
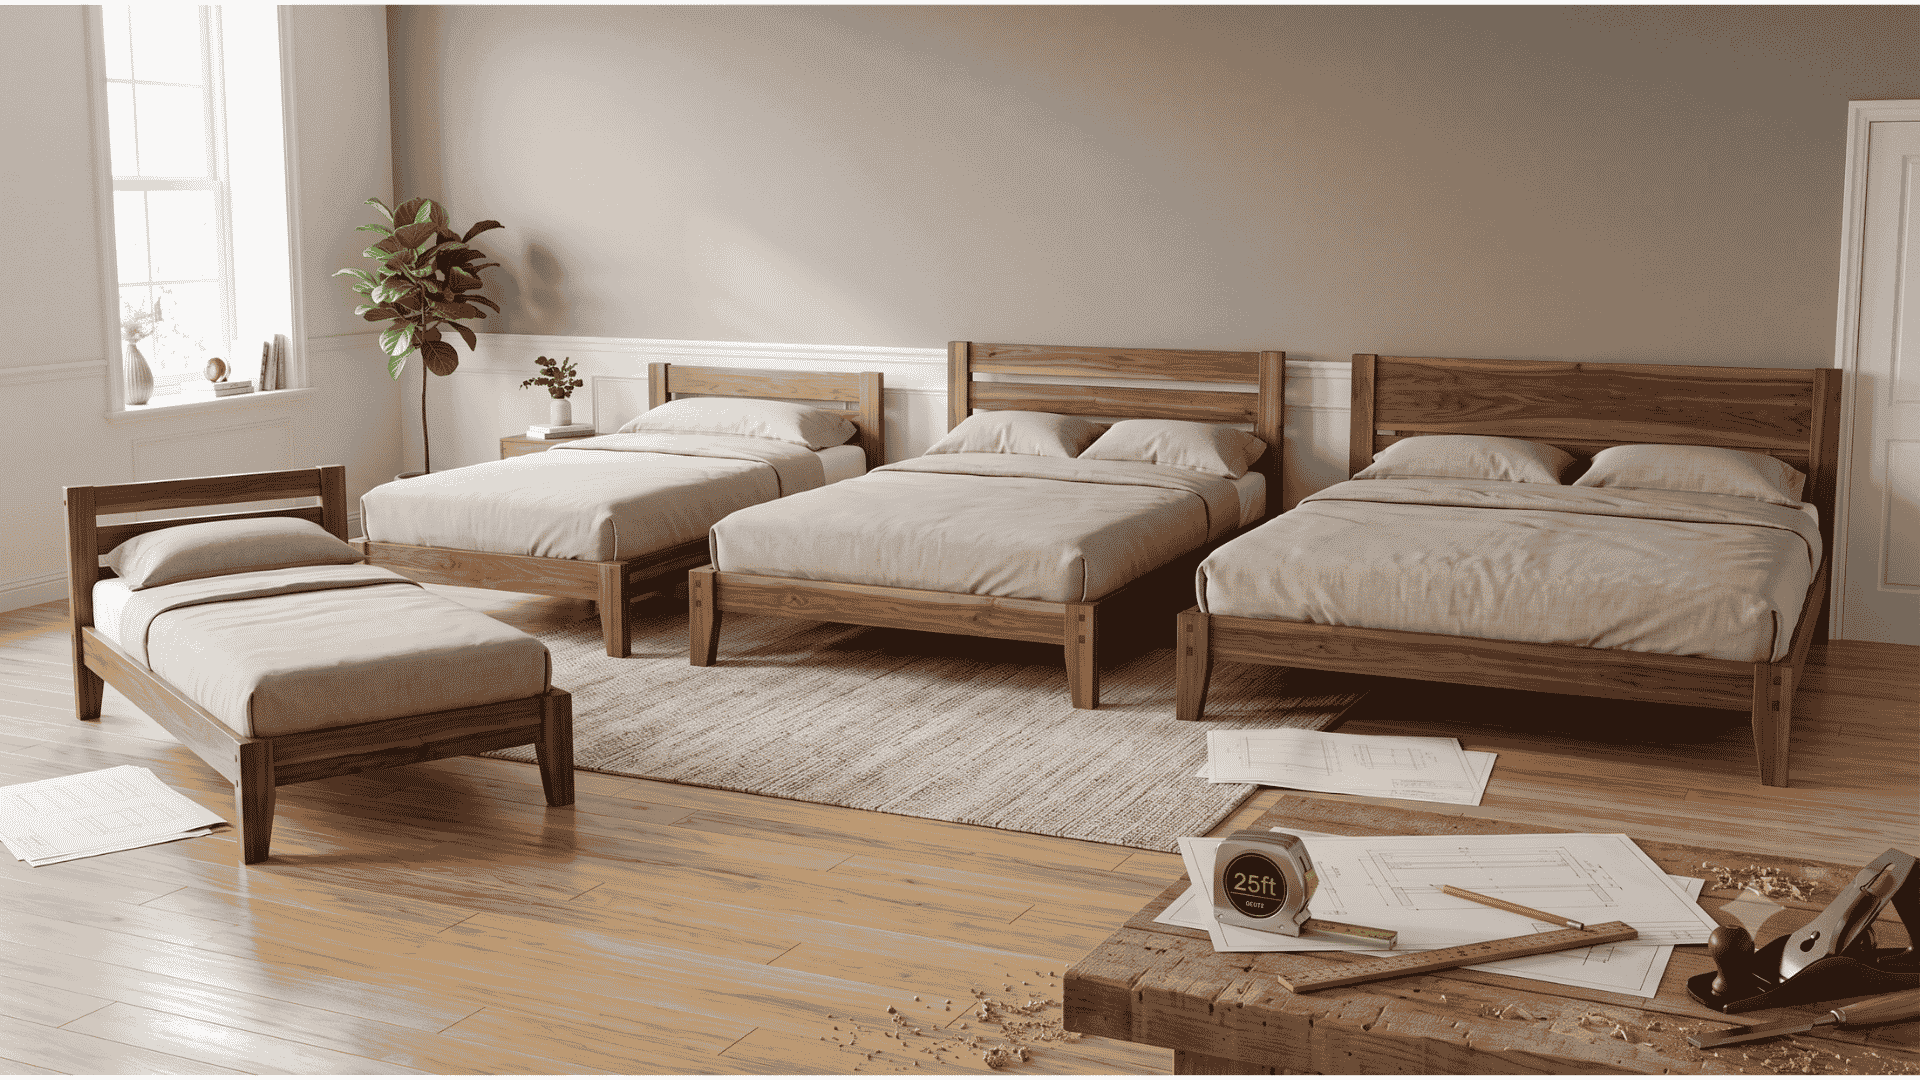
To successfully complete your project, you’ll need basic tools like a miter saw, circular saw, and drill. Additionally, pocket hole jigs, sanders, and clamps are essential for creating a strong, square frame. Understanding how each tool contributes to the build will enhance your overall experience.
For those seeking additional guidance, Ted’s Woodworking offers a vast collection of detailed woodworking plans, including schematics and step-by-step instructions. This resource can be a valuable supplement to your building journey.
Construction Considerations and Practical Tips for Strong, Long-Lasting Bed Frames
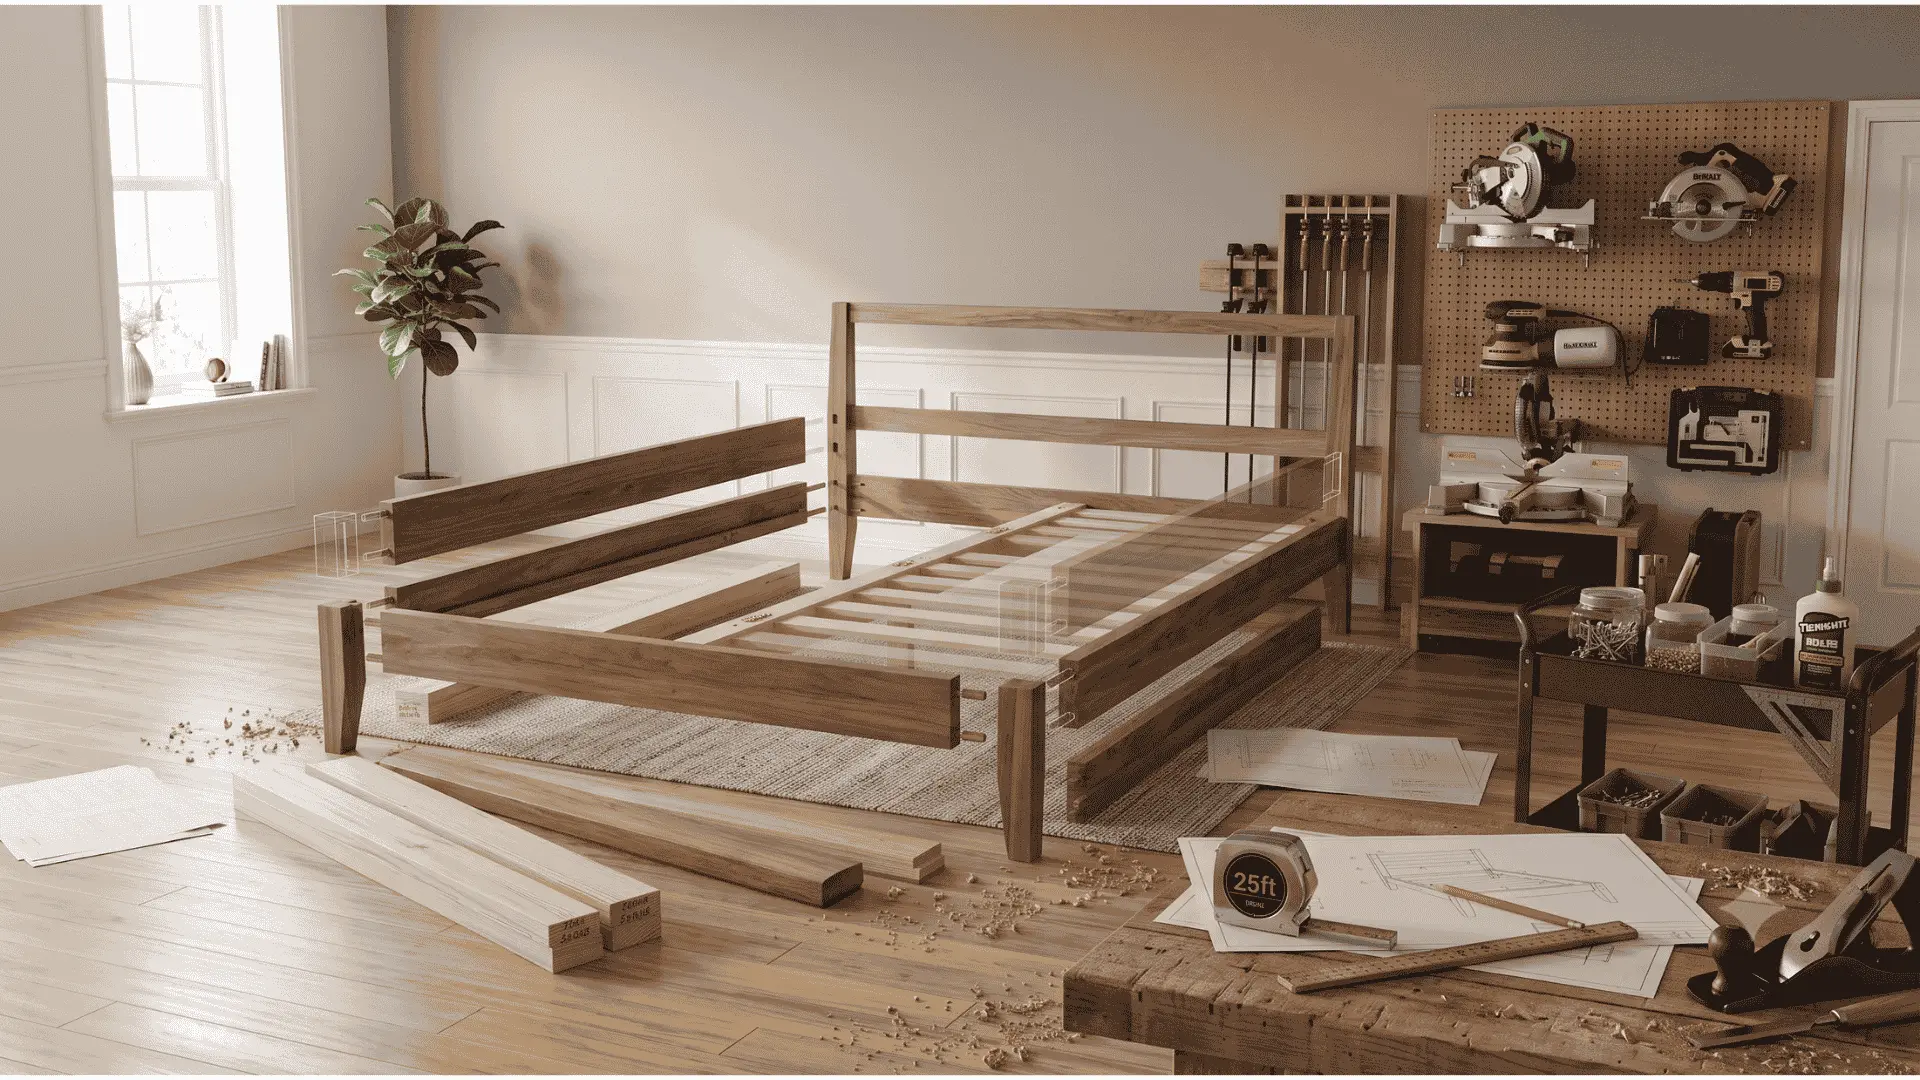
Building a sturdy bed frame requires careful consideration of design and materials. Understanding how each component contributes to the overall strength is crucial. In this section, you will learn about structural strength, accurate measurements, hardware choices, and common mistakes to avoid.

Structural Strength: Side Rails, Slats, Supports, and Frame Design
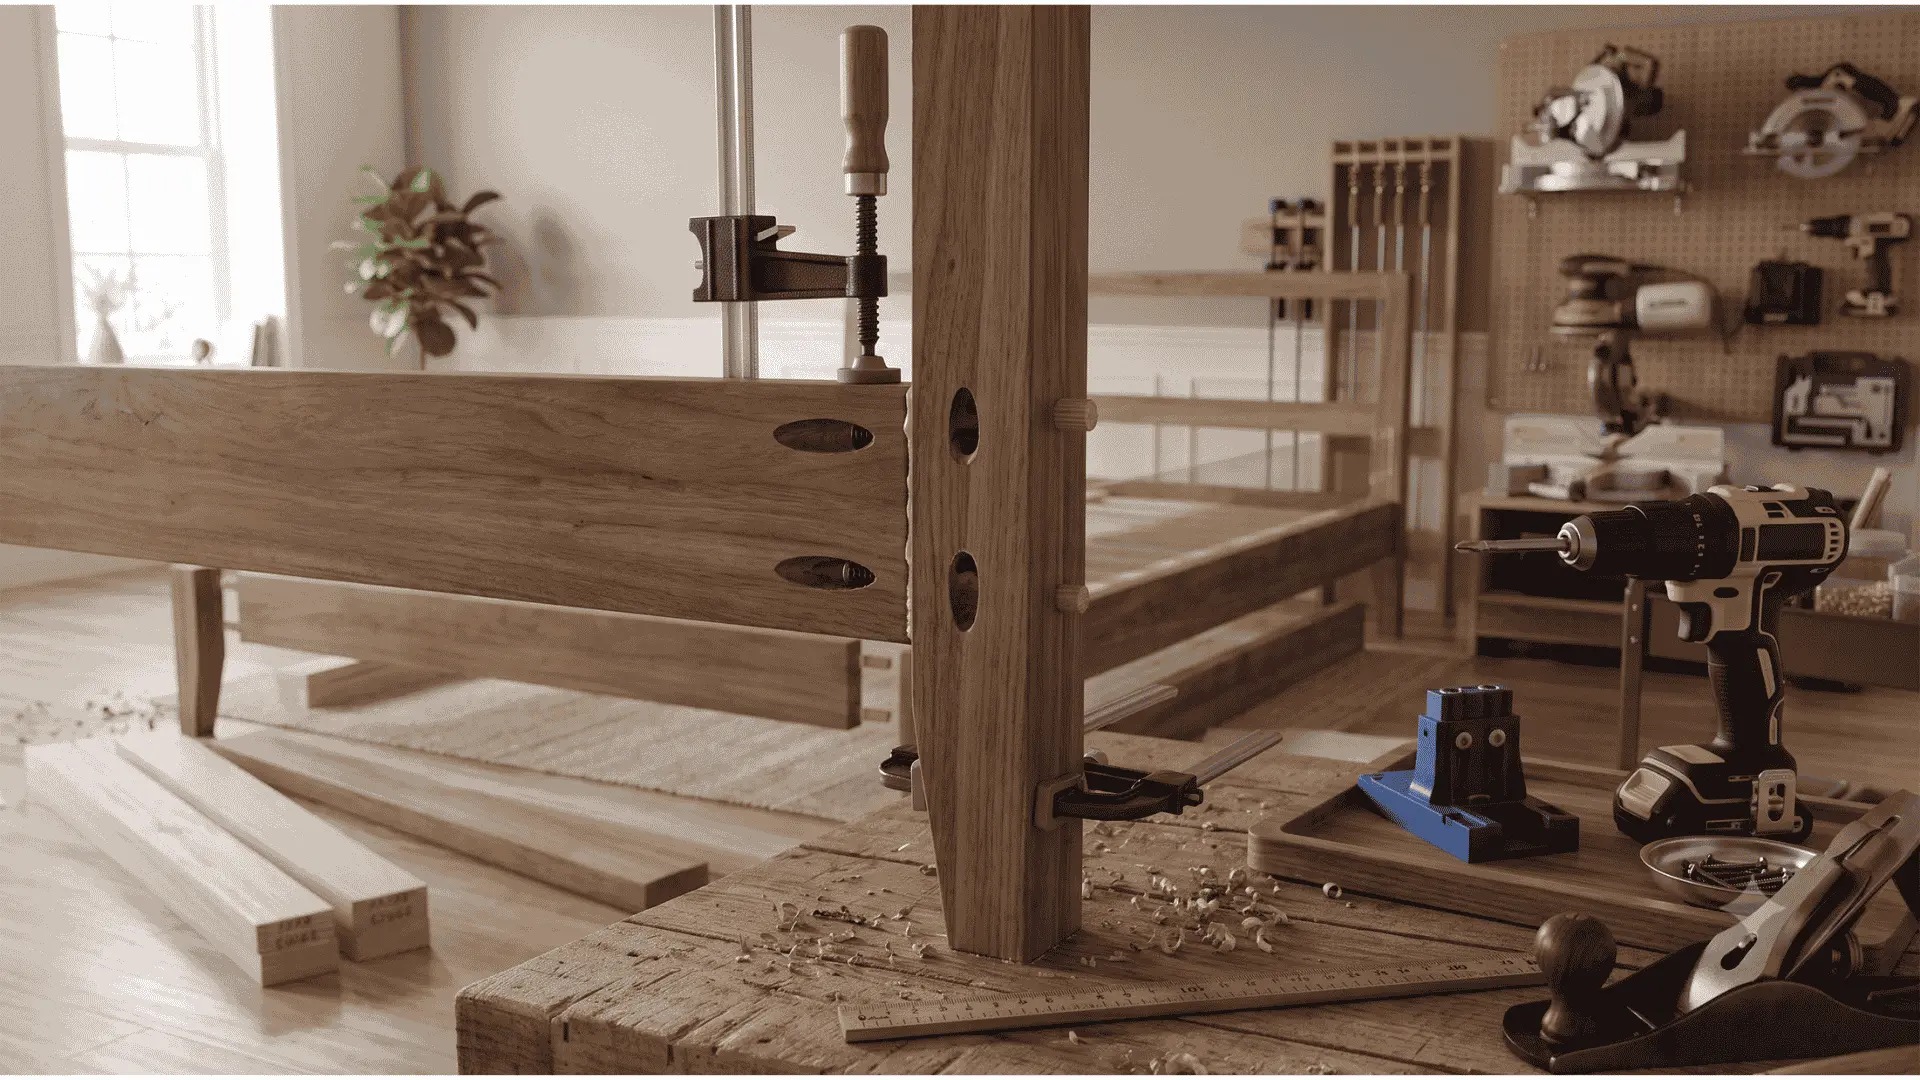
To create a strong bed frame, focus on the roles of side rails, slats, and center supports. A well-designed frame incorporates these elements to maintain stability. For instance, a center support board that is only as tall as the side rail supports keeps slats flat across the entire width, enhancing durability.
Accurate Measurements and Cutting Techniques
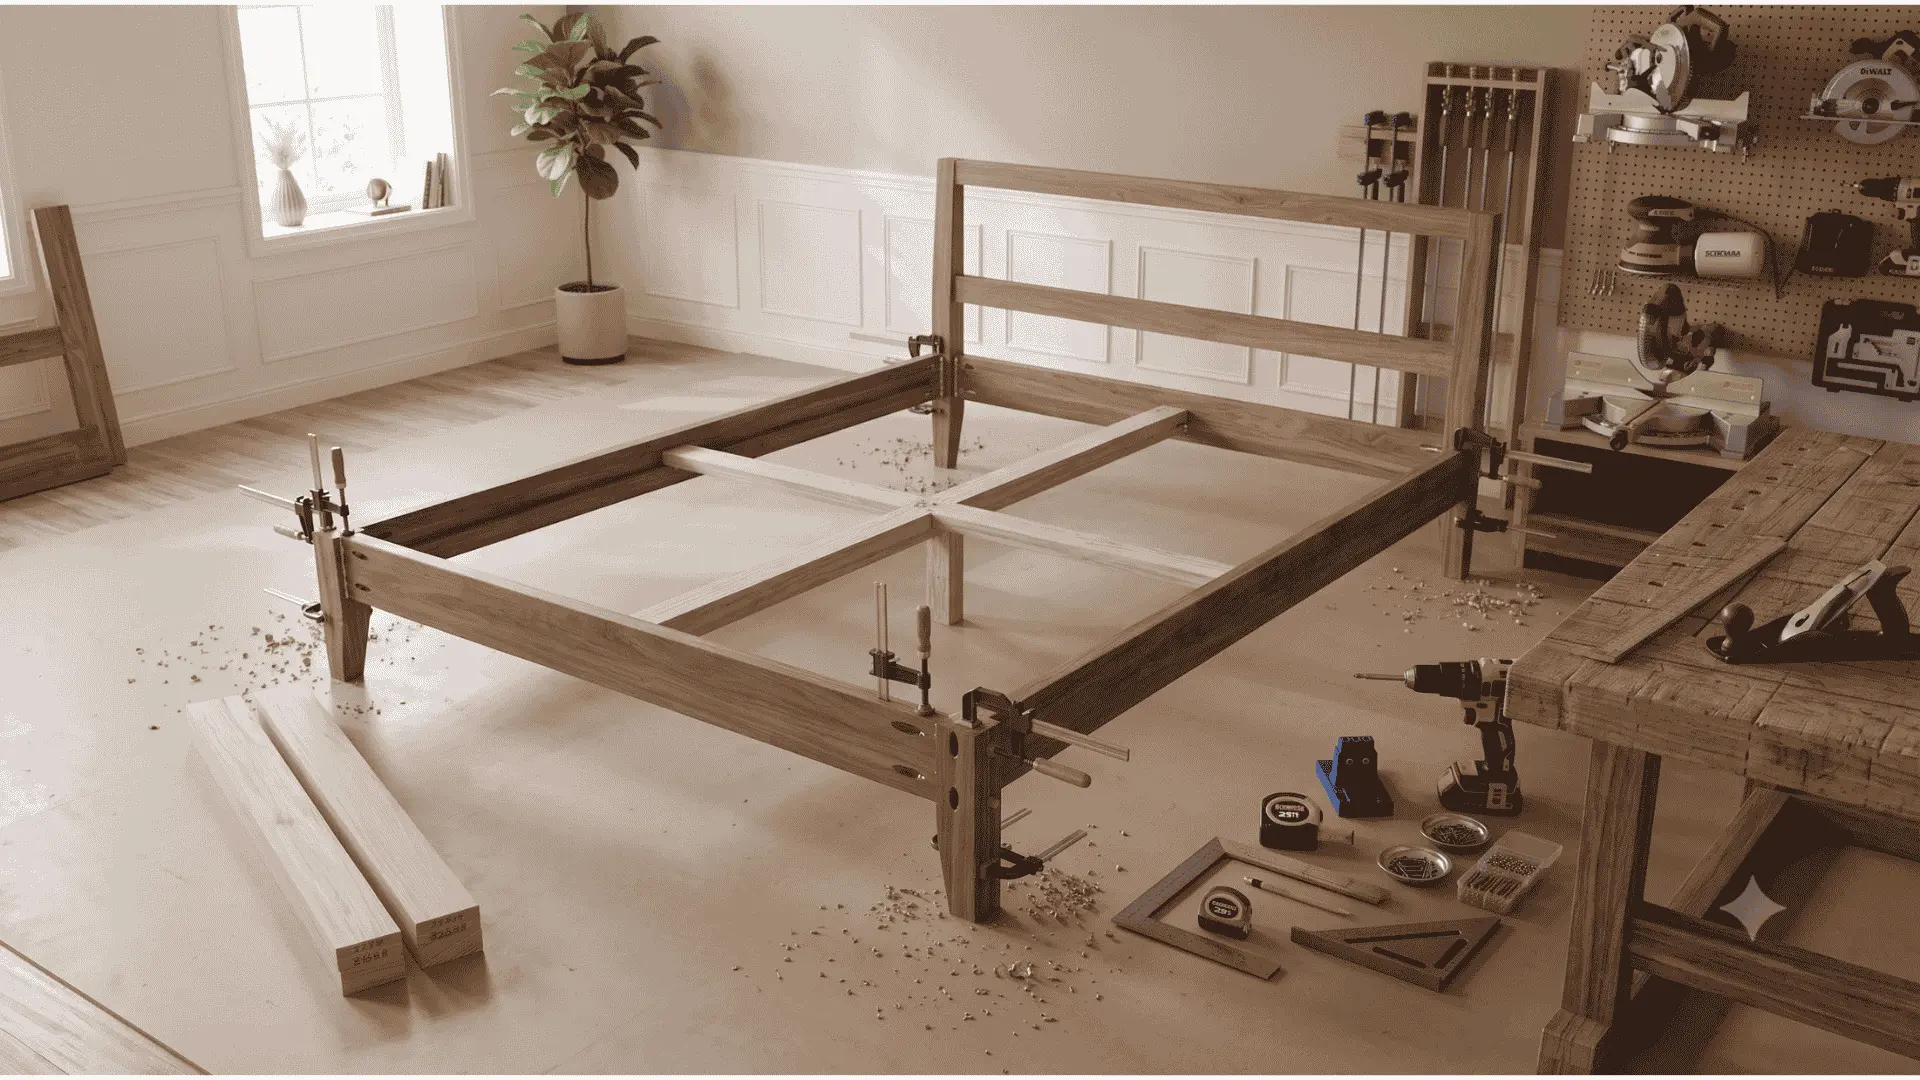
Accurate measurements are vital. When cutting side rails, consider using Maker Gray’s method of ripping a single 2×4 down the center to create two matching rails. This technique ensures uniformity. Additionally, make a small fresh cut off the ends of boards to remove factory edges, and use a circular saw with a straight edge for long cuts.
Hardware Choices: Screws, Pocket Holes, Dowels, and Glue
Choosing the right hardware can make a significant difference. Pocket hole screws offer hidden joinery, while dowels provide clean alignment without visible holes. Wood glue creates permanent bonds, and bed rail hardware is essential for frames that need to be disassembled for moving. Remember to pre-drill and countersink holes in slats to avoid snags on the mattress.
Mattress Support Options and Enhancing Frame Stability
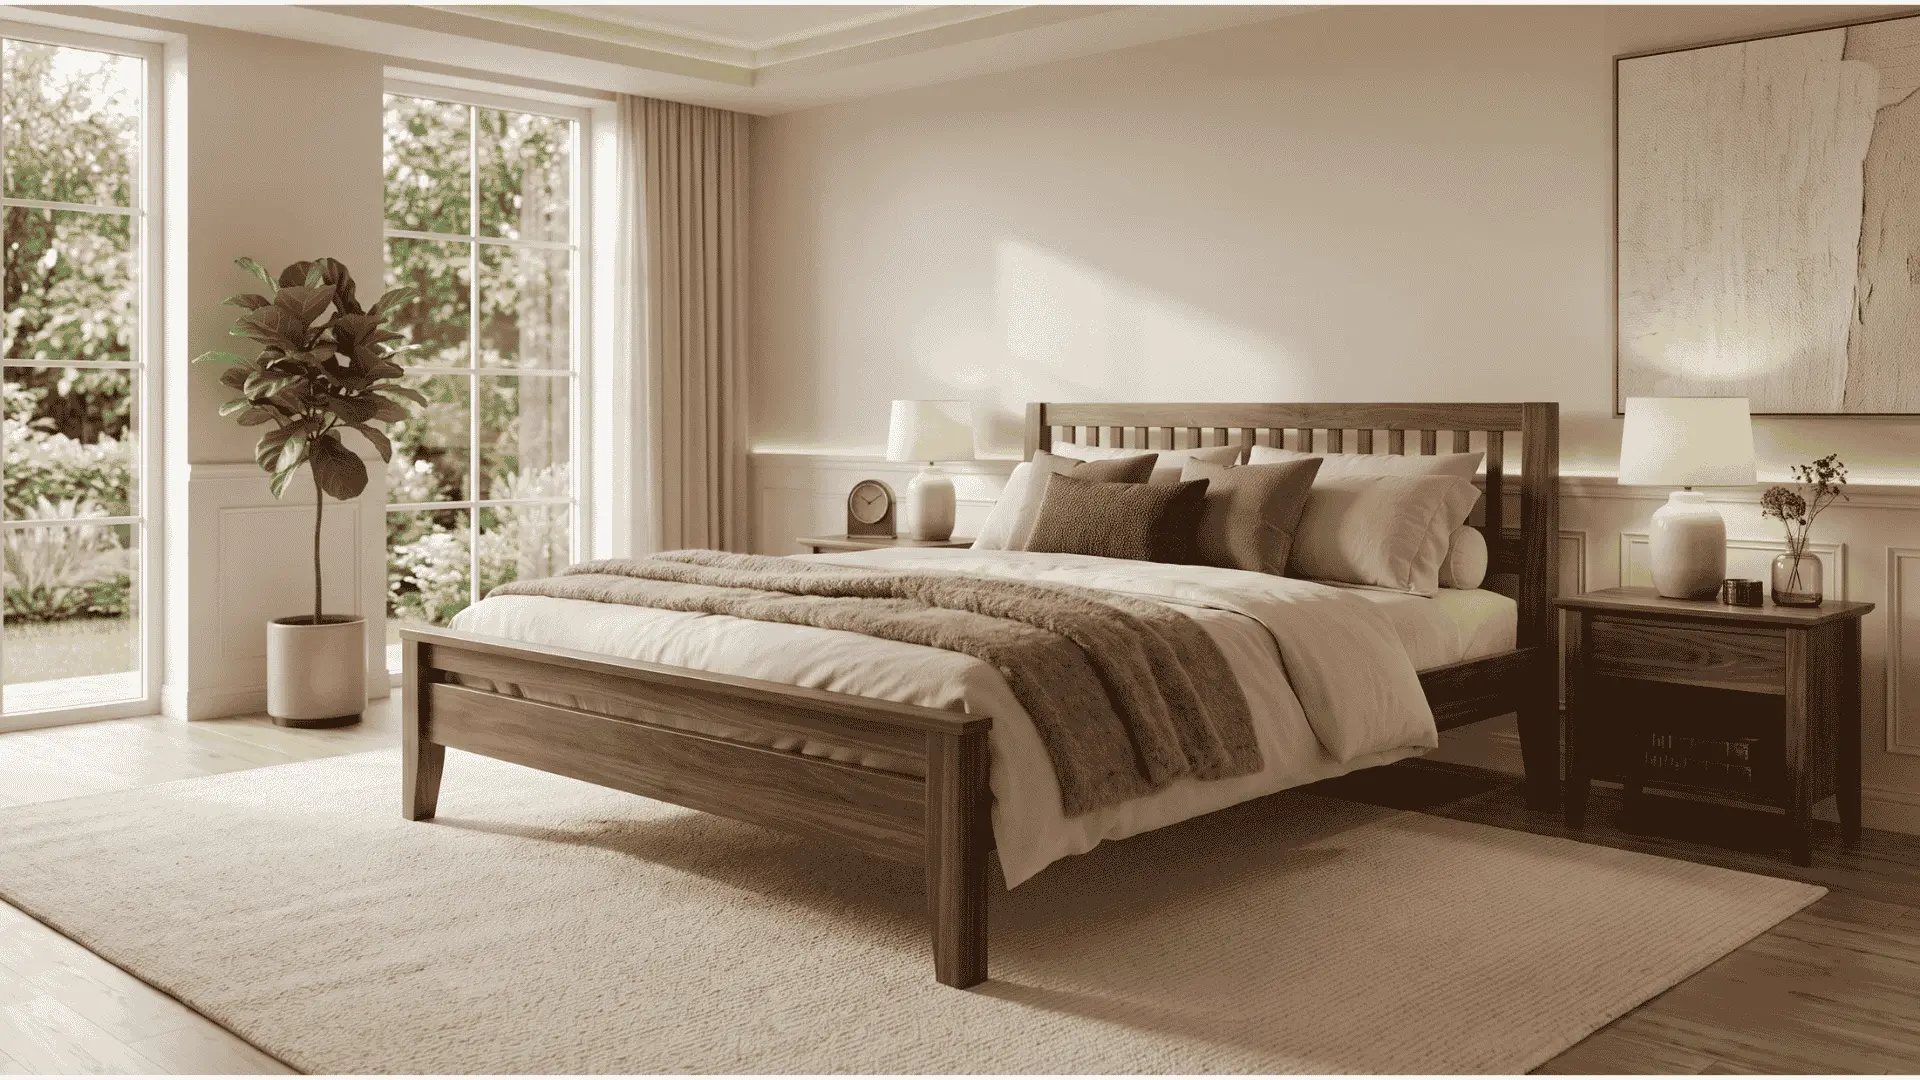
Proper mattress support is essential for comfort and longevity. Space slats adequately to allow the mattress to breathe. For larger queen and king beds, consider adding a center support with 2×2 legs. This addition enhances stability and prevents sagging over time.
Common Mistakes to Avoid During Construction
Being aware of common mistakes can save you time and frustration. For example, boards may shift when assembling with pocket hole screws. To counter this, clamp corners to squares during assembly. Additionally, ensure that the headboard, footboard, and side rails align at consistent heights for a polished look.
For those seeking more detailed construction guidance, Ted’s Woodworking offers a large collection of woodworking plans, including schematics, materials lists, cutting diagrams, and step-by-step instructions. This resource can enhance your building experience.
| Component | Purpose | Material Suggestions |
|---|---|---|
| Side Rails | Support slats and frame | 2×4 or 2×6 lumber |
| Slats | Support mattress | 1×4 or 1×6 lumber |
| Center Support | Prevent sagging | 2×2 or 2×4 lumber |
| Hardware | Joinery and assembly | Screws, glue, pocket hole jigs |

Finishing Techniques and Affordable Ways to Achieve a Premium Look
Transforming your bed frame into a stylish centerpiece can be achieved with the right finishing techniques. A well-finished piece not only enhances the overall look but also adds durability. This section will guide you through effective sanding methods, affordable finishes, and maintenance tips to keep your frame looking its best.
Sanding Tips for a Smooth, Professional Surface
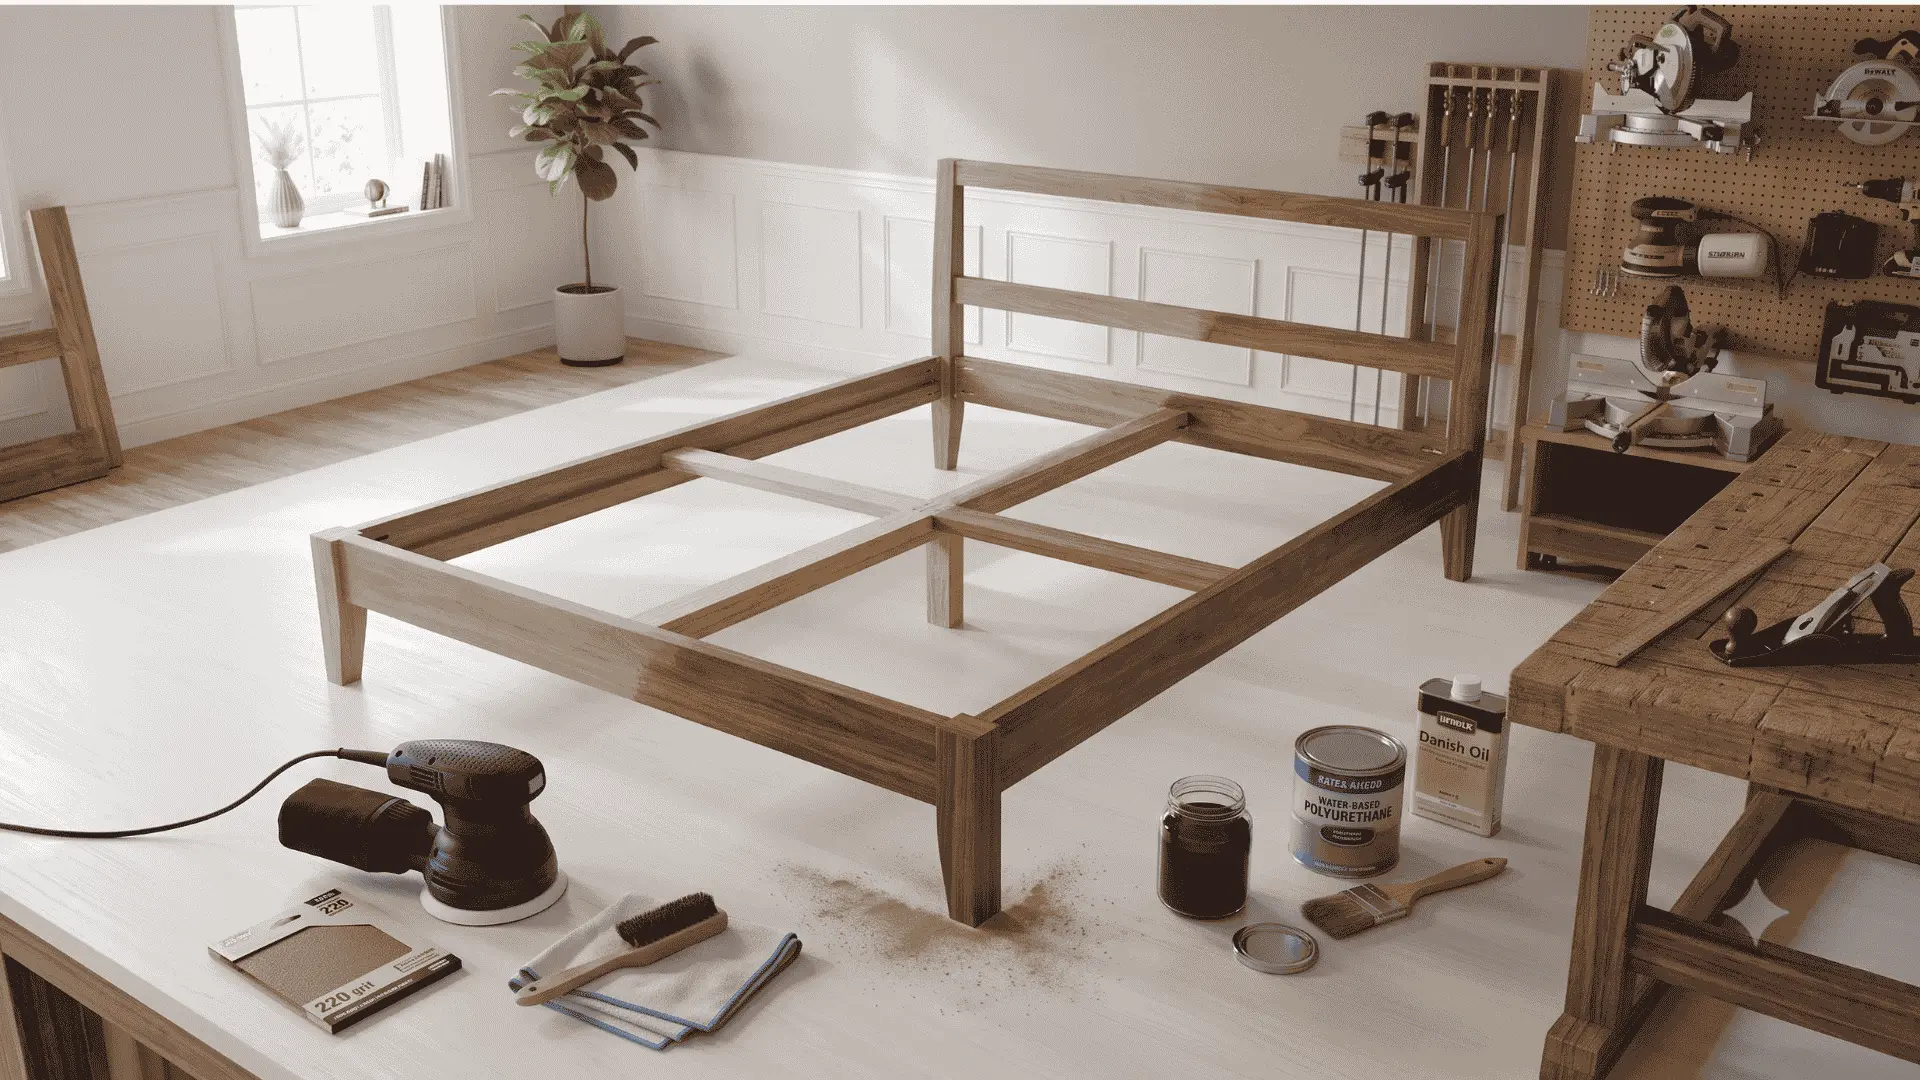
A complete sanding sequence is essential for achieving a flawless finish. Start with a belt sander to remove factory stamp markings and rough saw marks. Follow this with an orbital sander using 220 grit for a smooth, professional surface.
Final sanding with 220 grit is crucial. It ensures edges and ends are even, preventing rounded corners. Always remove sanding dust before applying any finish to allow for an even absorption of stain or oil.
Affordable Finishes: Water-Based Stains, Oils, and Paints
There are several affordable finishing options that deliver a premium look. Water-based finishes dry clear and do not yellow light woods. Danish Oil provides a natural, low-sheen appearance that enhances wood grain.
Consider custom stain blends, like mixing two parts Golden Oak with one part Classic Gray, for a unique look. Applying just one coat can create a subtle, even tone while keeping costs low.
Creating a High-End Appearance Without Overspending
You can achieve a high-end appearance without overspending by mixing your own stain colors. Using a single coat will help maintain a subtle tone. Choose woods like poplar or pine that have interesting color variations to add character to your design.
Maintenance Advice to Keep Your Bed Frame Looking Great
To maintain your bed frame’s appearance, regularly wipe down surfaces with a dry cloth. Avoid harsh cleaners that can damage the finish. For scratches, touch up with a matching stain or oil.
Periodically check screws and hardware for tightness to ensure stability. Protect the finish from mattress movement by ensuring slat screws are countersunk below the surface.
When applying finish, be sure to cover all parts of the bed frame, including the headboard, footboard, side rails, and slats. It’s best to finish these pieces before final assembly to avoid drips and ensure even coverage.
For those interested in exploring more finishing techniques and project ideas, Ted’s Woodworking offers a large collection of detailed woodworking plans, including schematics, materials lists, cutting diagrams, and step-by-step instructions.
| Finishing Technique | Benefits | Recommended Products |
|---|---|---|
| Sanding | Creates a smooth surface | Belt sander, orbital sander |
| Water-Based Finish | Dries clear, non-yellowing | Polycrylic, Minwax |
| Danish Oil | Enhances wood grain | Watco, General Finishes |
| Custom Stain Blends | Unique color options | Golden Oak, Classic Gray |
Build It Instead of Just Dreaming About It

Found a bed frame you love? Now get the detailed plan you need to turn the idea into a real project.
TedsWoodworking gives you access to 16,000+ woodworking plans with step-by-step instructions, detailed drawings, cutting lists, and materials lists.
👉 Explore TedsWoodworking & Find Your Next Build
Conclusion: Bringing Your DIY Wooden Bed Frame Plans to Life
Imagine crafting a personalized sleeping area that reflects your style and fits your budget. You have now explored various designs that cater to different tastes and skill levels. Each project offers clear guidance on size, difficulty, and materials, helping you select the right option for your needs.
Key construction lessons include building a strong structure with side rails, slats, and center supports. Keeping corners square during assembly is crucial, as is choosing the right joinery method. Practical finishing techniques, like sanding to 220 grit and using water-based finishes, will elevate your project’s appearance.
If you’re new to woodworking, starting with a beginner-friendly option is advisable. As you gain confidence, consider scaling up to larger sizes. Avoid common mistakes, such as shifting boards during assembly and skipping final sanding. For further guidance, Ted’s Woodworking offers a wealth of detailed plans to assist you on your journey.
Building your own sleeping solution is not just a rewarding project; it also saves money and allows for customization. The result is a beautiful piece of furniture you will enjoy for years to come.
FAQ
What materials do I need for building a bed frame?
You’ll need quality wood, screws, glue, and slats. Consider using side rails and a sturdy headboard for added support.
How do I choose the right size for my bed frame?
Measure your mattress dimensions first. Common sizes include twin, full, queen, and king. Ensure the frame fits snugly around your mattress.
What tools are essential for this project?
A saw, drill, measuring tape, and a level are crucial. You may also need a sander for finishing touches.
How can I ensure my bed frame is sturdy?
Use solid side rails and ensure slats are evenly spaced. Properly securing all parts with screws and glue enhances stability.
What finishing techniques can I use for a polished look?
Sand the surface for smoothness, then apply water-based stains or paints. These affordable finishes can give your project a high-end appearance.
Are there common mistakes to avoid when building?
Yes, ensure accurate measurements and avoid cutting corners on materials. Double-check your work to prevent structural issues.
How long does it typically take to build a bed frame?
Depending on your skill level and design complexity, it can take anywhere from a few hours to a couple of days.
Can I customize the design of my bed frame?
Absolutely! Feel free to add personal touches like unique headboards or footboards to match your bedroom decor.