Creating a beautiful DIY wooden serving tray is now within your reach, even if you’re new to woodworking. With just three basic power tools, you can craft a gorgeous tray. It makes a great handmade gift for anyone.
You don’t need fancy tools or extensive experience to get started. This beginner-friendly project is perfect for those looking to try their hand at woodworking. By following this guide, you’ll learn how to make a stunning wooden tray. It adds a touch of warmth to any gathering.
Key Takeaways
- Create a beautiful DIY wooden serving tray with just three basic power tools.
- This beginner-friendly project is perfect for those new to woodworking.
- Learn how to make a gorgeous tray that makes a great handmade gift.
- No fancy tools or extensive experience are needed to get started.
- Follow this guide to add a touch of warmth to your gatherings with your handmade tray.
Why Wooden Serving Trays Are Perfect First Woodworking Projects
Wooden serving trays are great for beginners in woodworking. They help you learn basic skills without needing complex tools or techniques.
Benefits of Starting with a Simple Tray Project
Starting with a simple tray project has many benefits. It helps you learn basic woodworking skills like measuring, cutting, and assembling wood.
Developing Basic Woodworking Skills
You’ll get to use important tools and learn how to work with wood. This includes how to sand and finish your project.
Quick Completion for Motivation
A simple tray project can be finished quickly. This gives you a sense of accomplishment and motivates you to try more challenging projects.
| Skill Developed | Description |
|---|---|
| Measuring and Cutting | Accurately measuring and cutting wood to size. |
| Assembling | Putting together the pieces to form the tray. |
| Sanding and Finishing | Smoothing out the wood and applying a finish. |
What You’ll Learn from This Project
By finishing this project, you’ll get hands-on experience with basic woodworking techniques. You’ll be ready to tackle more complex projects.
The Only 3 Tools You Need for This Beginner-DIY-Wooden-Serving-Tray-3-Tools Project

To make a beautiful wooden serving tray, you only need three tools. This makes the project perfect for beginners who want to try DIY woodworking.
Tool #1: Saw (Hand Saw or Circular Saw)
A saw is key for cutting wood. Beginners can pick a hand saw for control or a circular saw for speed. Choosing the right saw depends on your comfort level and the cuts you need to make.
Choosing the Right Saw for Beginners
Beginners often find a circular saw easier to use for straight cuts. But, if you like a manual approach, a hand saw is a good choice.
Safety Tips for Sawing
Always wear safety goggles and keep your area clean. Use a push stick with a circular saw for safety.
Tool #2: Sandpaper or Sanding Block
Sanding smooths out the wood. You can use sandpaper or a sanding block, based on your preference and the area.
Grit Selection Guide
Begin with a coarse grit (about 120) to remove rough spots. Then, move to finer grits (220 or higher) for a smooth finish.
Tool #3: Screwdriver or Drill
You’ll need a tool to drive screws for your tray. A manual screwdriver works for small projects. But a drill or battery-powered screwdriver makes it easier.
Manual vs. Power Options
A drill is more powerful and faster, great for big projects or hardwoods. But a manual screwdriver is enough for a simple tray.
Materials Shopping List for Your DIY Wooden Serving Tray
To make a beautiful and functional wooden serving tray, you’ll need a few essential materials. The right materials will make your project enjoyable and successful.
Wood Selection for Beginners
Choosing the right type of wood is key to your DIY wooden serving tray. As a beginner, pick wood that’s easy to work with and fits your skill level.
Pine vs. Oak vs. Maple
Pine, oak, and maple are popular for woodworking. Pine is soft, lightweight, and easy to cut, perfect for beginners. Oak is hard, durable, but harder to work with for newbies. Maple is hard, light-colored, and has a fine grain, ideal for a smooth finish.
Pre-Cut Options at Hardware Stores
Many hardware stores have pre-cut wood options. These can save you time and effort. Look for pre-cut boards that match your project’s dimensions.
Hardware and Fasteners
You’ll also need hardware and fasteners to assemble your tray. This includes screws, nails, and other hardware to hold your project together.
For this project, you’ll need 1-1/4″ pocket hole screws and a Kreg Jig for strong joints. A brad nailer with 1¼” brad nails is also necessary for assembling the tray.
Finishing Supplies
Finishing supplies are crucial to protect and enhance your wooden serving tray. You’ll need wood glue, face clamps, and a finish like stain or paint.
By choosing the right materials and following the instructions, you can create a beautiful and functional wooden serving tray. It will be a great addition to your home.
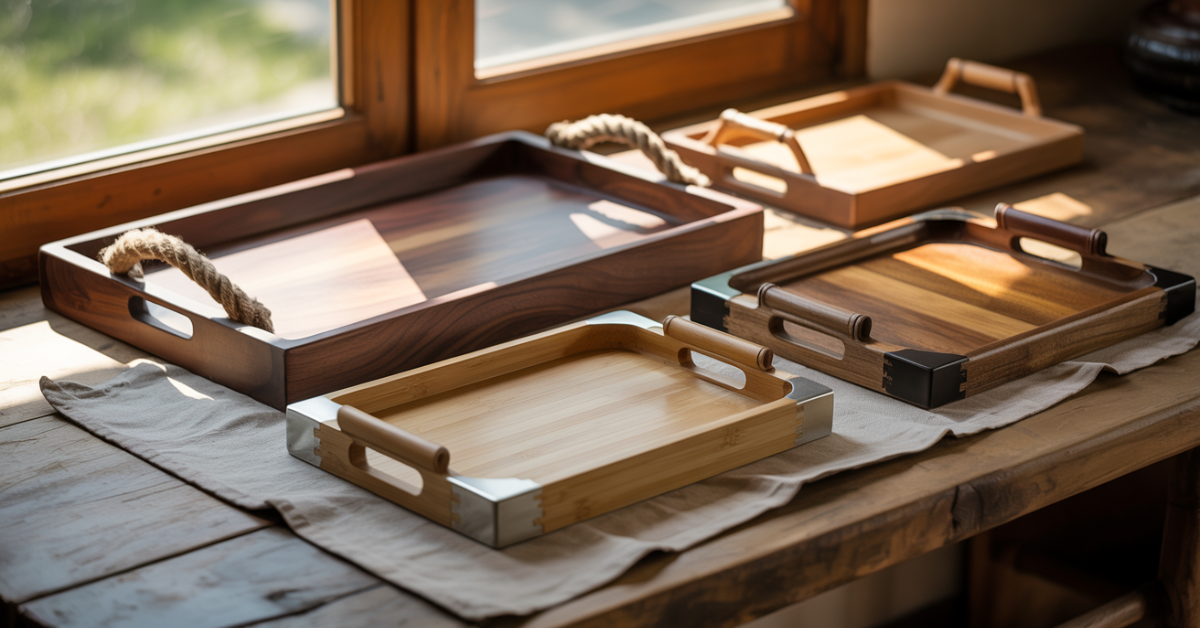
Designing Your Simple Wooden Tray Tutorial

Before you start cutting wood, take a moment to design your simple wooden tray. Think about both how it looks and how it works. This step is key to making a piece that looks good and is useful.
Standard Dimensions for Serving Trays
Serving trays usually are 12 to 18 inches long and 8 to 12 inches wide. Cutting a panel to 12 x 18 inches is a good start. The height can be 2 to 3 inches for the sides.
| Dimension | Typical Size |
|---|---|
| Length | 12-18 inches |
| Width | 8-12 inches |
| Height | 2-3 inches |
Design Variations
You can pick from many shapes for your tray, like rectangle, square, and oval. Each shape has its own charm. You can choose based on what you like or how you plan to use it.
Handle Options and Placement
Handles make your tray easier to carry. You can pick from many styles and place them on the sides or ends. This depends on your tray’s design and size.
Thinking about these design elements helps you make a DIY wooden tray that’s both useful and pretty. It’s great for serving or as a decorative item.
Preparing Your Workspace for Beginner Woodworking
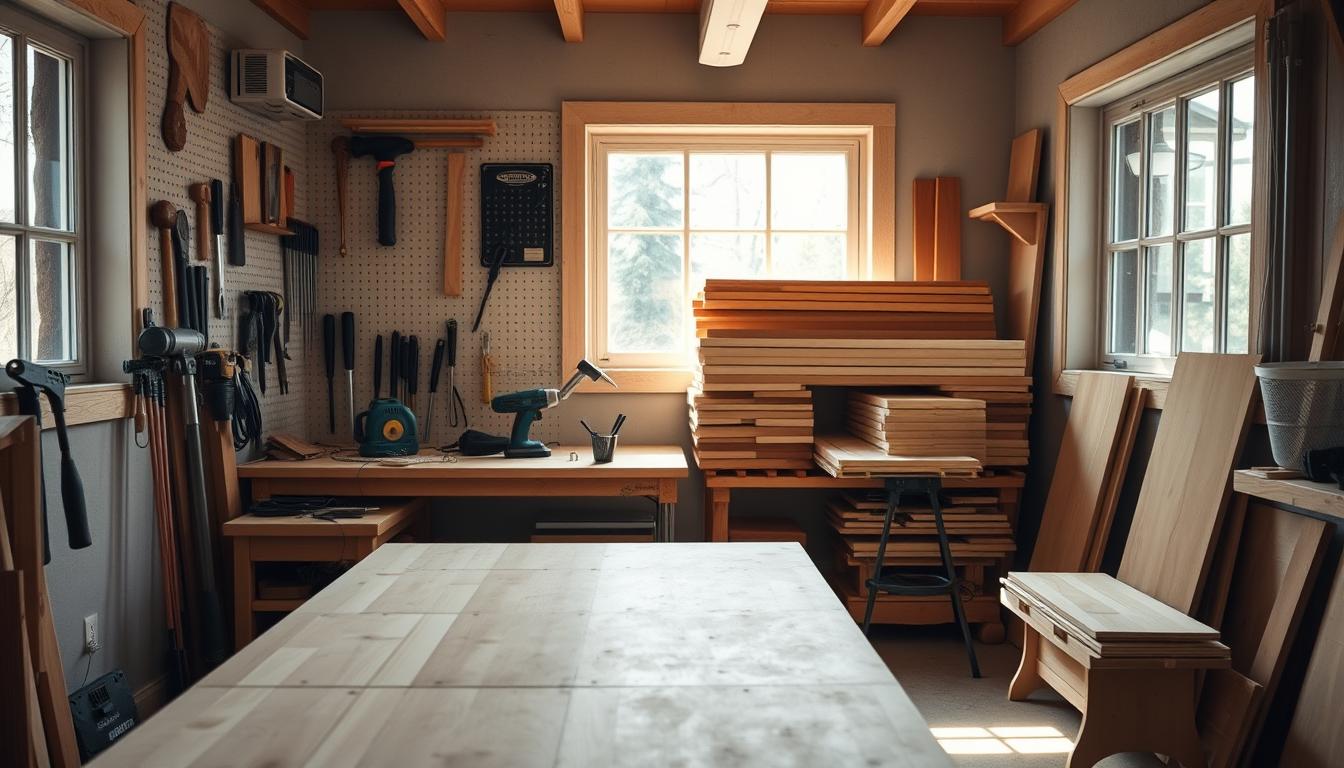
Setting up a safe and organised workspace is key for beginner woodworking. As you start your journey, a well-prepared space helps you stay focused and safe.
Creating a Safe Work Environment
Make sure your work area is clear and free from hazards. Keep tools organised and easy to find. Good lighting and air flow are also crucial.
Setting Up Your Materials and Tools
Organise your tools and materials in a way that makes sense. This helps you work better and keeps you safe. Use bins or containers for small items.
Using Household Surfaces as Workbenches
If you don’t have a workbench, use a sturdy kitchen table or countertop. Just cover it with plywood or cardboard to protect it.
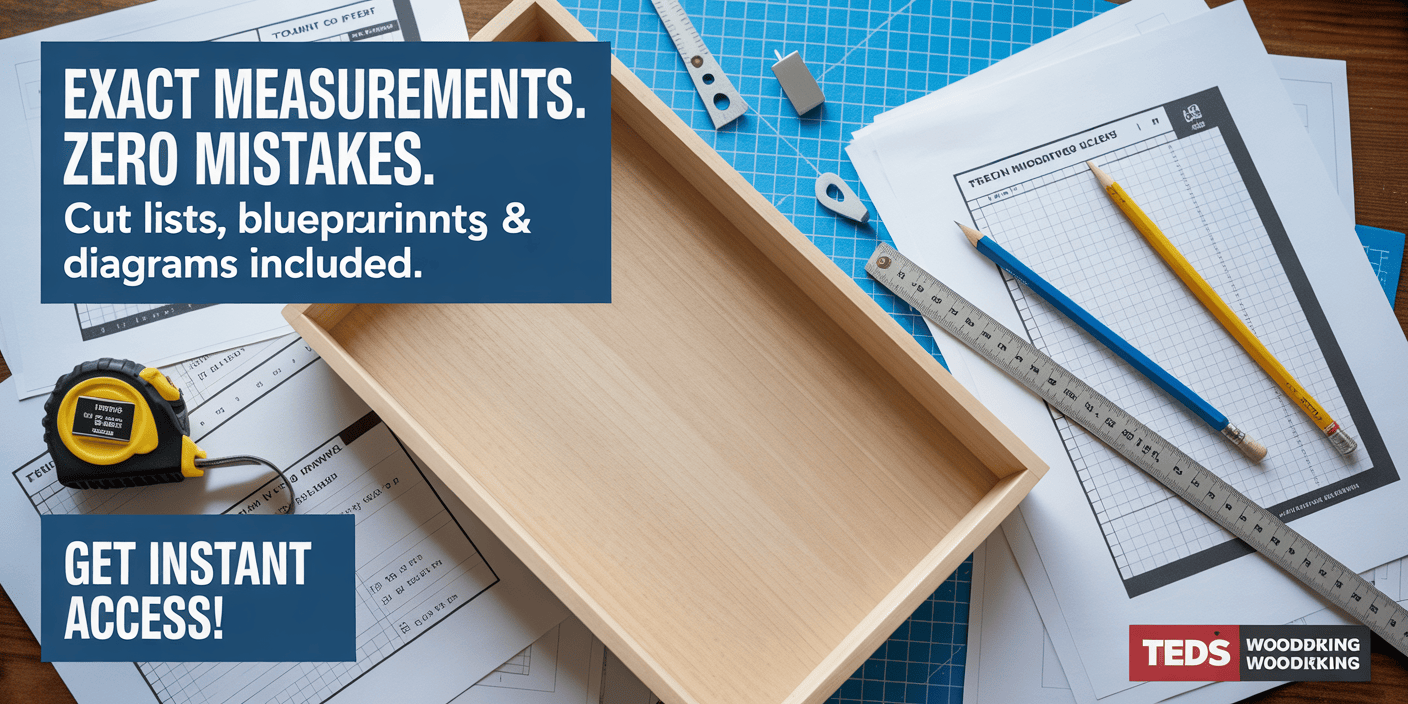
Step-by-Step Guide to Cutting Your Tray Pieces
Now that you have your tools and materials, let’s start cutting your tray pieces. Cutting is key in making your DIY wooden serving tray. With the right techniques, you can get professional-looking results.
Measuring and Marking Your Wood
First, measure and mark your wood for your design. Use a ruler or measuring tape for accuracy. Always double-check your measurements before cutting.
Tip: Mark your cut lines with a pencil. It’s easy to erase pencil marks if needed.
Using Household Items as Guides
You can use common items as guides for straight cuts. For example, a metal ruler or a straight edge works well. This is great for hand saw use.

Making Safe and Accurate Cuts
Always prioritise safety when cutting wood. Wear protective gear like safety glasses and a dust mask. To cut accurately, keep your saw steady and move it smoothly.
Remember: Slow, controlled cuts are better than rushing. This prevents accidents and uneven cuts.
Troubleshooting Common Cutting Issues
Even with careful planning, cutting issues can happen. If your cut is off, try sanding the edge. For bigger mistakes, you might need to change your cutting method or saw.
For beginners, practice on scrap wood first. This helps you improve your skills and gain confidence.
Sanding Techniques for a Professional-Looking Finish
To get a professional look on your DIY wooden serving tray, you need to master sanding. Sanding does more than just smooth out the surface. It prepares the wood for the finish, making your wooden serving platter diy project shine.
Progressive Sanding Approach
For a smooth finish, use a progressive sanding method. Start with coarse-grit sandpaper (120-150 grit) and move to finer grits (220-240 grit or higher). Begin with the coarsest grit your wood needs, sanding with the wood grain to avoid scratches.
- Start with 120-150 grit sandpaper to remove rough spots or imperfections.
- Move to 220-240 grit for a smoother finish.
- For an ultra-smooth finish, finish with 320 grit or higher.
Smoothing Edges and Corners

Edges and corners need extra care to avoid splintering or roughness. Use a sanding block for flat edges and hand sanding for corners and curved edges. This keeps your easy woodworking for beginners project smooth.
Hand Sanding vs. Block Sanding
Hand sanding and block sanding each have their place. Block sanding works well for flat surfaces, offering even pressure. Hand sanding is better for curved surfaces or corners, where you need flexibility.
When to Know Your Tray is Properly Sanded
Your tray is ready when it feels smooth to the touch and has no scratches or imperfections. Check by running your hand over the surface. If it’s smooth and even, you can finish with your wooden serving platter diy.
Assembling Your Wooden Serving Tray
Now that you’ve cut and sanded your pieces, it’s time to put your tray together. This step is key to bringing your project to life. With the right steps, you’ll get a professional finish.
Base Assembly Instructions
Begin by building the tray’s base. Use wood glue to attach the top boards. For extra stability, you can add finish nails. But think about how they’ll look on top.
Attaching the Sides
After the base is set, attach the sides. Use wood glue and 1-1/4″ pocket hole screws for strength. This method creates a solid bond between the base and sides.
Alignment Tips for Beginners
To align properly, check that the sides match the base. Clamp the pieces together while screwing. This keeps everything square and prevents mistakes.
Adding Handles to Your Tray
Next, add handles for easy carrying. Where you place them matters for looks and function. Put them on both sides and secure with screws or hardware.
By following these steps, you’ll make a beautiful wooden serving tray. It’s a great DIY wooden tray tutorial for beginners. With practice, you’ll be ready for more challenging projects.
Finishing Options for Your Easy Wooden Serving Tray
The finishing process is key to completing your easy woodworking project. It makes your tray both useful and good-looking. You have many options for finishing your wooden serving tray.
Food-Safe Finishes for Serving Trays
It’s important to pick a finish that’s safe for food. Food-safe finishes are non-toxic and last long.
Mineral Oil and Beeswax Options
Mineral oil and beeswax are a great choice. They’re easy to put on and look natural. Mineral oil feeds the wood, and beeswax protects it.
| Finish Type | Characteristics | Application Ease |
|---|---|---|
| Mineral Oil | Nourishes wood, non-toxic | Easy |
| Beeswax | Protective layer, natural look | Moderate |
| Polyurethane | Durable, water-resistant | Moderate to Hard |
Staining vs. Natural Wood Look
You can stain your tray for color or keep it natural. Staining can make the wood look better, but it needs careful use to avoid uneven color.
Application Techniques for Beginners
Beginners should start with simple techniques. Sand your tray well, then apply your finish as the maker says. Use a cloth or brush to spread it evenly.
By following these steps, you can get a professional finish on your wooden serving tray. It will be both beautiful and useful in your home.
Maintaining and Caring for Your DIY Wooden Tray
Keeping your wooden serving tray in top shape is simple. Just clean it often, refresh the finish when needed, and prevent warping and damage. This will keep it looking great for a long time.
Cleaning Your Wooden Serving Tray
To clean your tray, just use a damp cloth. Stay away from harsh chemicals and abrasive cleaners. They can harm the finish. For stubborn stains, a mild soap solution works, but dry it well afterwards.
Refreshing the Finish Over Time
The finish on your tray might wear off over time. To fix this, you need to reapply a food-safe finish. Make sure to follow the instructions for application and drying times carefully.
Preventing Warping and Damage
To stop warping, keep your tray out of direct sunlight and moisture. Use coasters or placemats under items that might leak or sweat. Also, check your tray often for wear and fix it quickly to make it last longer.
| Maintenance Task | Frequency | Tips |
|---|---|---|
| Cleaning | After each use | Use a damp cloth, avoid harsh chemicals |
| Refreshing Finish | As needed | Look for signs of wear, and address promptly |
| Inspecting for Damage | Regularly | Look for signs of wear, and address them promptly |
✅ Want to Build More Stunning Wooden Projects Like This?

🔥 Get Access to 16,000+ “Done-for-You” Woodworking Plans from Ted’s Woodworking – Perfect for Beginners to Pros!
Why Ted’s Woodworking is a Game-Changer:
- 🪵 16,000+ step-by-step project plans (yes, including trays, furniture, and small crafts!)
- 📏 Detailed cut lists, 3D schematics & diagrams – no guesswork
- 🧰 Beginner-friendly – no fancy tools or large workshops needed
- 🎥 Bonus: 150 premium woodworking videos & guides included
- 🛠️ Custom plans drafted for your unique ideas
- 🏆 One-time payment – Lifetime Access (No monthly fees!)
🎯 Whether you’re upgrading your DIY game or planning to sell handcrafted trays…
👉 This is the only plan collection you’ll ever need!
🎁 Special Offer – Only $67 Today
➡️ 🔨 Get Instant Access to Ted’s 16,000 Woodworking Plans Now »
Conclusion: Your Gateway to Woodworking Success
You’ve finished your beginner-friendly DIY wooden serving tray project. This is a great start to woodworking. You’ve learned important skills that will help you with future projects.
Exploring more beginner-friendly DIY woodworking projects will open up new creative possibilities. You’ve learned how to measure, cut, sand, and assemble. Don’t be shy to try new things in your woodworking journey.
For more ideas and guides, check out BuildSomething.com. It has detailed plans and inspiration for your next project. With each project, you’ll get better and unlock more woodworking possibilities.
Now, it’s time to plan your next woodworking project. Enjoy the journey and happy building!
FAQ
What are the benefits of starting with a simple wooden serving tray project?
Starting with a simple wooden serving tray project helps you learn basic woodworking skills. It boosts your confidence and gives you a sense of accomplishment. You can finish it quickly.
What tools do I need for this beginner DIY wooden serving tray project?
You’ll need three key tools: a saw (hand saw or circular saw), sandpaper or a sanding block, and a screwdriver or drill.
How do I choose the right wood for my serving tray?
Beginners should pick straight-grained woods like pine, poplar, or cedar. These woods are affordable and easy to work with.
What are the standard dimensions for a serving tray?
Serving trays usually come in sizes from 12×18 inches to 18×24 inches. The size depends on how you plan to use it.
How do I ensure my workspace is safe for woodworking?
To make your workspace safe, clear the area of clutter. Make sure it’s well-lit. Keep tools and materials organised and easy to reach.
What sanding techniques should I use for a professional-looking finish?
Start with coarse-grit sandpaper and move to finer grits. This progressive sanding will give you a smooth finish.
How do I assemble my wooden serving tray?
First, build the base. Then, attach the sides. Lastly, add handles. Make sure everything is aligned and securely fastened.
What finishing options are available for my wooden serving tray?
You can use food-safe finishes, stain, or keep the wood natural. Choose a method that’s easy for beginners.
How do I maintain and care for my DIY wooden tray?
Clean your tray often. Refresh the finish when needed. Avoid extreme temperatures and moisture to prevent damage.
Can I use this project as a starting point for more complex woodworking projects?
Yes, this beginner-friendly project can lead to more complex woodworking. It helps you build skills and confidence.


Pingback: DIY Farmhouse Wooden Tray with Handles (Perfect Coffee Table Decor)
Pingback: wooden tool box with handle diy
Pingback: DIY Wooden Containers for Kitchen: Step-by-Step Guide