Are you tired of cluttered living spaces? A wooden wall rack can help. It’s a simple way to make your home look better and add storage.
Building your own wall rack lets you choose between modern and rustic styles. This way, you can match it perfectly with your home’s look. We’ll show you how to make your dream wooden wall rack with easy plans and steps.
Key Takeaways
- Learn how to create a customised wooden wall rack to suit your home decor.
- Discover the benefits of adding wooden shelves to your living space.
- Explore modern and rustic design options for your DIY project.
- Understand the steps involved in building your own wall rack.
- Find out how a wooden wall rack can help declutter your home.
Why Build a Wooden Wall Rack for Your Home
Building a wooden wall rack is a fun DIY project. It adds storage and makes your home look better. A good wall rack keeps things organised and makes your space look nicer.
Functional Benefits of Custom Wall Storage
Custom wall storage, like a wooden rack, makes your home more functional. It gives a place for things like keys, bags, or decorations. This helps keep your home clean and clutter-free.
A wooden shelf organiser can be made just for you. It makes it easy to find what you need quickly.
Aesthetic Appeal of Handcrafted Wooden Pieces
Handcrafted wooden pieces add a special touch to your home. The natural beauty of wood and the personal touch of DIY make your rack stand out. You can choose from many designs, from modern to rustic, to match your style.
Essential Tools and Materials for Your DIY Wall Rack Project
To make a wooden wall rack that looks good and works well, you need the right tools and materials. The right tools make the project easier and ensure your rack is strong and looks great.
Must-Have Tools for Woodworking Success
You’ll need basic tools for woodworking. A table saw, or circular saw, cuts wood, a drill press drills accurately, sandpaper smooths surfaces, and clamps hold pieces together. Quality tools mean cleaner cuts, better joints, and a professional look.
Selecting the Right Wood Types for Different Styles
The wood you pick affects your wall rack’s style and strength. Oak or maple gives a modern look. Reclaimed or distressed wood adds a rustic or vintage feel. Knowing about different woods helps you choose the right one for your design.
| Wood Type | Style | Characteristics |
|---|---|---|
| Oak | Modern | Durable, light color |
| Reclaimed Wood | Rustic | Unique texture, aged appearance |
| Maple | Contemporary | Light color, smooth grain |
Additional Hardware and Supplies Checklist
You’ll also need hardware and supplies to finish your project. This includes wall anchors, decorative brackets, and finishes like stain or polyurethane. Having a detailed checklist helps you prepare for every step.
“Measure twice, cut once” is a mantra that every woodworker should live by. Accuracy is key to a successful project.
Choosing the right tools and materials is crucial for a beautiful and useful DIY wall rack. It will make your home look better.
Planning Your Wooden Wall Rack Project
Planning is key when making a wooden wall rack. It ensures your rack is both useful and looks good. A good plan makes your project successful.
Measuring Your Space and Determining Dimensions
First, measure the spot for your wall rack. Accurate measurements are vital for a perfect fit. Think about the area’s width, height, and depth.
Weight Considerations and Load-Bearing Requirements
Next, think about the weight of items for your rack. Also, check your wall’s load-bearing capacity. This helps pick the right hardware and wood thickness.
Sketching Your Design and Creating a Cut List
After planning, draw your design. Include all parts and make a cut list. This step is key to efficient woodworking and less waste.
By following these steps, you’re ready to build your wooden wall rack. It will meet your needs and fit your space well.
Safety Considerations for DIY Woodworking Projects

When you’re working on DIY woodworking projects, safety comes first. Woodworking uses power tools and sharp objects, which can be dangerous if not used properly. It’s important to make sure your workspace is safe to avoid accidents and injuries.
Essential Safety Gear and Equipment
Always wear safety gear like safety glasses, ear protection, and a dust mask when using power tools. Also, have a first aid kit nearby in your workshop. Wearing long sleeves and closed-toe shoes can also protect you from harm.
Safe Tool Handling Practices
Knowing how to handle tools safely is crucial. Always read the tool’s instructions and get familiar with it before using it. Keep your tools in good condition and use them for their right purpose. Never use a tool that is damaged or not working properly.
Workshop Setup for Accident Prevention
A tidy workshop helps prevent accidents. Make sure your workspace is bright and clean. Organise your tools and materials, and keep your work area free of clutter. Installing a dust collection system can also help reduce sawdust and prevent slipping.
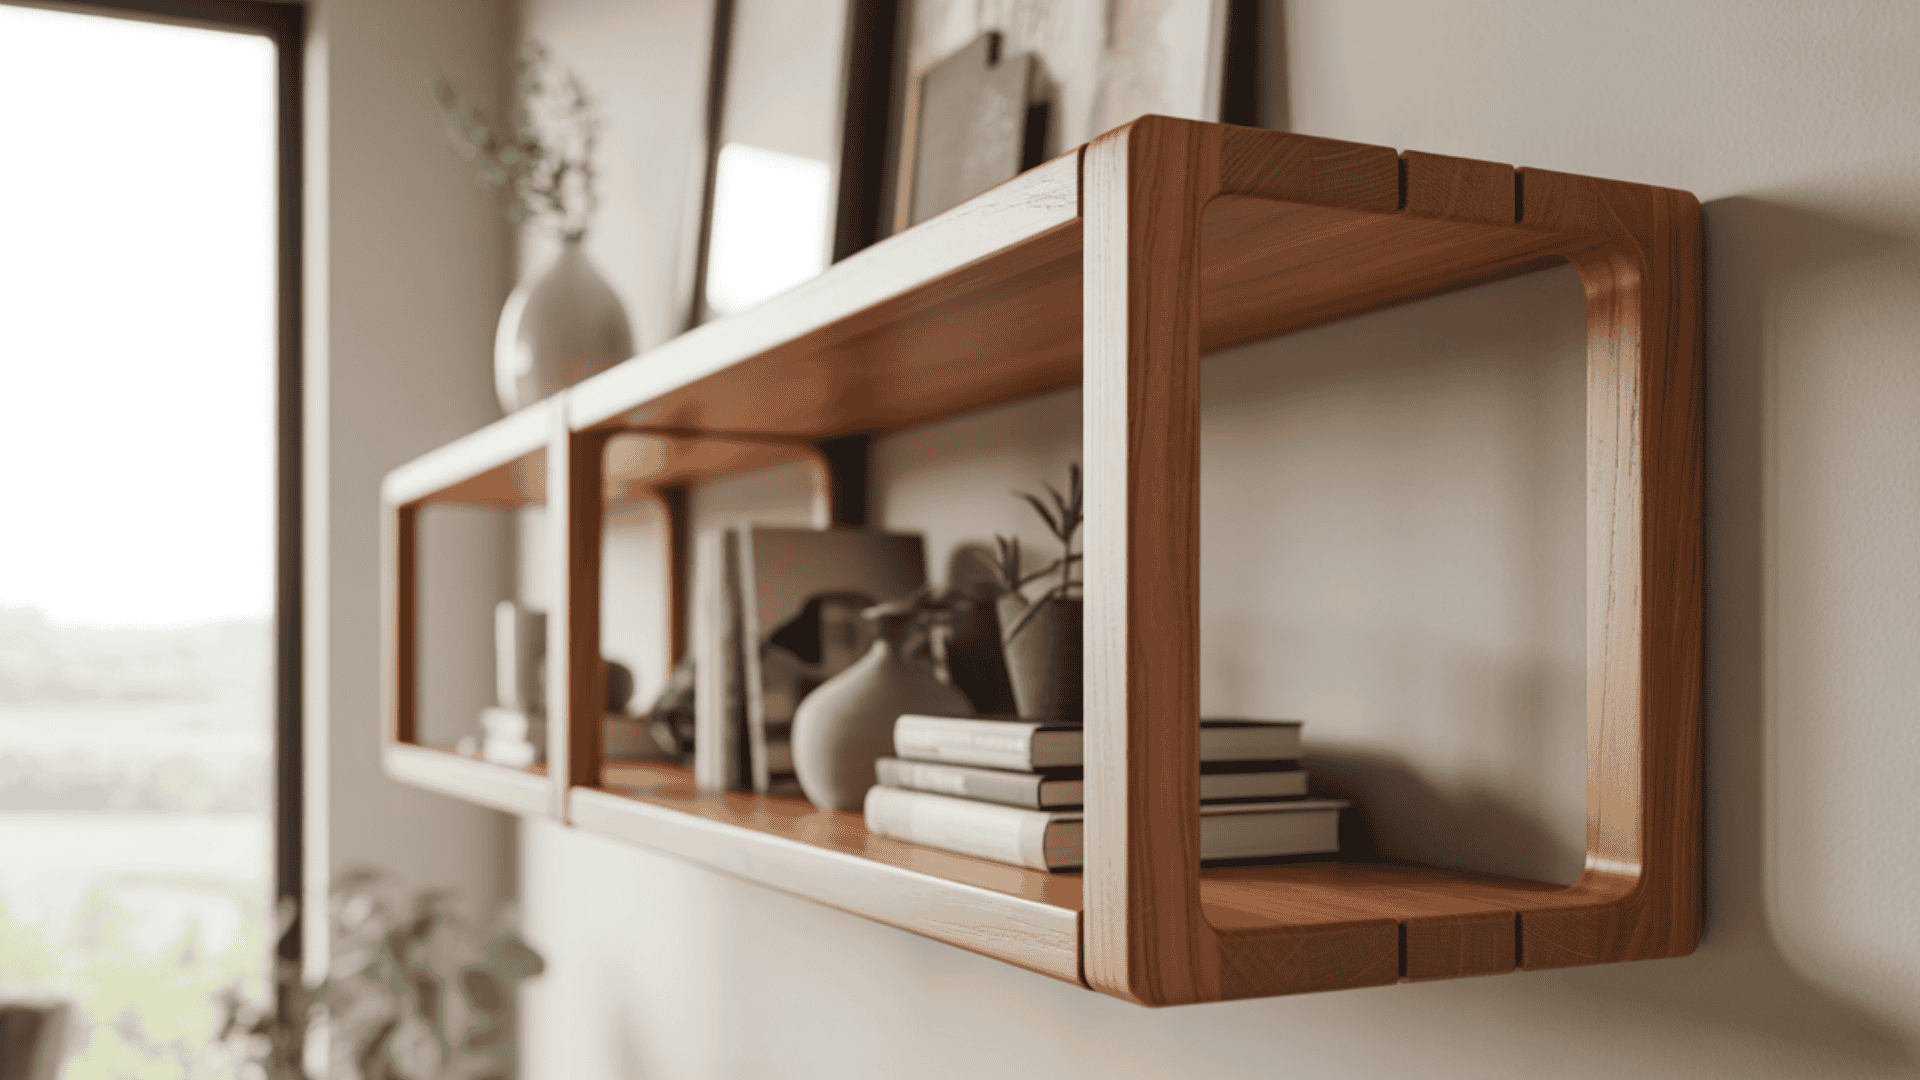
Modern Wooden Wall Rack Designs and Inspiration
Modern wooden wall racks are more than just places to store things. They can make any room look better. You’ll see that they mix style with usefulness in many ways.
Minimalist Floating Shelf Concepts
Minimalist floating shelves are great for those who like simple, clean spaces. They look like they’re floating because of their sleek design. Use high-quality woods like oak or maple, and choose simple hardware or hidden mounts.
Geometric and Angular Modern Rack Styles
Geometric and angular designs make a bold statement. They add a sophisticated touch to your walls with their unique shapes. Try different wood types and finishes to make it your own.
Contemporary Materials Pairings
Pairing different materials can lead to a unique wooden wall rack. Mixing wood with metal or glass adds interest. For example, a reclaimed wood shelf with metal brackets creates a striking contrast.
Exploring these modern designs will inspire you to make a wooden wall rack. It will not only store your things but also beautify your home.
Rustic Wooden Wall Rack Styles and Ideas

Rustic wooden wall racks are more than just useful; they make a bold statement in home decor. They mix natural beauty with practicality, making them a favourite for adding character to homes.
Reclaimed Wood and Weathered Finishes
Reclaimed wood is a key feature of rustic design, adding history and depth to your rack. Weathered finishes give it a worn, aged look that fits well with rustic and farmhouse styles. You can distress the wood or use a weathered stain to get this look.
Farmhouse-Inspired Wall Organisation
Farmhouse-inspired wall racks are great for those who prefer simple, functional country decor. These designs have clean lines, little ornamentation, and focus on storage and organisation. Adding metal brackets or vintage hardware can enhance the farmhouse look.
Natural Edge and Live Edge Shelf Designs
Consider a natural edge or live edge shelf for a unique piece. These designs keep the wood’s natural edge, showing the tree’s original shape. They bring an organic, earthy feel to your decor, making a stunning focal point.
When making your rustic wooden wall rack, think about your space’s style and theme. Whether it’s reclaimed wood, farmhouse designs, or natural edge shelves, your rack will be a beautiful, useful part of your home.
Step-by-Step Guide to Build a Wooden Wall Rack: Modern Design
Building a wooden wall rack with a modern design is easy if you have basic carpentry skills. This guide will help you make a sleek and useful wall rack. It will improve storage and style in any room.
Preparing and Cutting Your Wood Pieces
The first step is to prepare and cut your wood pieces. Accurate measurements are crucial for a perfect fit. Use a high-quality tape measure and a sharp pencil for marking cuts.
If you’re using a table saw or circular saw, follow all safety guidelines to avoid accidents.
Woodworking expert Norm Abram says, “The key to a successful woodworking project is in the preparation.”
“Measure twice, cut once” is a mantra that can save you from costly mistakes.

Assembly Techniques for Clean Lines and Joints
Assembling your wall rack needs careful attention for clean lines and strong joints. Use wood glue and appropriate fasteners like screws or nails. For a modern look, consider dovetail or dado joints for strength and sophistication.
- Use clamps to hold pieces in place while the glue dries.
- Pre-drill holes for screws to avoid splitting the wood.
- Sand the assembled rack to smooth out any rough edges or surfaces.
Finishing Touches for a Contemporary Look
The finish of your wall rack greatly affects its look and durability. For a contemporary look, apply a clear coat of polyurethane or a matte finish. This protects the wood and highlights its natural beauty. Sanding between coats is key to a smooth finish.
“A well-finished piece of furniture is not just visually appealing but also reflects the quality of your craftsmanship,” notes furniture maker, Gary Rogowski.
How to Build Your Own Wooden Wall Rack with Rustic Appeal

Building a wooden wall rack is a great DIY project for adding rustic charm. It not only offers extra storage but also decorates your home beautifully.
Working with Reclaimed or Distressed Wood
For a real rustic look, use reclaimed or distressed wood. Reclaimed wood has a unique history that adds depth. Check it for damage and clean it well before starting.
Distressed wood can be made by sanding or using a wire brush. This creates a worn look.
“Using reclaimed wood is not just about creating a piece of furniture; it’s about telling a story,” says woodworking expert John Smith. “Each piece of reclaimed wood has its own history, and when used in a project, it brings that history into your home.”
Joinery Methods for Rustic Character
The joinery method you choose affects the rack’s rustic look. Use mortise and tenon, dovetail, or butt joints for strength and authenticity. Visible joinery or metal straps add a rustic touch.
- Mortise and tenon joints for a traditional look
- Dovetail joints for added strength and visual appeal
- Butt joints with decorative metal straps for a rustic touch
Ageing and Weathering Techniques
To boost the rack’s rustic appeal, try ageing and weathering techniques. Use weathered wood finishes or distressed paint. Wood ageing solutions can also give it a vintage look.
As Rick Rogers, a renowned woodworker, notes, “Ageing and weathering techniques can transform a simple wooden wall rack into a piece that looks like it’s been around for decades.”
By following these tips, you can make a wooden wall rack that’s both beautiful and functional. It will add rustic charm to your home.
Mounting and Installation Best Practices
To make sure your wooden wall rack works well and is safe, follow these mounting and installation best practices. A good installation needs a few important things. These include knowing your wall type and the rack’s weight limit.
Finding and Marking Wall Studs
Finding the wall studs is key to a strong installation. Use a stud finder to spot the studs behind your wall. After finding a stud, mark it with a pencil. This mark will help when you drill.
Proper Hardware for Different Wall Types
The right hardware depends on your wall type. For drywall, use drywall anchors for extra support. For concrete or brick, choose masonry anchors or screws made for these materials.
Ensuring Your Rack is Level and Secure
To make sure your rack is level, use a spirit level during installation. Check that the rack is well attached to the wall studs. This keeps it from tipping or falling, making it safe and useful.
Finishing and Protecting Your Wooden Wall Rack

Finishing and protecting your wooden wall rack is key to its long life. A well-finished rack looks great and keeps the wood safe from harm.
Sanding Techniques for a Professional Finish
Begin by sanding your rack with coarse-grit sandpaper (120-150 grit) to get rid of any flaws. Then, move to finer grits (220-240) for a smooth finish. Always sand with the wood grain to prevent scratches.
Stain Options for Different Wood Types
The right stain depends on your wood type. Oak and pine work well with oil-based stains. Maple and cherry might need water-based stains. Always test the stain on a small area first.
Eco-Friendly Sealants and Protective Coatings
Use eco-friendly sealants like beeswax or plant-based polyurethane to protect your rack. These options are good for the planet and last long. Apply thin coats, letting each dry before adding the next.
By using these sanding techniques and the right stain and sealant, you can protect your wooden wall rack. It will stay beautiful in your home for many years.
Customisation Ideas to Make Your Wall Rack Unique
Customising your wall rack adds a personal touch to your home. By adding unique features, it can stand out and meet your needs better.
Adding Hooks, Pegs, or Additional Features
Adding hooks or pegs can make your wall rack more useful. It’s great for hanging jackets, bags, or accessories. You could also add a small drawer or shelf for more storage. For example, a wall rack with hooks is perfect for organising your entryway.
Incorporating Lighting Elements
Lighting can completely change a room’s feel. You can put LED strip lights under the shelf or add small spotlights. This adds a modern look and makes the room feel warm and welcoming.
Personalisation with Carvings or Inlays
Carvings or inlays can make your wall rack truly unique. Choose designs that match your style or complement your decor. For instance, a wooden rack with a carved monogram can be a stunning centrepiece.
| Customization Idea | Description | Benefit |
|---|---|---|
| Adding Hooks or Pegs | Enhance functionality by hanging items | Increased storage for accessories |
| Incorporating Lighting | Add LED lights or spotlights | Modern look and ambient lighting |
| Carvings or Inlays | Personalize with unique designs | Aesthetic appeal and personal touch |
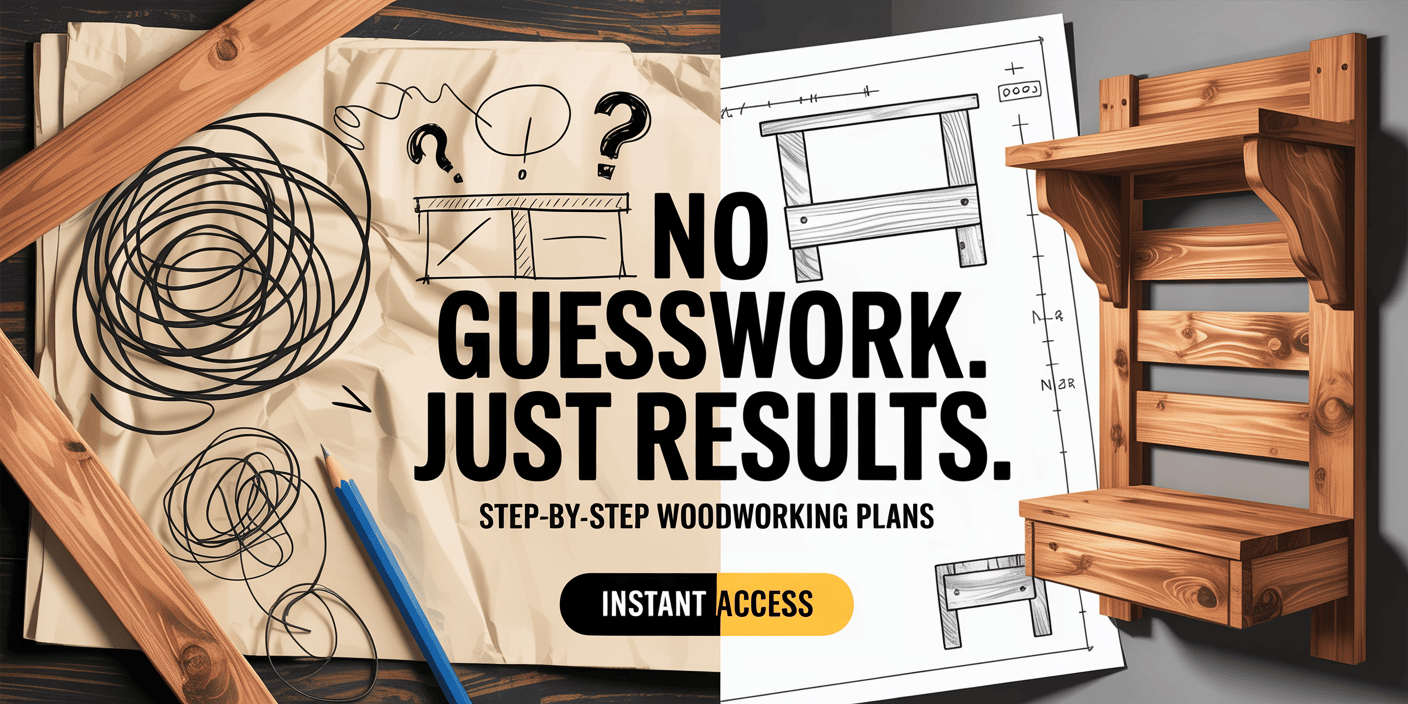
Want More DIY Wood Projects Like This?
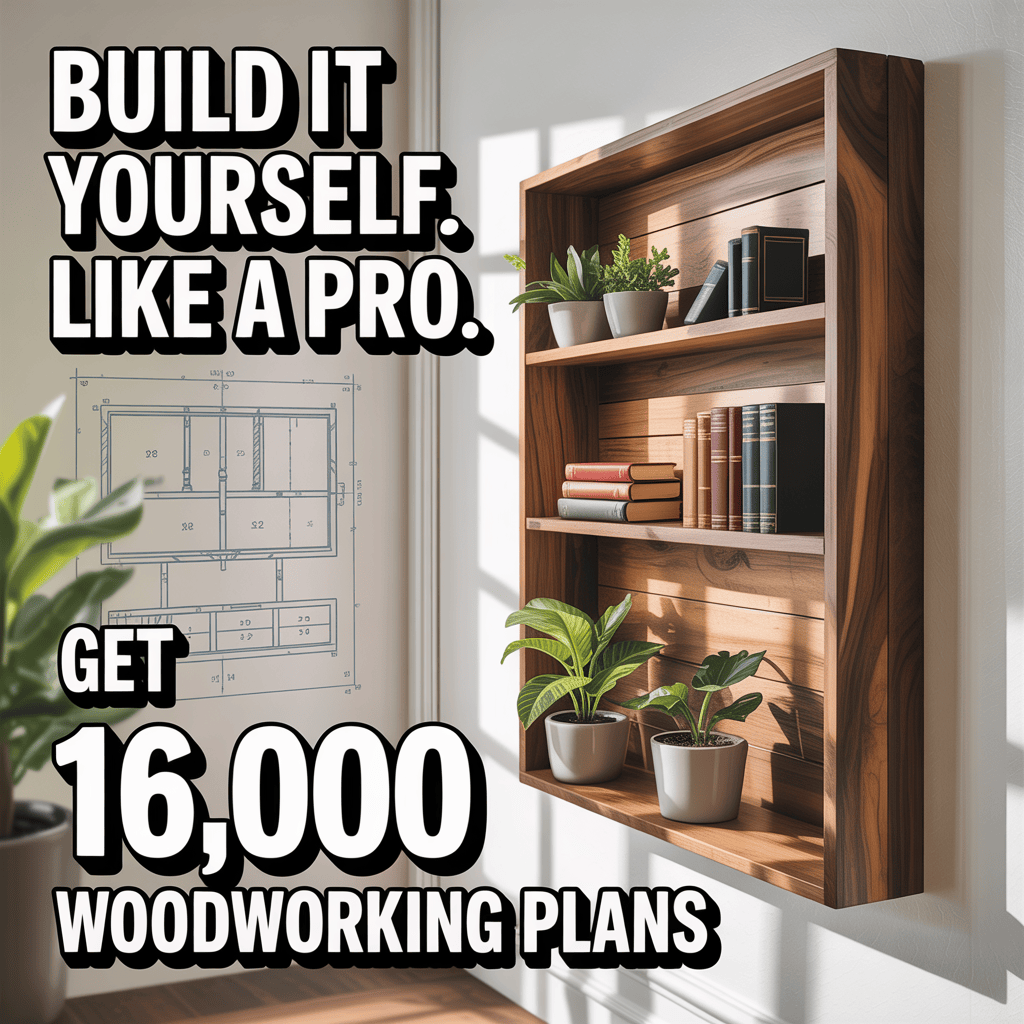
If you enjoyed building this wooden wall rack, imagine having step-by-step plans for 16,000+ woodworking projects—all ready to build.
⭐ Why Woodworkers Love Ted Woodworking:
- ✅ 16,000 done-for-you woodworking plans (beginner to pro)
- ✅ Exact measurements, cut lists & diagrams — zero guesswork
- ✅ Perfect for small workshops & basic tools
- ✅ Wall racks, shelves, furniture, storage & more
- ✅ Lifetime access + FREE monthly new plans
- ✅ One-time payment with 60-day money-back guarantee
🔥 Stop guessing. Start building professional-quality projects the smart way.
👉 Click here to get instant access to Ted Woodworking and build with confidence today
(Limited-time offer • No monthly fees • Instant download)
Conclusion: Enjoying Your Handcrafted Wooden Wall Rack
Making a handcrafted wooden wall rack is a fulfilling journey. It fills you with pride and a sense of accomplishment. By following the steps in this article, you’ve created something both useful and unique.
Your wooden wall rack improves your space’s organisation and adds warmth. It can be modern or rustic, making it a standout piece. It’s a reflection of your skill and a source of pride.
Looking at your finished wall rack, remember its true value. It’s not just about how it works. It’s about the joy of making it and the happiness it brings you. Cherish the process and the joy of using your creation.
FAQ
What type of wood is best for building a wooden wall rack?
The best wood for a wooden wall rack depends on your style and needs. Oak, maple, or cherry are good for a modern look. Reclaimed or distressed wood works well for a rustic feel.
What tools are required for a DIY wall rack project?
You’ll need a table saw, a mitre saw, drill press, sandpaper, and a drill for a DIY wall rack. You might also need a router, jigsaw, or clamps, depending on your design.
How do I ensure my wooden wall rack is level and secure?
Use a level tool to check if your rack is straight. Then, attach it to wall studs with screws or brackets for stability.
Can I customise my wooden wall rack with additional features?
Yes, you can add hooks, pegs, or lights to your rack. You can also carve or add inlays for a personal touch.
How do I protect my wooden wall rack from damage?
Apply stain or sealant to protect your rack. Use eco-friendly coatings and clean it regularly to avoid damage from dirt.
What are some common mistakes to avoid when building a wooden wall rack?
Avoid mistakes like wrong measurements and poor finishing. Always follow safety rules and best practices for a professional finish.
Can I build a wooden wall rack with reclaimed or recycled wood?
Yes, using reclaimed or recycled wood adds character and sustainability. Consider old pallets, crates, or salvaged lumber for your project.
How do I choose the right hardware for my wooden wall rack?
Pick hardware that fits your rack’s style and weight. Use screws, brackets, or French cleats for wall attachment. Make sure it’s right for your wall type.

