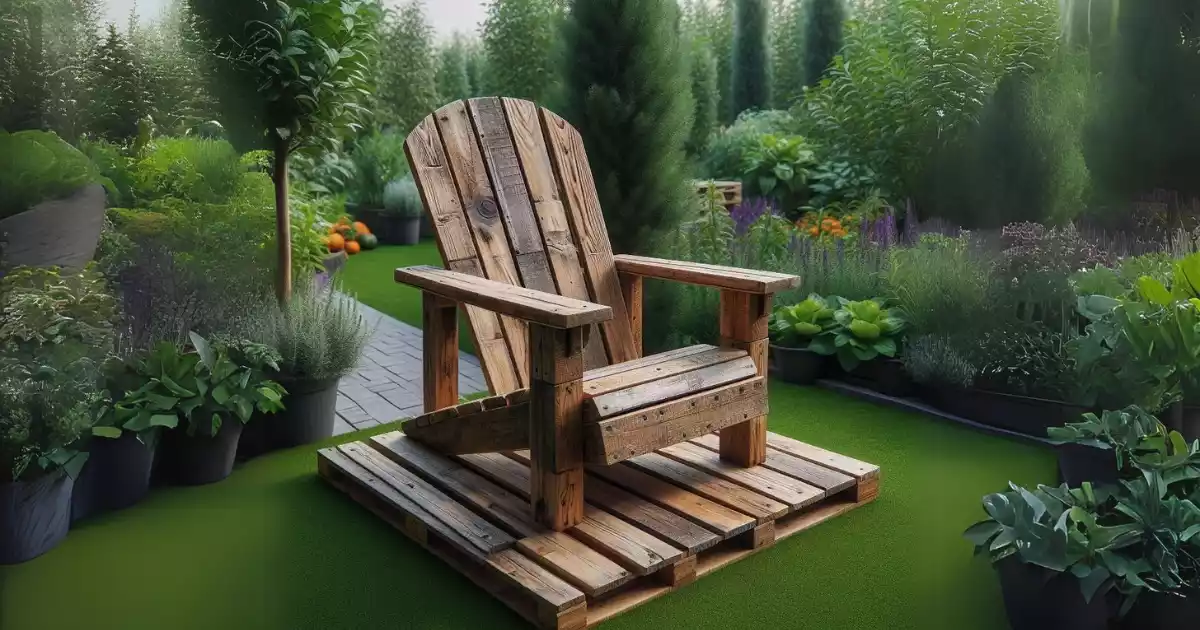
Did you know that only about one in ten pallets is good for DIY Adirondack chairs? But, with some creativity and hard work, you can turn these wooden structures into beautiful outdoor seats. Welcome to the world of making Adirondack chairs from pallets. It’s a cheap and green way to make your patio or garden look rustic.
Making Adirondack chairs from pallets lets you reuse materials and feel proud of your handiwork. This guide will help you, whether you’re a pro at woodworking or just starting. You’ll learn how to turn old pallets into lovely, useful Adirondack chairs.
We’ll show you how to find the right pallets and how to build them. Get ready to show off your design skills and give new life to old pallets. You’ll add a rustic elegance to your outdoor space.
Key Takeaways
- Discover the secrets to sourcing the perfect pallets for your Adirondack chair project.
- Learn how to disassemble pallets efficiently and maximise the usable materials.
- Understand the essential tools and materials needed to build Adirondack chairs from pallets.
- Master the step-by-step techniques for cutting, measuring, and assembling the chair components.
- Explore creative ways to add a unique, pallet-inspired touch to your Adirondack chairs.
The Low-down on Pallets
Pallet fans, rejoice! These common wooden platforms come in many shapes, sizes, and materials. They’re perfect for DIY projects like making Adirondack chairs. Pallets are easy to find, often for free. But working with them can be tricky. Let’s explore the different types of pallets, where to find them, and the challenges you might face.
Pallet Varieties and Availability
Pallets are made from various woods, like softwoods (pine) and hardwoods (oak). Their sizes and builds differ, with the typical North American pallet being 48 inches by 40 inches. Many businesses give them away for free or at a low cost. This makes pallets a great, affordable choice for DIY projects.
Challenges of Working with Pallets
Working with pallets has its ups and downs. Taking them apart can be hard work, as they’re often nailed or screwed together. The wood quality can also be hit-or-miss, with issues like knots and warping. It’s important to pick the best pallet boards to make your project a success.
Despite the hurdles, pallet wood is still a great, affordable option for DIY projects. With patience and creativity, you can turn these simple pallets into beautiful outdoor furniture. They’ll add charm and character to your backyard.
Selecting the Right Pallets
Choosing the right pallets is key when making DIY Adirondack chairs. Look for pallets that are new and about 48″ x 35″ in size. They should be made of 3 notched 2x4s and 3/4″ nominal boards. Make sure they are heat-treated (marked “HT”) to avoid harmful chemicals.
Don’t use pallets without clear marks or ISPM 15 certification. Their safety and condition are unknown.
Check the pallets’ condition carefully. Choose ones that are sturdy and in good shape. This ensures your Adirondack chair will last longer.
Think about the pallet types too. Different types vary in wood quality and durability. This affects the chair’s strength and look.
To succeed in your project, pick pallets that fit well and are in good condition. Follow these tips to make a chair that will impress everyone.
Where to Find Pallets
Building your own Adirondack chairs from pallets starts with finding the right materials. You can look for pallets at local businesses and online.
Local Businesses with Pallets
Many local businesses give away their used pallets for free. They don’t want to pay for removal. You can check places like your workplace, supermarkets, and restaurants.
Also, try office buildings, carpet companies, furniture stores, and ATV/snowmobile dealers.
Online Pallet Sources
You can also find pallets online on sites like Craigslist. These platforms often list free or cheap pallets. You can pick them up from the seller.
When you find pallets, make sure they are new and heat-treated (HT). They should be ISPM 15 certified for the best quality.
“Pallets can be found at a variety of locations, and many businesses are happy to give them away for free. Online sources like Craigslist are also a great option for finding affordable pallets.”
Safety Precautions
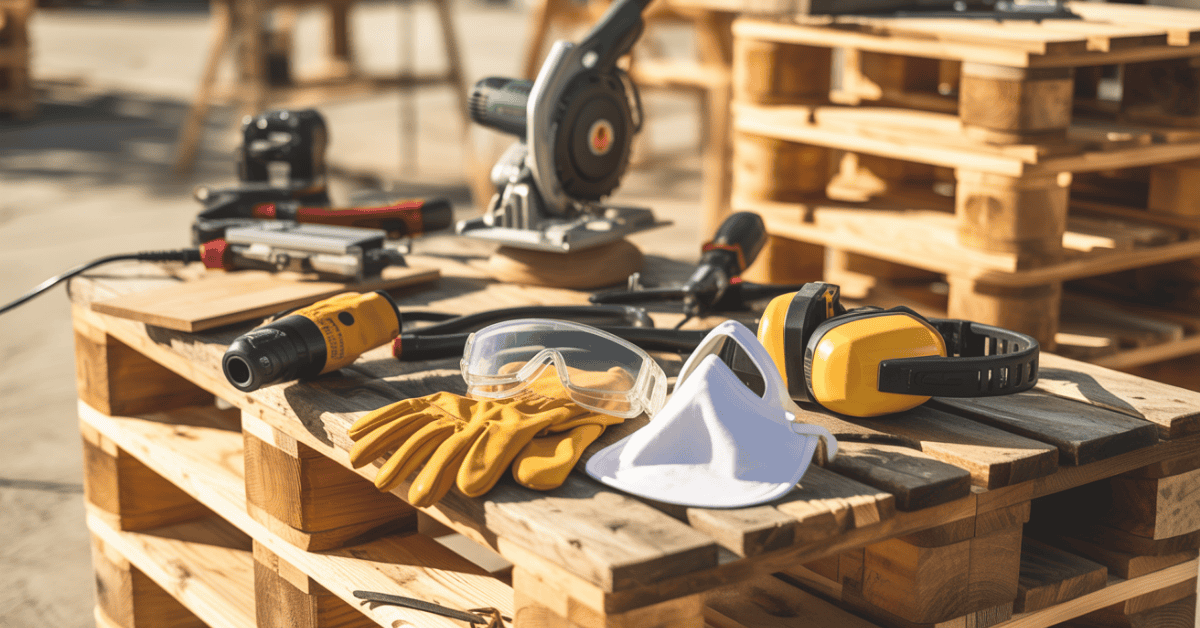
Working with pallets requires careful attention to safety. Pallets can hide dangers like nails, knots, and warped boards. Always wear protective gear, such as heavy gloves and eye protection. Also, be careful with power tools, as they can cause injuries if not used correctly.
Disassembling pallets needs extra care. The nails used in pallets can be hard to remove and might cut or puncture you. Use the right tools and methods to take apart the pallets safely.
- Wear heavy gloves to protect your hands from sharp edges and nails.
- Use eye protection to shield your eyes from flying debris or splinters.
- Avoid working with power tools if you’re not familiar with their proper and safe usage.
After disassembling the pallets, prepare the wood for your Adirondack chair project. Finishing and treating the wood properly is key to its longevity and weather-resistance. Use exterior-grade paint, outdoor wood stain, or marine spar varnish to protect the wood from the elements. Stainless steel or aluminium fasteners, along with water-resistant wood glue, can make your structure durable and weatherproof.
“Safety should always be the top priority when working with pallets. Take the necessary precautions to protect yourself and ensure a successful DIY project.”
By following these safety tips and using the right tools and materials, you can turn reclaimed pallet wood into beautiful Adirondack chairs. Remember, a little extra care can make a big difference in ensuring a safe and successful DIY project.
Tools and Materials Needed
To make Adirondack chairs from recycled pallets, you need certain tools and materials. Start with basics like a hammer, crowbar, cordless drill, and a small drill bit. You’ll also need a 3/8″ spade or Forstner bit, a saw, and a screwdriver. You’ll also need wood glue, screws, putty, and 3-4 quality pallets.
Essential Tools
- Hammer
- Crowbar or Pry Bar
- Cordless Drill
- Small Drill Bit
- 3/8″ Spade or Forstner Bit
- Saw (Circular, Jigsaw, Band Saw, or Hand Saw)
- Screwdriver
Required Materials
- Wood Glue
- Wood Screws
- Wood Putty
- 3-4 Good Quality Pallets
Each pallet gives you about 6 good 1×4 boards, 3 good 1×6 boards, and 3 pieces of 4-foot 2×4 lumber. But the quality of the wood can vary. Some boards might have knots, warp, or bark.
When working with pallets and power tools, safety is key. Hidden nails, knots, or warped boards can be dangerous. Always be careful and follow safety rules.
Using recycled pallets saves money and helps the environment. It reduces waste and promotes green practices
| Tool | Purpose |
|---|---|
| Hammer | Dismantling pallets, driving in nails |
| Crowbar or Pry Bar | Separating pallet boards |
| Cordless Drill | Drilling holes for screws and creating pilot holes |
| Saw | Cutting pallet boards to size |
| Screwdriver | Securing screws and assembling the chair |
“Careful selection and preparation of the pallet materials are crucial for the success of this DIY project.”
Disassembling Pallets
Step-by-Step Pallet Breakdown
Turning pallets into Adirondack chairs starts with disassembling them. This step can be tough, but with the right tools, you can break down pallets into wood pieces.
Start by cutting off the outside 2×4 stringers with a circular saw. Be careful of hidden nails that could be dangerous. Then, use a hammer and pry bar to remove the 1×4 and 1×6 boards from the centre stringers. This might take some effort because pallets are sturdy, so be careful and wear safety gear.
- Use a circular saw to cut off the outside 2×4 stringers, being cautious of hidden nails.
- Utilise a hammer and pry bar to detach the 1×4 and 1×6 boards from the centre stringers.
- Tap wooden wedges between the planks and support boards to separate them.
- Employ a hammer to drive the wedges until the wood pieces pull apart.
- Craft your own nail-removing wood wedges from scrap wood pieces.
- Remove nails from boards before storing them to avoid safety hazards.
- Consider using a jigsaw to cut pallet slats if you struggle with removing nails or making wooden wedges.
- Try different pallets, as aged ones may be easier to disassemble.
If disassembling pallets is hard for you, try using a wooden wedge tool. It makes the job easier and faster. A farmer showed how to remove boards one by one with these wedges, a hammer, and a pry bar.
Remember, safety, patience, and detail are key to disassembling pallets. With the right tools and techniques, you can turn reclaimed pallets into beautiful Adirondack chairs for your outdoor space.
Pallet Yield and Preparation
Working with pallets to make Adirondack chairs requires careful planning. From a single pallet, you can usually get about 6 good 1x4s, 3 good 1x6s, and 3 lengths of 2x4s. But the quality of these boards can vary. So, it’s key to inspect and grade the wood carefully.
To get your pallet boards ready, you’ll need to remove any nails or hardware. This step of salvaging pallet wood makes sure you have clean materials. After taking out the nails, pick the best boards for your chair.
Not all pallet boards are good for your chairs. Some might be warped, split, or damaged. These should be set aside or thrown away. Pallets treated with Methyl Bromide (MB) are becoming rare due to regulations. So, check the pallet markings to make sure they’re safe and right for your project.
- Carefully inspect and grade the salvaged pallet wood
- Remove any remaining nails or hardware
- Set aside the best boards for use in the chair construction
- Discard any warped, split, or damaged boards
- Check pallet markings to ensure suitable materials
By spending time on pallet board preparation, you’ll have a great Adirondack chair project. And you’ll make the most of the materials from the pallets.
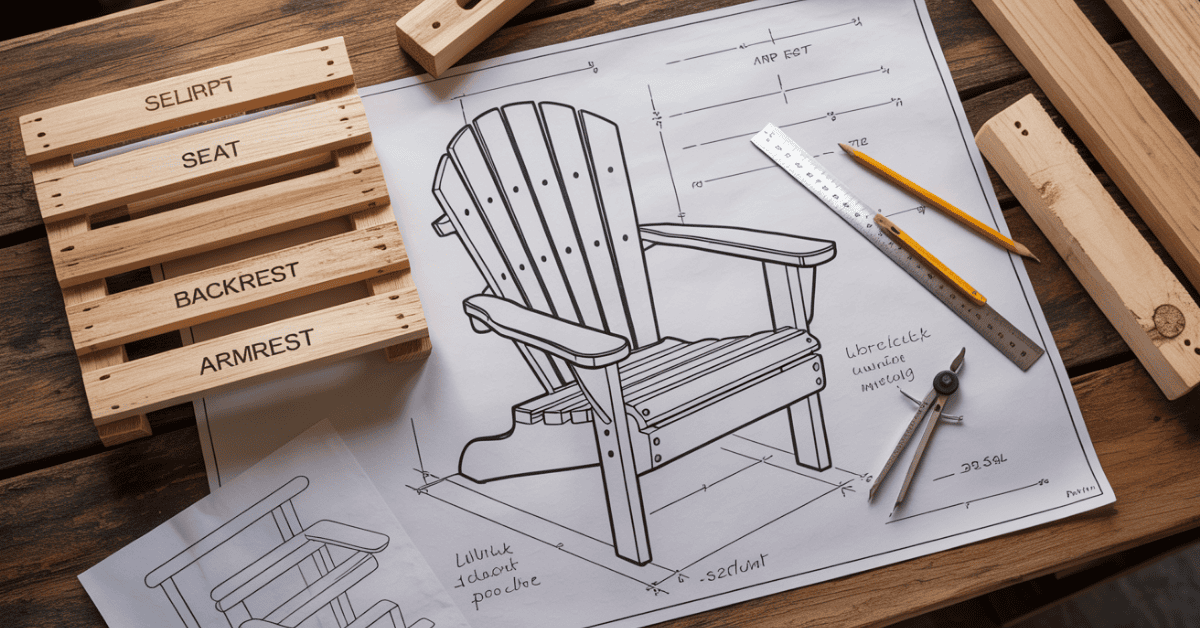
Measuring and Marking Components
To make a perfect Adirondack chair from recycled pallets, you need to measure and mark parts carefully. Start by using a 35-inch 1×6 board to make a grid pattern of 1-inch blocks for the rear legs and seat stringers. Remember, the board is 5.5 inches wide. Make sure the pattern is the same on both sides for matching parts.
For the armrests, use a 32-inch 1×6 board. Create a 1-inch grid pattern and mirror the design for symmetrical armrest pieces. The bottom backrest rail will be measured and marked with a 21.5-inch 1×4 board. The top backrest rail will use a 22-inch 1×4 board. Draw a 1-inch grid on each board for the backrest shape.
Armrest Brackets
To make the armrest brackets, measure and mark the dimensions on the salvaged pallet wood. Cut out two matching pieces. Paying close attention to these measurements ensures a sturdy and well-made Adirondack chair.
“Precise measurements and markings are the foundation for a well-crafted Adirondack chair from recycled pallets.”
Cutting the Components
It’s time to start cutting the components for your DIY Adirondack chair from disassembled pallet wood. You’ll need about 3-4 good pallets for the chair. From one pallet, you can get around 6 good 1x4s and 3 good 1x6s9. Also, you’ll find about 3 pieces of 4-foot lengths of 2×4 from a single pallet.
When cutting, safety is key. Power tools can hide nails, knots, and warped boards. So, wear eye protection. Also, pallets often have poor lumber, so check each board for quality.
Use a jigsaw, bandsaw, or circular saw to cut out the components. This includes the rear legs, seat stringers, armrests, backrest rails, and armrest brackets. For armrest brackets, use a 22″ 1×4 and mark one-inch blocks. Remember, the lumber is 3.5″ wide. Clamp everything down to keep it safe and accurate.
Success in this DIY project comes from careful attention to detail. By following these steps, you’ll make a beautiful and useful Adirondack chair from pallet wood.
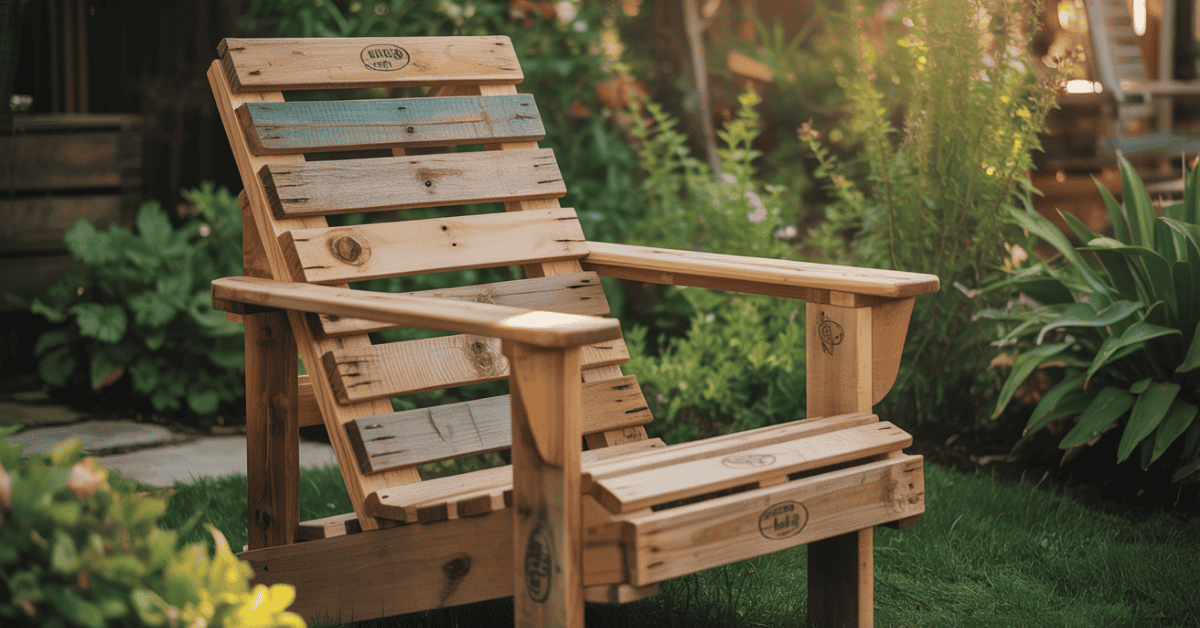
building Adirondack chairs out of pallets
Making Adirondack chairs from pallets is a fun DIY project. It lets you create unique outdoor furniture without spending a lot. You can use pallet wood to make the legs, crosspieces, and seat slats of your chair.
Front Legs, Crosspieces, and Seat Slats
Start by cutting four boards, each 20 inches by 3.5 inches. Use them for the front legs, crosspiece, and seat slat. Label each piece so you know where they go.
Rear Crosspiece and Back Supports
Then, cut an 18.5-inch by 3.5-inch rear crosspiece. Also, make two rear back supports, 26 inches and 23 inches long. These will give your chair its unique backrest.
Seat and Back Slats
To make the seat, cut a 3.5-inch board in half to get nine slats. Each should be 1.75 inches by 20 inches. Drill holes and countersinks on each end. For the back, cut seven tapered slats, from 34 to 36 inches long. They will form the Adirondack fan shape at the top.
Choosing the right pallet boards and following these steps will help you build your Adirondack chairs. This will create a comfy and nice-looking outdoor seating area.
For a successful project, find high-quality, ISPM 15-certified pallets. Also, keep safety in mind while building. With creativity, you can turn simple pallet wood into a beautiful outdoor piece.
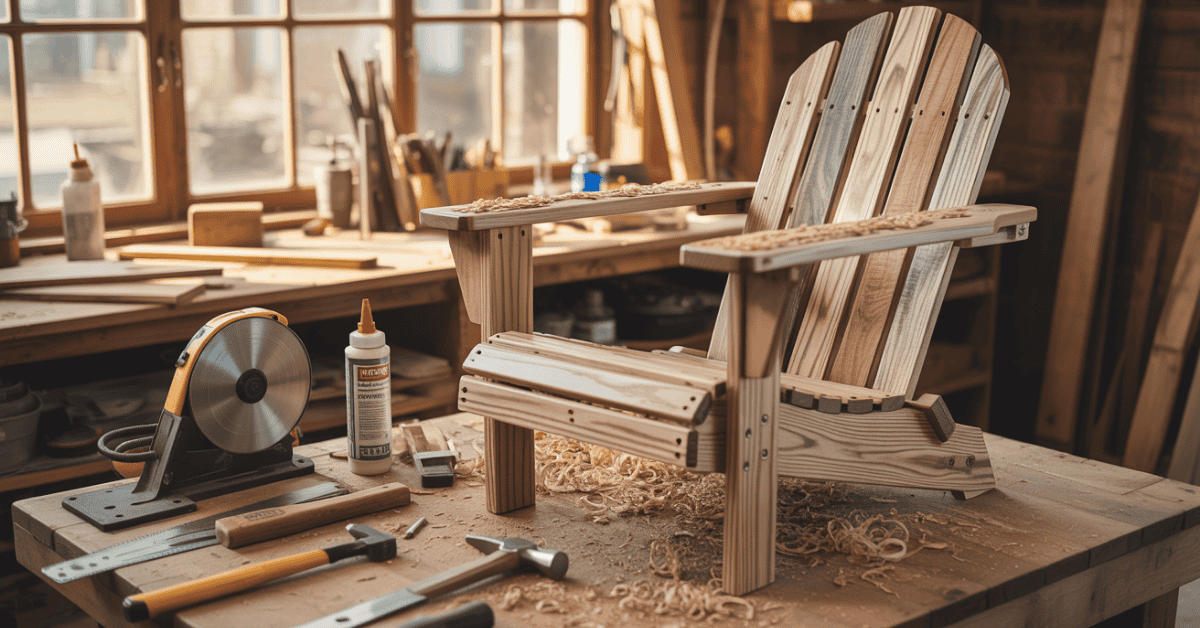
Assembling the Chair
Now that you have all the parts ready, it’s time to assemble your pallet Adirondack chair. Start by attaching the Adirondack chair seat to the frame. First, secure the front seat slat to the front crosspiece and front legs. Next, space out and fasten the other 8 seat slats evenly. This will make your pallet chair seat level and comfy.
Attaching Front Legs
Place the front legs at a 90-degree angle to the seat. Use wood screws to attach them. Make sure the legs are straight and the chair is stable.
Backrest Assembly
Attach the rear crosspiece to the back of the seat. Then, put in the two rear back supports at the right angle for the Adirondack chair backrest. Finally, add the 7 tapered back slats to finish the back.
Adding Armrests and Braces
Put the armrests on the chair frame for comfort and security. You can also add bracing under the armrests for more stability.
| Step | Description |
|---|---|
| 1. Seat Construction | Attach the front seat slat to the front crosspiece and front legs. Evenly space and secure the remaining 8 seat slats. |
| 2. Attaching Front Legs | Position the front legs at a 90-degree angle to the seat and securely attach them using wood screws. |
| 3. Backrest Assembly | Attach the rear crosspiece to the back of the seat, then secure the two rear back supports at the appropriate angle. Attach the 7 tapered back slats. |
| 4. Adding Armrests and Braces | Attach the armrests to the chair frame, ensuring a comfortable and secure fit. Add optional bracing underneath the armrests for extra stability. |
With these steps, your pallet chair is almost done. Now, add the finishing touches to make it a special part of your outdoor space.
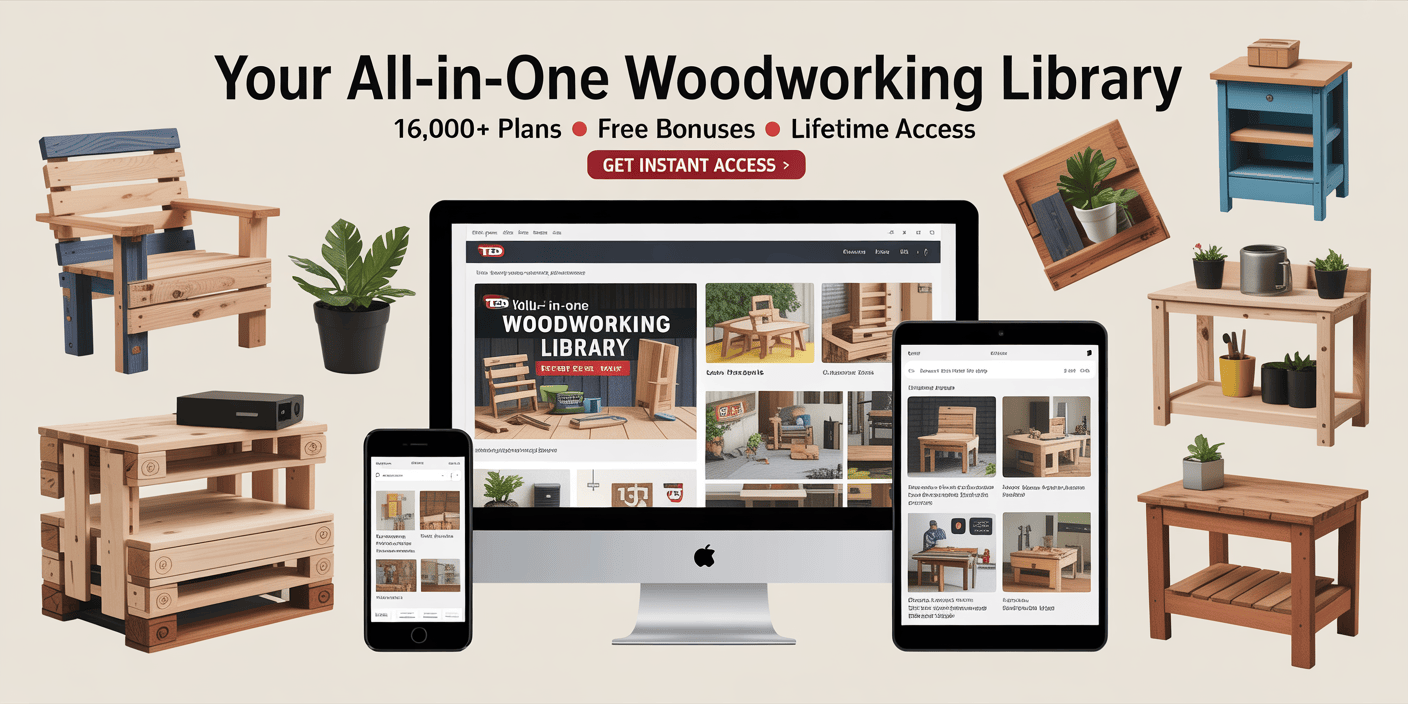
🪚 Turn Your Pallet Projects into Masterpieces — Effortlessly!
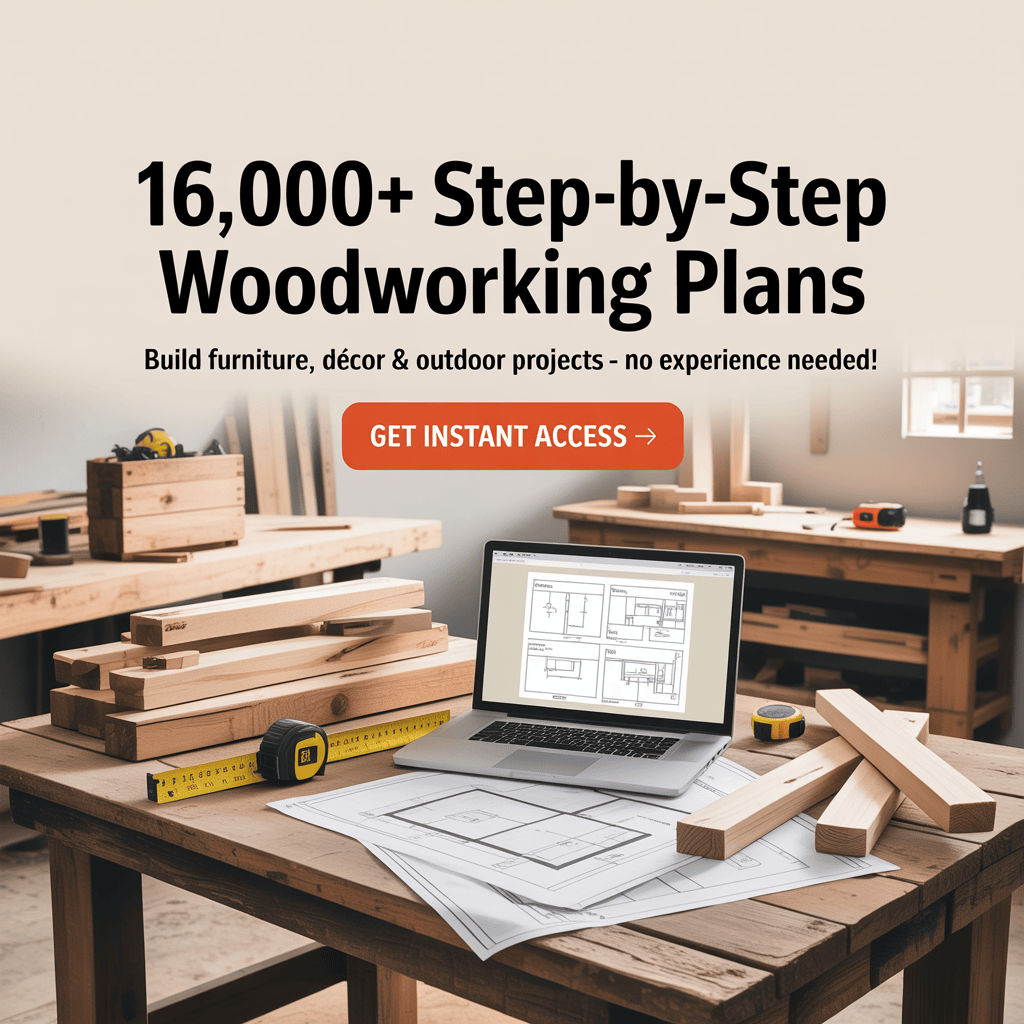
Love building Adirondack chairs from pallets?
With Ted’s Woodworking, you’ll get 16,000+ step-by-step plans for chairs, tables, sheds, and more — all beginner-friendly and easy to follow.
🎯 Why Woodworkers Choose Ted’s Plans:
✅ 16,000+ Ready-to-Build Projects – From pallet furniture to pro designs
✅ Perfect for Beginners & Pros – No fancy tools needed
✅ Step-by-Step Instructions – Build confidently, with zero guesswork
✅ Exact Cutting & Material Lists – Save time and money
✅ Lifetime Access + FREE Bonuses – Plans, videos, and guides included
💡 Ready to build smarter, not harder?
👉 Get Instant Access to Ted’s 16,000 Woodworking Plans »
(One-time payment. Lifetime access. 60-Day Money-Back Guarantee.)
Build stunning furniture from pallets — the easy, professional way!
Conclusion
By following the step-by-step instructions, you can make a stylish and eco-friendly Adirondack chair. This chair will be a unique piece of furniture. It shows off your DIY skills and the versatility of repurposed pallet wood.
Measuring, cutting, and assembling the components will give you a sense of accomplishment. You’ll have a one-of-a-kind piece that makes your outdoor area better. The weatherproofing and maintenance tips will keep your chair looking good for years.
Whether you keep the pallet wood natural or add a custom finish, the result is impressive. You can customise it with cushions or decorations, making it truly yours. This project lets you be creative and sustainable, and you’ll enjoy the finished piece.
FAQ
What types of pallets can be used to build Adirondack chairs?
Look for pallets that are new and about 48″ x 35″. They should have 3 notched 2x4s and 3/4″ nominal boards. Make sure they are heat-treated (marked “HT”) to avoid harmful chemicals.
Avoid pallets without clear marks or ISPM 15 certification.
Where can I find free or low-cost pallets?
You can find pallets at work, supermarkets, restaurants, and office buildings. Carpet companies, furniture stores, and ATV/snowmobile dealers also have them. Many businesses give away pallets for free. Online sites like Craigslist are also good places to find pallets.
What safety precautions should I take when working with pallets?
Pallets can be dangerous because of hidden nails and warped boards. Always wear eye protection and use power tools with care. Disassembling pallets can be risky, so be cautious.
What tools and materials are needed to build Adirondack chairs from pallets?
You’ll need a hammer, crowbar, drill, and small drill bits. Also, a saw, screwdriver, wood glue, screws, and wood putty. You’ll need 3-4 good pallets.
How much usable wood can I expect to get from a single pallet?
You can get about 6 good 1x4s, 3 good 1x6s, and 3 lengths of 2x4s from one pallet. But the quality of the wood can vary. Always inspect and grade the wood carefully.
Can I use power tools for cutting the Adirondack chair components?
Yes, you can use power tools like a jigsaw, bandsaw, or circular saw. Cut out the components carefully. Make sure they are clamped down securely for accuracy and safety.
How do I assemble the Adirondack chair from the pallet wood?
Start by attaching the front seat slat to the front crosspiece and legs. Then, space and secure the 8-seat slats evenly. Make sure the surface is level.
Attach the rear crosspiece to the back of the seat. Secure the two rear back supports at the right angle for the backrest. Finally, attach the armrests for a comfortable fit.


