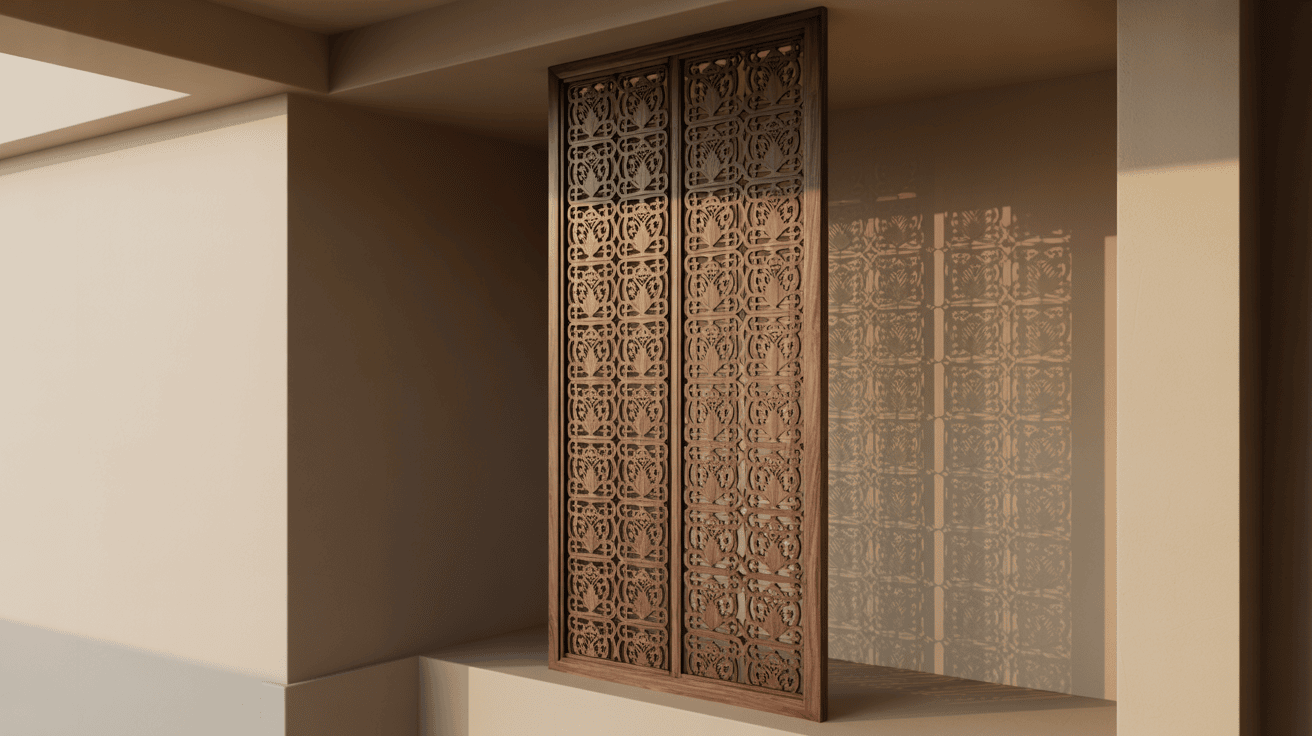
Looking to add elegance to your home? Decorative wall decor is all the rage. Creating your own carved wooden screen panels is a unique way to do it.
This tutorial will show you how to make beautiful wooden wall screens. You can customise them to match your style. Plus, you’ll get to enjoy the pride of making something yourself.
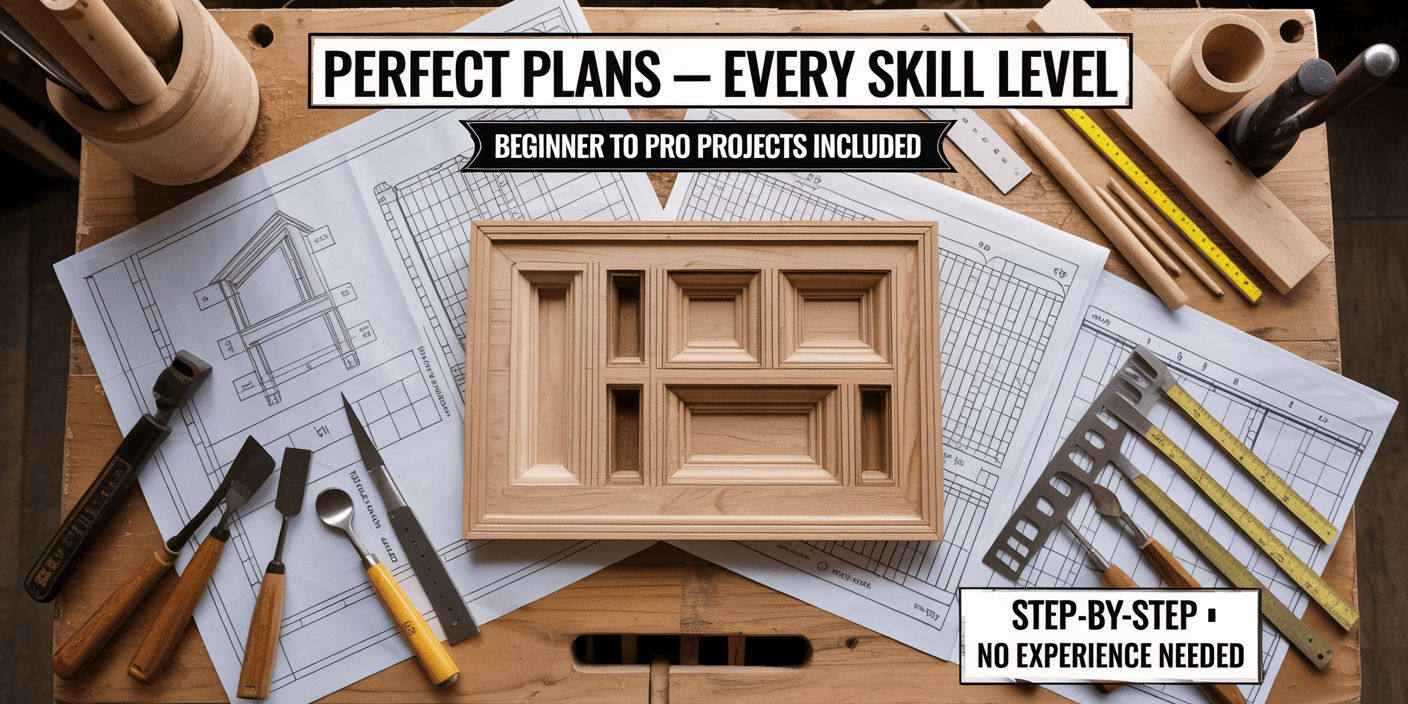
With this wood carving screen tutorial, you can make stunning pieces for your home. It doesn’t matter if you’re a pro or a beginner. This guide will lead you through each step.
Key Takeaways
- Create beautiful decorative wall decor with carved wooden screen panels
- Customise your wooden wall screens to fit your personal style
- Enhance your home decor with unique DIY decorative pieces
- Follow a step-by-step guide to a wood carving screen tutorial
- Transform any room with stunning carved wooden screen panels
The Beauty and Versatility of Decorative Wooden Screens
Decorative wooden screens have been around for ages, from ancient temples to today’s living rooms. They bring beauty and function to any room. These custom-made screen panels are more than just decorations. They also divide rooms elegantly.
Historical Significance of Decorative Wooden Screens
These screens have a long history across cultures. They were used to divide spaces and showcase intricate woodcarving designs. In Asia, they were key in temple and home design, blending function and spirituality.
- Used in ancient temples and homes
- Featured intricate carvings with cultural significance
- Served as room dividers and decorative pieces
Modern Applications in Interior Design
Today, decorative room dividers are still important in design. They help create areas in open-plan spaces. They also add texture and interest to walls, and can even act as headboards or privacy screens.
Decorative wooden screens are versatile and can fit any style. They mix function with beauty, making them a great choice for any home.
Essential Tools and Materials for Your Project
Making beautiful wooden screens needs the right tools and materials. Knowing what you need for woodworking and carving is key to success.
Required Woodworking Tools
Woodworking needs the right tools. You’ll need basic tools and specialised carving tools.
Hand Carving Tools vs. Power Tools
Hand tools and power tools both have their uses. Hand tools give you precision, while power tools save time. Beginners should start with hand tools to learn the basics.
Beginner-Friendly Tool Options
Newbies should start with basic tools. Essential hand tools include gouges, chisels, and mallets. Power tools like rotary carvers and jigsaws are also useful.
Selecting the Right Wood Types
The wood you choose affects your project. Hardwoods like oak, maple, and walnut are good for screens. They’re durable and have nice grain patterns.
Additional Supplies and Safety Equipment
You’ll also need safety gear and extra supplies. This includes safety glasses, dust masks, and clamps. Being prepared ensures a safe and smooth project.
| Tool/Supply | Description | Importance Level |
|---|---|---|
| Gouges | Hand tools for removing wood and creating curves | High |
| Safety Glasses | Protective eyewear for preventing eye injuries | High |
| Dust Mask | Respiratory protection from wood dust | High |
| Clamps | Holding devices for keeping wood in place | Medium |
“The right tools make all the difference in woodworking. Investing in quality tools will pay off in the long run with better results and less frustration.”
Choosing the right tools and materials prepares you to make stunning wooden screens. Your craftsmanship will shine through.
Designing Your Carved Wooden Screen Panels
Designing your carved wooden screen panels lets you mix old and new styles. This way, you can make something unique that fits your home and shows your style.
Traditional vs. Contemporary Design Patterns
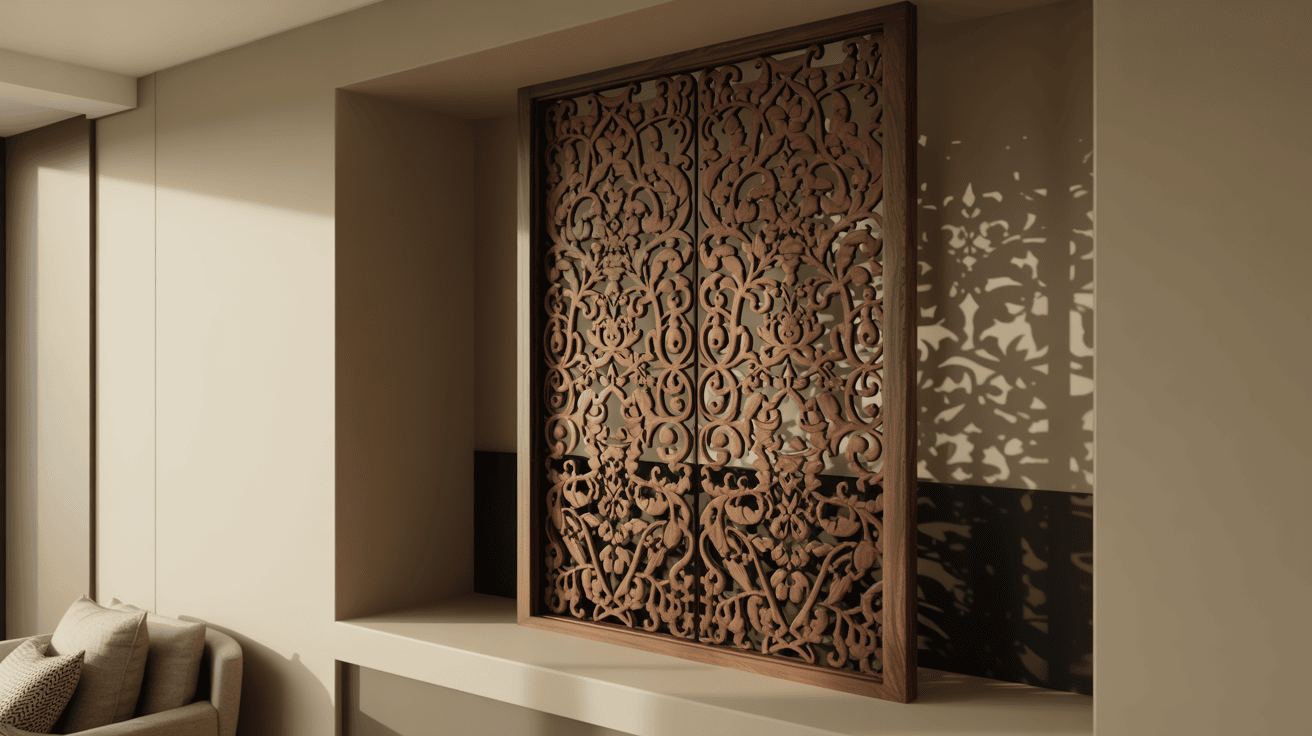
Traditional designs have detailed carvings and classic patterns like flowers or scrolls. They add elegance to any room. Contemporary designs use simple shapes and lines for a modern look. You can pick one or mix them to make a custom-made screen panel that’s just right for you.
| Design Element | Traditional | Contemporary |
|---|---|---|
| Motifs | Floral patterns, scrollwork | Geometric shapes, abstract designs |
| Carving Style | Intricate, detailed | Simple, minimalist |
Creating and Transferring Your Design
After picking a design, you need to put it on the wood. You can do this by hand or with digital tools.
Hand Drawing Methods
Hand drawing gives your design a personal touch. Sketch it on the wood with a pencil or charcoal. It’s great for making something truly unique.
Digital Design Resources
You can also use digital tools like Adobe Illustrator or AutoCAD. These programs help you make precise designs. Then, print and transfer them to the wood using methods like carbon paper or stencils.
Sizing Considerations for Wall Installation
When designing, think about the size of your wall. Measure the wall and choose a size that fits well. Consider the room’s size and the antique wooden room screens or contemporary wooden privacy screens you want to make.
Preparing Your Wood for Carving

Getting your wood ready is key to intricate woodcarving designs on your carved wooden screen panels. This step is often missed, but it greatly affects your project’s outcome.
Cutting and Planing the Wood Panels
Start by cutting the wood to the right size for your screen panels. Use a table saw or circular saw for accurate cuts. Then, plane the wood to make it smooth.
A planer removes rough spots or splinters. This makes your wood even and ready for carving.
Surface Preparation Techniques
After cutting and planing, prepare the wood surface for carving. Begin by sanding the wood with finer grits of sandpaper. This removes any remaining flaws.
Sanding also brings out the wood’s natural grain. This is crucial for stunning carved wooden screen panels. Lastly, apply a wood conditioner if needed to avoid uneven staining.
By doing these steps, you’ll get a smooth surface for carving your detailed designs.
Basic Wood Carving Techniques for Beginners

Starting to make handcrafted wooden screens means learning basic wood carving techniques. As a beginner, knowing the basics is key to making high-quality wood panels.
Understanding Wood Grain Direction
Knowing the wood grain direction is very important in wood carving. The grain direction affects how the wood reacts to tools. Carving with the grain is easier and makes the finish smoother. To find the grain direction, look for the lines or patterns on the wood.
Always carve in the direction of the grain to prevent the wood from tearing.
Essential Carving Cuts and Strokes
Learning different carving cuts and strokes is crucial for detailed designs on wooden screens. The main cuts include:
- Push cuts: Good for removing big chunks of wood.
- Pull cuts: Best for fine details and lines.
- Stop cuts: Prevent the wood from splitting.
Practice these cuts to get better and more confident. Consistency is key for professional-looking results.
| Carving Cut | Description | Best Use |
|---|---|---|
| Push Cut | Removing larger amounts of wood | Roughing out designs |
| Pull Cut | Ideal for detail work | Creating fine lines and details |
| Stop Cut | Prevents wood from splitting | Boundaries and edges |
Practice Exercises Before Starting Your Panel
Before starting your main project, practice your carving. Start with simple tasks like carving straight lines, curves, and basic shapes. This practice improves your technique and muscle memory. Practice on scrap wood to avoid damaging your actual workpiece.
By following these steps and practising often, you’ll be ready to create stunning handcrafted wooden screens. Your skills will show in your work.
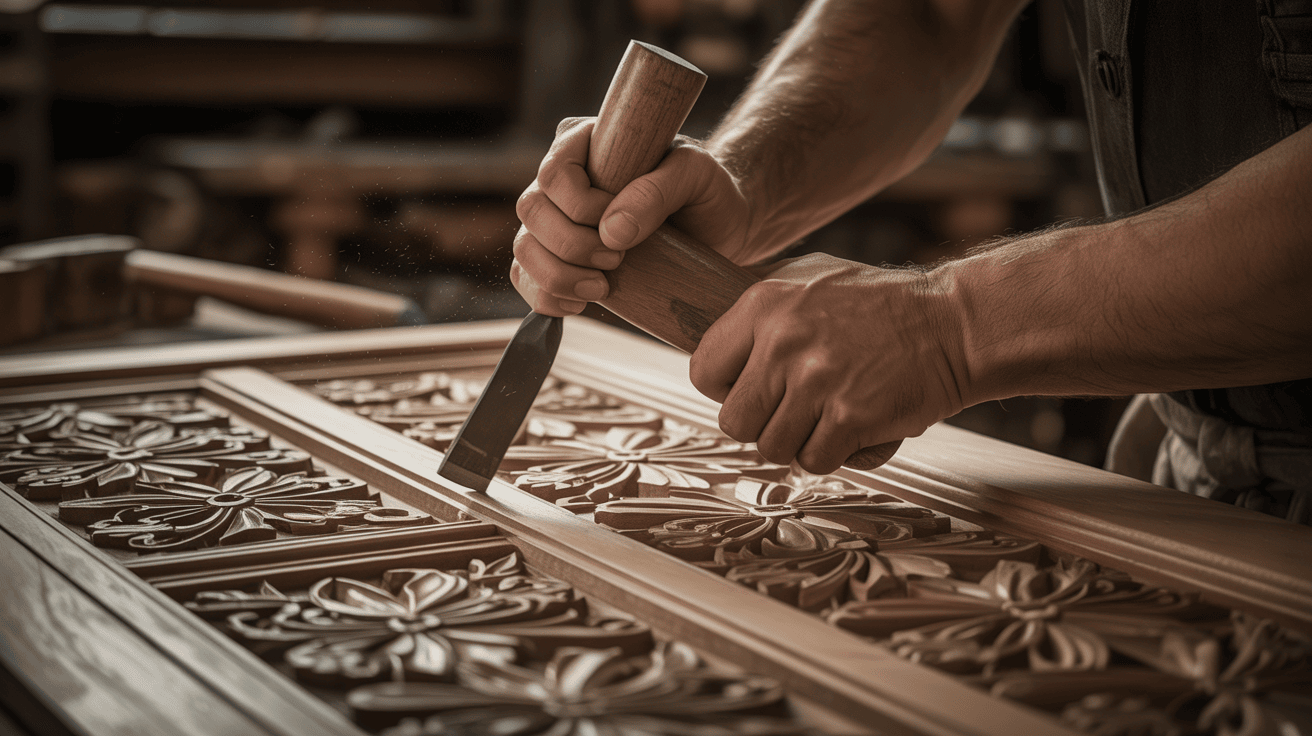
Creating Beautiful Carved Wooden Screen Panels: The Carving Process
Now that your design is ready, it’s time to start carving. This is the key step in making custom screen panels. They will be the highlight of your wall decor.
Outlining and Roughing Out Your Design
First, outline your design on the wooden panel with a pencil. Make sure the lines are clear. Then, start removing excess wood to create the design’s depth.
Tip: Use gouges and chisels to remove wood safely. Always work with the grain to avoid damage.
Detail Carving Techniques
Detail carving adds intricate details to your design. This part needs precision and patience.
Relief Carving Methods
Relief carving makes your design stand out from the background. There are different levels, from low to high relief.
- Low relief is good for subtle designs.
- High relief creates dramatic, three-dimensional effects.
Achieving Different Texture Effects
Texture adds depth to your carved wooden screen panels. Use different tools and techniques to get various textures.
| Texture Effect | Tool/Technique | Description |
|---|---|---|
| Smooth | Sandpaper | Ideal for smooth backgrounds or design elements. |
| Rough | Gouges | Great for a rustic or natural look. |
| Intricate | Detail chisels | Perfect for detailed work, like fine lines or patterns. |
Common Mistakes and How to Fix Them
Even skilled woodcarvers make mistakes. Common issues include uneven depths and accidental gouges. Use wood filler for small mistakes or adjust your technique for larger ones.
Remember: Practice makes perfect. Don’t get discouraged by mistakes; they help improve your skills.
Assembling Multiple Panels into a Decorative Screen
After carving your wooden panels, it’s time to put them together into a decorative screen. This step is key to making your wall look great. You’ll need to follow a few important steps to get a screen that’s both beautiful and strong.
Frame Construction Methods
Creating a frame for your screen is essential. It gives your panels the support they need. You can pick from different methods, like:
- Simple butt joint construction for a minimalist look
- Mortise and tenon joints for added strength and durability
- Dovetail joints for a premium, high-end appearance
The method you choose depends on your design, skill level, and how durable you want your screen to be.
| Frame Construction Method | Skill Level Required | Aesthetic Appeal |
|---|---|---|
| Simple Butt Joint | Beginner | Minimalist |
| Mortise and Tenon | Intermediate | Classic, Traditional |
| Dovetail Joint | Advanced | Premium, High-End |
Panel Connection Options
When connecting your panels, think about how you want your screen to work. You can use:
- Hinges for a flexible, movable screen
- Fixed connectors for a rigid, stationary installation
- Magnetic attachments for easy panel reconfiguration
The way you connect your panels will affect how your screen looks and works.
Ensuring Structural Stability
To keep your screen stable and secure, consider these tips:
- Use a sturdy base or feet to prevent tipping
- Anchor the screen to the wall for added stability
- Regularly inspect and maintain the screen’s structure
By following these tips, you can make a decorative screen that’s both beautiful and sturdy. It can be a stunning traditional room partition or a modern wooden privacy screen.
Installing Your Carved Wooden Screen Panels on Walls
Installing your decorative screen wall DIY project is key. A well-installed screen can really make a room look better.
Wall Mounting Hardware Options
There are many ways to mount your handcrafted wooden screens. French cleats are strong and adjustable. Or, you might prefer concealed mounting brackets for a sleek look. The right choice depends on your screen’s size and weight, and the wall type.
Proper Installation Techniques
Begin by marking the wall where you want your screen. Use a level tool to get it right. Drill holes for the hardware, then hang your screen. For big screens, having someone help you is a good idea.
Freestanding vs. Fixed Installation Considerations
Choose between freestanding or fixed installation for your room dividers. Freestanding screens are easy to move. Fixed installations are stable and secure, great for big or heavy screens. Think about your space and needs when deciding.
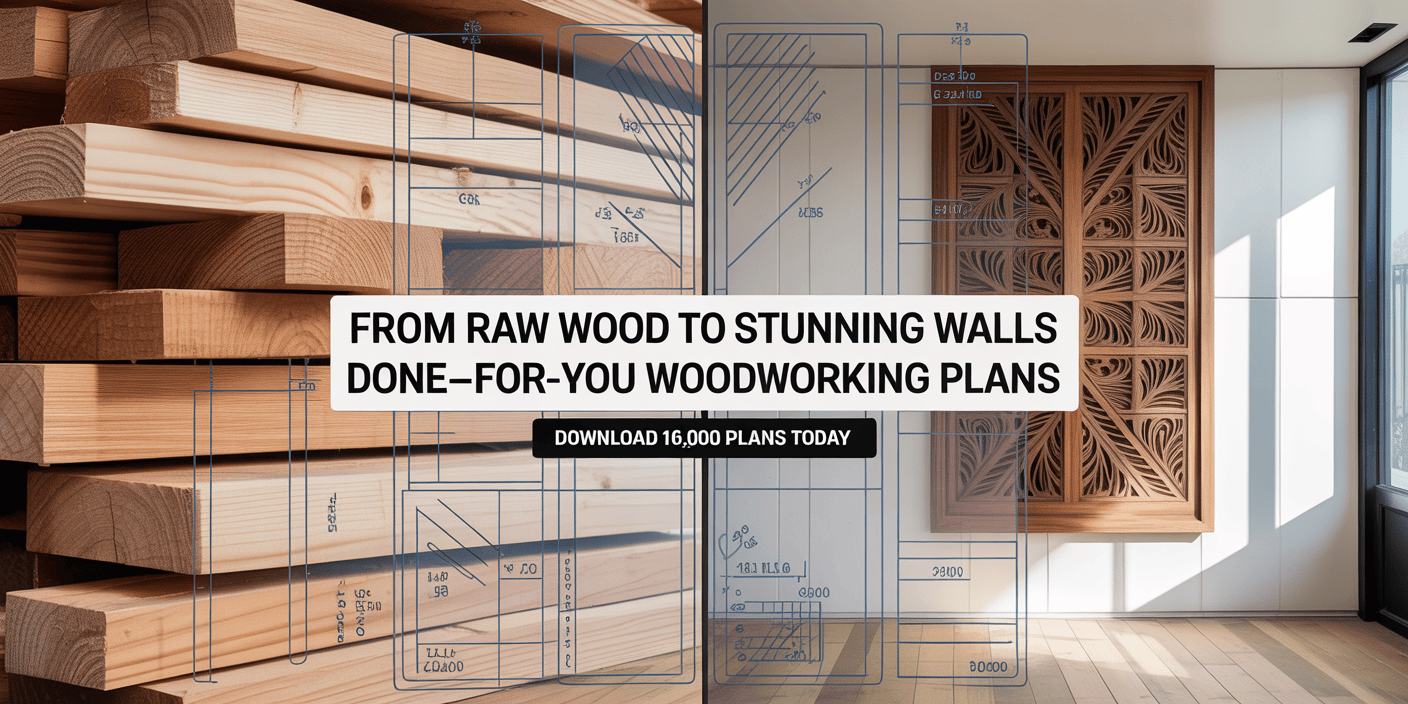
🔥 Ready to Build Stunning Wooden Screen Panels—Without Guesswork?

If you loved this step-by-step tutorial and want professionally designed plans that practically build themselves, then Ted’s Woodworking is your next move.
✅ Why Woodworkers Trust Ted’s Woodworking:
- 16,000+ done-for-you woodworking plans with crystal-clear, step-by-step instructions
- Exact cutting & materials lists — no waste, no confusion
- Detailed diagrams & multi-angle schematics for perfect results every time
- Beginner-friendly to pro-level projects — no expensive tools needed
- Lifetime access + free monthly plans (no recurring fees)
- Exclusive bonuses: CAD plan viewer, premium videos, business guide & woodworking manuals
🚀 Build Smarter. Build Faster. Build Like a Pro.
👉 Get Instant Access to 16,000 Woodworking Plans Today
👉 Create custom projects with confidence—starting now
One-time payment. Lifetime access. 100% risk-free guarantee.
Conclusion: Displaying and Maintaining Your Handcrafted Wooden Screen
You’ve made a stunning wooden panel to beautify your home. Now, it’s key to show and care for it right to keep it lasting. When putting up your carved wooden screens, think about the look you want. They can be fancy wall screens or room dividers, making any space look better.
To keep your wooden screens in top shape, dust them often. Use a soft, dry cloth to wipe away dust. Don’t use strong chemicals or rough stuff that can harm the wood or carvings. These easy steps will help your wooden screen stay beautiful for a long time.
By taking good care of your wooden screens, you’ll keep their beauty and make your home even more welcoming. With the right care, your wooden screens will stay a beautiful highlight in your home.
FAQ
What type of wood is best suited for carved wooden screen panels?
The best wood for carved screens depends on the look and durability. Oak, maple, and walnut are good choices because of their fine grain and strength. Reclaimed wood or exotic hardwoods can also add a unique touch.
What are the essential tools needed for creating carved wooden screen panels?
You’ll need hand-carving tools like gouges, chisels, and mallets. Power tools like rotary carvers or CNC machines can also help. Don’t forget safety gear, like gloves and glasses, to protect yourself.
How do I design my carved wooden screen panels?
Think about your space’s style and theme when designing. You can pick from traditional or modern designs, or create something unique. Make sure the panels fit well on your wall.
What are some common mistakes to avoid when carving wooden screen panels?
Avoid carving against the grain and using too much pressure. Always wear proper safety gear. Practice on scrap wood and work carefully on your panels.
How do I assemble multiple panels into a decorative screen?
To make a decorative screen, build a frame and connect the panels. Use wooden slats or metal brackets for the frame. Make sure your screen is stable.
What are the best methods for installing carved wooden screen panels on walls?
Use French cleats or hanging brackets for wall mounting. Follow the installation steps carefully. Decide if you want your screen to be freestanding or fixed.
How do I maintain my handcrafted wooden screen?
Dust and polish your screen regularly. Apply a wood finish or sealant to protect it. Keep it away from direct sunlight and extreme temperatures.
Can I use carved wooden screen panels as room dividers?
Yes, carved screens can be room dividers. They add elegance and sophistication. Use hinges or sliding hardware for a functional divider.
What are some creative ways to display my carved wooden screen panels?
Display your screens as room dividers, wall decorations, or even headboards. Try different layouts to find the best display for your space.
