Are you tired of cluttered bathrooms and kitchens? You’re not alone. Many homeowners face the problem of limited storage space. This leads to disorganisation and frustration.
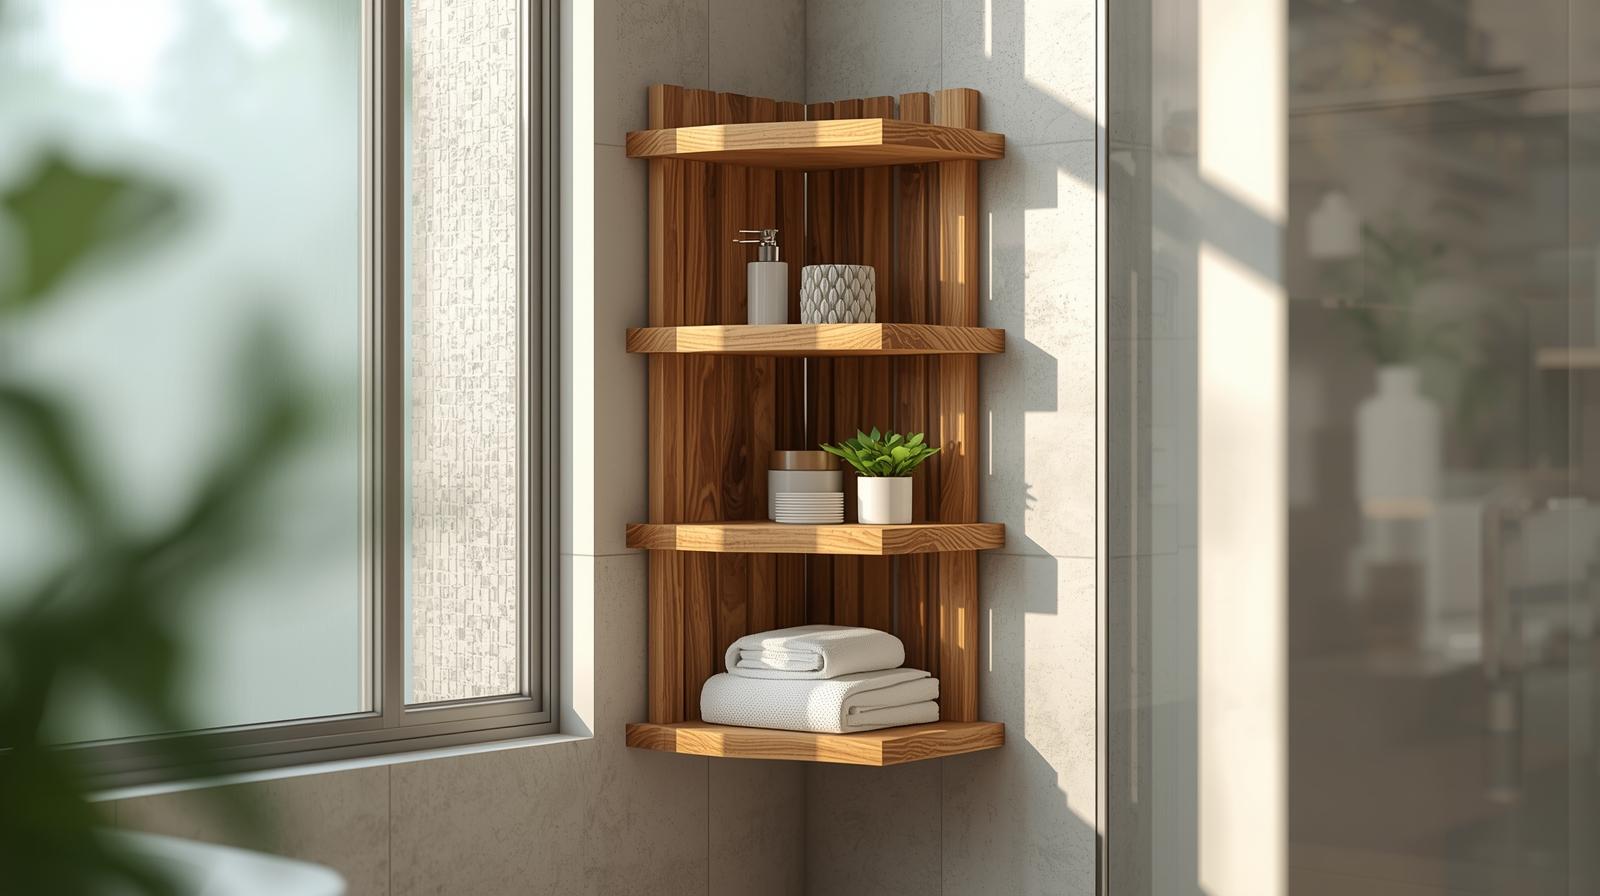
One effective solution is to use the often-wasted space in corners with a custom wooden rack.
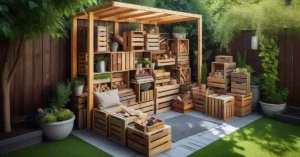
By installing a corner storage solution, you can maximise the space in your room. This article will guide you through creating a space-saving DIY corner wooden rack for your bathroom or kitchen. We’ll cover the benefits, materials you’ll need, and give you step-by-step instructions.
Key Takeaways
- Learn how to create a custom corner storage solution for your bathroom or kitchen.
- Discover the benefits of using a corner wooden rack for space-saving storage.
- Understand the materials needed for the project.
- Follow step-by-step instructions to complete your DIY corner wooden rack.
- Maximise your room’s potential with a custom storage solution.
Understanding the Benefits of a Corner Wooden Rack
A corner wooden rack is a must-have for small bathrooms and kitchens. It turns messy spots into tidy areas. This DIY solution is simple yet powerful.
Space Optimisation in Small Areas
Corner wooden racks fit perfectly into corners, saving space. They’re great for small bathrooms and kitchens. They keep things organised and within reach.
Versatility Between Bathroom and Kitchen Use
Corner wooden racks are versatile. They work for bathroom toiletries or kitchen tools. This makes them a top home organisation idea for any room.
Aesthetic Appeal of Wooden Storage Solutions
Wooden storage, like corner racks, adds beauty and warmth. Wood fits many decor styles, improving the room’s look. It’s a DIY storage solution that looks good and works well.
In summary, a corner wooden rack is a great storage option. It saves space, looks good, and works well in bathrooms and kitchens. Adding one can make your home more functional and beautiful.
Tools and Materials Needed for Your DIY Corner Wooden Rack

Before starting your Corner Wooden Rack, gather the right tools and materials. This step ensures your project is smooth and looks professional.
Essential Woodworking Tools
You’ll need basic tools for woodworking. These include a saw for cutting, a drill for holes, and sandpaper for smooth surfaces.
Power Tools vs. Hand Tools Options
Woodworking tools come in two types: power and hand tools. Power tools like circular saws speed up tasks. Hand tools give more control for detailed work.
Recommended Wood Types and Sizes
Choosing the right wood is key to your DIY Corner Wooden Rack. The wood should be strong and fit the room’s environment.
Moisture-Resistant Woods for Bathroom Use
For bathrooms, use woods like cedar or teak. They resist rot and decay well, perfect for humid places.
| Wood Type | Moisture Resistance | Cost |
|---|---|---|
| Cedar | High | Moderate |
| Teak | High | High |
| Pine | Low | Low |
Hardware and Fasteners List
You’ll also need hardware and fasteners for your rack. Use screws, nails, and brackets that can hold the rack’s weight.
Optional Materials for Finishing
For a better look and protection, use finishing materials like stain, varnish, or paint. They protect the wood and add style to your project.
DIY Corner Wooden Rack Bathroom Kitchen: Planning Your Project

Planning is key to making a corner wooden rack that’s both useful and looks good. A good plan makes sure your DIY rack fits well and meets your storage needs.
Measuring Your Corner Space Accurately
First, measure your corner space carefully. Use a tape measure to get the width, depth, and height. Think about any things that might get in the way, like plumbing or outlets.
Determining Shelf Sizes and Spacing
Choose shelf sizes based on what you’ll store. In a bathroom, you might need small shelves for toiletries. In a kitchen, you might want bigger shelves for pots and pans. Make sure the shelves are far enough apart for easy access.
Creating a Simple Blueprint
Make a simple blueprint to see your project. You can use graph paper or digital tools. Include the sizes and any special features, like adjustable shelves or a certain finish.
Free Online Design Tools
Use free online design tools for a more detailed blueprint. Tools like SketchUp or Floorplanner let you design and adjust your rack easily.
Adapting Designs for Different Room Requirements
Your design should fit the room’s needs. For a bathroom, choose finishes that resist moisture and allow for air flow. For a kitchen, think about the items you’ll store and how to use the space best.
| Room | Design Considerations | Material Preferences |
|---|---|---|
| Bathroom | Moisture resistance, ventilation | Water-resistant finishes, durable materials |
| Kitchen | Storage for cookware, utensils | Easy-to-clean surfaces, sturdy construction |
Preparing the Wood for Your Corner Rack

Preparing the wood is crucial for your wooden corner rack, whether it’s for the bathroom or kitchen. It makes sure your DIY corner shelf looks good, lasts long, and works well.
Cutting the Wood to Size
First, cut your wood to the right size. Being exact is key to avoiding gaps or uneven spots. Use a mitre saw for sharp cuts, like angled ones.
Making Perfect 45-Degree Corner Cuts
For a smooth corner, a perfect 45-degree cut is essential. Set your mitre saw to 45 degrees for this. Make sure the wood is steady while cutting.
Sanding Techniques for Smooth Surfaces
After cutting, sanding is next. Begin with coarse-grit sandpaper (120-grit) and move to finer grits (220-grit or higher) for a smooth finish. Sanding removes splinters and gets the surface ready for stain or seal.
Pre-treating Wood for Moisture Resistance
Moisture resistance is vital for a wood rack in the bathroom or kitchen. Apply a waterproof sealant or wood treatment before putting your rack together. This protects your wood from moisture damage, making it last longer.
By carefully cutting, sanding, and pre-treating your wood, you’re on your way to making a beautiful and lasting DIY corner wooden rack for your space.
Step-by-Step Assembly of Your Corner Wooden Rack

Now that you have all the tools and materials, let’s start building your DIY corner wooden rack. This guide will help you make a sturdy and useful storage space for your bathroom or kitchen.
Creating the Basic Frame Structure
The first step is to make the basic frame. Cut the wood to size and put it together in a triangle or rectangle, based on your design.
Use a mitre saw or a circular saw for precise cuts. Make sure the corners are square, and the frame is level.
Attaching the Shelves Securely
After the frame is built, you can attach the shelves. Place the shelves evenly and make sure they’re well attached to the frame.
Joinery Options for Stronger Connections
There are many ways to attach the shelves to the frame. Here are a few:
- Dovetail joints for a strong and durable connection
- Screw and plug joinery for a clean and minimalist look
- Bracketed shelves for added support
| Joinery Type | Strength | Aesthetic Appeal |
|---|---|---|
| Dovetail Joints | High | High |
| Screw and Plug | Medium | High |
| Bracketed Shelves | Medium | Medium |
Adding Support Brackets for Stability
To make your corner wooden rack more stable, add support brackets. You can put them between the shelves or between the shelf and the frame.
Pre-drill holes to avoid splitting the wood.
Safety Tips During Assembly
When working with power tools, safety is key. Always wear safety glasses and a dust mask. Make sure your workspace is well-ventilated.
By following these steps and being careful, you can make a beautiful and useful wooden rack for your home.
Finishing Your Wooden Corner Rack
Finishing your wooden corner rack is key to making it both functional and beautiful. The finish you pick can greatly affect how long it lasts and how it looks.
Staining Options for Different Wood Types
The wood type you choose affects your staining options. Hardwoods like oak or maple can take many stain colors, fitting well with your decor. Softwoods, though, might need a special staining method because of their texture.
Applying Sealants for Bathroom and Kitchen Environments
Sealants are important, depending on where your rack will go. In bathrooms, use a waterproof sealant to keep the wood dry. For kitchens, pick a sealant that’s safe for food to avoid contamination.
Food-Safe Finishes for Kitchen Use
In kitchens, use finishes that are safe for food. Options like mineral oil or beeswax are non-toxic and safe. Always check the manufacturer’s advice to meet food safety rules.
Decorative Finishing Touches
The finish can also make your corner rack look great. Try a glossy varnish or a stain that matches your kitchen or bathroom. These touches can make your DIY project stand out, adding charm to your space.
Installation Techniques for Your DIY Corner Rack
Setting up your DIY corner rack right is key. It makes sure your storage is both sturdy and looks good. The right setup also keeps things safe by avoiding wobbly racks.
Wall-Mounted Installation Guide
For wall installation, start by finding the wall studs. This is important for a strong hold.
Finding Studs and Secure Anchoring
Find the studs with a stud finder. Mark their spots with a pencil. Then, drill holes and screw in anchors or screws to hold your rack.
“Always use a level to ensure your rack is straight and evenly aligned.”
Freestanding Corner Rack Setup
For a freestanding rack, make sure the base is sturdy. You can add weights or use floor fasteners for extra stability.
Securing Your Rack Safely
Keep your rack safe, whether it’s on the wall or freestanding. Wall racks need tight screws or anchors. Freestanding ones should be anchored or have a low centre of gravity.
By following these steps, your DIY corner shelf will be both useful and safe.
Customisation Ideas for Your Corner Wooden Shelves
To make your corner wooden shelves unique, add personal touches. Customising them boosts both function and style. This can enhance your bathroom or kitchen’s look.
Adding Hooks and Hanging Options
Adding hooks is a simple way to customise your shelves. They can hold towels, robes, or bags, keeping things tidy. You can pick from many styles, like metal, wooden, or brass hooks.
In a kitchen, hooks can hold utensils or pots and pans. In a bathroom, they’re great for towels or loofahs.
Incorporating Drawers or Baskets
Adding drawers or baskets boosts your shelves’ storage. Drawers are good for small items like toiletries or kitchen tools. Baskets work for bigger items like towels or cleaning supplies.
- Make sure drawers or baskets fit your shelf size.
- Match the material and finish to your decor.
- Use dividers or organisers for better storage.
Creating Adjustable Shelf Heights
Adjustable shelf heights let you tailor storage to your needs. This is handy for items of different sizes. Use shelf pins or brackets to change shelf positions.
This is great in kitchens for tall items like vases or cookbooks.
Decorative Edge Treatments
Decorative edge treatments can make your shelves stand out. Choose from rounded edges or moulding for a unique look.
“The details are not the details. They make the design.” – Charles Eames
Decorative edges add elegance to your shelves. They become a room’s centrepiece.
Maintenance and Care for Your Wooden Corner Rack
Keeping your wooden corner rack in good shape is key. It’s important whether it’s in your bathroom or kitchen. Regular care helps it stay useful and look great.
Cleaning Techniques for Different Environments
It’s crucial to clean your wooden corner rack often. In the kitchen, use a mild soap. In the bathroom, dry it well to stop water spots.
Cleaning Tips:
- Use a soft cloth to wipe down the rack.
- Avoid harsh cleaners that can harm the wood.
- For tough stains, try baking soda and water.
Preventing Water Damage in Bathroom Settings
Bathrooms are wet, which can harm your rack. Use a waterproof sealant on the wood. Check for water damage often and fix it fast.
Refinishing Tips for Long-Term Durability
Eventually, your rack might need a new finish. Sand it to remove the old finish. Then, apply a new stain or sealant. This keeps it looking good and protects the wood.
| Refinishing Step | Description |
|---|---|
| Sand the Surface | Remove old finish and smooth out the wood. |
| Apply New Stain or Sealant | Enhance the appearance and protect the wood. |
By following these tips, your wooden corner rack will stay beautiful and useful for many years.
🔨 Build It Like a Pro—Without Guesswork

Want to build this corner wooden rack (and thousands more) with zero confusion, zero waste, and perfect results?
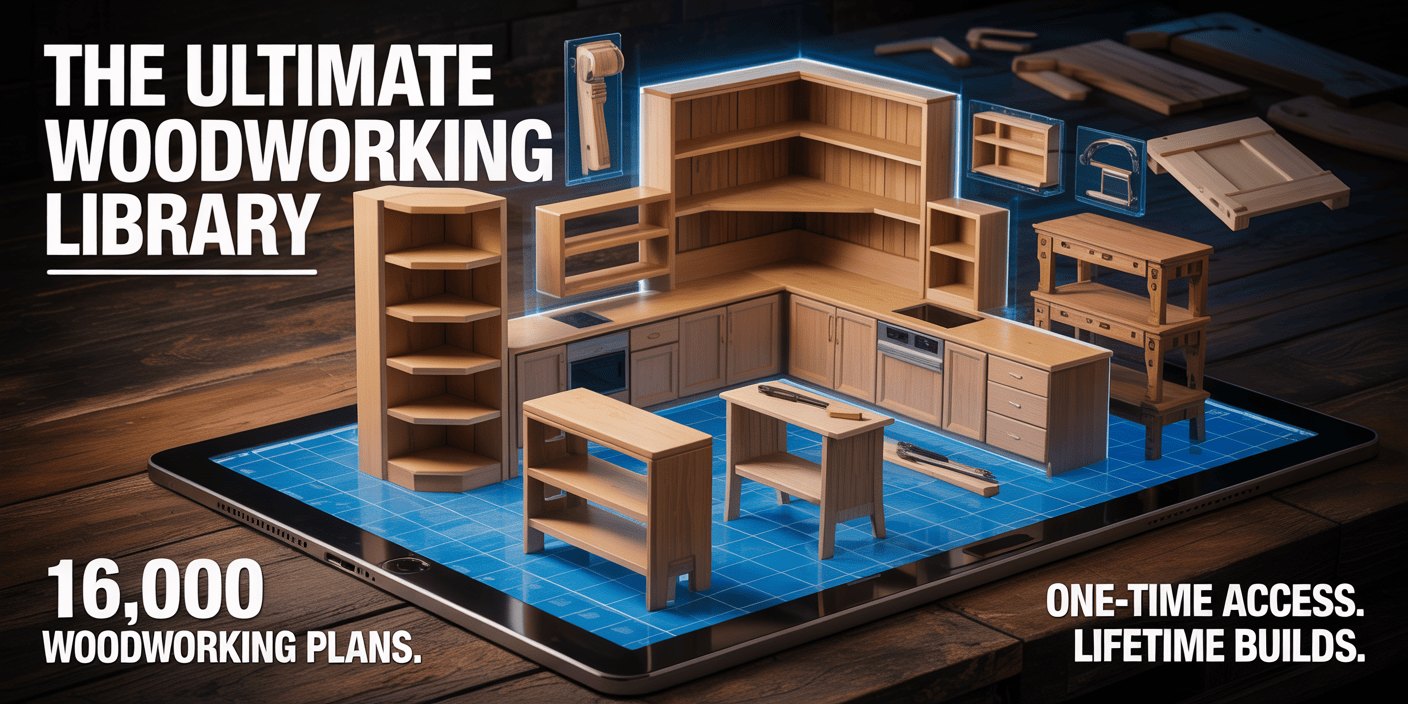
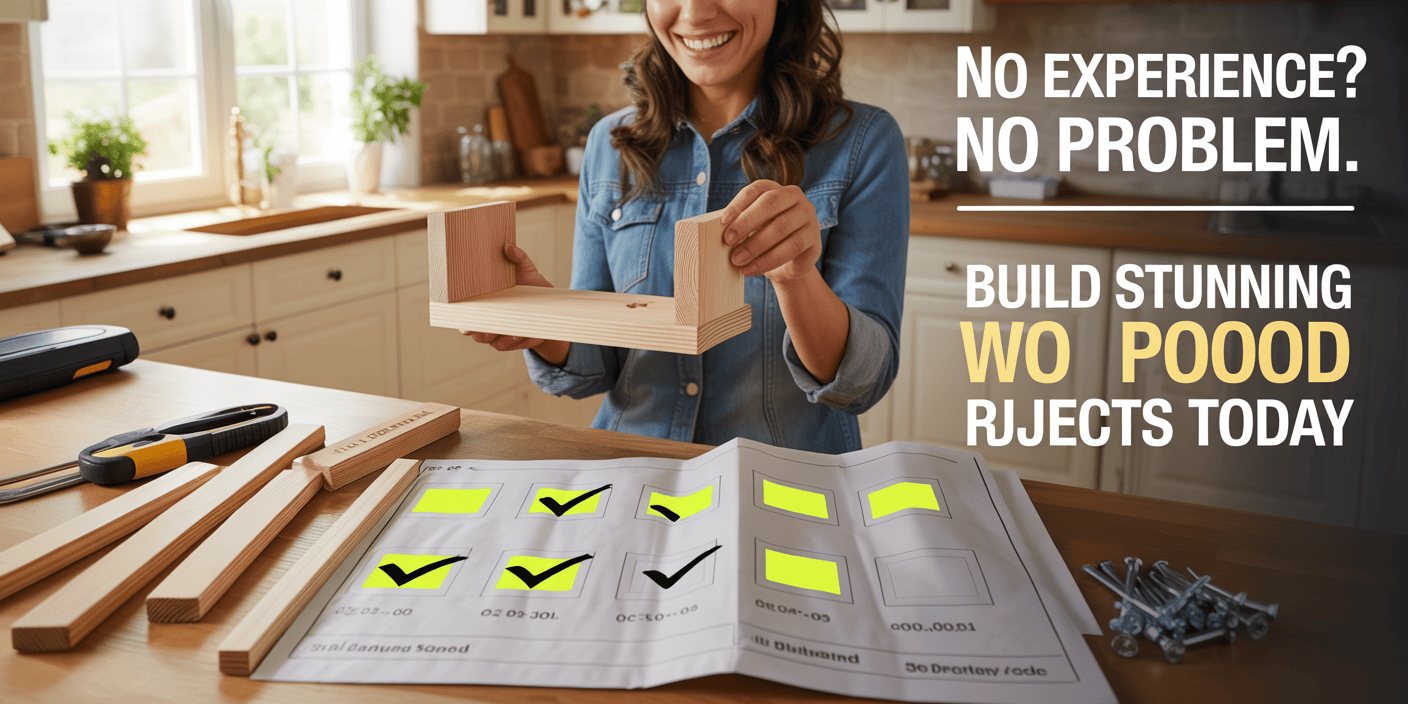
👉 Teds Woodworking gives you exact, done-for-you plans that make DIY projects fast, easy, and frustration-free.
✅ Why Smart DIYers Choose Ted’s Woodworking:
- 📐 16,000+ step-by-step woodworking plans (bathroom, kitchen, racks, shelves & more)
- 🧾 Exact cutting & material lists—no wasted wood or money
- 🖼️ Clear diagrams + multi-angle schematics (nothing left to guess)
- 🔧 Beginner-friendly—no expensive tools or big workshop needed
- ♾️ Lifetime access + FREE new plans every month
- 💰 One-time payment (no monthly fees, ever)
- 🔒 60-day 100% money-back guarantee—risk-free
🚀 Ready to Build Smarter (Not Harder)?
Turn your DIY ideas into professional-looking projects—starting today.
👉 Get Instant Access to Ted’s Woodworking Plans Now
👉 Click Here to Unlock 16,000 Proven Woodworking Plans
Conclusion
Making a DIY corner wooden rack for your bathroom or kitchen is a smart move. It helps save space and adds warmth and character. By following the steps in this article, you can create a useful and good-looking storage solution.
Looking to make the most of a small bathroom or kitchen? A corner wooden rack is a great choice. It’s both practical and stylish. You can customise it to match your space and style, making your room look better.
Using corner storage ideas in your DIY project keeps your space tidy. So, begin planning your DIY corner wooden rack bathroom kitchen project now. Enjoy a more organised and lovely living area.
FAQ
What type of wood is best for a DIY corner wooden rack in a bathroom or kitchen?
For bathrooms and kitchens, use woods like cedar, teak, or cypress. These woods resist moisture well, making them perfect for humid rooms.
What are the essential tools needed for building a corner wooden rack?
You’ll need a table saw or circular saw for cutting, a drill press for precise drilling, and a sander for smooth surfaces. A drill for screws is also key. Don’t forget a measuring tape, square, and clamps.
How do I measure my corner space accurately for a DIY corner wooden rack?
Measure the corner’s width and depth with a tape measure. Think about the rack’s height and any obstacles like plumbing or outlets.
Can I customise the design of my corner wooden rack for different room requirements?
Yes, you can tailor your rack to fit your space. Adjust shelf sizes and spacing based on your needs, like storage for toiletries or cookbooks.
How do I prevent water damage to my wooden corner rack in the bathroom?
Apply a water-resistant sealant to the wood. Also, ensure good ventilation and clean and dry the rack regularly to prevent damage.
What are some ideas for customising my corner wooden shelves?
Add hooks for hanging items, include drawers or baskets for more storage, or make shelves adjustable for different sizes.
How do I install a wall-mounted corner wooden rack safely?
Find wall studs with a stud finder and attach the rack to them with screws or brackets. Make sure it’s level and securely attached to avoid tipping.
What maintenance is required to keep my wooden corner rack in good condition?
Dust and clean the rack with a dry cloth. For stains, use a damp cloth. Avoid harsh chemicals that can harm the finish or wood.
Can I use a corner wooden rack in a kitchen with high humidity?
Yes, use a water-resistant wood and apply a protective sealant. Regular maintenance and good ventilation are also important.
