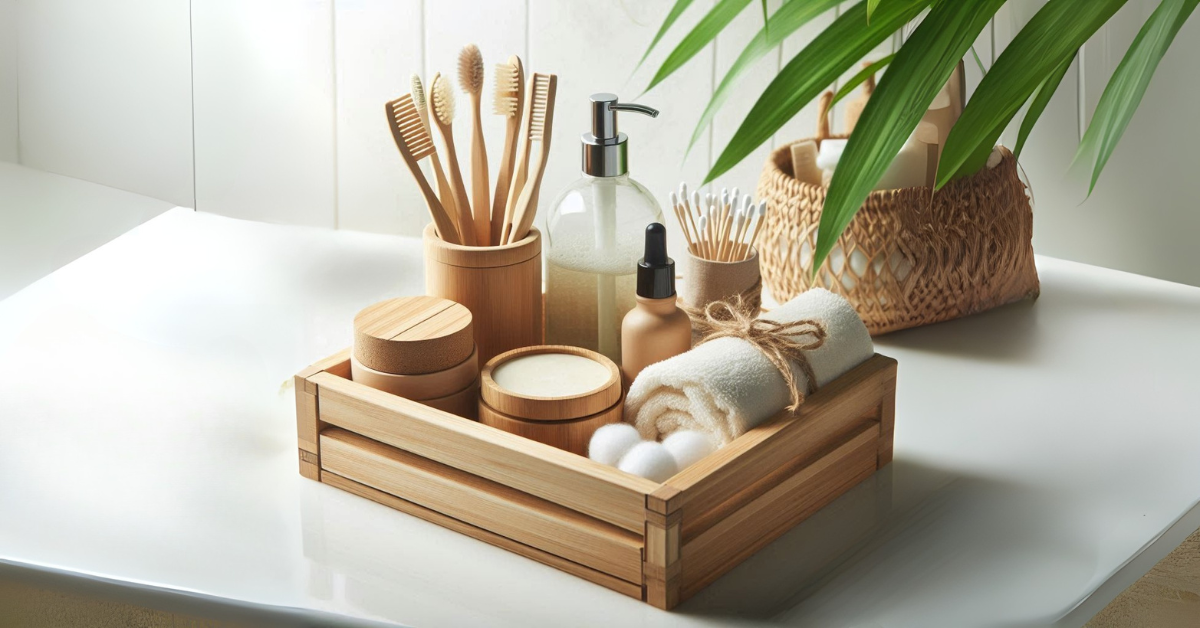
Imagine turning your bathroom into a spa with a simple DIY touch. A wooden bath tray can make your bath time better. It’s a stylish way to enjoy books, candles, and drinks while in the tub.
Make your own DIY wooden bath tray without spending a lot. Our easy tutorial will show you how. You’ll need basic materials and simple steps.
Key Takeaways
- Create a luxurious spa experience at home with a handmade wooden bath tray.
- Our tutorial is designed for beginners, requiring minimal materials and tools.
- A wooden bath tray adds a touch of warmth and elegance to your bathroom.
- Customise your bath tray to fit your personal style and bathroom decor.
- Enjoy a more relaxing and indulgent bathing experience with your new bath tray.
The Appeal of a Wooden Bath Tray
A wooden bath tray can turn your regular bathtub into a spa. By making a wooden bath tray DIY project, you improve your bath time. You also add warmth and elegance to your bathroom.
Bath trays are key in modern bathrooms. They make bath time more convenient and stylish. Let’s see why they’re so popular.
What Makes Bath Trays a Bathroom Essential
Bath trays add luxury and relaxation to your bath time. They hold your bath essentials like books and candles. This creates a spa-like feel. Bath trays are now a must-have for a relaxing home bath.
- Keep your bath essentials organised and within reach
- Create a relaxing ambience with candles and soft lighting
- Enjoy your favourite books or magazines while soaking
Benefits of Creating Your Own Custom Tray
Making your own bath tray woodworking project lets you customise. You can pick the wood, design, and features that match your style. This DIY project is cost-effective and fulfilling.
Custom trays offer several benefits:
- Personalised design to match your bathroom’s aesthetic
- Ability to choose durable and water-resistant materials
- Opportunity to add unique features, such as a wine glass holder or tablet stand
Planning Your DIY Wooden Bath Tray Project
Before starting your homemade wooden bath tray, planning is key. A good plan ensures your tray fits your bathtub perfectly. It also meets your needs.
Determining the Right Size for Your Bathtub
To find the right size, measure your bathtub well. Take note of its length, width, and depth. Think about the space for your bath items, like soap and books. A custom-sized bath tray offers the best comfort and use.
Choosing a Design Style
Choosing a design for your wooden bath caddy tutorial depends on your taste. You might prefer a modern look or something more traditional. Match your bathroom’s style with your tray’s design. Think about adding features like wine glass holders for a better bath experience.
With careful planning, your DIY wooden bath tray will be both useful and lovely. It will make your baths more enjoyable.
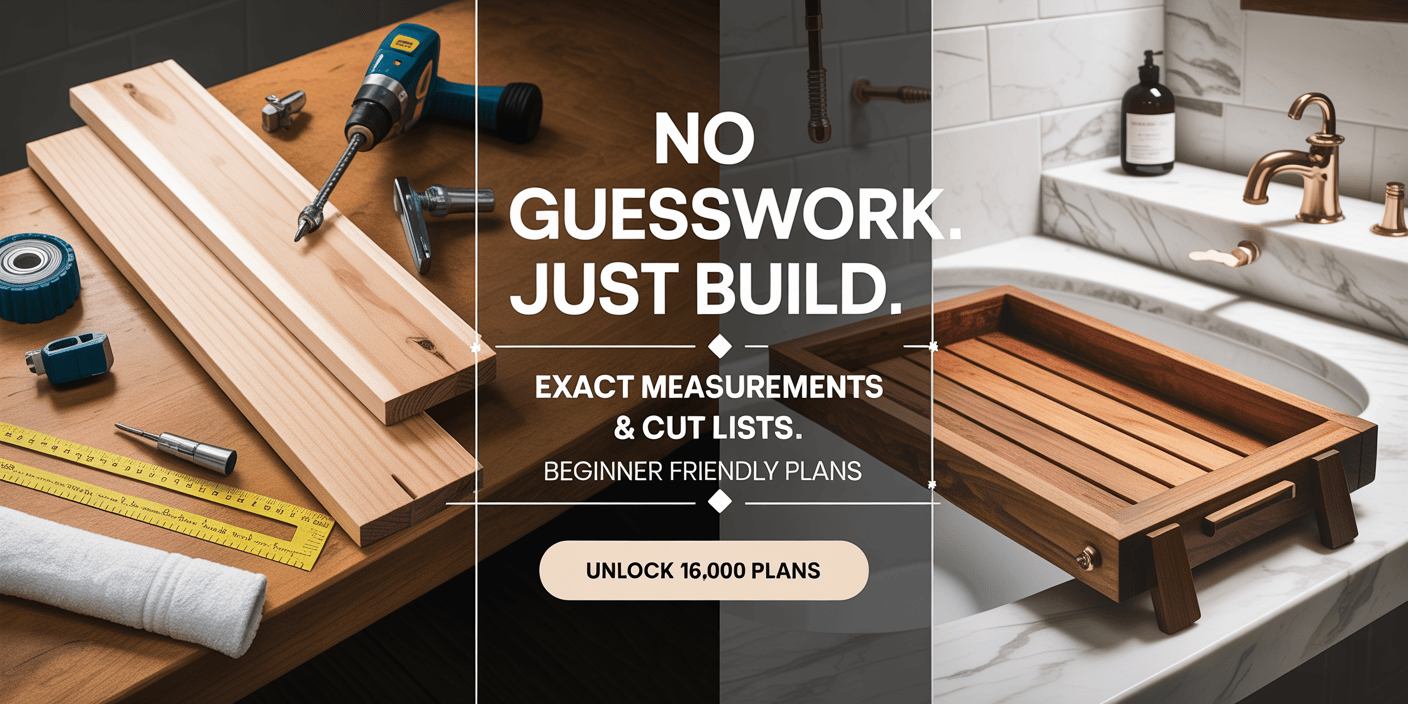
Materials Needed for Your DIY Wooden Bath Tray
To start making your bath tray, first, you need to gather the right materials. You’ll want wood that’s both strong and looks good. You’ll also need hardware and other parts to finish it off.
Wood Selection Guide
Choosing the right wood is key to your bath tray’s look and durability. Teak and Cedar are great because they don’t get damaged by water. You could also pick Bamboo for something eco-friendly or Reclaimed Wood for a special, old look. Think about what you want your bathroom to feel like when picking your wood.
Hardware and Additional Components
You’ll also need hardware and other parts to finish your bath tray. This includes screws, hinges, and a waterproof coat. For extra luxury, think about adding a wine glass holder or a book stand. Make sure all metal parts won’t rust in the bathroom.
Shopping List with Estimated Costs
| Material | Estimated Cost |
|---|---|
| Teak or Cedar Wood | $20-$50 |
| Screws and Hinges | $5-$10 |
| Waterproof Finish | $10-$20 |
| Optional Features (Wine Glass Holder, Book Stand) | $10-$30 |
| Total Estimated Cost | $45-$110 |
By picking the right materials, you can make a bath tray that’s both beautiful and useful. It will make your bath time even better.
Essential Tools for This Spa-Inspired Project

Starting a DIY wooden bath tray project needs the right tools. We’ve listed the key tools for making your luxurious bath tray.
Basic Woodworking Tools
Every woodworking project starts with basic tools. For your bath tray, you’ll need:
- A tape measure for accurate measurements
- A saw (circular or handheld) for cutting wood
- A drill for making screw holes
- Sandpaper for smoothing out the wood surface
- A hammer for tapping pieces into place
Optional Tools That Make the Job Easier
These tools are not essential, but can make your project easier and better:
| Tool | Benefit |
|---|---|
| Clamps | Hold the wood in place while glueing |
| Jigsaw | Cut curved or irregular shapes |
| Wood sealant applicator | Easily apply waterproof sealant |
Tool Alternatives for Beginners
If you’re new to woodworking, try these alternatives:
- Using a hand saw instead of a power saw
- Opting for pre-cut wood to avoid measuring and cutting
- Utilising online tutorials for guidance on tool usage
Preparing Your Workspace for Safety and Efficiency
Setting up your workspace right is key to a safe and smooth woodworking experience. A messy workspace can cause accidents and slow you down, which is true for bath tray woodworking projects.
Setting Up a Proper Workstation
To create a good workspace for your DIY spa accessories, clear a flat area of any mess. Make sure your workbench is strong and at a height that feels right. Keep your tools close so you don’t have to move around a lot.
- Keep tools you use often within reach.
- Use a vice or clamps to hold your workpiece.
- Make sure the area is well-lit so you can see what you’re doing.
Safety Precautions for DIY Woodworking
When making a homemade wooden bath tray, safety comes first. Always wear protective gear like safety glasses and a dust mask when using power tools.
- Keep loose clothes and long hair tied back.
- Avoid wearing jewellery that could get caught in tools.
- Keep children and pets away from your workspace.
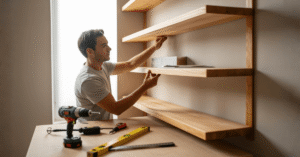
Step-by-Step Guide to Creating Your DIY Wooden Bath Tray for Spa-Like Luxury

Make your bathing time more luxurious with a DIY wooden bath tray. This guide will show you how to make a beautiful and useful bath tray.
Measuring and Marking Your Wood
Start by measuring and marking your wood. Accuracy is crucial for a perfect fit. Use a tape measure and a pencil to mark it. Always double-check your measurements.
Cutting the Wood to Size
After marking, cut the wood to size. Use a saw suitable for your wood type. Cut carefully, wearing safety goggles and a dust mask.
Sanding for a Smooth Finish
Sanding is next for a smooth finish. Start with coarse-grit sandpaper and move to finer grits. This removes splinters and prepares the wood for staining or sealing.
Basic Assembly Process
Now, assemble your bath tray. Use waterproof glue and the right hardware. Make sure it’s sturdy and can hold your items. Let the glue dry before using your tray.
By following these steps, you can make a luxurious DIY wooden bath tray. Enjoy the process and the pride of creating something beautiful for your home.
Adding Functional Features to Your Bath Caddy
Make your bath caddy a luxury spa with practical features. Add thoughtful touches to turn it into a DIY spa accessories haven. It will feel like a high-end spa.

Wine Glass Holder Installation
A wine glass holder is a luxurious addition. It lets you enjoy wine while in the bath. Use a metal or wooden bracket to attach it to your bath tray.
Book/Tablet Stand Creation
A book or tablet stand is a great feature. It keeps your device at a good viewing angle. Use wooden slats or a metal rod to make it, attaching it to your bath tray.
Soap and Candle Holders
Soap and candle holders add to the bath’s ambience. Make them from waterproof materials and attach them to your bath tray. They keep your essentials close, making your bath more relaxing.
Optional Extras for Ultimate Luxury
For extra luxury, add a bath salt or essential oil tray, or a flower vase. These can be customised to fit your style, making your bath caddy special.
| Feature | Description | Material |
|---|---|---|
| Wine Glass Holder | Attaches to the side of the bath tray | Metal or Wood |
| Book/Tablet Stand | Adjustable angle for comfortable viewing | Wood or Metal |
| Soap and Candle Holders | Waterproof and easy to clean | Plastic or Ceramic |
Finishing Your Wooden Bath Tray

Once your wooden bath tray is built, it’s time to waterproof and stain it. This step makes your DIY project look better and keeps it safe from bathroom humidity.
Waterproofing Options for Bathroom Use
Waterproofing stops water damage. You can use a waterproof sealant or a water-resistant finish. Polyurethane and varnish are great because they last long and keep water out.
| Waterproofing Method | Durability | Ease of Application |
|---|---|---|
| Polyurethane | High | Moderate |
| Varnish | High | Easy |
| Waterproof Sealant | Very High | Moderate |
Staining and Sealing Techniques
Staining your bath tray adds a fancy look. Pick a stain that matches your bathroom. Then, put on a clear sealant to keep the wood safe and last longer.
Always follow the stain and sealant instructions. You’ll apply thin layers, letting each dry before adding the next. This method gives a smooth finish and avoids drips.
Customisation Ideas to Elevate Your Wooden Bath Caddy
Make your bath time more luxurious with a customized wooden bath caddy. It can show off your style. A good bath tray turns bath time into a cosy retreat.
Decorative Elements and Embellishments
Adding special touches makes your wooden bath tray stand out. Think about adding:
- Intricate wood carvings or engravings
- Decorative metal or crystal knobs
- Personalised messages or names
These extras not only look great but also add a touch of luxury and pampering.
Personalization Options
To make your bath tray even more special, check out these personalisation ideas:
- Choose a wood type that matches your bathroom’s look
- Try a custom finish or stain
- Add features like cup holders or phone slots
Personalising your DIY wooden bath tray makes it a one-of-a-kind spa luxury bath tray. It will make your bathing experience even better.
Maintenance and Care for Your DIY Wooden Bath Tray

Keeping your DIY wooden bath tray in good shape is key. It makes your bath time better and lasts longer.
Routine Cleaning Practices
For a clean wooden bath tray diy, use a dry cloth after each bath. This removes water spots and soap. For deeper cleaning, a mild soap and thorough drying are needed to avoid damage.
Refinishing and Repair Tips
As your bath tray woodworking project ages, it might need a refresh. Sand it to remove rough spots and apply a waterproof sealant. If parts are damaged, fix or replace them to keep your homemade wooden bath tray in top condition.
Styling Your Bath Tray for the Ultimate Spa Experience
To get the best spa experience, styling your bath tray is key. A well-styled bath tray can make your bath time feel luxurious.
Essential Spa Items to Include
When setting up your bath tray, pick items that help you relax and pamper yourself. Some must-haves are:
- A scented candle or essential oil diffuser
- A good book or a relaxing magazine
- A glass of wine or a refreshing drink
- Luxurious bath products, such as bath salts or scented soaps
- A plush bathrobe or towel
Creating a Cohesive Bathroom Aesthetic
To match your bathroom’s style, choose a bath tray that fits. Pick spa items that match your bathroom’s color and style. For example, modern bathrooms look great with sleek accessories. Traditional bathrooms do well with ornate items.
By carefully styling your bath tray, you can turn your bathroom into a spa. It’s a great way to enjoy spa-like moments at home.
🪵 Turn Scrap Wood into Spa-Day Magic
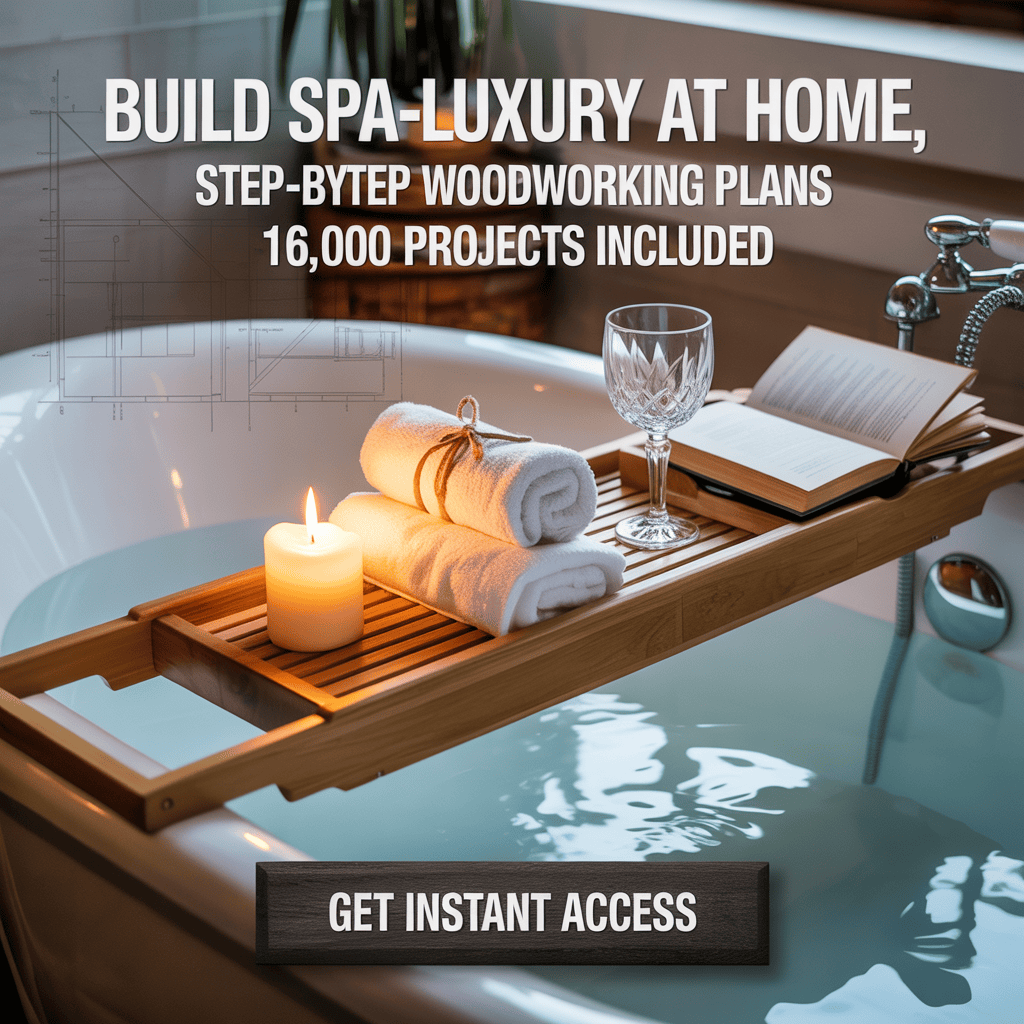
With Ted’s Woodworking – Perfect for Beginners & Home Creators!
Love crafting your own wooden luxuries like a bath tray?
Then don’t miss this — get 16,000 step-by-step woodworking plans with easy, beginner-safe instructions designed for people just like you.
✨ Why Woodworkers Trust Ted’s Plans:
- 📘 16,000+ fully detailed projects with diagrams & cutting lists
- 🧰 Made for beginners — no big tools or huge workshops needed
- 🛠️ Build furniture, decor, trays, planters & more at your pace
- 🎁 Includes 150 video tutorials + free updates + pro guidance
- 💰 One-time price of just $67 — no hidden fees, no subscriptions
🧖♀️ Upgrade your DIY lifestyle now.
🪄 Get Instant Access to Ted’s Woodworking »
“I built my first tray and couldn’t believe how smooth it went. The plans are crystal clear!”
Conclusion
Making a DIY wooden bath tray is easy and fun. It can make your bath time better. Just follow the steps in this guide to make a fancy bath tray for your bathroom.
This tutorial lets you make a bath tray that’s just right for you. You can pick from many wood types and designs. This way, you can make a bath tray that looks great to you.
With your new bath tray, you can relax in the tub with your favourite things. You can read a book, drink wine, or light candles. It’s a way to make your home feel like a spa. So, start making your bath tray today and enjoy a great bath experience at home.
FAQ
What type of wood is best for a DIY wooden bath tray?
Cedar, teak, and pine are great for a bath tray because they last long and handle moisture well. Look for wood that’s good for the planet, too.
How do I measure my bathtub for a custom bath tray?
First, measure your bathtub’s length, width, and depth. Think about how much space you need for your bath stuff and any extra features you want.
What are the essential tools needed for this DIY project?
You’ll need basic tools like a saw, drill, sandpaper, and clamps. Tools like a jigsaw or router can help, but they’re not must-haves.
How do I waterproof my wooden bath tray?
Use a waterproof sealant or finish, like polyurethane or varnish, to keep your tray dry. Choose a product made for bathrooms.
Can I customise my bath tray with decorative elements?
Yes, you can add special touches like engravings, carvings, or metal hardware. Pick something that fits your style and bathroom look.
How do I maintain and care for my DIY wooden bath tray?
Clean it with mild soap and dry it well to avoid damage. Refinish or fix it as needed to keep it looking and working great.
What are some styling tips for my bath tray?
Add things like candles, bath salts, and a book to relax. Choose a tray that matches your bathroom’s style for a nice look.
Is a DIY wooden bath tray a cost-effective option?
Yes, making your own bath tray can save money. Think about the cost of materials and tools when you plan your project.
Can I add functional features like a wine glass holder or book stand to my bath tray?
Yes, you can add features like a wine glass holder or book stand. Think about what you need and want for your tray.

Pingback: 20 Creative Ways to Style Your DIY Wooden Tray (Beyond Serving)