Are you looking to build your wooden bed but don’t know where to start? DIY wooden bed plans are the perfect way to create a custom, stylish, and affordable bed for your home.
Whether you’re a beginner or have some woodworking experience, these step-by-step plans will guide you through the process easily.
From simple designs to more advanced projects, you’ll find everything you need to make a bed that fits your style and space. Plus, building your bed is not only rewarding but also saves you money.
Let’s dive into these creative and practical wooden bed plans that you can start today!
Building a custom wooden bed can save you a lot of money and give you a sense of pride. DIY wooden bed platforms can cut costs by about 50% compared to buying a bed frame from a store.
With simple woodworking plans and the right tools, anyone can make their own wooden bed. It usually takes 8-12 hours to finish a DIY wooden bed project for beginners, including planning and assembly.
When picking out DIY wooden bed plans for beginners, think about the wood type and bed design. Wood can change size due to moisture, which might cause it to bend or twist.
You can use woodworking projects like pocket hole joinery, which is used in about 70% of DIY furniture projects. It’s easy to assemble and looks good.
Key Takeaways
- You can save hundreds of dollars by building a custom wooden bed.
- DIY wooden bed platforms can save homeowners approximately 50% compared to purchasing a pre-made bed frame from retail stores.
- The average time to complete a DIY wooden bed project for beginners is estimated at 8-12 hours, including planning, cutting, sanding, and assembly.
- Woodworking projects like pocket hole joinery are utilised in about 70% of DIY furniture projects due to its ease of assembly and aesthetic appeal.
- Easy woodworking plans can help you get started with your DIY wooden bed plans for beginners.
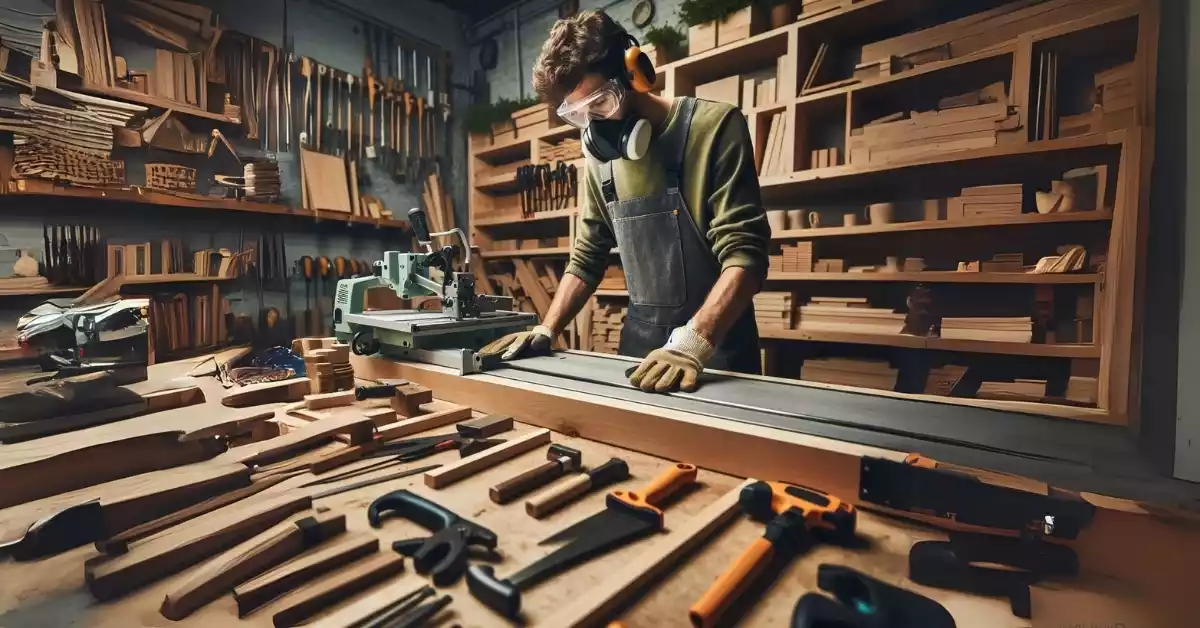
Essential Tools and Materials for DIY Wooden Bed Construction
For beginner woodworking projects, the right tools and materials are key. A DIY wooden bed needs both power tools and hand tools. The cost of materials can be under $30 if you have screws and dowels, or under $50 if you buy everything.
A step-by-step woodworking guide lists essential power tools like a circular saw and drill. You’ll also need basic hand tools like a hammer and a tape measure. Knowing what materials you need, like lumber and screws, is crucial for a DIY furniture plan.
For a DIY wooden bed, you’ll need specific materials. This includes 2×8’s, 2×6, 2×10, and 2×2’s, all 8′ long3. The bed frame plans fit various sizes, from twin to California king. The construction uses different wood sizes, like 4×4 and 2×4 boards.
In a diy furniture plan, consider the bed frame’s size and wood type. Mattress sizes vary, from twin to king. The bed frame is built ½” wider and longer than the mattress sizes for extra space.
Safety Guidelines for Woodworking Beginners
When you start woodworking, it’s key to follow safety rules to stay safe. In 2017, over 26,000 people went to US hospitals for table saw injuries. This shows why wearing safety glasses and a dust mask is important.
To avoid getting hurt, keep at least 4 inches away from moving saw blades. Using push sticks and blocks helps keep the wood down, lowering kickback risks. Also, read and talk about the VAM Safety Manual before signing the Safety Manual Consent Form.
Following proper steps in woodworking can make you safer by building muscle memory. Thinking about your cuts and planning can also lower accident risks. Keeping your workshop floor clean and clear of obstacles is also vital to avoid slips and falls.
By sticking to these safety tips and being careful, you can have a fun and safe time with woodworking tutorials and projects.
Understanding Basic DIY Wooden Bed Plans for Beginners
Creating customised bed frame plans starts with the basics. You need to pick the right woodworking projects and plans that match your skills. It’s important to read and understand the plans, including bed sizes and joint types.
Choosing the right materials is key. Look for lumber without bowing, knots, or damage. You might need specific wood and hardware, like Fir posts and structural screws.
DIY bed plans also involve using dowels and pocket holes for strength. Adding modern touches, like steel hairpin legs, can enhance the look. The assembly might need clamps and pilot holes for a tight fit. With the right plans, you can make a bed that fits your style and needs.
Some like to use recycled wood for an eco-friendly bed. Others prefer modern designs with tempered panels and steel legs. Knowing the basics is crucial for a durable and cosy bed that will last.
Selecting the Right Wood for Your Bed Frame
Choosing the right wood for your bed frame involves several factors. These include the type of wood, grain, and colour. The type of wood you pick depends on your taste, budget, and the bed frame’s style. For instance, Douglas Fir is popular on the West Coast, while Southern Yellow Pine and Spruce Fir are favourites on the East Coast.
The cost of wood also matters, as it can change a lot based on type and quality. Solid wood bed frames can cost hundreds of dollars or more. But, with diy furniture plans and step-by-step woodworking, you can make a sturdy bed frame for less.
Popular woods for bed frames include Poplar, the cheapest hardwood, and Douglas Fir, which is stronger and more durable. When picking wood, think about its color, grain, durability, and how well it resists warping or cracking.
By using diy furniture plans and step-by-step woodworking, you can make a beautiful and sturdy bed frame. It will meet your needs and budget. With the right wood and patience, your bed frame will last for many years.
Preparing Your Workspace and Materials
Starting beginner woodworking projects requires a well-prepared workspace and materials. You need a safe and efficient area, ready wood, and accurate measurements. For simple projects like a bed frame, keep your workspace clean and free of clutter.
Measuring and marking wood accurately is crucial. It helps avoid mistakes and ensures your project looks as planned. For instance, a king-size bed frame needs a board that’s 80 1/2 inches long. Also, consider the cost of lumber, which can be under $100, including slats.
Here’s what you’ll need for your beginner woodworking projects:
- 2x8x8 Framing Lumber
- 1x6x8 Common Board
- 1x4x8 Common Board
- 2 1/2″ Pocket Hole Screws
- 1 1/4″ Pocket Hole Screws
By following these tips, you’ll be ready to start your simple woodworking projects. You’ll enjoy the pride of creating something with your own hands.
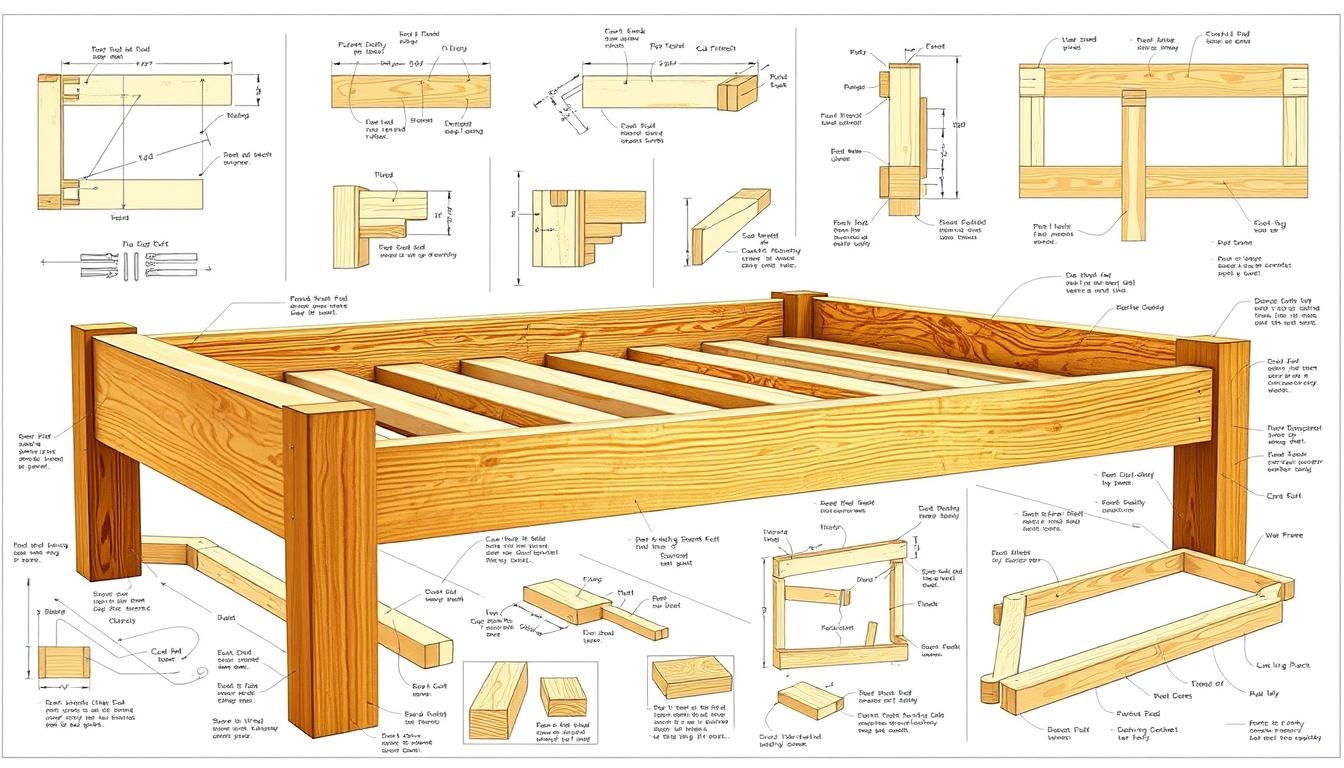
Building the Bed Frame Foundation
Building the bed frame foundation is a step-by-step process. Start by cutting boards according to your DIY-wooden-bed-plans-for-beginners. You can make a DIY bed for under $40014, saving money compared to buying one. Assemble the frame and attach slats, spacing them about 2.5 inches15 apart for mattress support.
Choosing the right materials is crucial. You’ll need 4×4-inch posts for the frame and 1×4-inch boards for supports. The wood type affects cost and durability. PureBond Plywood is a good choice for strong side rails.
Building a bed frame foundation requires detail and patience. Measure and mark boards carefully. Use tools like a Kreg Jig to assemble. With proper plans and materials, you’ll make a lasting bed frame.
Consider mattress size, wood type, and slat spacing when building. Following these tips and using the right materials, you can make a sturdy, comfy bed. The cost for materials, including wood and finishes, is under $100. It’s a budget-friendly option for beginners.
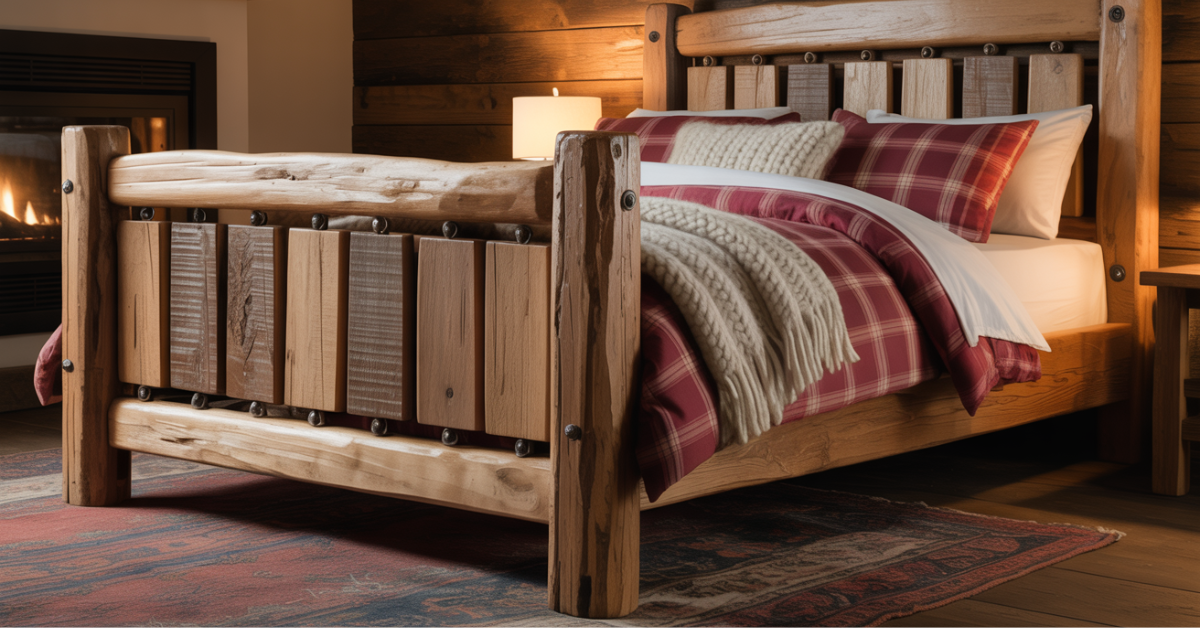
Crafting the Headboard and Footboard
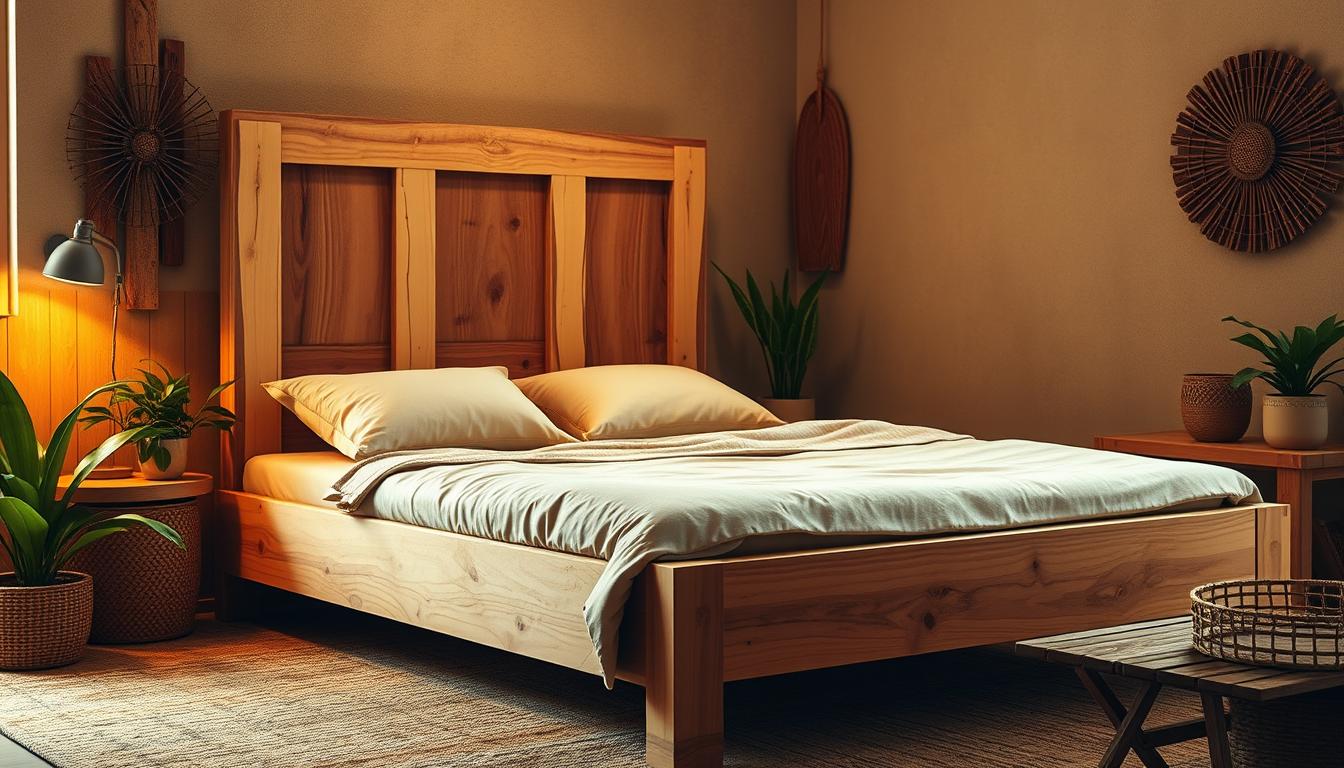
When making the headboard and footboard, you can pick from many designs. This lets you create something unique and stylish that fits your bed frame plans. You might choose a simple design or something more detailed, based on what you like and your woodworking plans.
To put the headboard and footboard together, you’ll need to use different methods. This includes drilling holes or using dowel joints. It’s important to follow the instructions and use the right tools for a strong and lasting build.
You can also add special touches like carvings or mouldings to your headboard and footboard. Using different woods and finishes can make your pieces stand out. This will match your bed frame plans and woodworking plans perfectly.
Some common designs for headboards and footboards are panel, slat, and carved designs. Pick one that fits your style and use woodworking plans to make it real.
By following these steps and using your bed frame plans and woodworking plans, you can make a beautiful headboard and footboard. They will enhance your bed and make your bedroom look elegant.
Installing Support Systems and Slats

Installing support systems and slats needs a careful step-by-step approach. This ensures the bed is strong and lasts long. You’ll need to put in the centre support, space the slats, and attach them to the frame. Woodworking tutorials say the materials can cost between $100 and $150.
Keeping measurements and angles right is key, as woodworking tutorials often point out. You’ll need 43 pieces of 1×3 at 6’ for slats and framing, and 9 pieces of 2×4 at 8’ for framing and support. Pocket hole screws, like 1-1/4” and 2-1/2”, are vital for holding everything together.
Don’t forget to plan the sizes of each part. For example, you’ll need 5 pieces of 2×4 at 17-1/2” for the footboard frame and stabilisers, and 23 pieces of 1×3 at 65” for the footboard and headboard slats. By following these steps and using the right materials, you can make a sturdy and comfy bed frame.
Always put safety first and wear the right gear when using power tools and wood. With patience and careful work, you can install the support systems and slats well. This will help you finish your DIY woodworking project.
Finishing Touches and Wood Treatment
Finishing touches are key in simple woodworking projects like building a platform bed. The cost can vary from under $50 to under $200, depending on the design and materials. Sanding the wood thoroughly with 120-grit sandpaper is crucial. This step smooths out imperfections and prepares the surface for staining or finishing.
Staining can also enhance the wood’s appearance. Choose a stain that matches your wood type and desired colour and finish. Plans like the Hailey Platform Bed plan provide detailed staining and finishing instructions. Applying a finish protects the wood and extends its life.
For simple projects, use DIY furniture plans with detailed instructions and diagrams. These guides help you achieve a professional finish. With the right tools and materials, you can make beautiful, functional furniture that lasts. Some plans, like the DIY Modern Farmhouse Platform Bed plan, include videos to aid in completion.
By following these tips and using the right materials and tools, you can make beautiful furniture. Simple projects, like building a platform bed, are fun and rewarding. With the right plans and practice, you can impress everyone with your work.
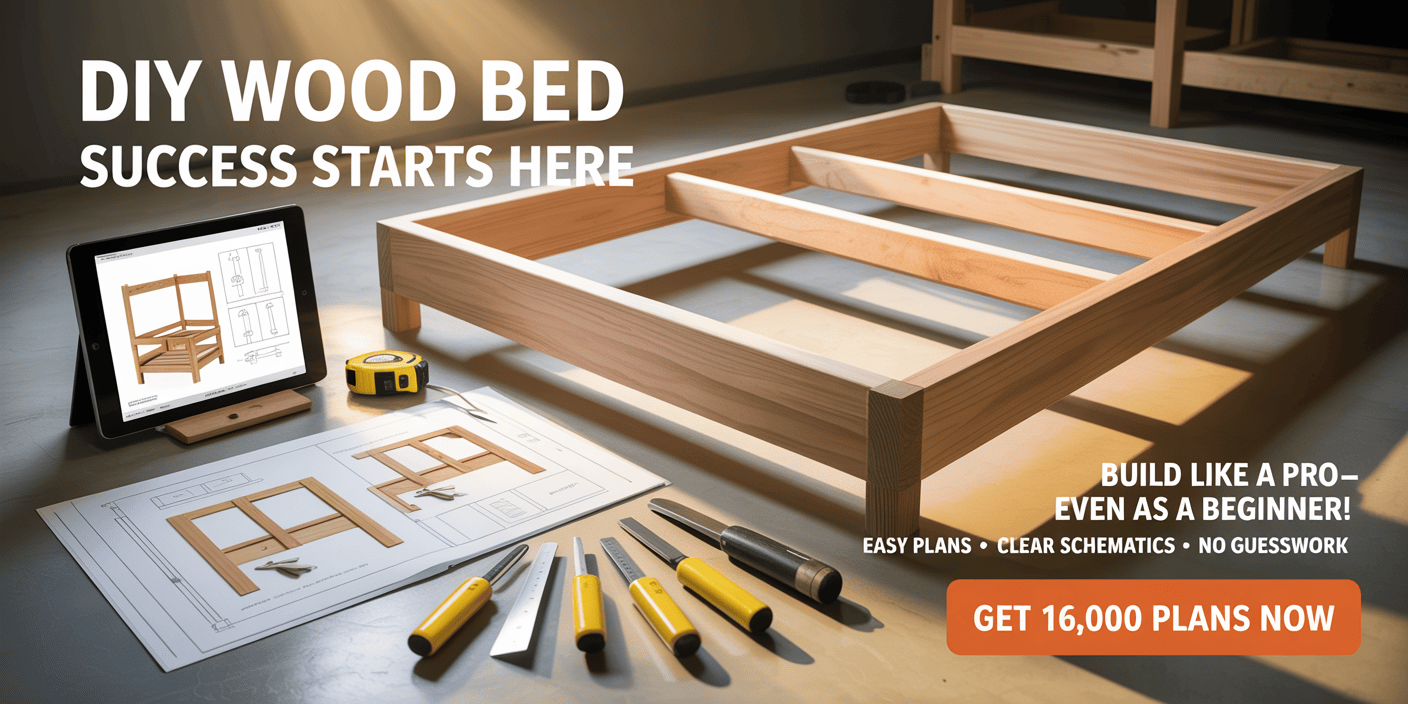
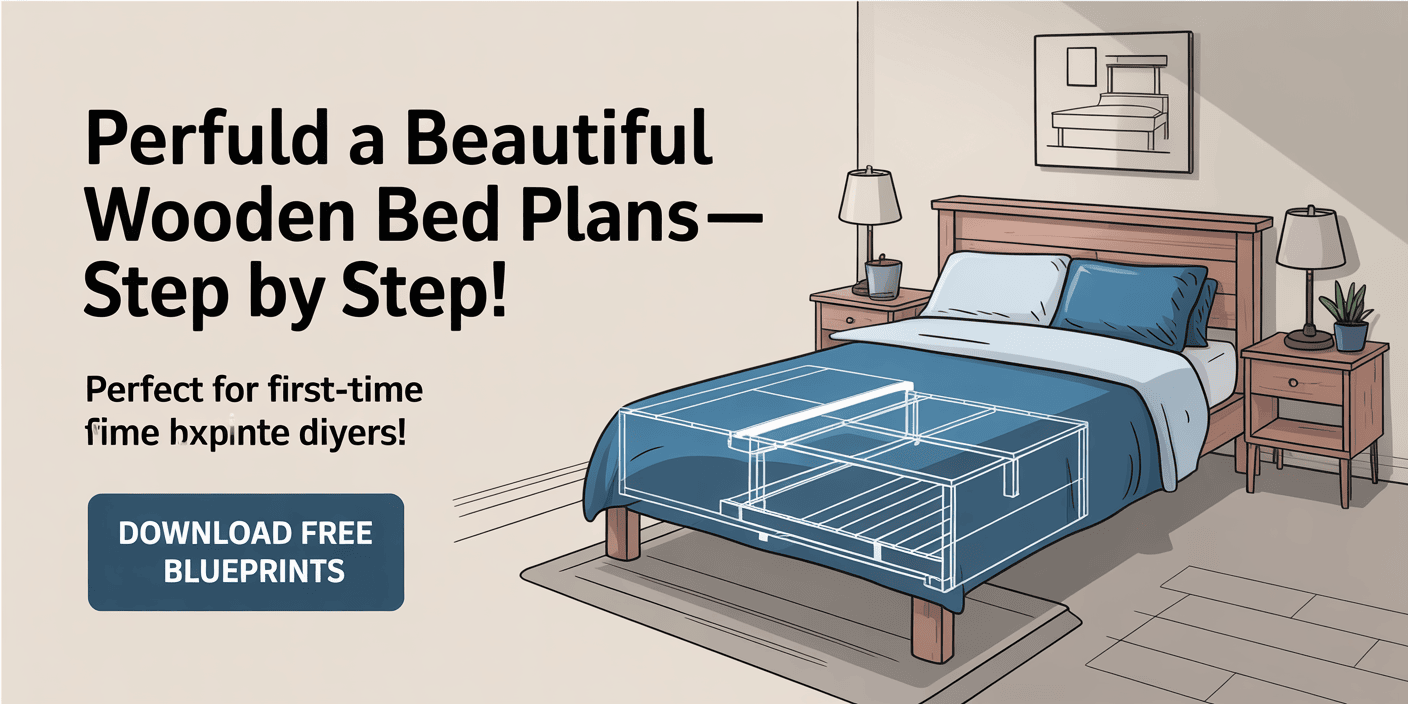
⭐ Ready to Build Your First Wooden Bed the Easy Way?
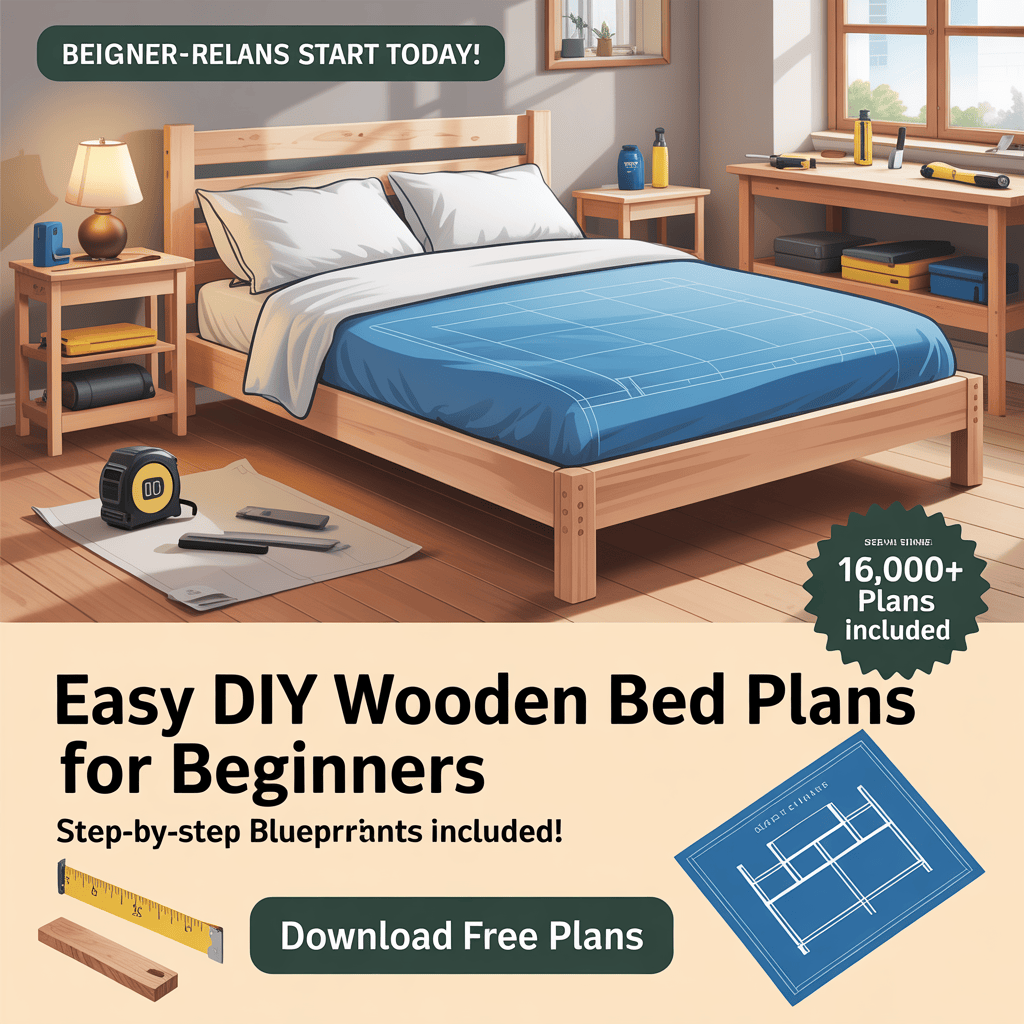
If you’re excited to start your DIY journey but want clear instructions, beginner-friendly plans, and professional blueprints, then you’ll LOVE what comes next.
👉 Teds Woodworking gives you everything you need to build stunning wooden projects—without confusion, guesswork, or expensive tools. Whether you’re a complete beginner or a DIY hobbyist, these plans make woodworking simple, fun, and stress-free.
✅ Why Beginners Love Teds Woodworking
- 16,000+ “Done-For-You” Woodworking Plans with step-by-step instructions
- Exact cutting & materials lists for every project—no wasted wood or money
- Beginner-friendly diagrams, 3D schematics & multiple angle views
- No need for a big workshop or expensive tools—great for small spaces
- Free monthly new plans for life, plus custom plan requests
- Lifetime access with a one-time affordable payment (no monthly fees!)
- Risk-free 60-day money-back guarantee—try it without worry!
🔥 Turn Your Wooden Bed Idea Into a Beautiful Reality—Starting Today!
🎉 Click below to unlock 16,000+ beginner-friendly woodworking plans and start building with confidence.
👉 Start Your DIY Bed Project with Teds Woodworking →
Conclusion: Your Journey to Building Custom Wooden Beds
As you finish your DIY wooden bed project, take a moment to celebrate. Making your own bed frame lets you show off your style and feel proud. Whether it’s modern or traditional, turning wood into furniture is rewarding.
Success in DIY projects comes from planning, paying attention to details, and being open to learning23. By using guides and the right tools, you can make a bed that’s perfect for you24. This experience will boost your creativity and confidence for future projects.
Building custom bed frames is just the start. Enjoy the pride of making something unique and useful with your own hands. With the right mindset and effort, you can turn your bedroom into a space that shows off your style and skill. Happy building!
FAQ
What are the essential tools and materials needed for DIY wooden bed construction?
You’ll need power tools like a circular saw, jigsaw, and power drill. Also, basic hand tools such as a hammer, measuring tape, and clamps are crucial. For materials, you’ll need wood boards, wood glue, screws, and sandpaper.
What are the safety guidelines for woodworking beginners?
Always wear protective gear like goggles, gloves, and hearing protection. Follow proper techniques for using power tools to avoid injuries and mistakes.
How do I understand basic DIY wooden bed plans for beginners?
Start by learning how to read woodworking plans. Know common bed dimensions and the types of joints used in bed construction.
How do I select the right wood for my bed frame?
Choose wood based on type, grain, and color. Make sure it matches your desired look and is strong enough for your bed frame.
How do I prepare my workspace and materials for the project?
Set up a safe and efficient workspace. Cut and sand the wood. Measure and mark materials carefully for accurate assembly.
How do I build the bed frame foundation?
Start by cutting the boards. Assemble the frame and attach the slats. This creates a sturdy base for your bed.
How do I craft the headboard and footboard?
Design the elements, assemble the pieces, and add decorative touches. This will give your bed a unique and stylish look.
How do I install the support systems and slats?
Place the centre support and space the slats evenly. Securely attach them to the frame. This makes your bed sturdy and durable.
What are the finishing touches and wood treatment steps?
Sand, stain, and apply a protective finish to the wood. This will give your bed a professional look and protect it from damage.


