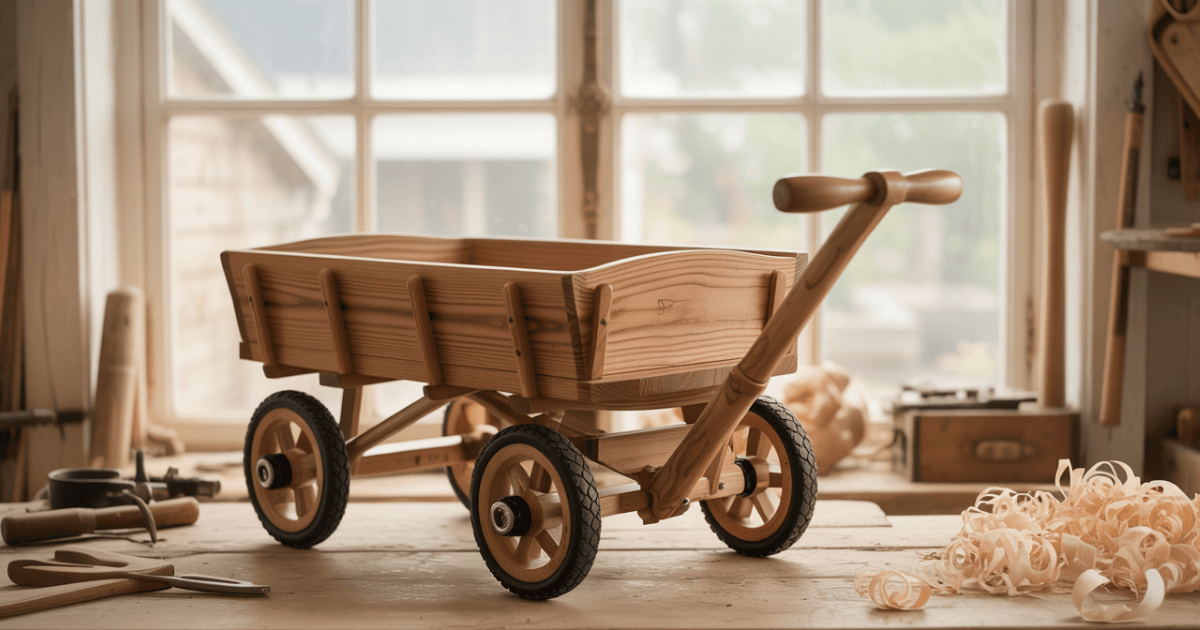
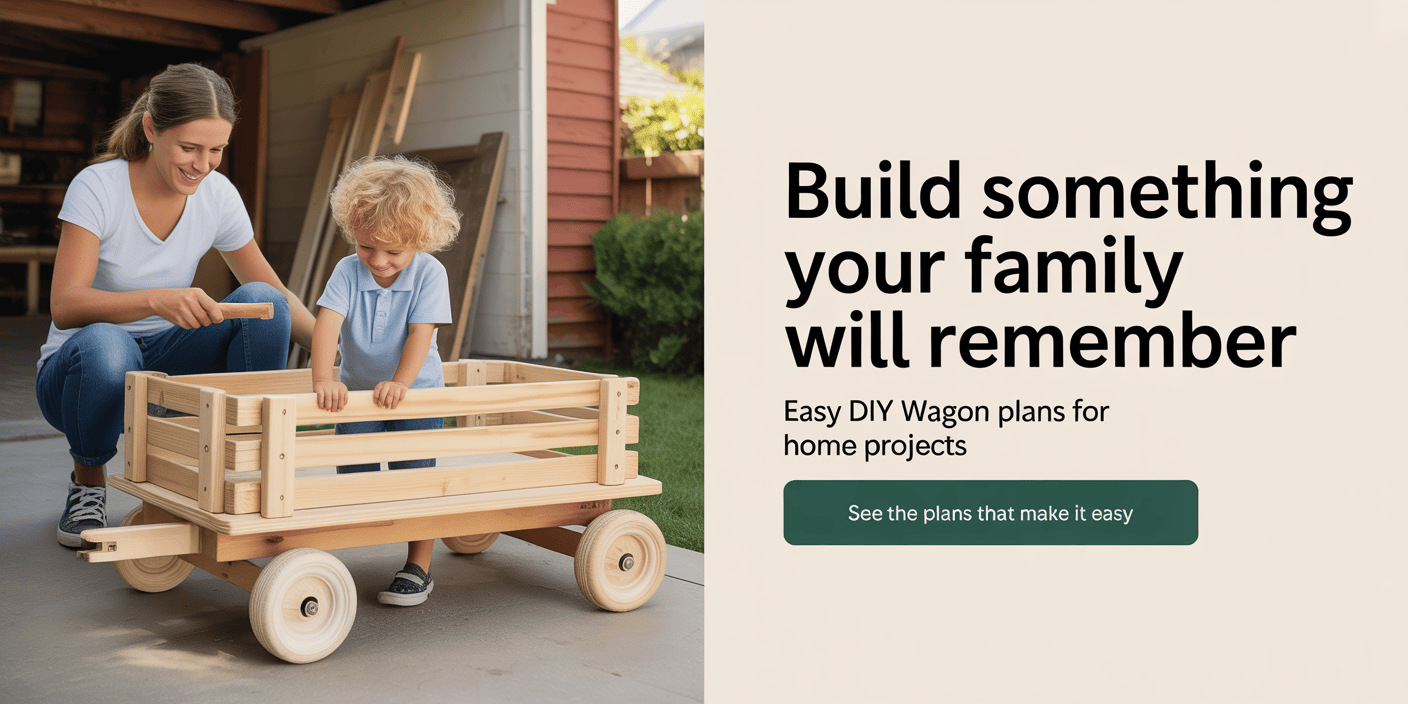
Building a handmade wagon is fun and rewarding. You don’t need to be an expert to start. With just $75, you can make a beautiful and useful vintage-style wagon for your home or garden.
Now, you can easily build your wooden wagon. Our guide has free plans and beginner-friendly instructions. It’s great for those new to DIY crafting who want to save money and don’t need a lot of experience.
Building your DIY wooden wagon design is one of the most rewarding woodworking projects you can tackle this weekend. Whether you want to create a charming decoration for your garden or a functional cart for hauling tools, a well-crafted wooden wagon design brings both beauty and purpose to any space.
In this step-by-step guide, we’ll show you exactly how to build a stunning wooden wagon from scratch, even if you’re a complete beginner. With our free plans and simple instructions, you’ll have everything you need to create a masterpiece that will last for years to come.
Key Takeaways
- Build a handmade wagon with an estimated cost of $75.
- Follow our comprehensive guide with free plans.
- Beginner-friendly instructions to help you get started.
- Create a beautiful and functional vintage-style wagon.
- Perfect for DIY enthusiasts of all skill levels.
Why Build Your Wooden Wagon
Building your wooden wagon is a fun DIY project. It lets you customise the design to fit your needs. Plus, it’s a great way to improve your woodworking skills.
Benefits of DIY Wooden Wagons
DIY wooden wagons offer many benefits. You can tailor the size and design to your liking. You also get to pick the wood and finish, matching it to your decor or taste.
- Customisation options to fit specific needs
- Opportunity to develop woodworking skills
- Potential cost savings compared to buying a pre-made wagon
Common Uses for Wooden Wagons
Wooden wagons are versatile. They can be used for many things, like:
- Garden carts for plants and tools
- Children’s pull wagons for play
- Decorative display wagons for items
With creativity, the uses for a wooden wagon are endless.
Cost Comparison: DIY vs. Store-Bought
Building your wooden wagon can save money. By using your materials and blueprints, you can make a customised piece without spending a lot.
Recent data shows that custom furniture, like a wooden wagon, can add value and character to a home. Following a guide, you can make a high-quality wagon that meets your needs and improves your home.
Understanding DIY Wooden Wagon Design: Beginner Plans
Beginners can build a wooden wagon with the right plans. These plans are beginner-friendly. They break down the project into easy steps.
Types of Wooden Wagons for Beginners
There are many wooden wagons perfect for beginners. These include:
- Garden carts for plants and tools
- Children’s pull wagons as fun toys
- Decorative display wagons for showing items
These wagons are great for beginners. They need little complex woodworking.
Key Components of a Wooden Wagon
A wooden wagon has several important parts:
- The base and frame, which are the structure
- The side panels, which can be decorative or useful
- The axles and wheels, for moving
- The handle, for steering and control
Difficulty Levels Explained
DIY wooden wagon plans have a difficulty level. These ratings help you pick a project that fits your skills. Beginners should start with ‘easy’ or ‘beginner-friendly’ plans.
Knowing about wooden wagon types, parts, and difficulty levels helps you choose a DIY project. This knowledge makes your woodworking experience successful and fun.
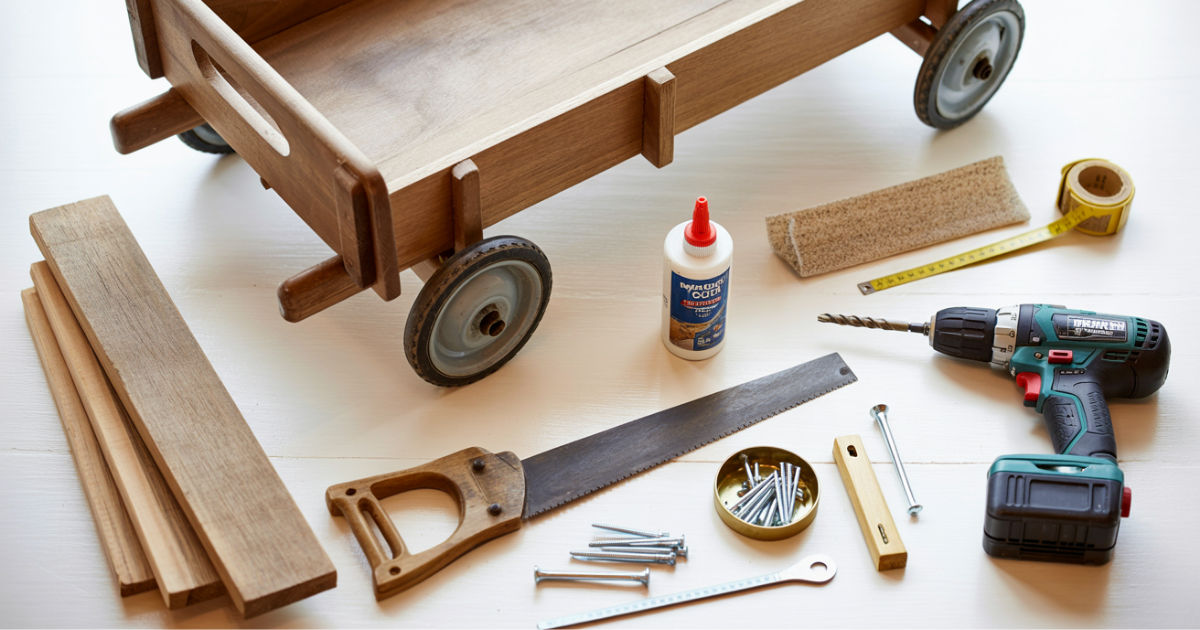
Essential Tools and Materials
Before starting your wooden wagon project, make sure you have the right tools and materials. The right equipment will make the process easier and more fun.
Basic Woodworking Tools Needed
You’ll need basic tools like a circular saw, drill press, sandpaper, and a hammer for your DIY wagon. These tools help you cut, shape, and put the wood together.
Recommended Wood Types for Beginners
Beginners should use softwoods like pine or cedar. They are easier to work with and less expensive. You can also use plywood or OSB for some parts.
Hardware and Additional Materials
You’ll also need hardware like wheels, axles, and screws. Choose materials that can handle the outdoors.
Where to Source Affordable Materials
Look for affordable materials at local hardware stores, online, or second-hand shops. Using recycled materials can also save money.
| Material | Cost | Source |
|---|---|---|
| Pine Wood | $50-$100 | Local Hardware Store |
| Wheels and Axles | $20-$50 | Online Retailer |
| Screws and Nails | $10-$20 | Second-hand Shop |
With the right tools and materials, you’re ready to start your easy diy wagon project. You’ll create a beautiful and useful wooden wagon.
Safety Considerations for Woodworking Beginners
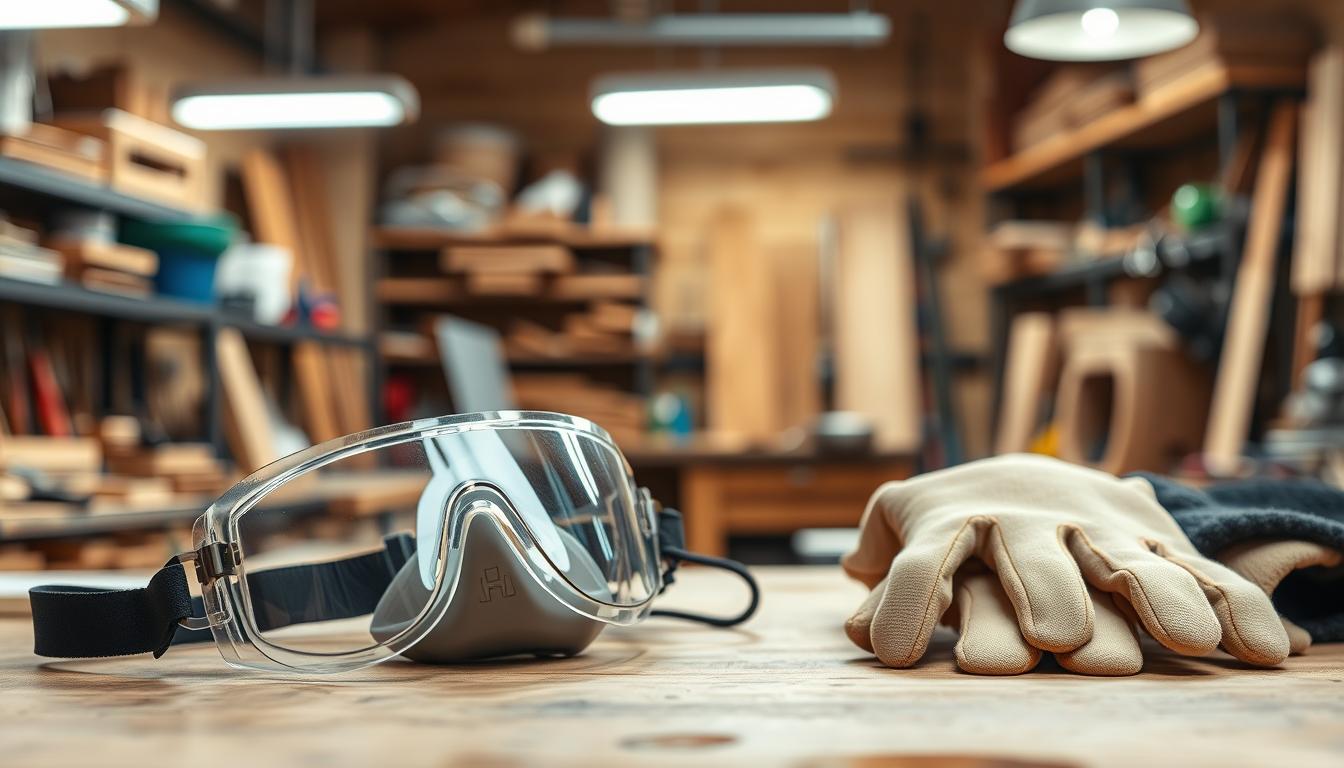
When starting your DIY wooden wagon project, safety is key. Woodworking has dangers like sharp tools, loud noises, and dust. But you can avoid these risks with the right precautions.
Personal Protective Equipment
Getting the right personal protective equipment (PPE) is essential. You’ll need safety glasses to shield your eyes from sawdust and debris. Also, ear protection is vital to prevent hearing damage. And, a dust mask is crucial to avoid breathing in wood particles.
Always wear a dust mask when sanding or cutting wood. This helps prevent respiratory problems.
Safe Tool Handling Practices
Learning how to handle tools safely is key to avoiding accidents. Always read the manual for each tool before using it. Keep your workspace clean and organised to avoid tripping hazards.
Regular maintenance of your tools is also important. It helps prevent tool malfunctions.
Workshop Safety Setup
Your workshop needs good ventilation to prevent dust and fume buildup. Make sure your work area is well-lit. And, keep flammable materials away from heat sources.
A clean and organised workspace is safer and boosts your productivity.
First Aid Essentials
Even with precautions, accidents can happen. Having a well-stocked first aid kit in your workshop is crucial. It should include bandages, antiseptic wipes, and any personal medications.
Knowing basic first aid, like treating minor cuts and splinters, is also helpful.
By following these safety tips, you can greatly reduce injury risks. Woodworking can be safe and enjoyable. Remember, safety is an ongoing effort that needs constant attention.
Free Wooden Wagon Plans for Beginners

Starting a DIY wooden wagon project is fun and rewarding. The right plans make it easier. Beginners need simple, clear instructions to succeed.
Many websites offer free wooden wagon plans for all skill levels. You can find plans for practical garden carts or decorative display wagons.
Simple Garden Cart Plans
Garden cart plans are great for gardening tasks. They have sturdy designs and big wheels for easy moving.
Children’s Pull Wagon Blueprints
Building a wagon for kids? Look for plans with safety and fun designs. Kids’ wagons are colorful and strong.
Decorative Display Wagon Designs
Want a decorative piece? Display wagon plans have stylish options. Use them to show off plants, flowers, or decorations.
How to Modify Plans to Suit Your Needs
Free plans let you make changes to fit your needs. You can change sizes, materials, and designs. This way, you can make a unique wagon that’s yours.
By using these free plans and making adjustments, you can build a useful and beautiful wooden wagon. It will meet your needs perfectly.
Preparing Your Workspace and Materials
To start your project smoothly, get your workspace ready and gather all the materials you need. A tidy workspace makes your work faster and safer. It also helps avoid accidents and mistakes.
Setting Up a Functional Work Area
Make a special area for your project. It should be well-ventilated and big enough to move around. Your work surface should be strong and at a good height. Woodworking pros say using lumber wisely and precise planning are key.
Measuring and Cutting Wood Pieces
Being accurate is very important when you measure and cut wood. Use a good tape measure and square for exact cuts. Having a reliable saw is also crucial for clean cuts.
Organising Your Project Timeline
Divide your project into smaller tasks and plan a timeline. This keeps you on schedule and helps you finish your project on time.
| Task | Estimated Time |
|---|---|
| Preparing Workspace | 1 hour |
| Measuring and Cutting | 2 hours |
| Assembling Wagon | 4 hours |
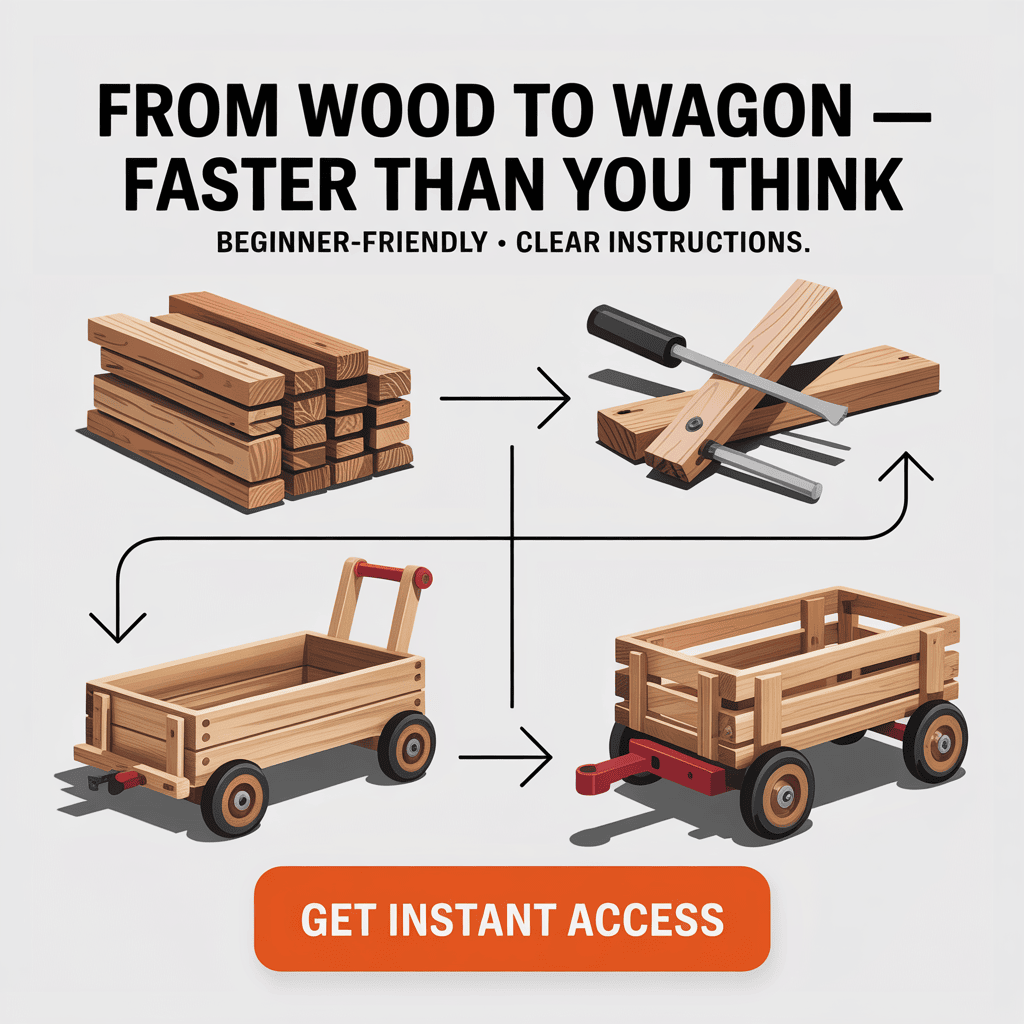
Step-by-Step DIY Wooden Wagon Design Beginner Plans
This guide will help you build a strong wooden wagon for many uses. Making a DIY wooden wagon is a detailed task. But with the right steps, even beginners can get great results.
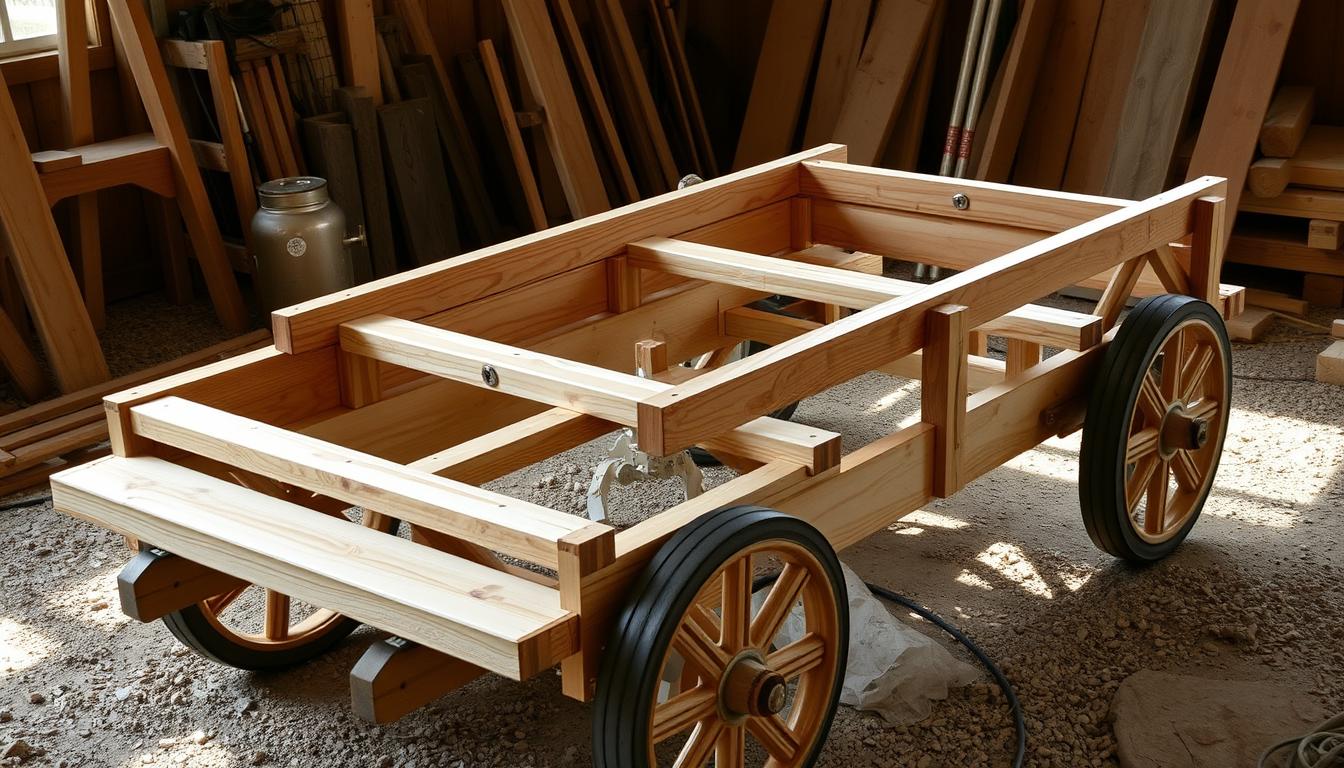
Building the Wagon Base and Frame
The base and frame are key to your wagon. A solid base makes the wagon stable and long-lasting.
Cutting the Base Boards
First, cut the baseboards as your plan shows. Use a circular saw or a hand saw for accurate cuts. Make sure the boards are straight and the edges are smooth.
For a basic wagon, you need four base boards. Two long sides and two short sides. Measure carefully to avoid mistakes.
Assembling the Frame Structure
After cutting the baseboards, put the frame together with wood screws or nails. Ensure the corners are square and the frame is level.
- Use clamps to hold the pieces together while you screw or nail them.
- Pre-drill holes to avoid splitting the wood.
Reinforcing the Base
To make the base even stronger, add wooden slats or brackets. This is very important for wagons that will carry heavy loads.
Constructing the Side Panels
The side panels add support and keep the cargo in place. You can pick from many designs, based on what you need.
Side Panel Design Options
Think about the height and style of the side panels. Higher panels are good for loose materials. Lower panels are better for bigger items.
Attaching Panels to the Base
Attach the side panels to the base with wood screws. Make sure the panels are evenly spaced and well attached.
Installing the Axles and Wheels
The axles and wheels let your wagon move easily. Choose strong materials for these parts to last longer.
Axle Placement and Mounting
Place the axles at the bottom of the wagon, as your plan shows. Use metal brackets or wooden supports to secure them to the base.
Wheel Attachment Methods
Put the wheels on the axles with wheel bearings or axle nuts. Make sure the wheels turn well and are firmly attached.
Adding the Handle and Steering Mechanism
The handle and steering let you control the wagon’s direction. You can pick a fixed or pivoting handle, based on what you like.
Fixed vs. Pivoting Handle Options
A fixed handle is easier to make. But a pivoting handle makes steering easier. Think about what you need.
Testing Steering Functionality
After adding the handle, test the steering. Make sure it works smoothly. Adjust the mechanism if needed.
By following these steps, you can finish your DIY wooden wagon project. Always check each part for stability and function before using your wagon.
Finishing and Weatherproofing Your Wagon

Now that your DIY wooden wagon is built, it’s time for the finishing touches. A well-finished wagon looks great and lasts long. It can handle heavy use and the weather.
Sanding Techniques for a Smooth Finish
Begin by sanding your wagon to remove rough edges or splinters. Use finer-grit sandpaper to get a smooth finish. This step is key to a professional look.
Staining vs. Painting Options
You can stain or paint your wagon. Staining, like Minwax Early American, highlights the wood grain. Painting gives a bold, colorful look. Think about what you like and how you’ll use the wagon.
Weatherproofing Methods for Outdoor Use
Apply a weatherproofing coat, like Minwax Satin Polyurethane, to protect your wagon. This is crucial for outdoor use. It keeps your wagon durable and moisture-resistant.
Decorative Elements and Personalisation
Lastly, add decorative elements or personal touches. This could be intricate carvings or colorful trim. These details show off your style and make your wagon unique.
Customisation Options for Your DIY Wooden Wagon

Customising your wooden wagon can make it more useful and look better. You can change it to fit your needs, like for gardening, carrying kids, or showing off decorations.
Adding Functional Features
Adding features can make your wagon more useful. Think about what you need it for every day.
- Storage Compartments: Adding places to store things keeps them organised and easy to find.
- Fold-Down Sides: This makes it simpler to put things in and out, or to fold it up when not using it.
Decorative Enhancements
Make your wagon look unique and show off your style. Here are some ideas:
- Wood Burning and Carving: Adding detailed designs or patterns makes your wagon special and handmade.
- Custom Paint Designs: Bright colors or creative designs make your wagon eye-catching and personal.
Purpose-Specific Modifications
Make changes based on how you plan to use your wagon. For example:
- Garden Tool Carriers: Adding spots for gardening tools makes carrying them easier.
- Child-Friendly Features: For kids, add safety features like soft edges or a canopy for shade.
With these customisation ideas, you can make a DIY wooden wagon that’s both useful and shows your style. It will meet your specific needs.
Start Your DIY Wooden Wagon Project Today
Now’s the time to start your DIY wooden wagon project. You’ll need the right tools, materials, and instructions. This way, you can make a wagon that fits your needs perfectly.
Looking for a garden cart or a decorative wagon? The options are endless. Follow the easy projects in this guide to build a strong and reliable wagon.
Remember, stay focused on your design goals and have fun. With patience and practice, you’ll make a beautiful wagon. It will be something you’ll enjoy for years.
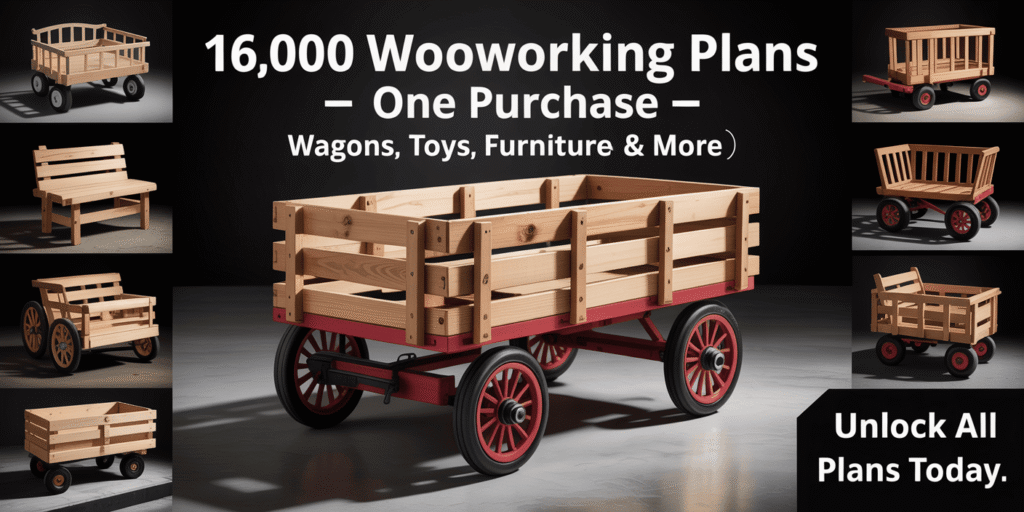
🛠️ Love Building? Go Beyond the Wagon! 🚀
Unlock 16,000+ Easy Woodworking Plans — No Experience Needed!
If you enjoyed making your wooden wagon, imagine what you could create next with step-by-step, beginner-friendly plans. With Ted’s Woodworking, you get everything in one simple package:
✅ 16,000+ ready-made plans — from wagons to workbenches, planters to pergolas
✅ Crystal-clear instructions & blueprints — no more confusion or trial-and-error
✅ Exact cutting & materials lists — save money and avoid waste
✅ Perfect for small spaces & simple tools — no pro shop required
✅ Free monthly plans & lifetime access — fresh ideas at your fingertips
✅ BONUSES worth $190+ — including CAD viewer, video tutorials & guides
✅ One-time payment — no hidden costs
✅ 60-Day Risk-Free Guarantee — try it, love it, or get your money back!
👉 Click Here to Get Instant Access to Ted’s Woodworking »
Build smarter, faster, and better — starting today!
FAQ
What is the best type of wood to use for a DIY wooden wagon?
Softwoods like pine or cedar are good for beginners. They’re cheap and easy to work with. Reclaimed wood adds a rustic touch.
What are the essential tools needed to build a wooden wagon?
You’ll need a circular saw, drill press, sandpaper, and a hammer. A jigsaw or router might be needed for complex designs.
Can I customise my wooden wagon to fit specific needs?
Yes, you can customise your wagon. Change its size, design, and features for gardening, hauling, or decoration.
How do I ensure my wooden wagon is weatherproof and durable?
Use a waterproof stain or sealant. Choose weather-resistant woods like cedar or cypress. Regular maintenance keeps it lasting longer.
Are there any safety considerations I should be aware of when building a wooden wagon?
Safety is key. Wear safety glasses and a dust mask. Follow safe tool handling and keep your space clean and well-ventilated.
Can I use free wooden wagon plans for commercial purposes?
It depends on the plan’s terms. Some are for personal use only. Always check the plan’s terms before using it for business.
How long does it take to build a DIY wooden wagon?
Building time varies. It depends on the design, your skill, and how much time you have. Simple designs take hours, complex ones take days or weeks.
What are some common mistakes to avoid when building a wooden wagon?
Avoid mistakes like wrong measurements, not sanding enough, and bad assembly. Double-check your measurements, sand well, and follow the instructions.

