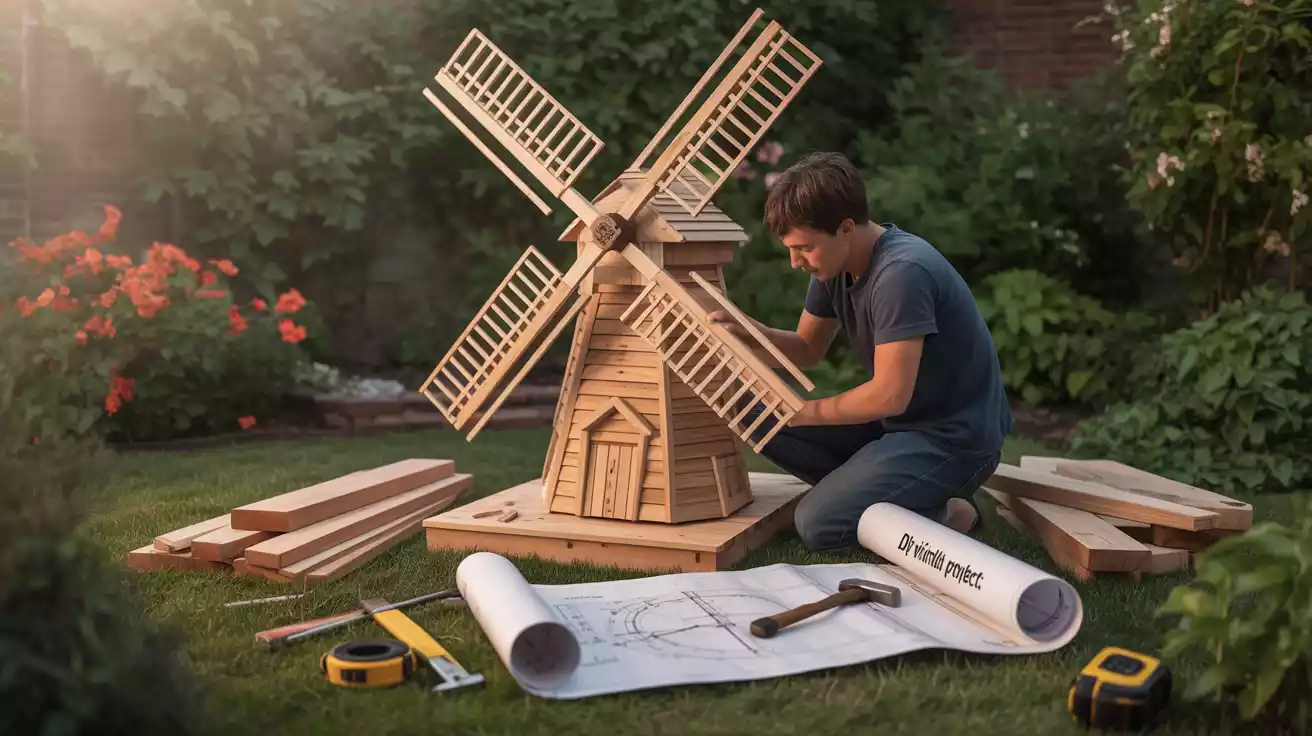
Windmills have been around for centuries, using wind power for different tasks. You can add one to your backyard with a traditional Dutch-style windmill. It’s a great way to make something useful and beautiful.
Building a windmill is a fun project. Free templates make it easier. They offer wooden windmill patterns and steps to follow, helping you succeed.
Key Takeaways
- Learn how to build a traditional Dutch-style windmill for your backyard.
- Access free templates to guide your construction process.
- Understand the unique aspects of Dutch windmill design.
- Create a functional and visually appealing windmill.
- Simplify your project with detailed wooden windmill patterns.
The Charm of Dutch Windmills
Dutch windmills are not just pretty; they are also full of history. They come in many traditional types. For centuries, these structures have been a big part of the Dutch landscape. They serve both practical and beautiful purposes.
Historical Significance of Dutch Windmills
Dutch windmills have been key in the Netherlands’ history. They were used for grinding grain and pumping water. They are more than just tools; they are symbols of Dutch culture and heritage.
Types of Traditional Dutch Windmills
There are different types of traditional Dutch windmills, each with its own design and purpose. Knowing about these types helps us understand their history. It’s also useful for making dutch style diy wooden windmill projects.
Post Mills vs. Tower Mills
There are two main types of traditional Dutch windmills: post mills and tower mills. Post mills spin around a central post. Tower mills only have their cap spinning to face the wind.
| Type | Description | Characteristics |
|---|---|---|
| Post Mills | Entire body rotates around a central post | Simple design, often smaller |
| Tower Mills | Only the cap rotates to face the wind | More complex, often larger and more efficient |
Functional vs. Decorative Designs
Originally, Dutch windmills were built for practical uses like milling grain and pumping water. But now, decorative designs are also popular. This is seen in modern projects using traditional Dutch windmill blueprints and authentic Dutch windmill templates.
Building a dutch style diy wooden windmill can be for function or beauty. Knowing about the history and types of Dutch windmills can make your project better.
What You’ll Need: Materials and Tools
Before starting your Dutch-style DIY wooden windmill, gather all the needed materials and tools. The right materials ensure your windmill’s durability and appearance. The correct tools make building easier and faster.
Essential Wood Types and Quantities
The wood type and amount are key to your windmill’s strength and life. For a traditional Dutch-style windmill, choose wood that can handle outdoor weather.
Best Woods for Outdoor Durability
Western Red Cedar and Pressure-Treated Pine are top picks. They resist rot, decay, and bugs well. These woods last long in different weather.
Alternative Materials for Budget Builds
For a budget-friendly option, think about reclaimed wood or engineered wood products. They look good but might need extra care for outdoor use.
Required Tools List
You’ll need various tools for your DIY wooden windmill. This includes a table saw, drill press, sandpaper, and a jigsaw. The right tools help you make accurate cuts and smooth finishes.
Safety Equipment You Shouldn’t Skip
Always prioritise safety when using power tools and building your windmill. Make sure you have safety glasses, a dust mask, and gloves. They protect you from harm.
Understanding Dutch-Style DIY Wooden Windmill Templates

To make your Dutch-style DIY wooden windmill, you need the right templates. These templates are the base of your project. They give you detailed patterns and designs to follow.
Exploring Different Template Options
There are many Dutch-style DIY wooden windmill templates out there. Each one has its look and design. You can choose from traditional, modern, or a mix, based on your preferences and needs.
Think about the size, how complex it is, and how detailed you want your windmill to be. This will help you choose the right template.
| Template Type | Description | Skill Level |
|---|---|---|
| Traditional | Classic Dutch windmill design | Intermediate |
| Modern | Contemporary twist on the classic design | Advanced |
| Simplified | Simplified version for beginners | Beginner |
How to Download and Use Our Free Templates
Our website has free Dutch-style DIY wooden windmill templates. You can download and use them for your project. Just go to our downloads section, pick a template, and follow the download steps.
Printing and Transferring to Wood
After downloading your template, print it out. Make sure it’s the right size to avoid problems later. You can use tracing paper or print directly on the wood if your printer can.
Digital Modification Tips
If you need to change your template, use digital design software. But be careful not to mess up the windmill’s structure.
Scaling Templates to Your Desired Size
Using digital templates lets you change their size easily. Keep the aspect ratio the same to keep the windmill’s look right. You can use Adobe Illustrator or some PDF readers to scale it well.
By using Dutch-style DIY wooden windmill templates correctly, you can make a beautiful and useful windmill. It will add charm to your garden or yard.
Planning Your Windmill Project
Before you start building your Dutch-style DIY Wooden Windmill, planning is key. This step is vital for a successful project. It ensures your windmill looks great and works well.
Determining the Size and Location
The size of your windmill should match the space it will be in. Think about the size of your garden or yard. This way, your windmill will look good and catch the wind well.
Weather Considerations for Outdoor Windmills
Weather affects your outdoor windmill’s life and performance. Think about the weather in your area, like wind direction and sunlight. This helps choose materials and design for durability.
Creating a Project Timeline
Having a timeline keeps you on track. Decide if your windmill will take a weekend or several weeks, or several months.
Weekend Project vs. Extended Build
For a weekend project, prepare everything in advance and have a detailed plan. For bigger or more complex projects, breaking them into smaller tasks over time might be better.
Preparing the Base Structure
The base of your Dutch-Style DIY Wooden Windmill is key to its stability and lifespan. A solid base helps your windmill handle different weather and work well.
Creating a Stable Foundation
Choosing between in-ground and above-ground bases is important. In-ground foundations are very stable but need more work and materials. Above-ground bases are simpler to make but might not hold up in strong winds.
In-Ground vs. Above-Ground Options
Think about these points when picking a base:
- Soil type and stability
- Local building rules
- Windmill size and weight
- How long do you want the windmill to last
Building the Main Tower Frame
The main tower frame is the heart of your windmill. Use durable wood, such as oak or cedar, for it. Make sure the frame is square and level for a stable base.
Ensuring Proper Balance and Support
Balance and support are vital for your windmill’s smooth running. Make sure the base is evenly balanced, and the tower frame is well attached. Use reinforced joints and additional support beams if needed.
By following these steps, you can build a strong base for your Dutch-style DIY Wooden Windmill. This ensures it stays stable and lasts long.
Constructing the Windmill Body
Building the windmill body is key to your Dutch-Style DIY Wooden Windmill project. It needs precision and detail. The body holds the machinery and gives the Dutch look.
Assembling the Octagonal Mill Body
The octagonal shape is a Dutch windmill’s signature. To build it:
- Cut eight identical wooden panels to the right size using your chosen wood.
- Use precise angle cutting techniques for a tight fit between panels.
Precise Angle Cutting Techniques
To get the octagonal shape, cut the panels at a 22.5-degree angle. A mitre saw or a table saw with precise angle adjustment, works best. Accurate cuts are key to the windmill’s strength and look.
Creating the Conical Roof
The conical roof is a Dutch windmill’s unique feature. To make it:
- Cut multiple triangular sections for the cone.
- Put these sections together around a centre point, making sure they’re evenly spaced and smooth.
Adding Authentic Dutch Details
To make your windmill look real, add doors and windows.
Door and Window Placement
Dutch windmills have doors and windows placed in the same way. Think about your windmill’s size and where to put these features for balance. Use authentic Dutch windmill templates to get it right.
By following these steps and using your Dutch-Style DIY Wooden Windmill template, you’ll make a windmill body that works well and looks great.
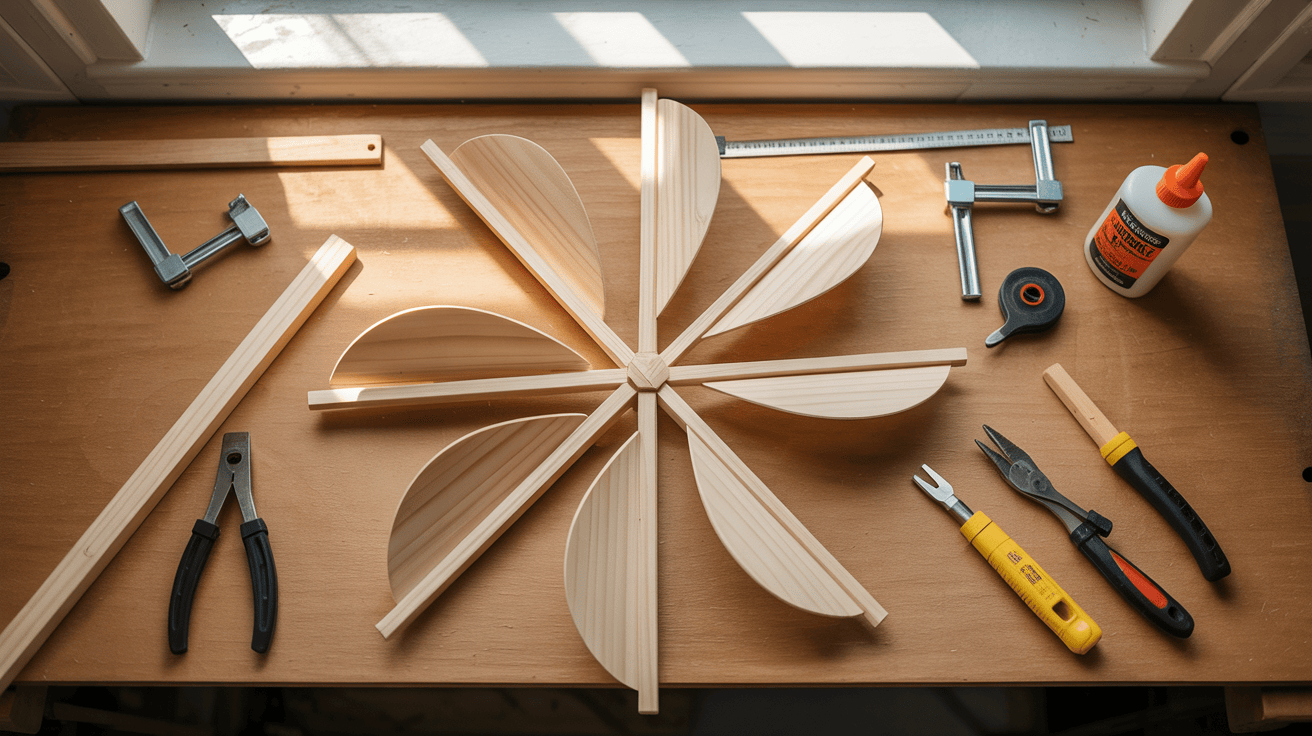
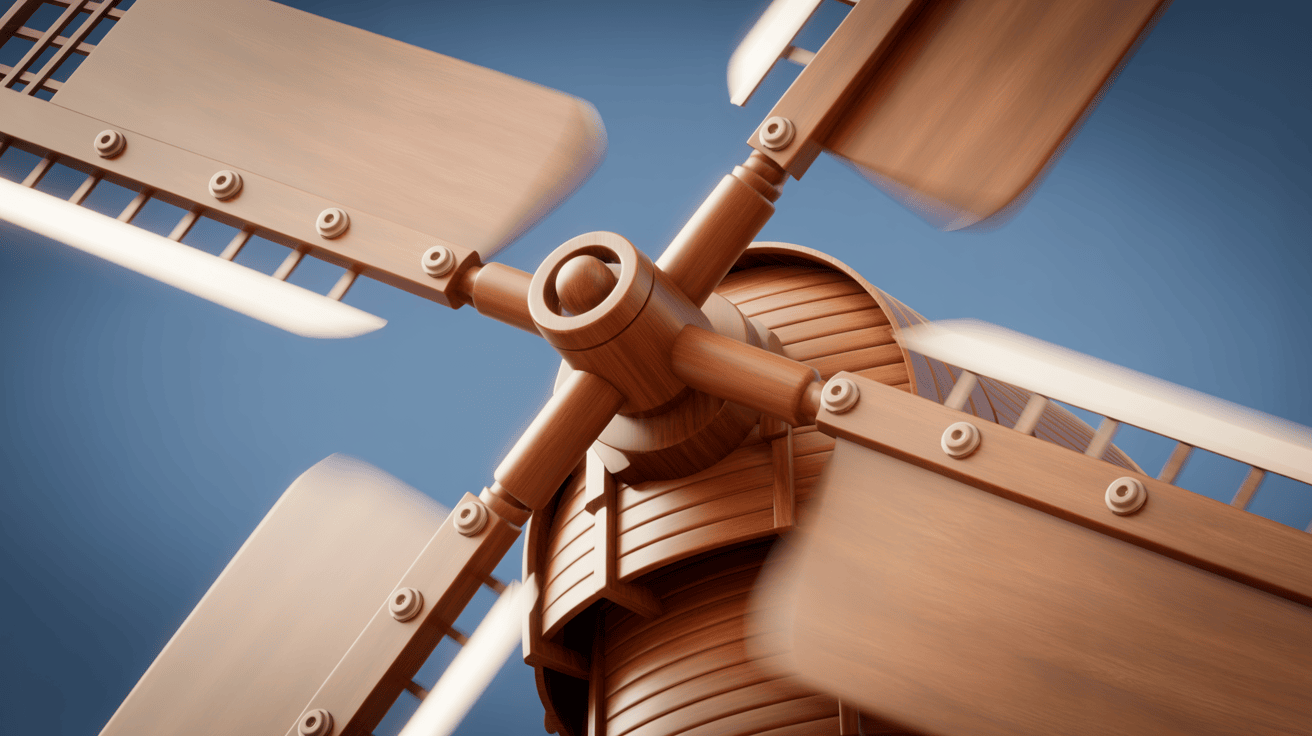
Crafting the Windmill Sails
As you move forward with your DIY windmill project, making the sails is key. They look great and help the windmill work well.
Cutting and Shaping the Sail Arms
The sail arms are the heart of your windmill’s sails. Start by cutting and shaping the wooden arms based on your DIY windmill design plans. Use strong, weather-resistant wood like oak or teak.
Make sure to sand the edges to get rid of splinters. Also, apply a weather-resistant finish to keep the wood safe from the weather.
Attaching the Sail Canvas or Wood Panels
After getting your sail arms ready, it’s time to add the sail canvas or wood panels. Dutch windmills usually have wooden panels. But modern ones might use canvas or other materials for a different look or better durability.
Traditional vs. Modern Sail Designs
Choosing between traditional and modern sail designs depends on what you want to see and how well it works. Traditional designs have detailed wooden latticework. Modern ones might be simpler and last longer.
| Sail Design Type | Material | Aesthetic Appeal | Durability |
|---|---|---|---|
| Traditional | Wooden Panels | High | Medium |
| Modern | Canvas | Medium | High |
| Hybrid | Wood & Canvas | High | High |
Balancing the Sail Assembly for Proper Rotation
After putting on the sails, make sure the assembly spins smoothly. If it doesn’t, it won’t catch the wind well and might break.
To get it right, adjust the sail arms and panels. Make sure it spins without shaking. This is important for your DIY windmill to work its best.
Building the Rotation Mechanism
To finish your wooden windmill, you must build a working rotation mechanism. This part is key for your windmill catching wind energy well and moving smoothly.
Creating a Functional Turning Cap
The turning cap is the top part of your windmill. It houses the rotation mechanism. To make a good turning cap, it must be strong and balanced. Use materials that can stand up to different weather.
The cap should turn easily. This lets the sails catch wind from any side.
Installing Bearings for Smooth Movement
Bearings are crucial for your windmill’s smooth movement. Choose high-quality bearings that resist rust and can handle the cap and sails. Proper installation is important for your windmill’s long life.
Simple vs. Advanced Rotation Systems
You can choose between a simple and an advanced rotation system. A simple system might use a basic pivot point. An advanced system could have complex gears and bearings.
Making Your Windmill Weatherproof
It’s important to make your windmill weatherproof. Use a weather-resistant finish on all wood parts. Also, make sure metal parts are coated or made from materials that don’t rust.
By following these steps, you can make a strong and working rotation mechanism for your wooden windmill. It will be a beautiful and useful part of your garden or yard for many years.
Finishing and Weatherproofing Your Windmill
After building your windmill’s structure, it’s time to sand and apply a protective finish. This step helps keep it safe from weather damage.
Sanding and Preparing Wood Surfaces
Start by sanding all wood surfaces. This smooths out any rough edges or splinters. It’s key for a uniform finish and a better look for your windmill.
Applying Weather-Resistant Finishes
After sanding, apply a weather-resistant finish to protect your windmill. You can choose between paint or stain, based on your look and protection needs.
Paint vs. Stain Considerations
Paint gives a solid finish and extra moisture protection. Stain lets the wood’s natural grain show while still protecting it. Think about what matters most to you when picking.
Protective Measures for Longevity
To make your windmill last longer, add extra protection. Seal any joints or gaps with waterproof sealant. Also, check it regularly to catch any problems early.
Troubleshooting Common Issues
Even with careful planning, your DIY windmill project might hit some snags. Troubleshooting is an essential step to ensure your windmill operates smoothly and remains structurally sound.
Fixing Sail Rotation Problems
If your windmill sails aren’t rotating properly, check for imbalanced sail arms or obstructions. Ensure that the sail assembly is correctly aligned and that there are no blockages hindering movement.
- Inspect the sail arms for any damage or warping.
- Verify that the bearings are properly installed and lubricated.
- Adjust the sail tension to achieve optimal rotation.
Addressing Structural Stability Concerns
A structurally unsound windmill can be dangerous. Check the foundation and tower frame for any signs of weakness or damage.
- Ensure the base is level and securely anchored.
- Tighten any loose bolts or screws in the tower frame.
Weather Damage Prevention and Repair
Weather conditions can significantly impact your windmill’s durability. Regularly inspect for signs of water damage or wear.
Seasonal Maintenance Tips
To prevent weather-related issues, perform seasonal checks:
- Before winter, apply a protective sealant to protect against moisture.
- In spring, inspect for any damage caused by winter weather.
- During summer, ensure that all moving parts are well-lubricated.
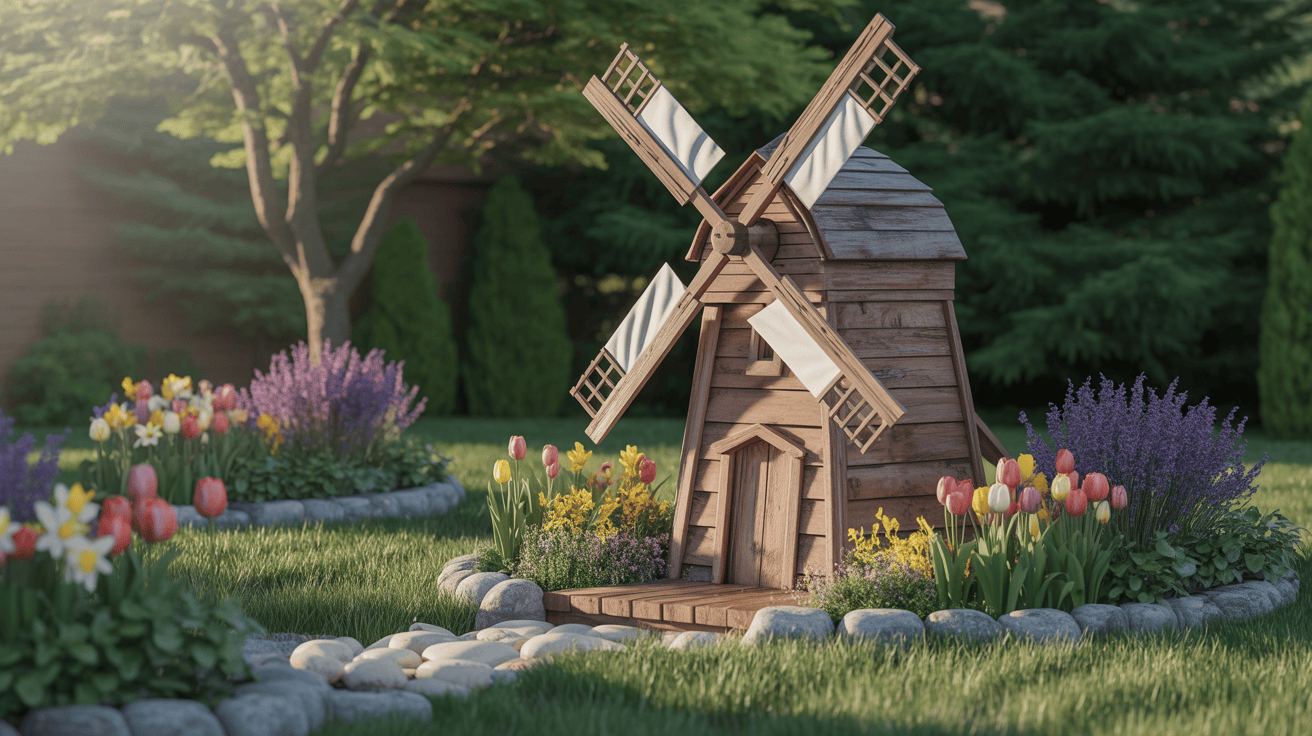
Display Ideas and Landscaping Integration
Your Dutch-style DIY wooden windmill is ready. Now, let’s find creative ways to show it off. Adding your windmill to your garden or yard can make your outdoor space more beautiful.
Garden Placement Suggestions
Think about where to put your windmill. Look for a spot that’s easy to see and fits well with the landscape. Put it in a place where it can be seen from all sides. It looks great near a pond or a flower bed.
Creating a Dutch-Inspired Setting
To match your windmill, make a Dutch-style garden. As Clive Aslett, an architectural writer, once said,
“The Dutch have a long tradition of garden-making that is characterized by a love of order and geometry.”
Use geometric shapes in your garden design. This will add to the Dutch feel.
Complementary Plants and Features
Choose plants like tulips and daffodils, common in Dutch gardens. Add cobblestone paths or a small wooden bridge for more Dutch charm.
Lighting Options for Nighttime Display
For nighttime viewing, use solar-powered lights around your windmill. They highlight its beauty and make your garden magical at night.
🔨 Want to Take Your Woodworking Skills to the Next Level? 🔨

Turn your Dutch-style windmill project into just the beginning!
Get access to 16,000+ easy-to-follow woodworking plans — perfect for beginners and pros alike.
✅ Step-by-step instructions – No guesswork, just build!
✅ Precise cutting & materials lists – Save time, wood, and money
✅ 3D schematics & multiple angles – See exactly how everything fits
✅ No expensive tools needed – Works in small workshops too
✅ FREE monthly new plans + custom projects!
🎁 BONUS: Lifetime access to the world’s largest woodworking plan collection – all in one place.
👉 Click here to unlock Ted’s Woodworking Plans now
And start crafting like a true woodworking pro today!
Conclusion
You’ve reached the end of building your Dutch-style DIY wooden windmill. You’ve learned how to make a beautiful and useful windmill for your garden or yard.
Building a Dutch-style DIY wooden windmill is a fun DIY project. It makes your outdoor space better and gives you a sense of pride. You’ll see the hard work and care you put into making your windmill.
Now, show off your windmill in a great spot, like a garden or near water. Try different lights to make it stand out at night. You’ll feel proud and happy knowing you made it yourself.
Begin building your windmill today. Enjoy the happiness of making something with your own hands.
FAQ
What type of wood is best for building a Dutch-style DIY wooden windmill?
Cedar, Cypress, or Pressure-Treated Pine are great for a Dutch-style DIY wooden windmill. They resist rot and insects well. This makes them last for many years.
Are the templates provided free to use for commercial purposes?
The free templates are for personal use only. If you want to use them for business, you might need a license. Always check the terms of use first.
How do I scale the templates to my desired size?
You can scale the templates using a photocopier or Adobe Acrobat. Just make sure to double-check the measurements after resizing.
What are the most common issues that may arise during the construction process?
Issues like sail rotation problems, structural stability, and weather damage might happen. The troubleshooting section can help you fix these problems.
Can I use alternative materials for the windmill sails?
Yes, you can use materials like PVC or fabric for the sails. But, traditional Dutch windmills use wooden arms and canvas or wood panels.
How do I ensure the windmill is weatherproof?
To make the windmill weatherproof, use weather-resistant finishes and seal gaps. Also, apply a protective coating on the sails. Regular upkeep is key to avoiding damage.
Can I display my windmill in a location with extreme weather conditions?
Dutch windmills can handle many weather conditions. But be extra careful in areas with very high winds or intense sunlight.
What are some creative ways to display my finished windmill?
You can place your windmill in a garden or yard. Create a Dutch-inspired setting or use lights to show it off at night. The display ideas section has more ideas.
How do I maintain my windmill to ensure its longevity?
Keeping your windmill in good shape is important. Look for damage, clean the sails, and apply protective coatings as needed. Seasonal tips for upkeep are in the troubleshooting section.
Can I build a Dutch-style DIY wooden windmill with limited woodworking experience?
Yes, you can build a Dutch-style DIY wooden windmill even with little woodworking experience. The free templates and instructions are easy to follow. With patience and practice, you can make a beautiful windmill.
Pingback: DIY Vertical Axis Wind Generator Using Recycled Wood and PVC Pipes
Pingback: Miniature DIY Wooden Windmill Crafts - Perfect Weekend Projects