Are you tired of cluttered bookshelves and disorganised home libraries? You’re not alone. With over 100 books per household, a good storage solution is key.
Creating a DIY book rack shelf is a smart way to organise your books. It also adds a personal touch to your home. Our guide will show you how to make a strong wooden book storage organiser with printable plans.
By following our guide, you’ll make a beautiful and useful piece of furniture. It will meet your specific needs.
Key Takeaways
- Create a customised book storage solution for your home.
- Use printable plans to make the DIY process easier.
- Learn how to prepare your workspace for a successful project.
- Discover the benefits of using a wooden book rack shelf.
- Enhance your home decor with a functional piece of furniture.
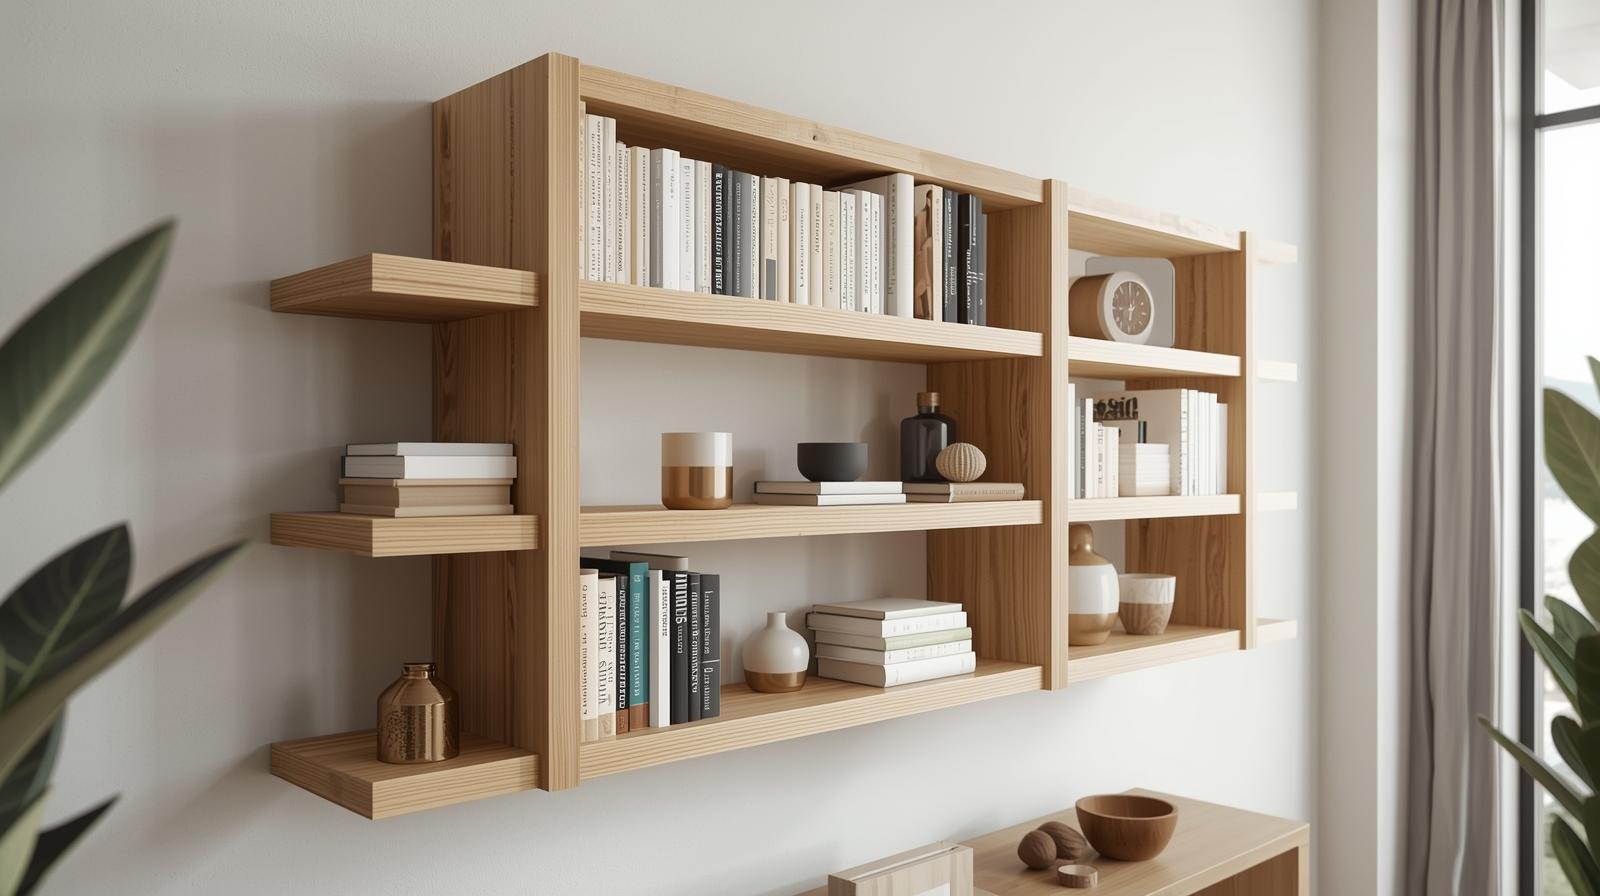
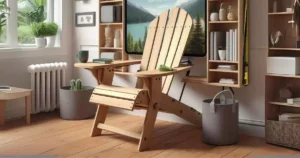
Why Build Your Own Wooden Book Rack Shelf
Building a wooden book rack shelf is a fun DIY project. It adds a personal touch to your home library. You can make a storage solution that meets your needs and matches your home decor.
Benefits of Custom Woodworking Projects
Custom woodworking projects, like a wooden book rack shelf, have many benefits. You can choose the type of wood that fits your style and budget. This ensures your bookshelf looks good with your furniture. Plus, you can tailor the dimensions to fit your space perfectly, saving space and materials.
- Cost-effective: Using materials like pine or plywood can be budget-friendly.
- Personal satisfaction: Completing a DIY project can be incredibly fulfilling.
- Customisation: You can design the shelf to match your home’s aesthetic.
Personalising Your Home Library
Your home library shows your personal taste and interests. Building your own wooden book rack shelf lets you create a space that truly feels like your own. You can add decorative elements or unique features that show your personality. This makes your library cosy and inviting.
Woodworking experts say, “A well-designed bookshelf can become the centrepiece of a room, showcasing your favourite books and decorative items.” Personalising your book rack shelf makes a beautiful and useful piece that improves your home library.
Tools and Materials You’ll Need
Having the right tools and materials is key to a sturdy and attractive wooden book rack shelf. Before starting, know what you need to do well.
Essential Woodworking Tools
You’ll need basic woodworking tools to start. A table saw for straight cuts, a mitre saw for angled cuts, and a drill press for precise holes. Also, a sander for smooth wood and a clamp set for glueing.
Wood Selection Guide
Picking the right wood is crucial for looks and durability. Solid hardwoods like oak or maple are great. Engineered wood or MDF are cheaper but still good. Make sure the wood is straight and defect-free.
Hardware and Fasteners
You’ll need the right hardware and fasteners to assemble your shelf. Use wood screws, wood glue, and maybe dovetail joints or dado sets for detailed designs. Choose hardware that fits your wood type.
Optional Tools for Advanced Features
For extra features like fancy designs or adjustable shelves, you might need more tools. A router for fancy edges and a jigsaw for curves are good choices.
| Tool/Material | Purpose |
|---|---|
| Table Saw | Making straight cuts |
| Miter Saw | Precise angled cuts |
| Drill Press | Drilling accurate holes |
| Sander | Smoothing wood surfaces |
| Clamp Set | Holding pieces in place |
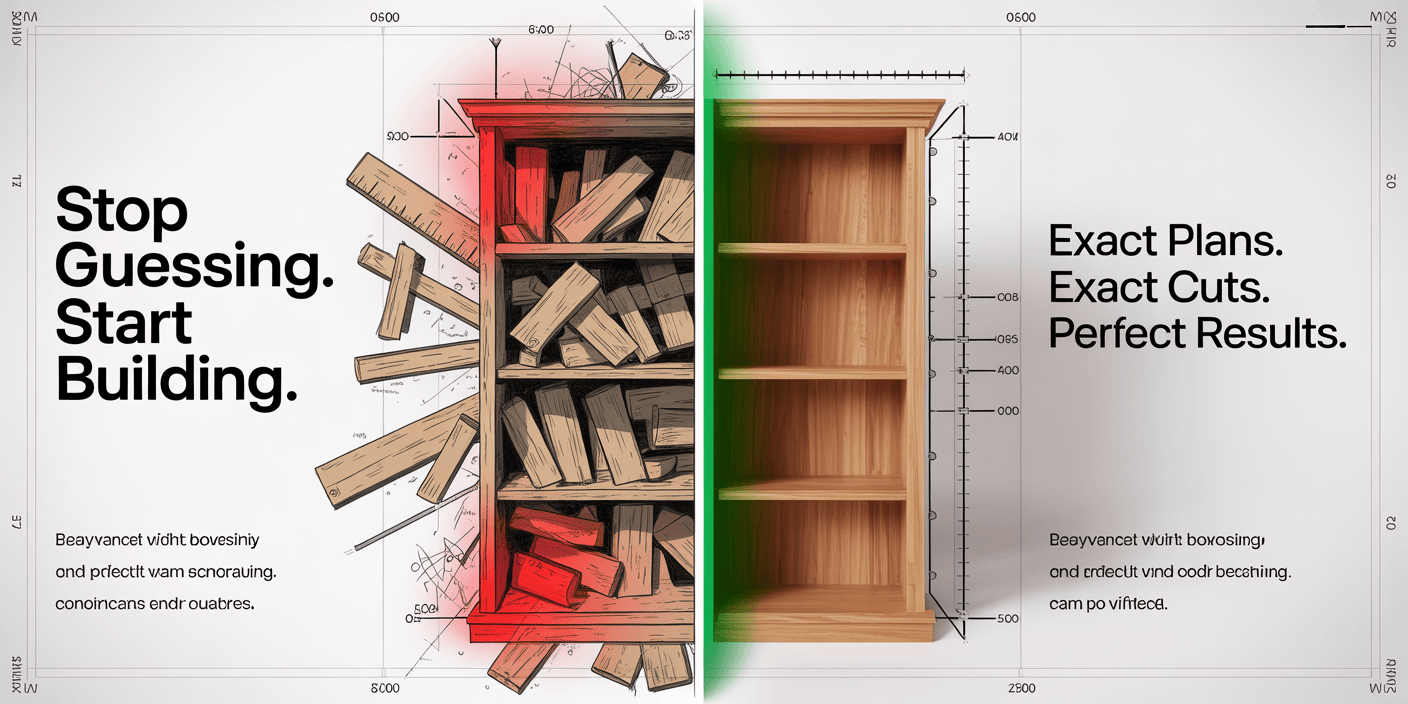
Understanding the Printable Plans
The first step in building your wooden book rack shelf is to carefully examine the provided printable plans. These plans are designed to guide you through the construction process. They ensure your DIY book rack turns out sturdy and functional.
How to Read Woodworking Blueprints
Reading woodworking blueprints can seem daunting, but it’s a straightforward process once you understand the basics. The blueprints provided with the book rack plans include detailed diagrams and a cut list. Start by familiarising yourself with the symbols and notations used, as these will help you understand the assembly process.
- Identify the different components of your book rack.
- Understand the measurements and tolerances.
- Review the assembly sequence to plan your work.
Customising Dimensions to Your Space
One of the advantages of using printable plans is the ability to customise the dimensions of your book rack to fit your specific space. To do this, adjust the measurements in the plans according to your needs, ensuring that you update the cut list. This flexibility allows you to create a woodworking bookshelf tutorial-guided project that perfectly suits your home library.
Preparing Your Workspace

To ensure a safe and efficient woodworking experience, preparing your workspace is essential. A well-organised workspace not only enhances your productivity but also minimises the risk of accidents.
Safety Considerations and Protective Gear
Safety should be your top priority when working on your wooden book rack shelf project. Make sure you have the right protective gear, like safety glasses, a dust mask, and hearing protection. Keep your workspace clean and clear of debris to prevent tripping hazards.
- Wear safety glasses to protect your eyes from sawdust and wood chips.
- Use a dust mask to avoid inhaling wood dust.
- Wear hearing protection when operating loud machinery.
Setting Up an Efficient Work Area
An efficient work area is crucial for the successful completion of your DIY shelf woodworking project. Organise your tools and materials in a way that allows for easy access. Consider the workflow and arrange your workspace to minimise movement and maximise productivity.
- Position your workbench in a well-lit area.
- Keep frequently used tools within easy reach.
- Use storage solutions for materials and supplies.
By focusing on safety and efficiency, you’ll be well-prepared to tackle your wood project plans with confidence. Remember, a well-prepared workspace is key to a successful woodworking project.
Measuring and Cutting the Wood
Getting your wooden book rack right starts with precise measurements and clean cuts. It’s key to know how to measure and cut wood well for top-notch results.
Precise Measurement Techniques
To make sure your book rack fits perfectly, take accurate measurements. Use a good tape measure and double-check your numbers. Mark your measurements with a pencil and check them before you cut.
Tips for Accurate Measurements:
- Use a sharp pencil to mark measurements clearly.
- Measure twice to ensure accuracy.
- Consider using a story stick for repetitive measurements.
Making Clean, Accurate Cuts
Cutting wood well is as important as measuring it right. Use a sharp saw blade and keep your hand steady for smooth cuts. For straight cuts, a table saw or a circular saw with a guide works best.
A Kreg Rip Cut is great for precise cuts. It helps guide your saw for accurate rip cuts in wood.
Creating Joinery for Stronger Connections
Joinery makes your wooden book rack strong and durable. Use techniques like mortise and tenon, dado joints, or dowels to boost its strength.
| Joinery Type | Description | Strength Level |
|---|---|---|
| Mortise and Tenon | A joint made by fitting a protruding tenon into a recessed mortise. | High |
| Dado Joints | A slot cut into one piece of wood to accept another piece. | Medium to High |
| Dowel Joints | Uses dowel rods to reinforce the joint. | Medium |
Troubleshooting Common Cutting Issues
Even with careful planning, cutting problems can happen. Issues like tear-out, inaccurate cuts, or binding can occur. To fix these, check your saw blade, make sure your workpiece is secure, and verify your cutting guide is correct.
By getting good at measuring and cutting, you’ll make a beautiful and useful wooden book rack shelf.
Step-by-Step Wooden Book Rack Shelf Assembly Process

Building your wooden book rack shelf is a rewarding experience. This guide will help you through the assembly process. With your materials and tools ready, you’re all set to create a sturdy and functional book storage organiser.
Building the Frame
The first step is building the frame. You’ll use the sides, top, and bottom panels you’ve cut. Start by attaching the sides to the top and bottom panels using wood screws or dowels. Make sure the corners are square, and the frame is even.
To add more support, you can add a back panel. This helps keep the structure square. Use wood glue and nails or screws to secure the back panel.
Installing the Shelves
Once the frame is built, it’s time to install the shelves. Place the shelves at the desired heights, ensuring they are evenly spaced. Use shelf pins or brackets to support the shelves. For extra stability, consider using dado joints or shelf cleats under the shelves.
Double-check that the shelves are level and the spacing is consistent. This is key for both functionality and aesthetics of your wooden book storage organiser.
Securing the Structure
After installing the shelves, ensure all joints are tight and the structure is stable. Check that all screws are securely tightened and that there are no loose parts. This makes your bookshelf safe and durable.
Checking for Square and Level
To ensure your book rack shelf is properly assembled, verify that it is both square and level. Use a carpenter’s square to check the corners and a level tool to ensure the shelves and the overall structure are perfectly horizontal. Making these adjustments during assembly will save you from potential issues later on.
Here’s a simple table to help you keep track of the assembly process:
| Step | Component | Action |
|---|---|---|
| 1 | Frame | Assemble sides, top, and bottom |
| 2 | Shelves | Install at desired heights |
| 3 | Back Panel | Attach for added stability |
By following these steps, you’ll have a sturdy and attractive wooden book rack shelf. It will serve as a perfect storage solution for your books and decorative items. The process of building it not only provides a functional piece of furniture but also a sense of accomplishment.
Sanding and Preparing for Finish
Before you apply any finish, sand your wooden book rack shelf well. Sanding gets rid of scratches and uneven spots, making the surface smooth. This step is key to a professional look in your homemade bookshelf design.
Choosing the Right Sandpaper Grit
Choosing the right sandpaper grit is important. Start with a coarse grit (about 80-100) to fix big problems. Then, move to finer grits (120-150) for a smoother finish. Finish with a very fine grit (220 or higher) for a silky look. The right grit order makes your wooden bookcase construction guide project flawless.
Achieving a Smooth Surface
To get a smooth surface, sand with the wood grain. Don’t sand against the grain, as it can leave hard-to-remove scratches. Use a sanding block for flat areas to keep the surface even. For edges and corners, a sanding sponge or flexible sandpaper works best.
Dust Removal Techniques
After sanding, it’s important to remove dust before applying a finish. Use a vacuum or a tack cloth to clean the surface. For small areas, a soft-bristle brush can help get rid of dust. A clean surface is essential for a great finish on your creative book storage solution.
| Sanding Stage | Grit Size | Purpose |
|---|---|---|
| Coarse Sanding | 80-100 | Remove significant imperfections |
| Smoothing | 120-150 | Smooth out the surface |
| Fine Sanding | 220+ | Achieve a silky finish |
Finishing Options for Your Book Rack

Now that your handmade wood book rack shelf is ready, it’s time to add the finishing touches. The finish you choose can make your wooden book rack look better, protect it, and match your home decor. You can stain, paint, or apply clear protective coats.
Staining Techniques
Staining is a favourite for wooden book racks as it brings out the wood’s natural grain. To get a great stain, prepare your surface by sanding it well. Pick a stain that matches your wood’s color and follow the instructions. Use a wood conditioner if your wood is soft or stains unevenly.
Painting Your Bookshelf
Painting your wooden book rack shelf is a great choice if you want a specific color. Select a high-quality paint made for wood and prime it first for better stick and coverage. Use a smooth brush or roller for an even finish. You might need a second coat.
Applying Clear Protective Coats
If you like the natural wood look, clear protective coats are the best choice. You can use polyurethane, varnish, or wax. These finishes protect your book rack from scratches and spills while showing off its natural beauty. Apply thin coats, letting each dry before adding the next, for a smooth, durable finish.
Adding Custom Details and Features
You can make your wooden book rack shelf special by adding custom features. These details can make your book rack more useful and unique. They show off your personal style and needs.
Decorative Edge Treatments
Decorative edge treatments can really improve your book rack’s look. You can round, bevel, or add intricate designs to the edges. For example, a rounded edge can soften the look, while a bevelled edge adds sophistication.
Installing Bookends or Dividers
Bookends or dividers keep your books organised and add stability. You can match or contrast the bookends with your book rack for a unique look. Metal or wooden bookends with designs are great choices.
Lighting Integration Ideas
Adding lighting to your book rack can make it cosy and highlight your books. LED strip lighting is a good choice because it’s energy-efficient and flexible. You can put it under the shelves or along the back for a beautiful effect.
Personalised Engraving or Inlays
Adding engravings or inlays makes your book rack truly yours. You can have a special message, name, or design that you love. These can be made from wood, metal, or even stone.
| Custom Feature | Description | Benefit |
|---|---|---|
| Decorative Edge Treatments | Rounding, beveling, or intricate designs on edges | Aesthetic appeal, professional finish |
| Bookends or Dividers | Functionality, organisation | Functionality, organization |
| Lighting Integration | Personalised Engraving or Inlays | LED strip lighting under the shelves or back panel |
| Organises books, adds stability | Special messages, names, or motifs | Personal touch, uniqueness |
Troubleshooting Common Problems

Even with careful planning, issues like wobbly shelves or misaligned joints can still happen. Luckily, these problems can be fixed with simple steps.
Fixing Wobbly Shelves
First, check if the shelf supports are evenly spaced and well-attached. You can use adjustable shelf pins to level the shelves. Also, make sure the floor is level, as an uneven floor can make the whole thing unstable.
Addressing Misaligned Joints
To fix misaligned joints, double-check your measurements and tool condition. Use clamps to keep the pieces together while the glue dries. If the problem is big, you might need to take it apart and put it back together again.
Repairing Wood Splits or Cracks
For small splits or cracks, apply wood glue and clamp it until it’s dry. For bigger cracks, you might need wood glue and wood filler. Once the repair is dry, sand it smooth.
Mounting and Placement Options
Now that your wooden book rack shelf is done, it’s time to think about where to put it. Where you place your bookshelf can really change how your space looks and works.
Wall-Mounted Installation Guide
Mounting your book rack shelf on the wall can save space and make your room look modern. First, find the wall studs and use the right mounting hardware. Make sure the wall anchors can hold the shelf and its stuff.
Here’s a simple guide for mounting on the wall:
- Find the wall studs with a stud finder.
- Mark where you want to put the shelf, making sure it’s straight.
- Drill holes for the wall anchors.
- Put in the wall anchors and screw them in.
- Hang the shelf carefully, making sure it’s well attached.
Freestanding Stability Tips
If you want your book rack shelf to stand alone, here are some tips for stability. First, check that the floor is even. An uneven floor can make the shelf wobble or fall.
To make it more stable, you can:
| Tip | Description |
|---|---|
| Use anti-tip brackets | These attach to the shelf and the wall to stop it from tipping. |
| Put heavy things on lower shelves | This lowers the shelf’s center of gravity, making it steadier. |
| Make sure the shelf is wide enough | A wider base means more stability. |
By following these tips, you can enjoy your new wooden book rack shelf. It can be mounted on the wall or stand alone proudly.
Want to Build This Book Rack and 1,000s More—Without Guesswork?
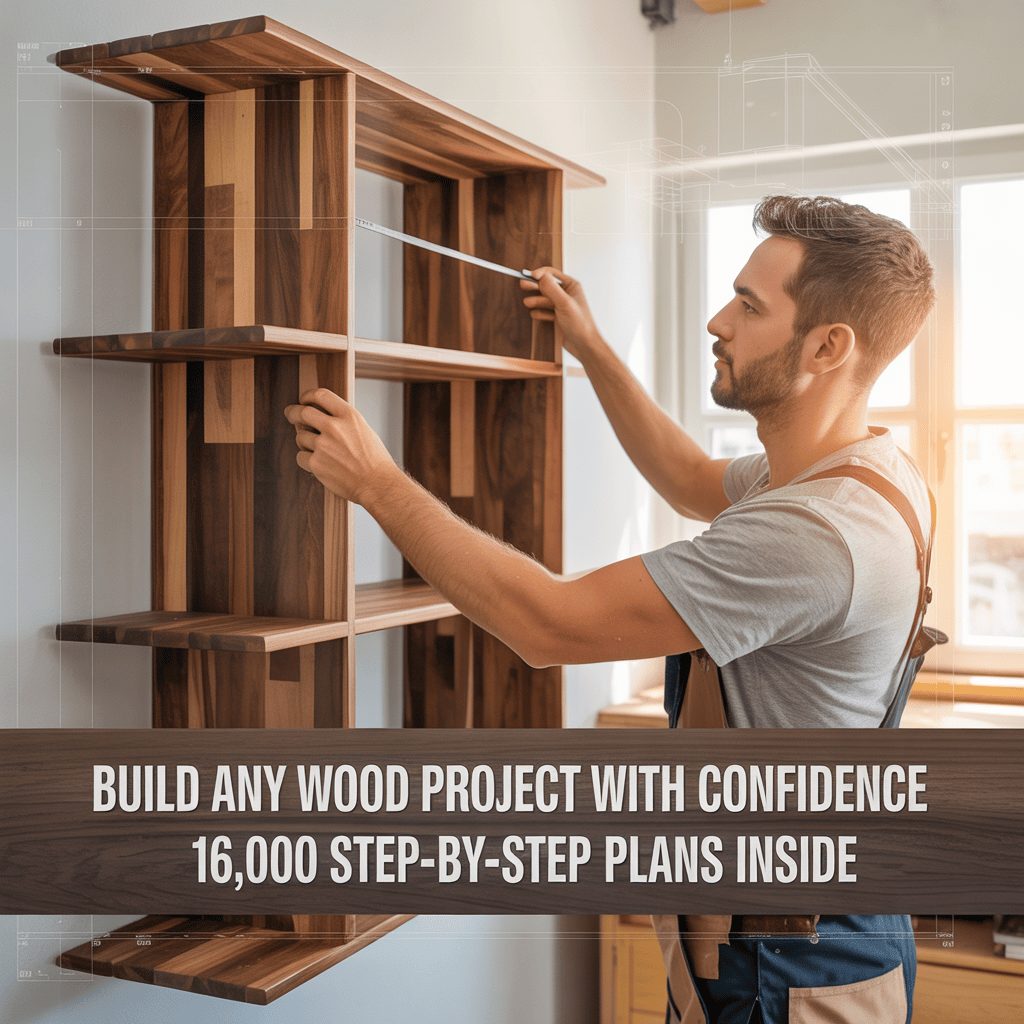
If you enjoyed building this custom wooden book rack shelf, imagine having step-by-step plans for almost ANY woodworking project you can dream of—all in one place.
That’s exactly why I recommend Ted’s Woodworking 👇
✅ Why Woodworkers Love Ted’s Woodworking:
- 16,000 done-for-you woodworking plans (furniture, shelves, racks, storage & more)
- Clear step-by-step instructions — perfect for beginners & pros
- Exact cutting + materials lists (no waste, no confusion)
- Detailed diagrams & multiple-angle views so nothing is left to guess
- Lifetime access + free new plans every month (no recurring fees)
- Build projects with basic tools — no fancy workshop needed
🔥 Limited-time offer: Get lifetime access for a one-time payment (no monthly cost).
👉 Click here to unlock 16,000 woodworking plans instantly
👉 Build smarter, faster, and with professional results—starting today
Conclusion
Now that you’ve followed the step-by-step guide, it’s time to start your DIY project. Building a DIY book rack shelf is fun and rewarding. It lets you create a wooden book storage organiser that fits your space and style perfectly.
By following this guide, you’ve learned to build a bookshelf that’s both functional and beautiful. Your new wooden book rack shelf will store your books well and add beauty to your home.
With your new woodworking skills, you can tackle more DIY projects. You can create a unique and personalised space that shows off your taste and creativity. So, gather your tools and start building your dream book rack today!
FAQ
What is the best type of wood to use for a wooden book rack shelf?
The best wood for a book rack shelf depends on your style, budget, and book weight. Oak, maple, and pine are good choices. They balance durability and cost well.
How do I customise the dimensions of the book rack shelf to fit my space?
To change the size, just adjust the measurements in the plans. Update the width, depth, and height to match your space. Then, recalculate the materials needed.
What safety precautions should I take when working with power tools?
Always wear safety glasses, a dust mask, and ear protection when using power tools. Keep your clothes and hair tied back. Avoid jewellery that could get caught.
How do I ensure my book rack shelf is level and stable?
Use a level tool to check if your shelf is even. Make sure the floor is flat. For wall shelves, find wall studs with a stud finder and secure the shelf there.
Can I add lighting to my book rack shelf?
Yes, you can add lights. LED strip lights or puck lights work well. Place them under the shelves or along the back for a cosy glow.
How do I fix a wobbly shelf?
First, check if the shelf is aligned with the brackets and screws are tight. If it’s still wobbly, add more support or adjust the shelf’s position.
What is the best finish for a wooden book rack shelf?
The best finish depends on your wood and desired look. You can stain, paint, or apply a clear coat. Think about durability and upkeep when choosing.
How do I prevent dust from accumulating on my book rack shelf?
Dust your shelf regularly with a soft cloth. Consider a dust-repelling finish or a dust cover when not in use.
Can I use the printable plans for other woodworking projects?
The plans are for a book rack shelf, but you can adapt them for other projects. Just adjust the measurements and materials for your project.
What if I encounter issues with the assembly process?
If you hit a snag, check the troubleshooting section or online resources. You can also ask a woodworking expert or the plan’s creator for help.
How can I add decorative edge treatments to my book rack shelf?
Use a router with decorative bits for profiles like ogee or roundover edges. Or, try a jigsaw or coping saw for more detailed designs.
What are the benefits of using a wall-mounted book rack shelf?
Wall-mounted shelves save floor space and make rooms feel open. They’re great for small rooms or to highlight a spot in a room.
