Did you know that handmade toys can help kids connect more with nature? Making creative toy projects is fun and rewarding. These projects also teach kids to solve problems and think creatively.
By crafting animal-shaped toys, you’re giving kids more than just a toy. You’re giving them a tool for learning and growth. In this guide, we’ll show you 7 fun projects that will make kids happy and help them learn important skills.
Key Takeaways
- Discover the benefits of creating handmade toys for kids.
- Learn how to make 7 different animal-shaped wooden toys.
- Understand the educational value of these creative projects.
- Explore the sustainability of using natural materials.
- Develop problem-solving skills through creative toy making.
The Joy and Benefits of DIY Wooden Animal Toys
Making wooden animal toys at home is fun and good for kids. It introduces them to crafting and DIY projects through wooden toy-making tutorials.
Easy DIY wooden toys are also educational. They are inspired by the Froebel Gifts, which help in child development. These toys boost creative play and problem-solving skills.
Educational Value of Wooden Toys
Children’s wooden toys offer many educational benefits. They improve fine motor skills, hand-eye coordination, and thinking. Plus, they last long and can be shared for years, saving money.
Sustainability and Eco-Friendliness
DIY wooden animal toys are also good for the planet. Unlike plastic toys, they’re made from natural, renewable materials. Choosing wooden toys helps reduce waste and promotes a greener future for kids.
Essential Tools and Materials for Making Wooden Animal Toys
To make wooden toy animals, you’ll need some basic tools and materials. Making your own wood toys is fun and rewarding. But you need the right tools and materials.
Basic Woodworking Tools You’ll Need
To start making wooden animal figurines, you’ll need some basic tools. These include:
- A band saw, or jig saw, for cutting out the animal shapes
- Sandpaper for smoothing out the cut edges
- A drill press for making precise holes
- A hand saw or coping saw for detailed cuts
Using the right saw is crucial for making precise cuts. This ensures the toy is safe for children. “The right tools make all the difference in woodworking,” say experienced craftsmen.
Choosing the Right Wood for Children’s Toys
Choosing the right wood for wooden toy animals is key. You should pick woods that are:
- Non-toxic and safe for children
- Durable and resistant to wear and tear
- Smooth and free of splinters
Popular choices include birch, maple, and beech wood. Always ensure the wood you choose is sustainably sourced to help the environment.
Safety Considerations When Creating DIY Wooden Animal Toys
Making DIY wooden animal toys safe for kids means following child safety rules and using safe materials. As a maker, you must make sure your toys are fun and safe for kids to play with.
Child Safety Standards for Homemade Toys
When making DIY wooden animal toys, following child safety rules is key. Make sure the toys don’t have choking hazards, sharp edges, or other dangers. Also, follow rules about part sizes and toy durability.
Non-Toxic Finishes and Materials
Choosing non-toxic finishes and materials is vital for children’s wooden toys safety. Use natural finishes like beeswax or plant-based oils instead of harmful chemicals. The wood should come from sustainable forests and be free from splinters.
| Safety Consideration | Description |
|---|---|
| Choking Hazards | Ensure that small parts are securely attached and comply with size regulations. |
| Sharp Edges | Sand down any rough edges to prevent cuts or splinters. |
| Non-Toxic Materials | Use natural, non-toxic finishes and materials in the construction of the toy. |
Project 1: Simple Wooden Bear Cub – Perfect for Beginners

Making a simple wooden bear cub is a great way for beginners to start. It’s a fun project that teaches basic woodworking skills. You’ll need just a few tools and materials.
Materials and Preparation
You’ll need a few basic things to begin. These include softwood (like pine or cedar) for the body, a small piece for the ears, non-toxic glue, and a finish like beeswax or child-safe varnish. Make sure all materials are safe and free from splinters.
Step-by-Step Cutting and Shaping Process
Creating the Basic Shape
Start by cutting out the main body shape from your wood. You can use a template or draw it directly onto the wood. The shape should look like a rough bear, with a big body and a small head.
Adding Details and Features
After cutting the basic shape, use finer tools to add details. You can carve the eyes, nose, and ears into the wood. Or, you can attach small pieces for the ears and use buttons or small dowels for the eyes and nose.
Sanding and Finishing Touches
Once you’ve shaped the bear, sand it well to remove any splinters or rough edges. Then, apply a non-toxic finish to protect the wood and make it look better. A beeswax polish or child-safe varnish works well.
As “The Art of Woodworking” says,
“The beauty of wooden toys lies in their simplicity and the connection they foster between children and nature.”
By following these steps, you’ll make a cute wooden bear cub. It will not only make children happy but also show off your growing woodworking skills.
Project 2: Wooden Rocking Horse with Simple Mechanics

Building a wooden rocking horse is a fun woodworking project. It’s a classic toy that kids love and adds beauty to any room.
Designing Your Rocking Horse
When designing your rocking horse, think about its size and the wood you’ll use. You can stick to a traditional look or try something new. Remember, it should match the child’s age and taste.
Start with a simple shape and add details later. Make sure it fits well in the space and is safe for the child.
Cutting and Assembling the Body
Cutting and putting the body together needs careful work. You’ll need to cut out the horse’s shape, body, and legs from your wood.
Creating the Horse Profile
The horse’s profile is its standout feature. You can use a template or draw it on the wood. Cut it out with a jigsaw or bandsaw.
Then, sand the edges to make them smooth.
Adding Stability Features
To keep the horse stable, add a wide base or extra weight. This stops it from tipping over.
Adding a seat or backrest makes it more comfortable and safe.
Installing the Rocking Base
The rocking base is what makes the horse move. Cut two curved pieces of wood for the rockers. Attach them to the bottom of the horse’s body.
| Component | Material | Dimension |
|---|---|---|
| Horse Body | Pine Wood | 30 inches long, 10 inches wide |
| Rocking Base | Oak Wood | 24 inches long, 4 inches wide |
| Legs | Pine Wood | 2 inches diameter, 6 inches long |
By following these steps, you can make a beautiful wooden rocking horse. It will be a treasured toy for years.
Project 3: Pull-Along Wooden Dog Toy with Movable Parts

You can make a fun pull-along wooden dog toy with movable parts. It’s great for those who love making toys with fun features.
Creating the Dog’s Body and Legs
First, cut out the dog’s body and legs from your wood. Use a jigsaw or bandsaw for the curves. Sand the edges to make them smooth and safe.
The body and legs should match up well. This makes the toy look like a real dog.
- Cut out the body and head in one piece for stability.
- Use dowel rods to attach the legs, allowing for movement.
- Sand all parts thoroughly.
Installing the Wheel Mechanism
The wheel mechanism is key to the toy to movement. Attach the wheels to the bottom with axles. Make sure the wheels are even, and the toy moves well.
- Drill holes for the axles.
- Insert the axles into the wheels and attach them to the body.
- Test the movement to ensure it’s smooth.
Adding the Pull String and Details
Next, add a pull string to the toy. Drill a small hole in the dog’s head and tie a strong string or rope. You can also add details like eyes or a tongue with paint or small wooden pieces.
- Tie a secure knot to prevent the string from coming loose.
- Use non-toxic paint for any additional details.
Project 4: Wooden Animal Puzzle – Multi-Functional Play

Making a wooden animal puzzle is a fun DIY project. It mixes creativity with learning. You can make a puzzle that tests and amazes kids, boosting their problem-solving and creative play.
Designing Your Animal Puzzle Pieces
Think about the child’s age and skill when designing your puzzle. For younger kids, use simple shapes. For older ones, go for more complex designs. The Froebel Gifts show how toys can be both fun and educational.
- Choose animal shapes that are recognisable and appealing to children.
- Consider the number of pieces: more pieces can make the puzzle more challenging.
- Ensure the pieces are cut precisely to fit together smoothly.
Cutting and Shaping Each Animal
To cut and shape each animal piece, you’ll need basic woodworking tools and techniques.
Template Creation
Make a template for each animal shape to ensure consistency and accuracy. Draw the shapes on paper or cardstock and then transfer them to the wood.
Precision Cutting Techniques
Use a coping saw or a jigsaw to cut out the animal shapes. Sand the edges to smooth them out and remove any splinters.
Creating the Puzzle Base
The puzzle base is the foundation for the animal pieces. Use plywood or MDF, cut to the right size. Sand the base to smooth it out and apply a non-toxic finish to protect the wood and make it safe for children.
By following these steps, you can make a wooden animal puzzle that’s both fun and educational. This handmade wooden toy will entertain kids for hours and help them develop important skills.
Project 5: Stackable Wooden Owl Family Set

In this project, we’ll show you how to make a stackable wooden owl family set. It’s a fun and educational toy for kids. You’ll create multiple owl figures of different sizes that can stack on top of each other. This helps improve fine motor skills and boosts creativity.
Creating Graduated Owl Sizes
First, design and cut out owl shapes in various sizes. You can use a template or draw them freehand on your wooden stock. Make sure the sizes are graduated so the owls stack neatly. You’ll need at least three sizes for a nice stack.
Adding Details and Character
After cutting out the owl shapes, add details like eyes, wings, and feet. Use a small tool or a wood-burning kit for this. These details will make your owls more interesting for kids. You can also play with their expressions or poses for extra fun.
Finishing for Safe Stacking
Once the owls are sanded smooth, apply a non-toxic finish to protect the wood. Use a natural oil or wax. After it dries, your stackable wooden owl family set is ready for play. This toy is not only fun but also helps kids with their motor skills and understanding of size and order.
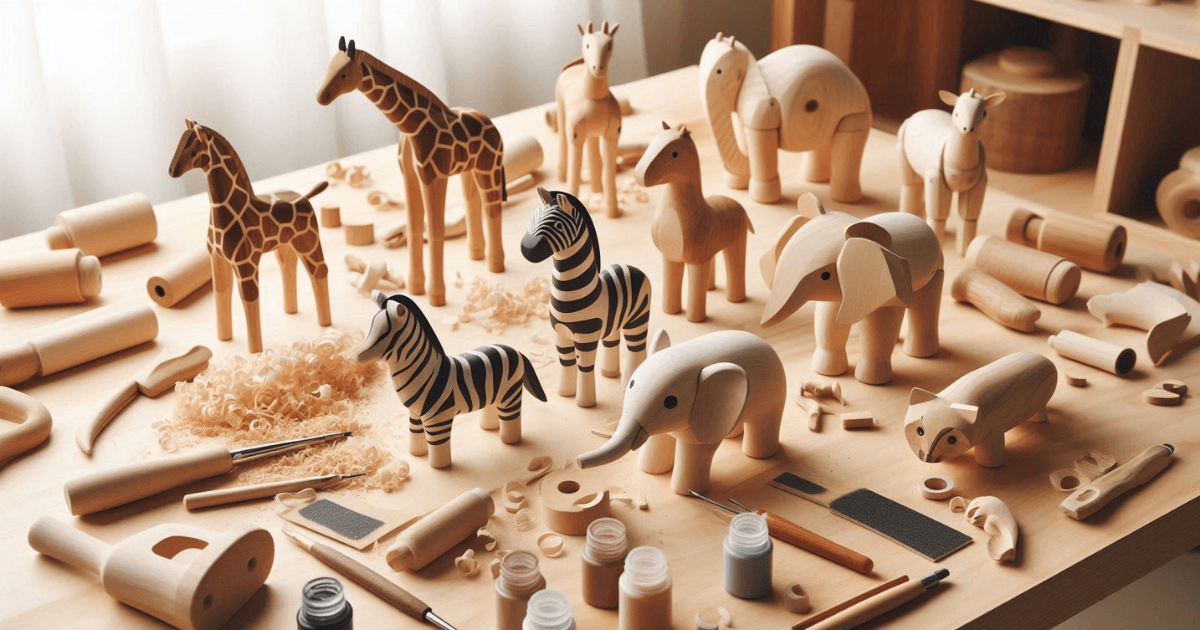
Project 6: Wooden Safari Animals Play Set
Looking for a fun way to spark your child’s imagination? Try making a wooden safari animal play set. It lets you create various animal shapes. This teaches kids about different species and boosts their creative play.
Designing Multiple Animal Shapes
Choosing which animals to include is the first step. You might pick lions, giraffes, or elephants. For younger kids, keep the shapes simple. For older ones, add more details. Wooden toy templates can help make your animals look great.
“The best way to encourage creativity in children is by providing them with open-ended toys like a wooden safari animal play set,” says a renowned child development expert.
Batch Production Techniques
Batch production makes making many animals faster. Cut and shape several parts at once. This saves time and keeps your animals looking the same. Use a template for each animal to make it easier.
- Cut multiple pieces at once using a jigsaw or bandsaw.
- Sand all similar parts together to save time.
- Apply finishes in batches to maintain a consistent look.
Creating a Storage Box
A storage box is a smart addition to your play set. It teaches kids to clean up after play. You can make it look like a safari trunk or a simple wooden chest. A lid or removable top makes it easy for kids to get their toys.
By following these steps, you can make a fun and engaging wooden safari animal play set. This DIY wooden animal toy project is not only enjoyable but also helps you improve your woodworking skills.
Project 7: Articulated Wooden Dinosaur with Moving Joints
Looking for a DIY wooden toy project? Try making an articulated wooden dinosaur. It combines woodworking with creativity. You’ll create body segments with simple joints for movement.
Creating the Dinosaur Body Segments
First, design and cut out the dinosaur’s body parts. This includes the head, torso, tail, and legs. Use a jigsaw or bandsaw for cutting. Then, sand them to make the edges smooth.
Making and Installing Simple Joints
The joints are key to the dinosaur’s movement. Drill holes in the segments and connect them with dowels or small rods.
Drilling Precise Holes
Drill holes accurately for smooth movement. Use a drill press or a hand drill for this.
Connecting the Segments
After drilling, connect the segments with dowels or small rods. Make sure they fit well for easy movement.
| Segment | Hole Diameter | Dowel Length |
|---|---|---|
| Head | 5mm | 10mm |
| Torso | 6mm | 12mm |
| Tail | 5mm | 10mm |
Testing and Adjusting Movement
Test the dinosaur’s movement after assembly. Adjust dowels or holes if needed for better movement.
“The best way to get started is to quit talking and begin doing.”
Walt Disney
By following these steps, you can make a unique and fun articulated wooden dinosaur. It will be loved by kids and adults alike.
Finishing and Customising Your DIY Wooden Animal Toys
After making your DIY wooden animal toys, it’s time to finish them. Finishing and customising are key steps. They make your toys look great and safe for kids to play with.
Child-Safe Painting Techniques
When painting your toys, use safe, non-toxic paints. Water-based or natural paints are good choices. Always follow the paint’s instructions for a safe finish.
“Using the right paint is crucial,” says a famous toy maker. “It makes toys fun and safe for kids.”
Adding Personal Touches and Details
Adding personal touches makes your toys unique. You can stain, varnish, or add decorations like buttons or ribbons. Think about the child’s preferences when adding details.
For example, a small name tag or a message can make it special.
Protective Coatings for Longevity
Using a protective coating is important for your toys’ longevity. Choose a non-toxic sealant or varnish for kids’ toys. It protects the wood and makes cleaning simple.
As “a good finish can make a toy last for generations”, picking the right coating is worth it.
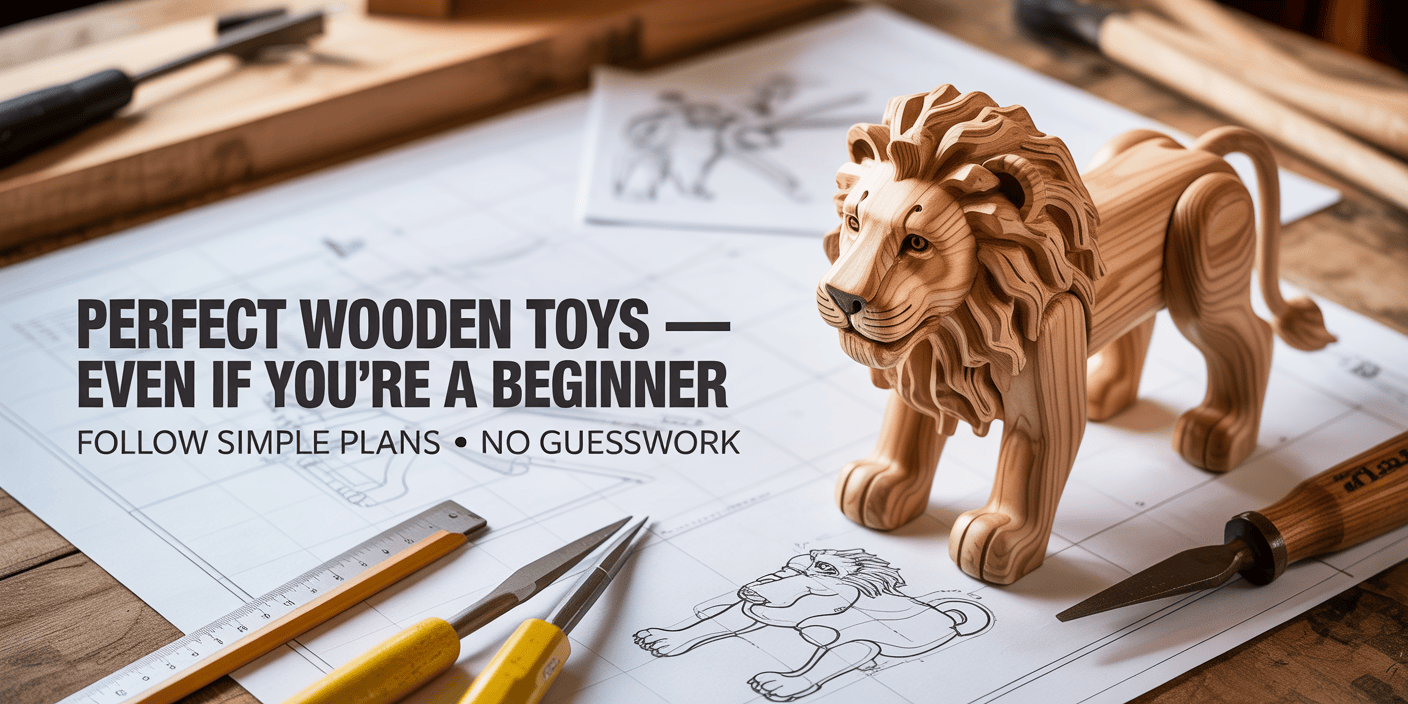
🧸 Build Magical Wooden Animal Toys with Zero Guesswork! 🪚
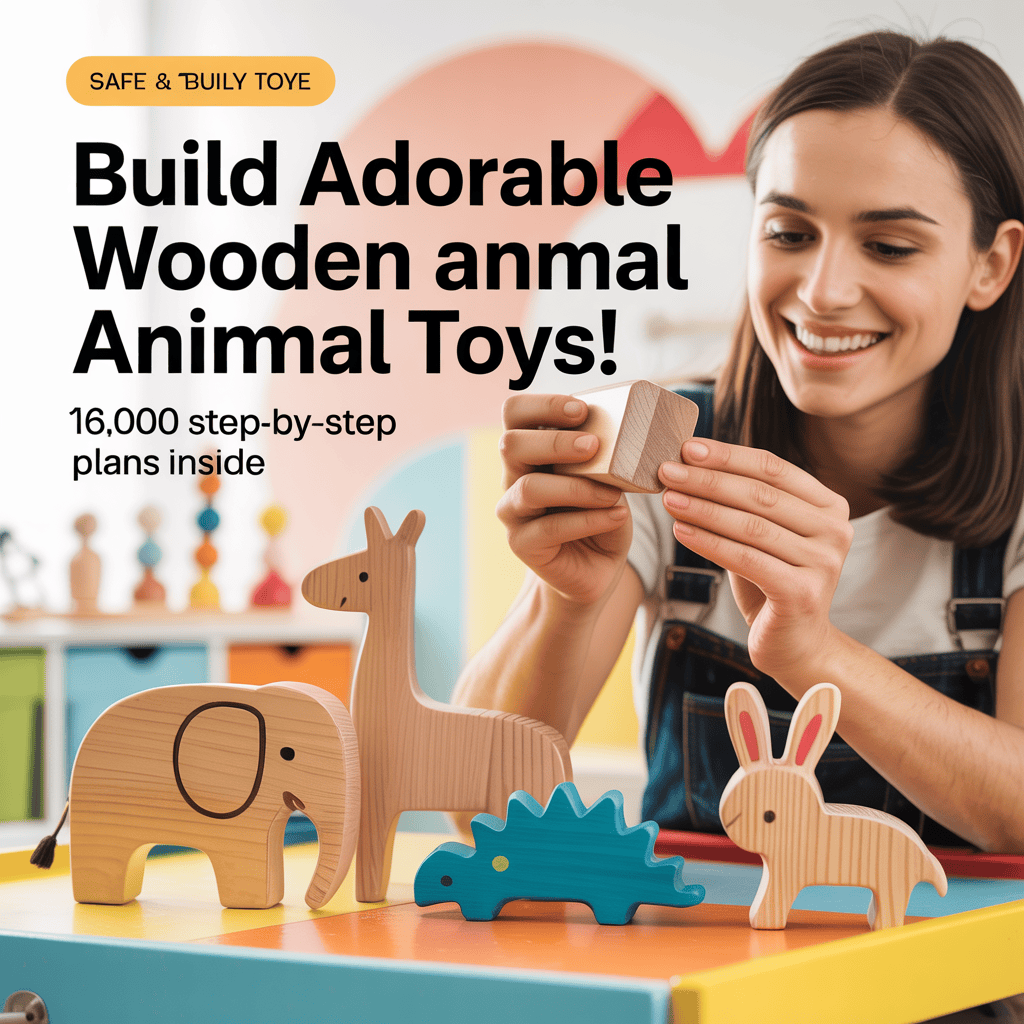
Want to create adorable animal toys that actually look amazing and are safe for kids?
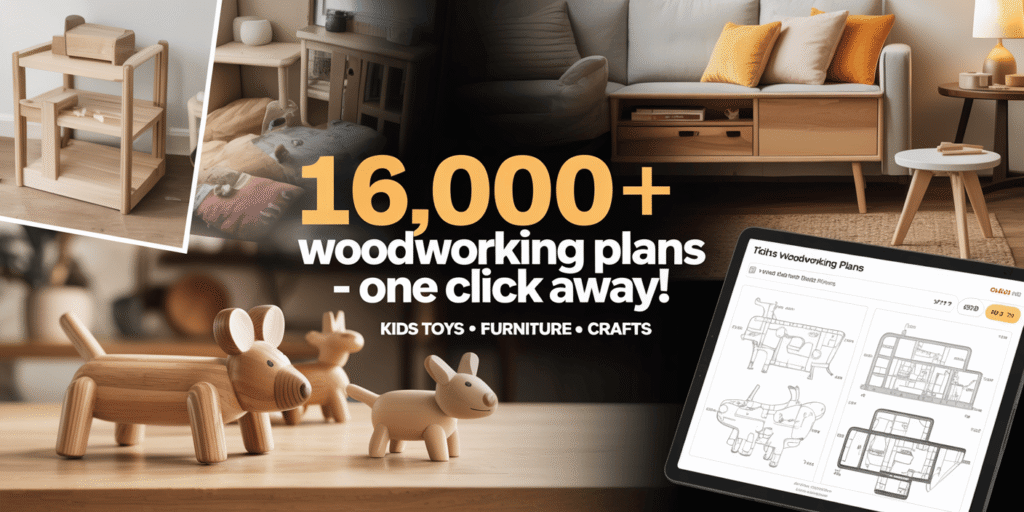
🎯 Get Ted’s Woodworking – the world’s largest collection of 16,000 step-by-step plans that make DIY fun and frustration-free!
✅ Why You’ll Love It:
- 📘 16,000+ “done-for-you” plans with crystal-clear instructions
- 🧰 Perfect for beginners – no fancy tools or big workshop needed
- 🪵 Exact materials & cutting lists to avoid waste
- 🖼️ Multiple views & schematics so you never guess
- 🎁 Lifetime updates + custom plans + video tutorials!
👉 Turn your scrap wood into stunning toys and memories!
🎁 Click here to get instant access for just $67 »
Conclusion
You’ve now explored seven creative DIY wooden animal toy projects. These projects can make playtime more fun and educational for kids. From a simple wooden bear cub to an articulated wooden dinosaur, each project sparks imagination and creativity.
By making handmade wooden toys, you offer your child sustainable and eco-friendly play options. You also teach them about craftsmanship and the joy of imaginative play. The diy wooden animal toys you make can become precious keepsakes, strengthening your bond with your child.
As you keep exploring creative wooden toy projects, remember the real value is in the time and effort you put in. These diy wooden animal toys are more than just toys; they’re memories that will last forever.
FAQ
What are the benefits of creating DIY wooden animal toys for children?
DIY wooden animal toys boost imagination, learning, and eco-friendliness. They are better than plastic toys.
What basic woodworking tools are required for making wooden animal toys?
You’ll need saws, sandpaper, and basic tools for making wooden animal toys.
How do I choose the right wood for children’s toys?
Choose wood that’s safe and non-toxic for kids. Look at durability and finish too.
What safety considerations should I keep in mind when creating DIY wooden animal toys?
Follow child safety standards and use safe finishes. Make sure toys are safe for kids.
Can I customise my DIY wooden animal toys with paint or other finishes?
Yes, use safe painting methods and protective coatings. This way, you can customise your toys.
What are some popular DIY wooden animal toy projects for kids?
Popular projects include a wooden bear cub and a rocking horse. You can also make a pull-along dog toy or a wooden animal puzzle. Other ideas are a stackable owl family set, a safari animal play set, and an articulated dinosaur.
How can I ensure my DIY wooden animal toys are durable and long-lasting?
Use quality wood and protective coatings. Make sure toys are well-made for durability.
Can I make DIY wooden animal toys in batches for gift-giving or sale?
Yes, batch production is great for making many toys. It’s perfect for gifts or sales.
What are some tips for adding personal touches to my DIY wooden animal toys?
Use different stains, paints, or decorations. This makes your toys unique.
Are DIY wooden animal toys suitable for children of all ages?
DIY wooden toys are good for many ages. But, check safety guidelines for each toy, mainly for young kids.

