Did you know a simple DIY project can change your living space? Making a wooden room divider is a great way to add privacy and separation. It works well in any room in your home.
Creating a DIY room screen is easy with simple plans. A wooden partition screen is both useful and stylish. It’s a great addition to your home decor.
As a beginner, making a wooden room divider is easy. It needs just a few materials and tools. With clear plans, you can make a beautiful DIY decorative screen. It will make your home look better.
Key Takeaways
- Transform your space with a DIY wooden room divider.
- Easy plans available for beginners.
- Add separation and privacy to any room.
- Customize your room divider to fit your home decor.
- A wooden partition screen is a practical and stylish solution.
Understanding Wooden Room Dividers
A wooden room divider is a stylish way to separate spaces in your home. It’s easy to make one. You can customize it to match your decor, making it a great DIY project.
What Makes Wooden Room Dividers Unique
Wooden room dividers are special because of their natural beauty. They can be made from different types of wood. Each wood has its own grain pattern and color.
Benefits of Creating Your Own Custom Divider
Building your own wooden room divider has many advantages. You can choose the size, design, and material that suits you best. You can also add personal touches, like carvings or unique finishes.
- Customize the size to fit your space perfectly
- Choose materials that match your home decor
- Add personal touches like carvings or special finishes
Popular Styles and Designs
There are many styles and designs for wooden room dividers. You can choose from modern geometric patterns, classic hinged panels, or Japanese-inspired shoji screens. Pick a design that shows your style and fits your home’s look.
Understanding wooden room dividers helps you make a beautiful and useful piece for your home. Whether you’re experienced or new to DIY, making a wooden room divider is a fulfilling project. It can also increase your home’s value.
Essential Tools and Materials for Your DIY Project

Starting your DIY wooden partition screen project right means having the right tools and materials. As a beginner, knowing what you need is key to finishing your project well.
Required Tools for Beginners
First, you’ll need some basic tools. These include:
Basic Hand Tools
- A tape measure for accurate measurements
- A hammer for tapping pieces into place
- A set of chisels for removing small amounts of wood
- A hand saw or backsaw for cutting wood
Power Tools That Help (But Aren’t Essential)
Power tools can make your project faster, but they’re not a must for beginners. A circular saw helps with straight cuts, and a drill press is great for precise drilling.
Wood Selection Guide
Choosing the right wood is key for your DIY room divider. Think about these points:
Best Woods for Beginners
Pine and cedar are great for beginners. They’re easy to work with and won’t break the bank.
Affordable Options
Looking to save money? Try using reclaimed or recycled wood. It adds a unique touch to your divider.
Additional Materials and Hardware
You’ll also need materials like hinges, screws, and decorative hardware. They’re important for finishing your divider.
Budget Considerations
Remember to think about your budget when planning your DIY project. Find a balance between cost and quality for your wooden screen divider.
Planning Your Decorative Wooden Room Divider DIY Project
Before you start building your decorative wooden room divider, it’s essential to plan it carefully. Proper planning is crucial for a successful DIY project. It ensures your room divider fits perfectly in your space and meets your aesthetic expectations.
Measuring Your Space
Start by measuring the area where you plan to place your room divider. Consider the length, width, and height of the space. Accurate measurements will help you determine the ideal size for your divider.
Determining the Right Size and Height
Decide on the size and height of your room divider based on your measurements and its purpose. A taller divider can provide more privacy. A shorter one can serve as a decorative partition.
Sketching Your Design
Sketching your design is a creative step in the planning process. You can use free online design tools to visualize your project or opt for hand-sketching.
Free Online Design Tools
Use online tools to create a digital model of your room divider. These tools can help you experiment with different designs and dimensions.
Hand-Sketching Tips
If you prefer a more traditional approach, hand-sketching can be a great way to bring your ideas to life. Use graph paper to help maintain scale and proportion.
Creating a Cutting List
Once you have a clear design, create a detailed cutting list. This list will guide you in preparing the necessary materials for your project. It ensures you have everything you need before you start building.
3 Simple Wooden Screen Designs for Beginners

For beginners, picking a simple yet stylish wooden screen design is key. Simple designs are great for DIY newbies, offering both function and style. Here are three easy wooden screen designs to start with.
Classic Hinged Panel Design
The Classic Hinged Panel Design is timeless and versatile. It’s made of multiple panels connected with hinges. This makes it easy to fold and store.
Materials List
- Wooden panels (e.g., pine or oak)
- Hinges
- Screws
- Wood glue
Difficulty Level and Time Requirements
This design is easy to moderate and takes about 4-6 hours. It depends on the number of panels.
Modern Geometric Pattern Screen
A Modern Geometric Pattern Screen adds a contemporary touch. It’s made by creating a geometric pattern with wooden slats or cutouts.
Materials List
- Wooden slats or panels
- Geometric cutout templates
- Sandpaper
- Wood finish
Difficulty Level and Time Requirements
This design is moderate and takes about 6-8 hours. It depends on the pattern’s complexity.
Japanese-Inspired Shoji Screen
The Japanese-Inspired Shoji Screen is elegant and calming. It uses rice paper or fabric panels in a wooden frame.
Materials List
- Wooden frame components
- Rice paper or fabric panels
- Adhesive
- Decorative molding (optional)
Difficulty Level and Time Requirements
This design is moderate to challenging and takes about 8-10 hours. It depends on the design’s intricacy.
These designs offer various styles and levels of complexity. They make it easier to find one that matches your skill and taste. “The right DIY project can transform your space and reflect your personal style,” DIY experts say. With these simple designs, you can make a beautiful and useful room divider that improves your home’s look.
Preparing Your Wood for the Room Divider

Before you start making your wooden room divider, you need to prepare the wood right. Getting the wood ready is key for a top-notch finish in your DIY project.
Cutting Wood to Size
First, cut your wood to the right size for your divider. This step needs precision and safety.
Safety Precautions
Always wear safety glasses and a dust mask when cutting wood. Make sure your area is clean and well-lit.
Measuring Twice, Cutting Once
Check your measurements twice before cutting. Use a sharp saw blade for clean cuts and safety.
Sanding Techniques for Smooth Surfaces
After cutting, sanding is key. It smooths out the wood, removing splinters or rough edges. Start with coarse-grit sandpaper and move to finer grits for a smooth finish.
Pre-Assembly Wood Treatment
Before you put your divider together, think about treating the wood first. You can stain or seal it to protect it and make it look better. Follow the treatment’s instructions and wait for it to dry before you start assembling.
By doing these steps, you’re on your way to making a beautiful, lasting wooden room divider. It will add elegance to any room.
Step-by-Step Construction of Your Wooden Partition Screen

Building your own wooden room divider is a fun project. It requires following a few key steps to get it right. This will help you achieve a professional look.
Building the Frame Structure
A strong frame is essential for your room divider. You need to make sure the joints are solid and follow a logical order when assembling.
Creating Strong Joints
Strong joints keep your divider stable. You can use different techniques like mortise and tenon or dovetail joints. Choose what fits your design best.
- Mortise and tenon joints are strong and good for heavy screens.
- Dovetail joints are durable and resist pull-out forces well.
Assembly Sequence
Assembling in the right order is key for a square and stable frame. Start with the sides, then add the top and bottom rails. Finish with any supports in between.
Creating and Attaching Panels
After the frame is ready, you can make and attach the panels. You can use solid wood, plywood, or other materials based on your preference.
Use screws or nails to attach the panels. Make sure they’re evenly spaced and aligned right.
Installing Hinges for Folding Screens
Installing hinges is crucial for folding screens. Choose sturdy hinges that can handle the screen’s weight.
“The quality of the hinges can make or break the functionality of your folding screen.” – Woodworking Expert
Ensuring Stability and Balance
To make sure your screen is stable and balanced, check if it stands upright without wobbling. You might need to add feet or adjust the base for stability.
| Stability Factor | Description | Solution |
|---|---|---|
| Uneven Floor | The screen wobbles due to an uneven floor. | Adjustable feet |
| Weak Joints | The joints are not strong enough. | Reinforce with additional fasteners |
| Heavy Panels | The panels are too heavy. | Use lighter materials or additional supports |
By following these steps and paying attention to detail, you can make a beautiful and useful wooden partition screen. It will enhance your living space.
Adding Decorative Elements to Your Room Divider
Adding decorative elements to your room divider can make it a stunning focal point. It can go from a simple partition to a beautiful piece in your home. Creative touches can make your wooden screen divider more beautiful and useful.
Carving Simple Patterns
Carving simple patterns into the wood can add visual interest. This technique can make your room divider unique and eye-catching. You can use a wood carving knife or a Dremel to create intricate designs.
Incorporating Fabric or Paper Panels
Adding fabric or paper panels can also enhance your room divider. This adds texture and visual interest, making it a creative room divider design. Choose materials that match or contrast with your decor for a striking effect.
Adding Decorative Hardware
Decorative hardware can also make your room divider look better. Hinges, handles, and other metal accents can match or complement your home’s style. This adds elegance or sophistication to your wooden screen divider.
Creative Embellishment Ideas
For extra creativity, consider unique embellishments for your room divider. This can include:
- Nature-inspired designs, such as leaf patterns or floral motifs
- Geometric patterns, which can be appealing for modern decor
Nature-Inspired Designs
Nature-inspired designs can add calm and serenity to your space. Carve or paint motifs like branches or flowers to create a soothing atmosphere.
Geometric Patterns for Beginners
Geometric patterns are also popular for room dividers. They can range from simple chevrons to complex designs. Beginners can start with simple geometric patterns to add visual interest.
By adding these decorative elements, you can make your wooden room divider beautiful and functional. It will enhance your home’s decor.
Finishing Your Wooden Room Divider
Now that your wooden room divider is built, it’s time for the final touches. The finish greatly affects how your DIY room divider project looks. It’s a key step in completing your project.
Staining Options for Different Wood Types
Choosing the right stain is important, based on your wood type. For oak or pine, pick a stain that matches the wood’s natural look. Use a water-based stain for a light finish or an oil-based stain for deeper colors.
| Wood Type | Recommended Stain |
|---|---|
| Oak | Water-based stain |
| Pine | Oil-based stain |
| Maple | Whitewash stain |
Painting Techniques for Beginners
Painting your divider adds a personal touch to your easy DIY room divider. Start with a clean, sanded surface for beginners.
Distressed Finish Tutorial
To get a distressed look, paint a base coat and let it dry. Then, use a sanding block to distress the surface. Focus on areas that would naturally wear down.
Color Selection Tips
Think about your room’s decor when picking a color. Use a color wheel to find colors that complement each other well.
Applying Protective Sealants
After staining or painting, apply a protective sealant. Choose a clear coat that matches your finish. Always follow the manufacturer’s application instructions.
Placement and Styling Ideas for Your DIY Room Divider
Now that you have your DIY room divider, let’s talk about how to place and style it. The right spot and look can really change how a room feels.
Strategic Placement in Different Room Types
Think about the room’s use and layout when placing your divider. In a living room, it can separate the seating from the office or make a cozy reading spot. In bedrooms, it can divide the sleeping area from a dressing room.
Creating Zones in Open Floor Plans
DIY room dividers are great for open floor plans. They make different areas, like separating the kitchen from dining or defining a home office. This boosts both function and looks.
Coordinating with Existing Decor
To match your room divider with your decor, think about color, material, and style. For example, a minimalist room might look good with a simple, wood or glass divider.
Seasonal Styling Options
Change up your room divider with the seasons to keep your decor fresh. You can swap out fabrics, hardware, or add seasonal decorations.
| Season | Styling Ideas |
|---|---|
| Spring | Add floral patterns or pastel-colored fabrics to your room divider. |
| Summer | Incorporate beach-themed decorations or light, airy fabrics. |
| Autumn | Use warm-toned woods or add fall-themed decorative elements. |
| Winter | Decorate with evergreen branches, pinecones, or winter-themed ornaments. |
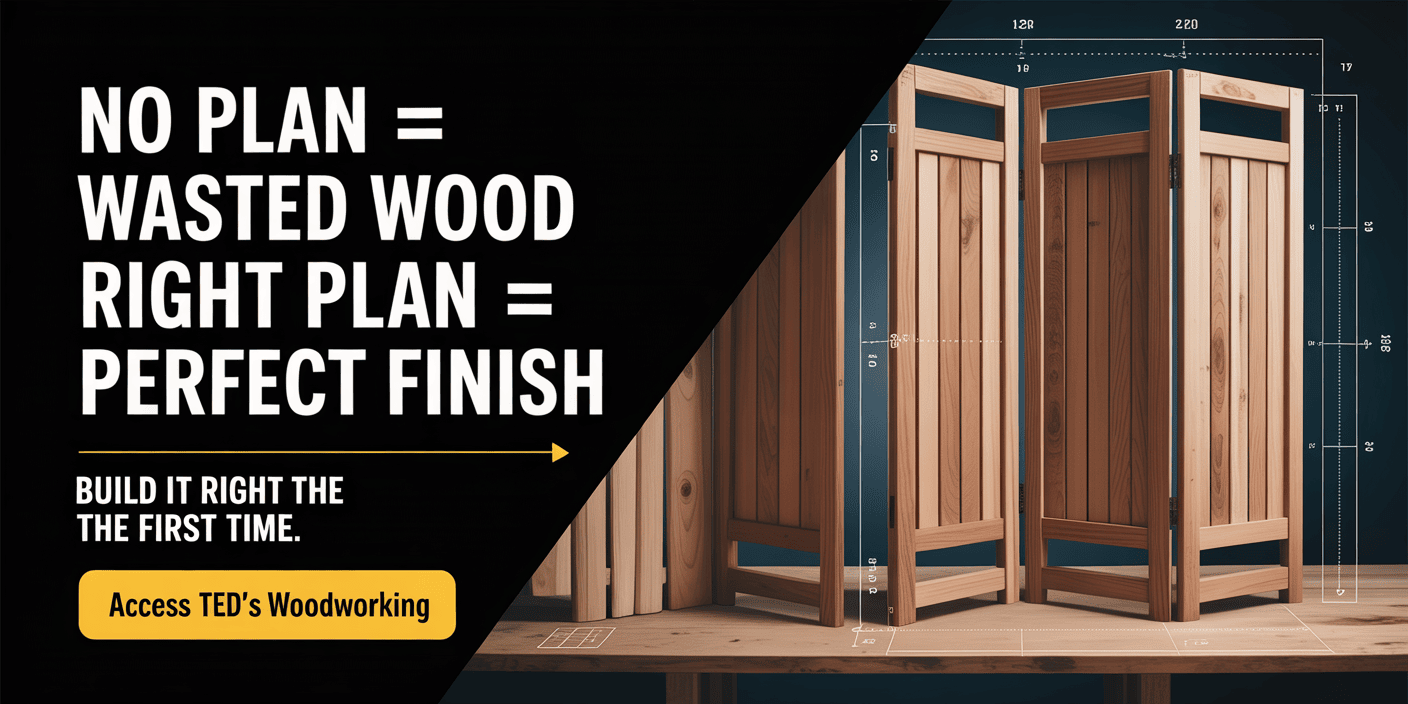
🔨 Build Stunning Wooden Room Divider Screens — Without Guesswork
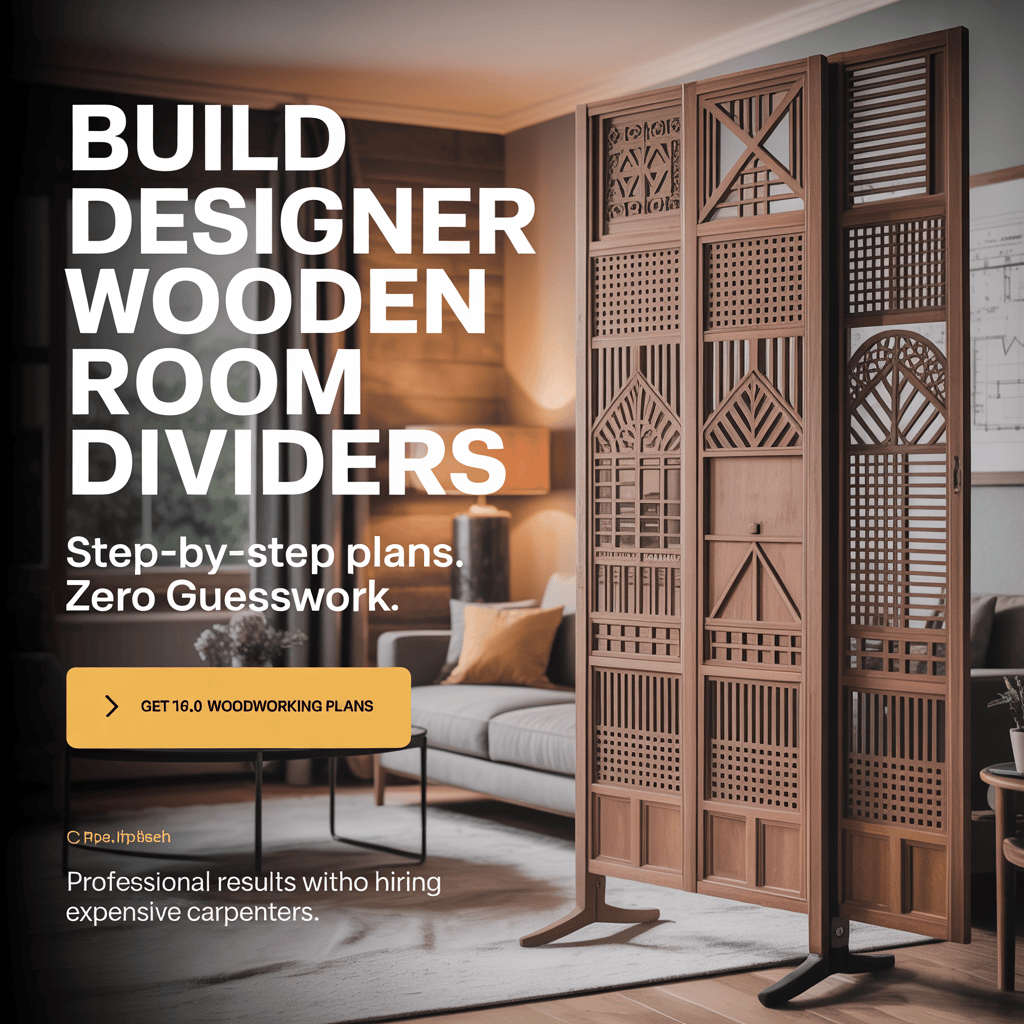
Want to build professional-looking decorative wooden room divider screens that fit your space perfectly—even if you’re a beginner?
👉 Ted’s Woodworking gives you instant access to 16,000+ step-by-step woodworking plans that make complex projects simple and stress-free.
✅ Why Woodworkers Love Ted’s Woodworking:
- ✔ 16,000 done-for-you woodworking plans (screens, furniture, décor & more)
- ✔ Clear step-by-step instructions — no confusing measurements
- ✔ Exact cutting & materials lists to save time and money
- ✔ Detailed diagrams & multiple-angle views so nothing is left to guess
- ✔ Beginner-friendly plans — no expensive tools or big workshop needed
- ✔ Lifetime access + FREE monthly new plans
- ✔ One-time price (no monthly fees)
🔥 Perfect for building decorative room dividers, privacy screens, and custom interior wood projects — the right way, the first time.
👉 Click here to get instant access to Ted’s Woodworking plans today
Build smarter. Save money. Create wood projects you’ll be proud of.
Conclusion: Enjoying Your Handcrafted Wooden Room Divider
Making a decorative wooden room divider is a fun and rewarding DIY project. It adds a personal touch to your home. By following our guide, you’ve made something both useful and beautiful.
There’s joy in making something yourself. Your wooden room divider is now a special part of your home. It makes any room look better.
Now that you have your room divider, try out new designs. This will make your space even more unique. You’re ready to tackle more DIY projects and make your home even more beautiful.
FAQ
What is a room divider, and how can it be used in home decor?
A room divider is a screen or partition that separates spaces in a room. It adds visual interest and creates coziness. It also blocks unwanted views.
What are the benefits of creating a DIY decorative wooden room divider?
Making a DIY wooden room divider lets you customize it to fit your needs. It adds a personal touch and is often cheaper than buying one.
What type of wood is best for a room divider?
The best wood for a room divider depends on your style and budget. Popular choices include pine, oak, and maple, offering various colors and textures.
How do I measure my space for a room divider?
To measure your space, find the width and height of the area for the divider. Make sure it matches the room’s scale and furniture.
Can I use online design tools to plan my room divider?
Yes, online design tools can help plan your room divider. They let you create a digital mockup and make changes before starting.
How do I finish and protect my wooden room divider?
To finish and protect your divider, stain or paint it. Then, apply a sealant to prevent damage from moisture or wear.
What are some creative ways to decorate my room divider?
You can decorate your divider by carving patterns, adding fabric or paper panels, or using decorative hardware. Choose embellishments that match your style.
How can I ensure my room divider is stable and secure?
To make your divider stable and secure, build a strong frame. Use proper hinges for folding screens. Adding a weighted base helps prevent tipping.
Can I use a room divider in a small room?
Yes, a room divider can make a small room seem larger. It can also separate areas like a home office or reading nook.
How do I style my room divider to match my existing decor?
To match your decor, consider the color, texture, and style of your furniture and decor. Choose a design that complements these elements.