Making your wooden containers for the kitchen can make your space look and work better. With the right tools and materials, you can create storage that matches your style. You’ll need tools like a table saw and a drill, but be careful to avoid accidents. Building a wooden planter box costs about $50 CAD each, and you can choose from cedar or reclaimed wood for a special look.
By following a step-by-step guide, you can make your kitchen containers. You’ll learn how to measure and cut wood accurately with tools like a speed square and a tape measure. For cutting lumber, use a 7.25″ mitre saw, and wood glue and brad nails to make the planter box strong.
Key Takeaways
- You can create custom DIY wooden containers for the kitchen to improve the aesthetic and functionality of your kitchen space.
- Using power tools, such as a table saw and a drill, requires caution to prevent accidents.
- Different materials, such as cedar wood or reclaimed wood, can be used for a unique look.
- A step-by-step guide can help you learn how to measure and cut wood accurately.
- The cost to build a wooden planter box is approximately $50 CAD each.
- Wood glue and brad nails can be used to strengthen joints in the planter box.
Understanding DIY Wooden Containers for the Kitchen
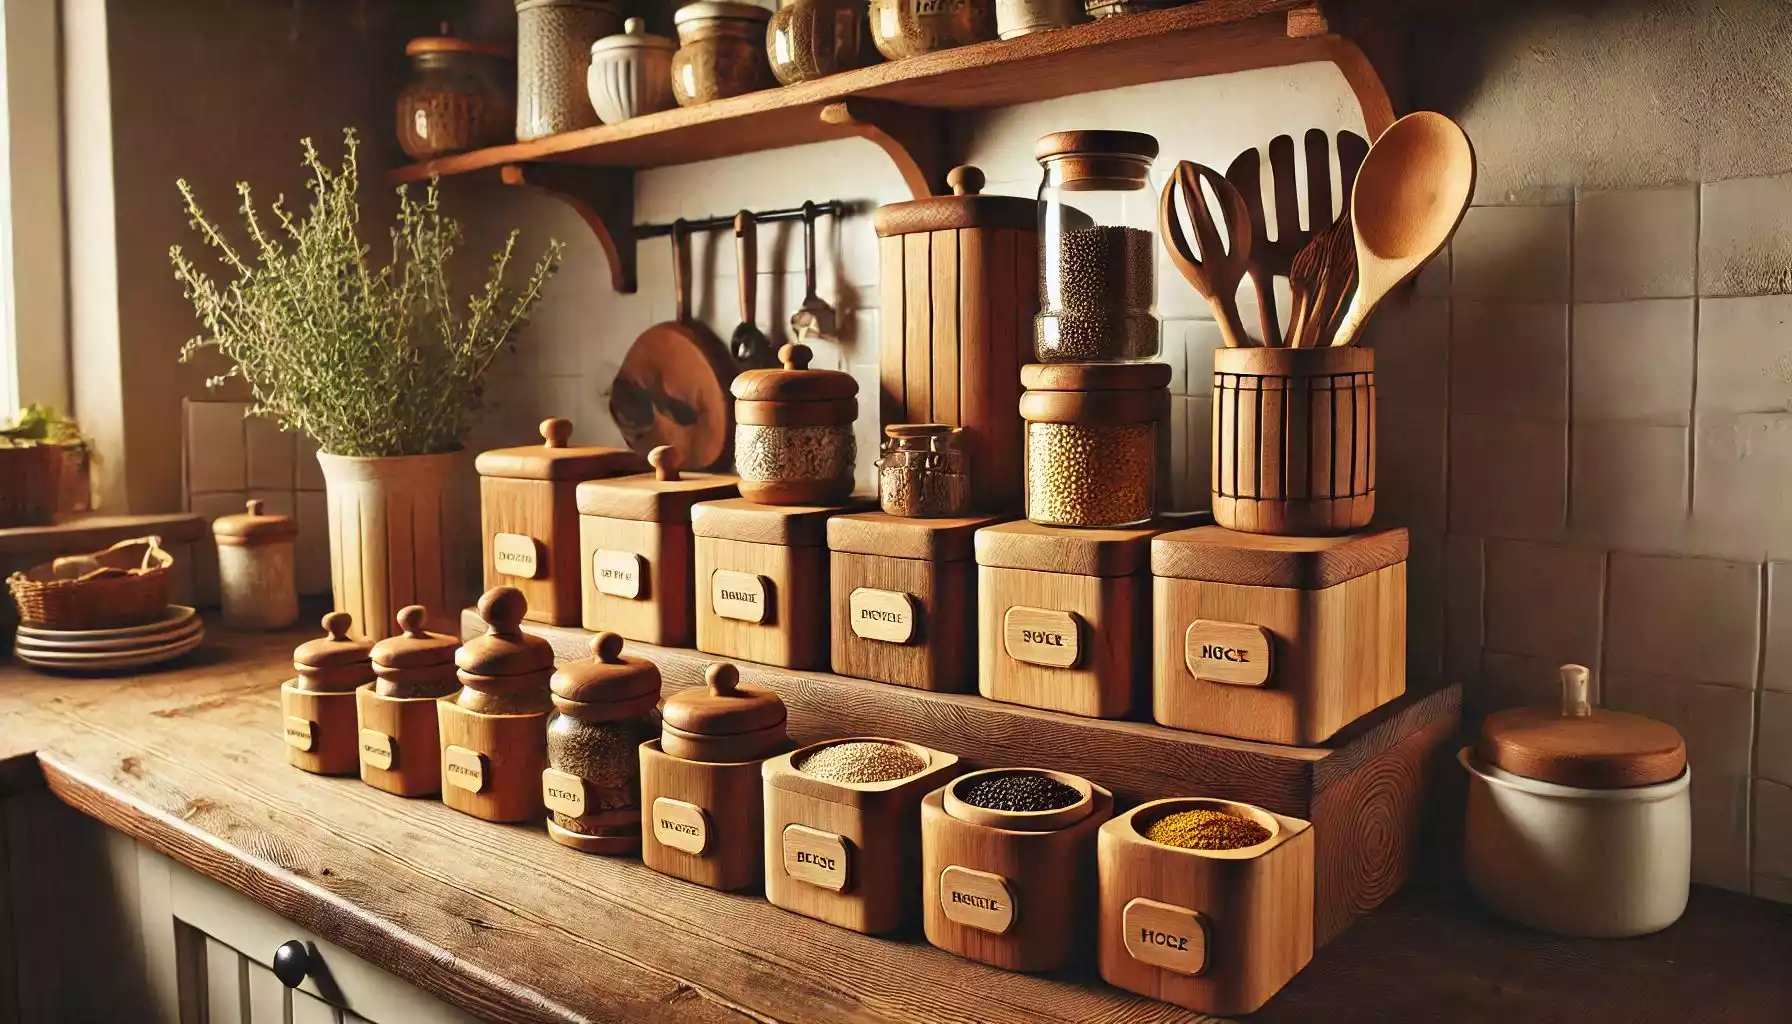
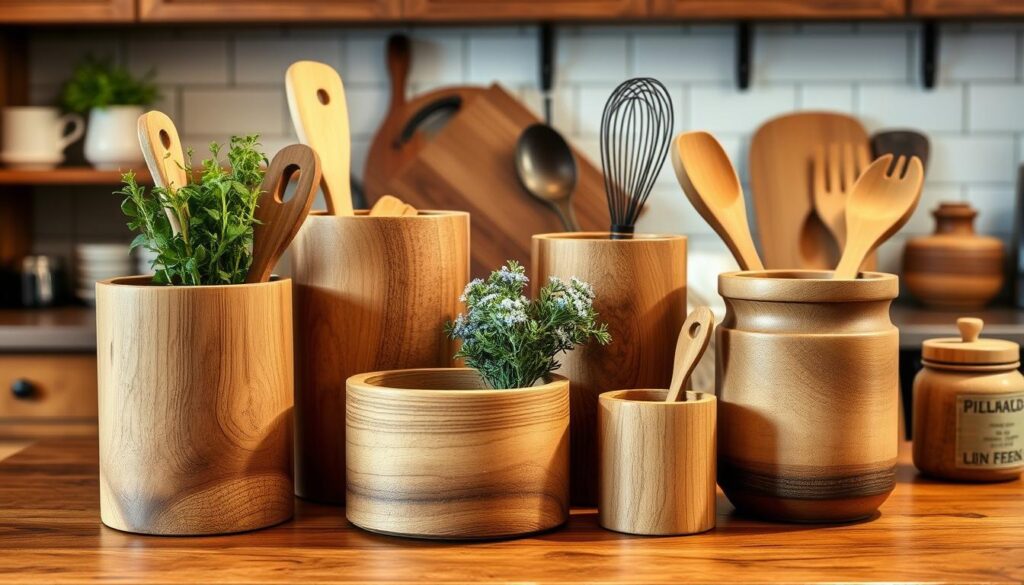
Creating homemade kitchen organisation ideas with DIY wooden containers adds a personal touch. These containers are durable and versatile. They let you create storage solutions that fit your needs perfectly.
Benefits of Custom Wood Storage
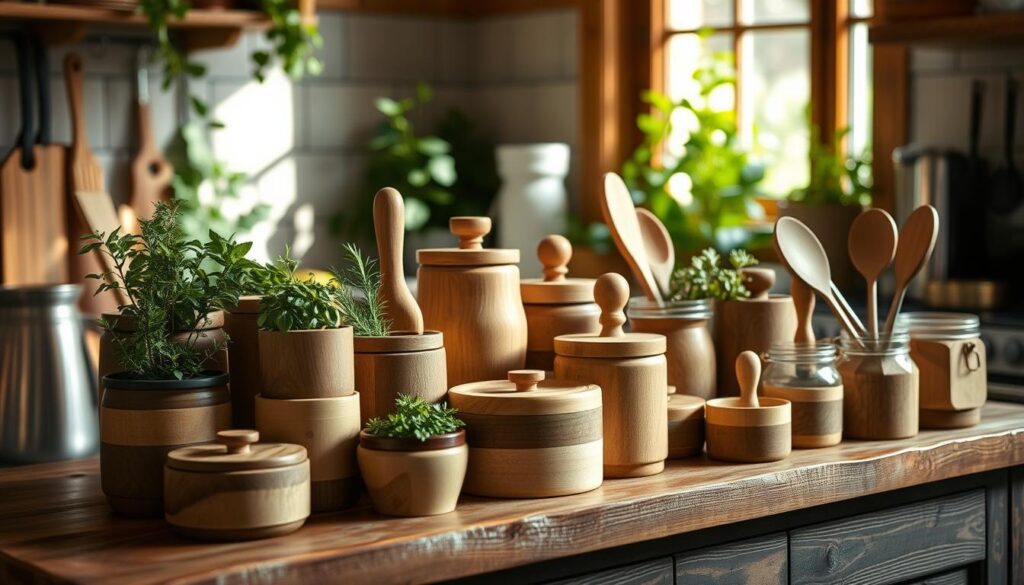
Custom wood storage is both strong and good for the environment. Making your containers means you can pick sustainable materials. Plus, they bring a warm, natural look to your kitchen, making it more inviting.
Popular Styles and Designs
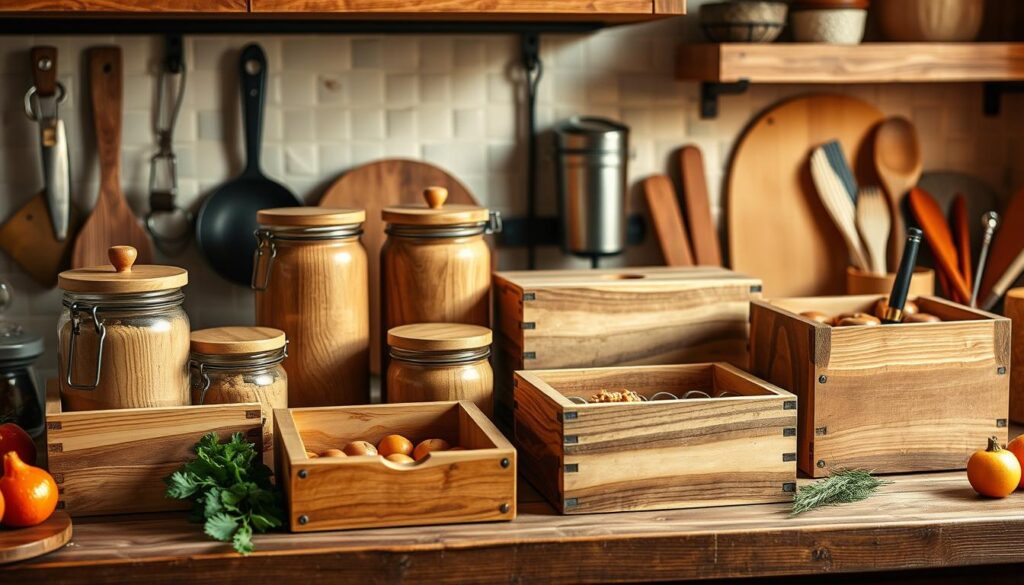
There are many styles to choose from, from rustic wood containers for the pantry to modern designs. Rustic containers add a cosy vibe, while modern ones offer a clean look. This means you can find a style that matches your kitchen’s decor.
Choosing the Right Wood Types
Picking the right wood is key for both looks and function. You should think about durability, how it looks, and if it’s safe for food. Red oak and plywood are good choices because they’re strong and look nice. Make sure the wood can handle kitchen life and is safe for food storage.
Essential Tools and Materials Needed
Starting easy DIY kitchen storage projects means having the right tools and materials. These essentials make building easier and faster.
First, get basic tools like a hand drill, a hand sander, a speed square, a saw, clamps, and a tape measure. These are key for measuring, cutting, and putting your wooden containers together. For more complex tasks, tools like a table saw and drill press can help with precision and speed.
Choose quality woods like Cedar, white oak, or redwood for their durability against pests. You’ll also need dowels, screws for outdoor use, and waterproof glue for lasting results. For the final look, use enamel spray paint, penetrating oil, acrylics, varnishes, or polyurethanes to protect and enhance your storage.
Don’t forget steel mesh and plastic sheets for the bottoms. They add strength and keep moisture out. Use 1” brad nails and exterior screws to hold everything together firmly.
For better results, consider a router for precise Shaker doors and a random orbit sander to reduce sanding work. These tools improve your projects and save time.
| Category | Items |
|---|---|
| Tools | Hand drill, Hand sander, Speed square, Saw, Clamps, Tape measure, Table saw (optional), Drill press (optional), Router, Random orbit sander |
| Materials | Cedar/White Oak/Redwood, Dowels, Exterior-rated screws (1 ¼”, 2”, 2 ½”), Waterproof wood glue, Enamel spray paint, Steel mesh, Plastic sheets |
| Finishing | Penetrating oil, Acrylics, Varnishes, Polyurethanes |
| Assembly Supplies | 1” Brad nails, Pocket screws, Angle iron for legs |
Planning Your Kitchen Container Project
Starting a DIY wooden container project for the kitchen requires careful planning. Make sure your handmade wooden kitchen organisers fit perfectly in your space. This ensures they work well and look good.
Measuring and Designing
First, measure the areas in your kitchen where you’ll put the organisers. Then, draw designs that use space well and match your kitchen’s look. Being precise here helps avoid changes later.
Creating Cutting Lists
Make a detailed list of what you need to cut. This helps avoid waste and makes sure you have everything ready. Looking at 14 container ideas can help you create something useful and stylish.
Safety Considerations
When using tools, safety is key. Always wear protective gear and keep your workspace clean. Knowing how to use your tools safely is important.
Wood Selection and Preparation Techniques

Choosing the right wood is key to creative wood container designs that look good and work well. Solid woods like oak and maple are durable and have a beautiful grain. They’re perfect for kitchen containers. On the other hand, 1/2″ plywood is great for cabinet boxes because it’s strong and easy to work with.
Before you start building, make sure the wood is ready. Begin by measuring and cutting your wood accurately with tools like a circular saw and a jigsaw. Sand each piece well to get rid of any rough spots. This makes your containers look smooth and even.
Applying a wood conditioner can also help. It makes sure the stain goes on evenly, showing off the wood’s natural beauty.
If you care about the environment, consider using reclaimed wood. It’s good for the planet and gives your containers a special look. Just make sure to treat the reclaimed wood right so it lasts longer in the kitchen.
There are also eco-friendly wood treatments out there. They keep your containers safe without using harmful chemicals. These treatments keep the wood in good shape while being safe for storing food.
By picking the right wood and preparing it well, you create durable and stylish wooden containers. They make your kitchen both functional and beautiful.
Basic Construction Methods
Building strong wooden containers for your kitchen is all about the right construction methods. These methods make sure your DIY kitchen decor is both useful and long-lasting.
Joint Types for Kitchen Containers
Choosing the right joints is key. You have options like butt joints, rabbet joints, and dovetail joints. Butt joints are easy but might need extra support. Rabbet joints are stronger, and dovetail joints are both durable and look great.
Assembly Techniques
Good assembly uses wood glue and mechanical fasteners. Wood glue makes things stronger, lasts longer. A nail gun makes things faster, and pocket hole screws with the Kreg pocket hole jig are reliable. Use 1 1/4″ screws for hardwood.
Adding Bottoms and Dividers
Adding bottoms and dividers turns simple boxes into useful storage. Cabinet bottoms are cut to fit, like 21 1/4″ in depth and 23 1/2″ in length. You can customise dividers for different kitchen items, making things more organised and easy to find.
| Joint Type | Description | Best For |
|---|---|---|
| Butt Joint | Simple and quick to assemble. | Basic storage boxes. |
| Rabbet Joint | Provides better alignment and strength. | Cabinet sides and backs. |
| Dovetail Joint | Highly durable and decorative. | Premium kitchen containers. |
Customisation and Design Features
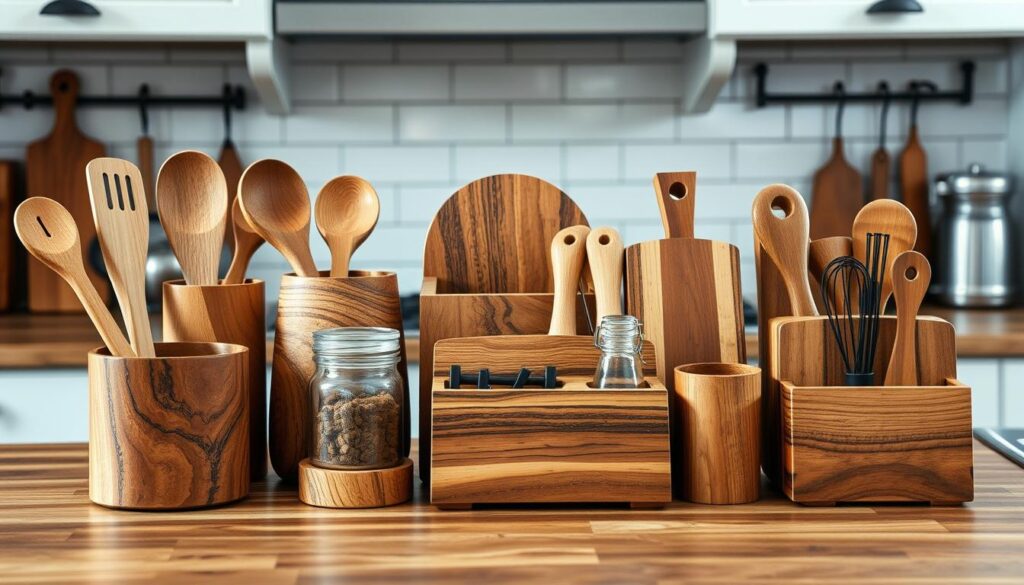
Personalising your DIY wooden containers can make them both useful and stylish for your kitchen. By adding thoughtful touches, you boost their function and beauty. This turns your upcycled wooden kitchen containers into something special.
Adding Handles and Hardware
Choosing the right handles is key to making your containers easy to use. Rope handles offer a strong grip and a rustic charm to your upcycled wooden kitchen containers.
Creating Compartments
Keeping your kitchen tidy is important. Adding compartments helps you organise items better. This makes your upcycled wooden kitchen containers more efficient. You can have sections for spices, utensils, or even small appliances.
Decorative Elements
Make your containers more eye-catching with decorative elements. Wood burning, painting, or adding trim can highlight your upcycled wooden kitchen containers. These touches help them blend with your kitchen’s style, creating a unified look.
Finishing Your Wooden Kitchen Containers
Finishing your diy kitchen storage projects means picking the right finish. This protects and makes your wooden containers look great. It’s important to choose a finish that’s safe for food.
Staining brings out the wood’s natural beauty. Painting adds color to match your kitchen. Sealing keeps your containers safe from moisture and wear.
- Staining enhances the wood grain and adds colour.
- Painting: Provides vibrant colors and a uniform appearance.
- Sealing: Protects against moisture and increases longevity.
When applying finishes, a sprayer or roller helps get an even coat. Mixing oils and waxes makes a durable finish. Beeswax mixed with oil has a pleasant scent and provides some water resistance. Carnauba wax is harder and more water-resistant.
To get a professional look, sand your containers first. This makes the surface smooth and improves your project’s look.
| Finish Type | Application | Pros | Cons | Reference |
|---|---|---|---|---|
| Pure Tung Oil | Applied as a protective coating or polish | Good water resistance | Difficult to apply, requires many coats | |
| Raw Linseed Oil | Brush application | Good looks | Long curing time, low water resistance, frequent reapplication | |
| Mineral Oil | Simple application with cloth | Inexpensive, food-safe | Simple application with a cloth | |
| Walnut Oil | Brush or cloth application | Low water resistance requires frequent reapplication | Requires frequent reapplication | |
| Beeswax | Easy to apply, dries without a rancid smell | Better-smelling finish, slightly water repellent | No significant cons | |
| Carnauba Wax | Applied with a pad or brush | Harder, more water-resistant | Requires careful application | |
| Shellac | Super blond shellac is the most water-resistant | High gloss sheen, quick drying | Mixed with oil and applied with a cloth |
Storage Solutions and Organisation Tips
Make your kitchen better with wooden kitchen storage solutions. They look good and work well. Homemade kitchen organisation ideas can change your cooking routine for the better.
Begin by making your pantry better with wooden containers for the kitchen. Putting container lids in a separate spot saves space. Keep all containers together and lids apart to stay organised. Baskets are great for storing things, making sure everything has its place.
Pantry Organisation Ideas
- Use clear plastic bins to group similar items
- Label baskets and containers for easy identification
- Declutter regularly to keep your pantry manageable
Counter Space Optimisation
Use wooden kitchen storage solutions to make the most of your counter space. Keep things you use often within reach. Store things you don’t use as much in cabinets. This makes your kitchen look better and feel more welcoming.
Drawer Organisation Systems
Make custom inserts and dividers for your drawers. This helps you store utensils and small tools better. It keeps everything tidy and easy to find.
For a cheap kitchen makeover, try a DIY pantry update for under $450. Dollar store finds, like baskets and drawer liners, can make a big difference without costing much.
🛠️ Turn Tight Spaces into Stylish Storage
Build Beautiful, Space-Saving Kitchen Solutions with Ease
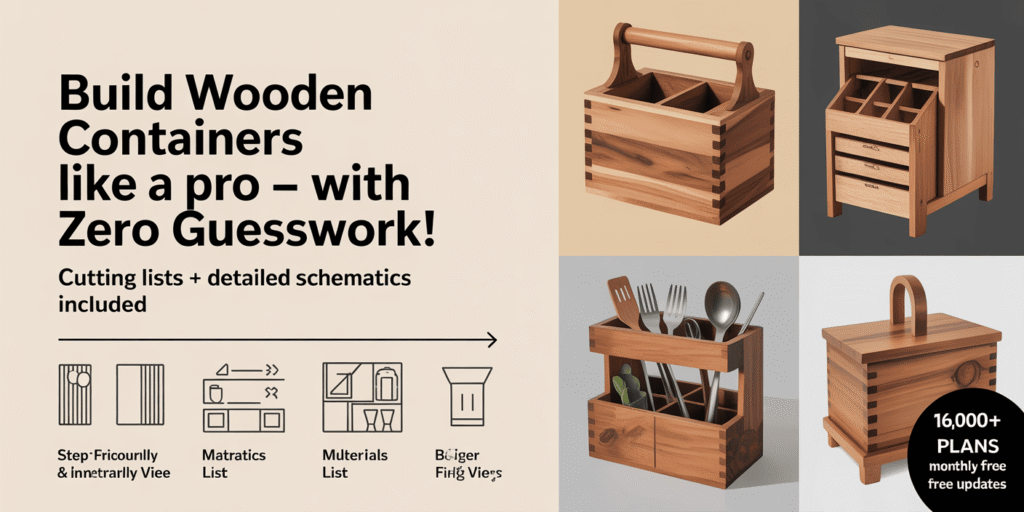
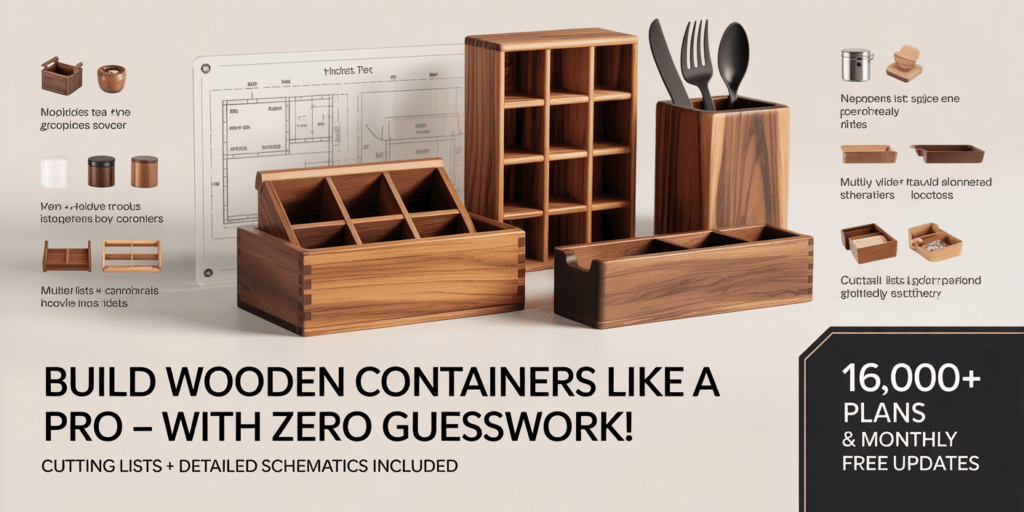
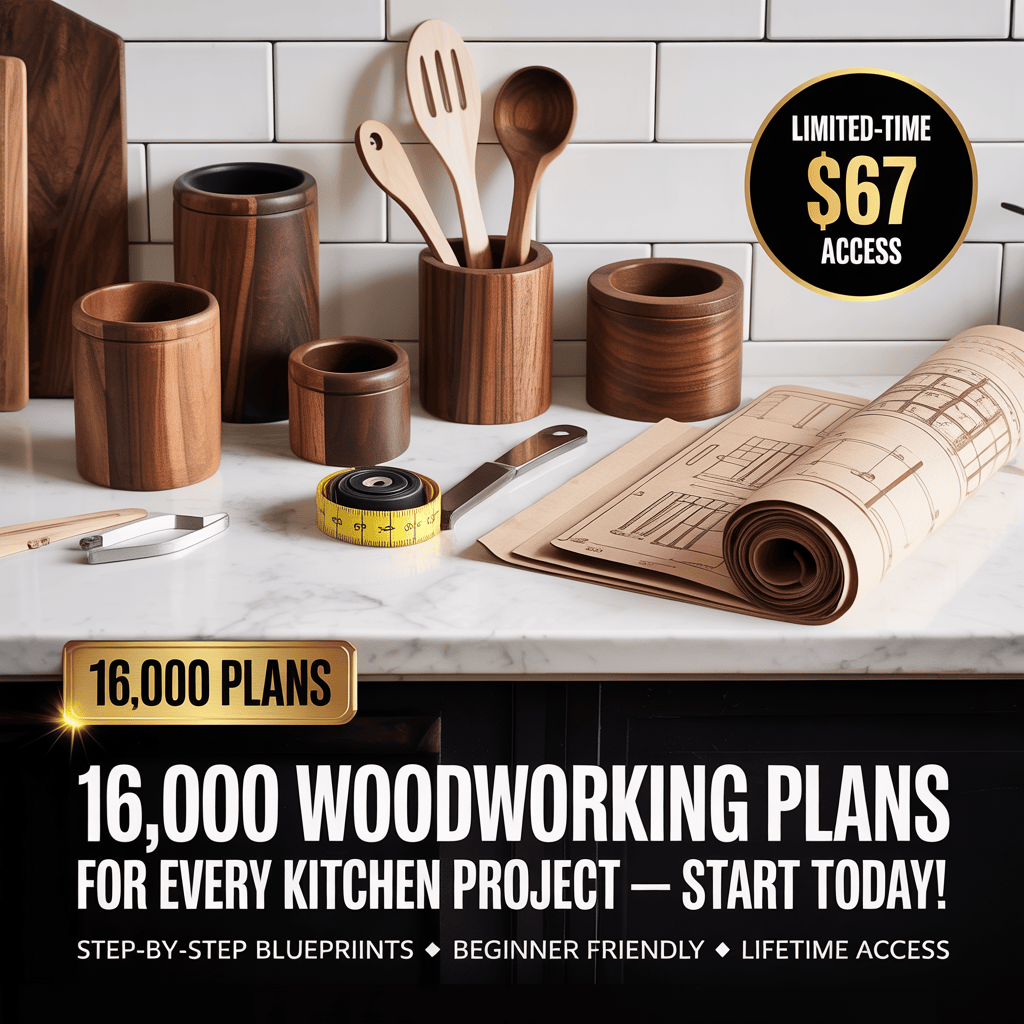
Whether you’re dreaming of handcrafted wooden containers, a compact spice rack, or a stylish pantry shelf—Ted’s Woodworking gives you access to 16,000+ DIY plans for stunning small-space creations.
📌 Why DIY Fans and Design-Lovers Choose Ted’s Woodworking:
- 🧰 Perfect for Beginners & Small Spaces — No pro tools or massive workshop required
- 📐 Done-for-You Step-by-Step Plans — Including cutting lists, materials, and 3D schematics
- 🧺 Storage & Kitchen Plans Galore — Build wooden bins, spice drawers, shelf units & more
- 🧠 Lifetime Access with Monthly Updates — New projects added every month
- 🎥 Bonus Video Tutorials & Design Software — Learn faster, build smarter, create beautifully
👉 Get Instant Access to 16,000 Woodworking Projects Now »
Conclusion: Making Your Kitchen Beautiful with Custom Wood Storage
Turning your kitchen into a stylish space with DIY wooden containers is easy. These containers offer a tailored storage solution that matches your kitchen perfectly.
Rustic wood containers for your pantry keep things organised and add charm to your kitchen. The natural look of wood enhances any kitchen design, making it cosy and classy.
Starting a DIY project lets you design each container to fit your needs. This ensures your kitchen is both beautiful and functional. From picking the right wood to adding custom features, every detail matters.
Custom wood storage fits well with any kitchen style, from modern to rustic. Adding open shelving can also make your kitchen look bigger and more open.
Working on your kitchen project brings a sense of pride. Try out different designs and methods to create storage that shows off your style and meets your needs.
With the DIY trend on the rise, now’s the best time to add custom wood storage. Whether it’s updating hardware or adding decor, each change makes your kitchen more organised and lovely.
Wood’s versatility makes it perfect for your kitchen. Your DIY wooden containers will turn your kitchen into a space that’s uniquely yours and a pleasure to use daily.
FAQ
What are the benefits of creating DIY wooden containers for your kitchen?
DIY wooden containers offer customizable storage solutions. They fit your kitchen needs perfectly. They are durable, versatile, and eco-friendly.
Creating your containers can save money. You can achieve a personalised look with rustic or modern designs.
What types of wood are best for homemade kitchen organisation ideas?
Choosing the right wood is key to durability and looks. Solid woods like oak, maple, and cherry are strong and attractive. Plywood is also good for affordable projects.
Think about food safety, sustainability, and using reclaimed wood. This adds character to your kitchen.
What essential tools and materials do I need for easy DIY kitchen storage projects?
You’ll need basic tools like a saw, drill, and measuring tape. Sandpaper and clamps are also important. Choose your wood, fasteners, and finishes like stain or sealant.
Optional tools like a wood burner or paintbrushes can add decorative touches. This makes your organisers unique.
How do I plan and design my DIY wooden kitchen containers to fit my space?
Start by measuring your kitchen space. This helps you decide the right size for your containers. Use these measurements to create a cutting list.
This helps organise your project and saves material. Choose designs that match your kitchen’s style. Always think about safety first.
Can I customise my wooden kitchen containers with additional features?
Yes, you can customise your containers. Add handles and hardware for better organisation. You can also decorate them with wood burning, painting, or trim.
These enhancements improve functionality and let you show your style. DIY kitchen decor with wooden storage is a great way to do this.
What finishing options are best for ensuring my wooden containers are safe and long-lasting?
Use food-safe finishes for containers that hold food. Options include staining, painting, and sealants. This protects the wood from moisture and wear.
Take your time with each layer and let it dry properly. This ensures your containers look and function well for years.
How can I maximise kitchen storage and organisation using DIY wooden containers?
Use your containers for pantry organisation. Categorise and label items for easy access. This makes your kitchen more organised and attractive.
Use containers to store items on counters. This reduces clutter and improves your kitchen’s look. Create drawer systems with custom inserts and dividers for utensils and small items.
What are some popular styles and designs for wooden kitchen storage solutions?
Popular styles include rustic farmhouse and modern minimalist. Rustic containers have natural finishes and simple designs. Modern styles have sleek lines and neutral colors.
You can also find unique shapes or decorative elements. This matches your kitchen’s decor perfectly.
Can I use reclaimed wood for my DIY kitchen containers?
Yes, using reclaimed wood is a great idea. It’s eco-friendly and adds character to your containers. Make sure the wood is cleaned and treated properly for kitchen use.
What safety precautions should I take while building wooden kitchen containers?
Safety is crucial in DIY projects. Wear protective gear like goggles and gloves. Use tools as instructed and keep your workspace clean.
Also, ensure good ventilation when using finishes. Keep your workspace organised for safety during the project.
