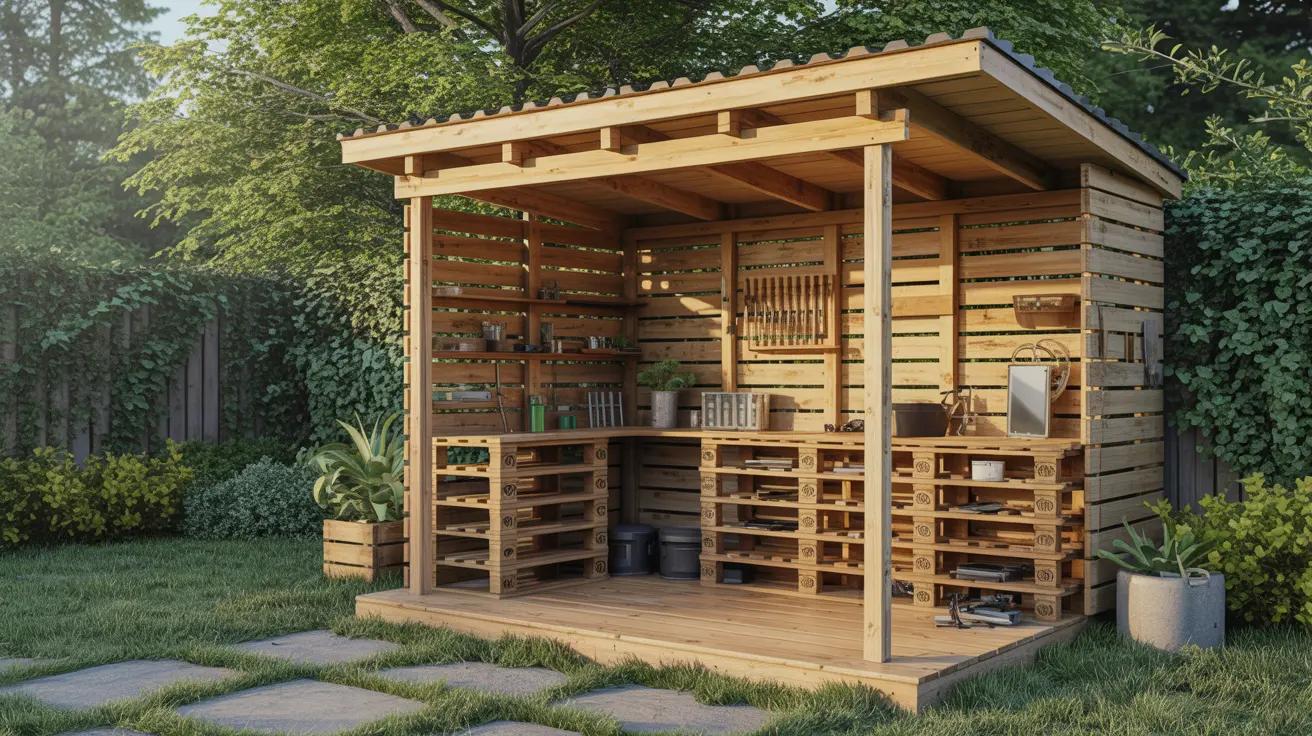
Imagine walking into your backyard and seeing a sturdy, rustic structure you made yourself. It feels amazing to turn discarded items into a functional masterpiece for your garden tools. You don’t need a massive budget to reclaim your outdoor space from clutter.
Finding high-quality pallets is a smart move toward this eco-friendly journey. These free or cheap resources allow starting a handcrafted task that looks professional without a heavy price tag. Using salvaged materials helps the environment by keeping waste away from local landfills.
This project is perfect for beginners who have never picked up a hammer before today. You will learn how to handle wood safely and assemble a durable frame that lasts through seasons. Gaining these new skills brings a wonderful sense of pride and self-reliance.
With our clear instructions, creating a custom shed becomes a stress-free weekend reality. You can finally protect your firewood while keeping your wallet full. You will master everything from foundation prep to installing roofing panels without any frustrating mistakes.
Key Takeaways
- Create sturdy storage for very low cost.
- Upcycle shipping platforms for garden organisation.
- Finish your entire build in one weekend.
- No previous building experience is necessary.
- Detailed plans help avoid costly errors.
- Ensure long-lasting durability with proper finishes.
Why Build a Pallet Wood Shed: Key Benefits for DIY Beginners
Building your own storage doesn’t have to break the bank or require a master’s degree in carpentry. You can save between $500 and $1,500 by choosing this route instead of buying a retail unit. This shed is a smart, budget-friendly way to organise your backyard without stress.
Using free materials from local businesses makes this the most affordable option available to you today. Most grocery stores or online marketplaces have stacks of materials waiting for a new home. You can often source pallets from these locations without spending a single dime.
You don’t need to be an expert to start this process. You just need the willingness to learn and a few basic tools. This structure provides immediate functional results for your garden or tools. You will feel a great sense of pride once the task is finally complete. It is the perfect entry point for anyone looking to improve their home on a budget.
“Frugality includes all the other virtues, especially when you are building something to last for your family.”
— Cicero
Low-Cost Alternative to Buying Pre-Built Sheds
Buying new lumber is expensive for most homeowners right now. By sourcing free materials, you keep your total costs at an absolute minimum. This allows you to spend your money on high-quality hardware or roofing instead. It is the best way to get a high-value result for very little cash.
| Feature | DIY Pallet Build | Retail Pre-Built |
|---|---|---|
| Average Cost | $50 – $150 | $900 – $2,500 |
| Build Time | 1-2 Days | 4-6 Weeks Lead Time |
| Skill Needed | Basic DIY | None (Paid Delivery) |
Eco-Friendly Building with Upcycled Materials
Upcycling keeps waste wood out of our crowded local landfills. By utilising old pallets, you directly support forest conservation and reduce your carbon footprint. You are giving a second life to items while using reclaimed wood. It is a responsible and green way to enhance your property.
Beginner-Friendly Weekend Project
You can complete this entire project in a single weekend. The modular nature of a pallet makes assembly very straightforward for any beginner. You will build practical skills that apply to future tasks. This wood-built offers immediate satisfaction and a sturdy shed for all your outdoor storage needs.
Planning Your Pallet Shed Build: Tools, Materials & Site Preparation
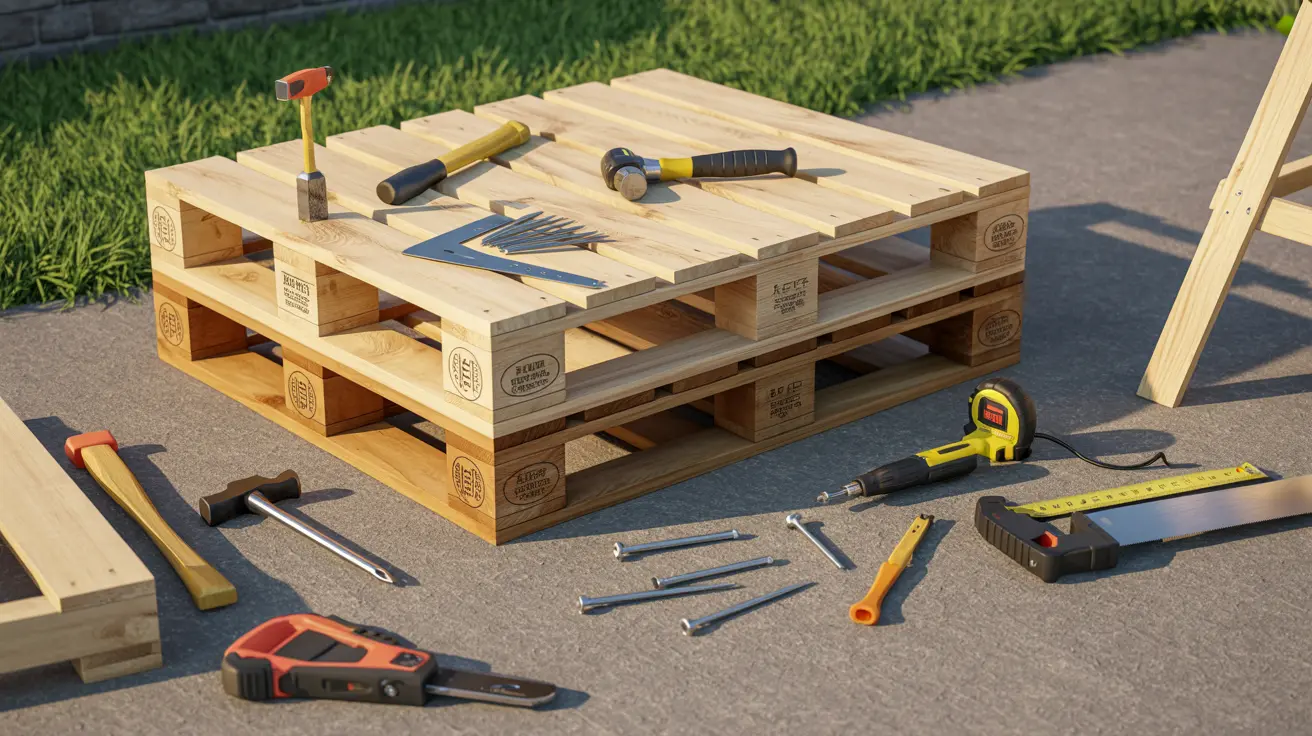
A little bit of preparation now saves you from massive headaches and wasted money later. Investing time in thorough planning ensures your structure remains stable and safe for years to come. Since the standard pallet size of 48″x40″ dictates the footprint, you can easily visualise the final dimensions before you begin.
Essential Tools Required for the Project
You likely already own basic items like a tape measure, step ladder, hammer, and circular saw. Specialised essential tools include a post hole digger for the foundation and metal snips to cut the roofing panels safely. You can rent a wheelbarrow or a framing square affordably at your local hardware store if they are not in your garage.
Expert builder Tom Silva suggests using these tools correctly to speed up your building process significantly. He recommends having two drill/drivers on hand to eliminate the frustration of constant adjustments.
“One for drilling holes so you don’t have to change the bit and the other for screwing in a screw. So it saves a lot of time.”
Tom Silva
Complete Materials List: Pallets, Lumber, and Hardware
Your shopping list starts with nine pallets in good condition and four 4x4x10′ pressure-treated posts. You also need 2×4 boards for rafters and bracing, along with 1×4 boards for purlins to support the roof. Choosing high-quality pressure-treated wood is vital to prevent rot and keep the frame rigid against wind and rain.
Ensure you buy a box of 3-inch deck screws and specialised 1½-inch metal roofing screws with rubber washers. Do not forget the fast-drying concrete mix for the posts and a can of bright spray paint for marking. Having all hardware ready in one trip prevents project delays and keeps your momentum high.
How to Select Safe and Sturdy Pallets
Always look for an “HT” stamp on every piece of lumber you collect for your build. This mark confirms the wood was heat-treated to kill pests rather than being soaked in harmful chemicals. Using HT-stamped pallets ensures your storage space is safe for your family and the environment.
Reject any units that appear heavily stained or emit unusual, chemical-like odours. These signs often point to industrial contamination that could compromise your health. Selecting only clean, sturdy pallets provides a solid foundation for your walls and floor system.
Choosing the Right Location and Preparing the Ground
Select a flat, level area of your yard that offers easy access for your lawn equipment. Before you break ground, check your local zoning requirements to ensure you follow all necessary setback distances. You must remove topsoil with a shovel to create a stable base that prevents the structure from sinking.
Marking the area with stakes and spray paint helps you see exactly how the shed fits in your landscape. Level the soil properly and consider laying landscape fabric to stop weeds from growing under your floor. Proper site work now prevents costly structural shifting and drainage issues in the future.
| Material Type | Specification | Primary Use |
|---|---|---|
| Corner Posts | 4x4x10′ Pressure-Treated | Main structural support |
| Wall Pallets | 48″ x 40″ HT-Stamped | Siding and floor base |
| Roofing | Galvanized Metal Sheets | Weatherproof coverage |
| Fasteners | 3-inch Deck Screws | Joining frame and pallets |
How to Build a Wood Shed Out of Pallets: Complete Step-by-Step Instructions
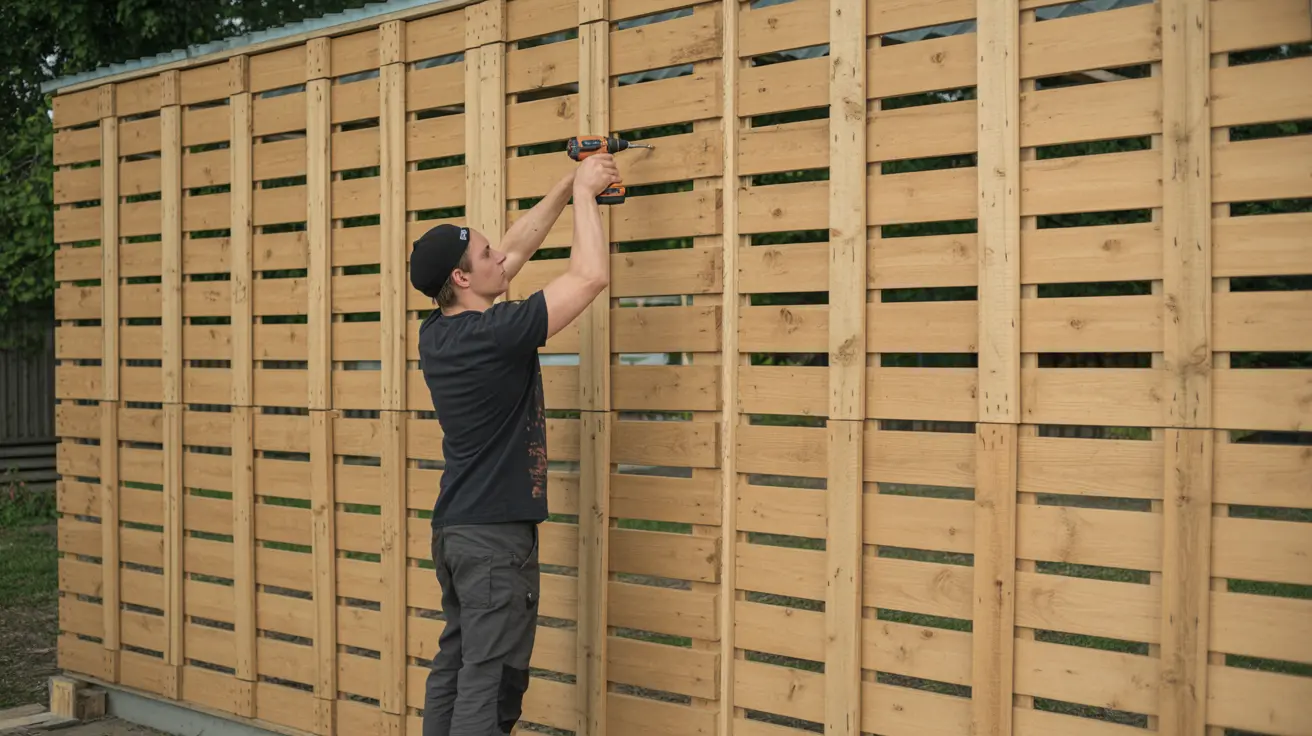
Transforming a stack of pallet wood into a functional shed requires a methodical approach to ensure durability. By following these precise instructions, you can create a sturdy wood structure that protects your equipment. Success in this DIY project relies on accuracy and patience during the assembly phase.
Clear the area of debris and ensure your workspace is safe. These seven steps guide you through the transition from a pile of materials to a completed storage building. Consistency in your measurements will prevent structural issues later on.
Step 1: Mark Your Location and Dig Post Holes
Choose a flat, level area for your build and lay landscape fabric over the exposed soil. Cover the fabric with gravel to manage moisture. Mark the ground at the corners using brightly colored spray paint to define the footprint.
Consult your local utility company before you begin digging. This prevents accidental damage to power, gas, or cable lines. Dig your post holes 9 inches in diameter using a post hole digger or a power auger for stability.
Step 2: Set and Secure the Corner Posts
Set 4×4-inch posts into the holes while a helper holds them upright. Use a level to check for plumb on all sides. To create a roof pitch for water drainage, set the two front posts 12 inches higher than the rear posts.
Brace each post with a 2×4 and secure it with stakes in the ground. Mix fast-drying concrete in a wheelbarrow and pour it into the holes. Work out any air bubbles and allow the mixture to cure for exactly 48 hours for a solid shed foundation.
Step 3: Cut and Assemble Pallet Sections
Prepare your pallet wood by cutting a 1×4-inch piece into ten 1-foot-long joiners. Join two pallets along the 48-inch side to create your floor base. This section should measure 48″x80″ once you secure the joiner pieces with screws.
Cut one pallet in half to make two 24″x40″ pieces for the wall framing. Join these to the other units to create 40″x72″ sections for the back walls. Use the same method for the side sections by cutting 32-inch pieces from two other pallets.
“You have to mark it on three sides, flip it over, connect it, make your cut on one side, flip it over and cut the other.”
— Roger Cook
Step 4: Install the Pallet Floor Base
Once the concrete has fully set, remove the temporary wooden braces. Lay your pre-assembled floor pallets back into their designated position. Ensure the base is perfectly level to prevent the frame from leaning or warping over time.
Step 5: Attach Wall Pallets to Posts
One by one, lift your wall pieces and screw them directly to the 4×4 posts. Use 3-inch deck screws to ensure a deep, secure bite into the timber. Use a 1×4-inch joiner piece to connect the two sections of the back walls for added strength.
Check the alignment of the pallets frequently as you work around the perimeter. Strong deck screws prevent the structure from shifting during heavy winds. Properly aligned walls make the roofing phase much easier to complete.
Step 6: Build Top Sills and Install Rafters
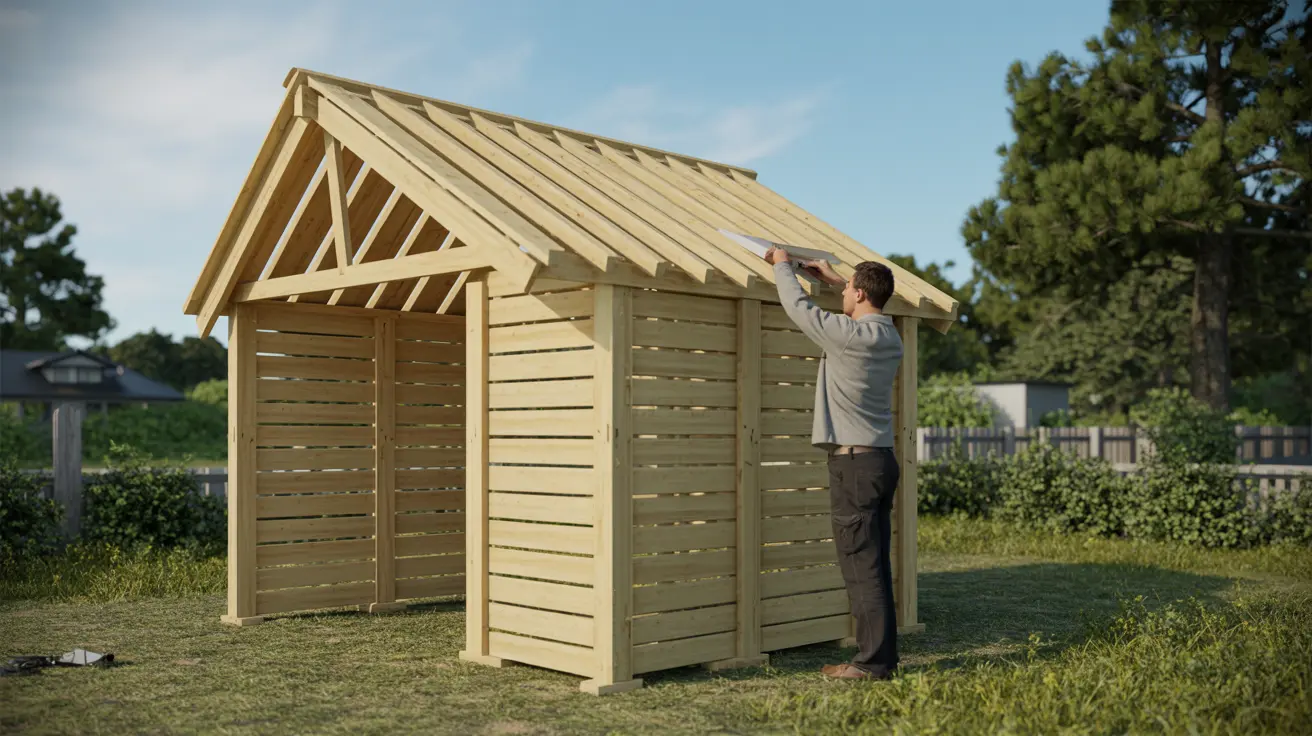
Create top sills by placing pressure-treated 2x4s along the top edge of the front and rear. Screw these sills to the posts to provide a level mounting point for the roof. Cut your remaining pallet wood or new 2x4s to the correct length for use as rafters.
Attach each rafter to the sills 24 inches apart from the centre using galvanised ties. Add a 1×4-inch purlin perpendicular across the middle of the rafters. This simple addition provides the necessary support for your final shed covering.
“Always make sure your ridge or top beam is perfectly straight before nailing off rafters. If we nail it with the beam being crooked, it will stay crooked.”
— Tom Silva
Step 7: Install Metal Roofing Panels
Use metal snips to cut your sheet metal panels to the required length. Lay the pieces on the rafters and overlap the side edges by 2 inches to stop leaks. This roofing technique ensures your pallets stay dry and rot-free for years.
Secure the panels to the rafters and purlins using specialised roofing screws with rubber washers. Cut the final panel to fit any narrow gaps at the edge. Now, your shed is fully enclosed and ready for use in your backyard.
| Component | Primary Material | Hardware / Fastener | Critical Measurement |
|---|---|---|---|
| Foundation Posts | 4×4 pressure-treated | Fast-setting concrete | 9-inch hole diameter |
| Floor Base | Standard pallets | 1×4-inch joiners | 48″ x 80″ total size |
| Shed Walls | Upcycled pallets | 3-inch deck screws | 40″ x 72″ (back wall) |
| Shed Roof | Metal sheet panels | Roofing screws | 2-inch panel overlap |
Cost Savings, Common Mistakes & Using Professional Shed Plans
You can transform your backyard and keep your wallet full by choosing a diy approach over store-bought options. Building with upcycled materials is not just eco-friendly; it is incredibly smart for your budget. You can often find a pallet at local businesses for free or very low cost.
Most beginners can finish this project in a single weekend with basic skills. By doing the work yourself, you avoid the heavy markups found at retail home centres. You gain a custom storage space while keeping your hard-earned money in your pocket.
DIY Pallet Shed vs. Pre-Built Shed: Budget Comparison
Buying a pre-built structure usually costs between $800 and $2,000 for a standard size. In contrast, a handmade wood structure costs approximately $100 to $200 in total materials. This massive price gap allows you to invest in better tools or garden supplies.
Your main expenses will include pressure-treated lumber for the base, which runs about $50 to $80. You should also budget $30 to $40 for roofing metal and around $30 for hardware and concrete. These small costs are a fraction of what you would pay at a big-box store.
Common Mistakes to Avoid When Building
Beginners often make costly mistakes that lead to structural failure or wasted materials. Incorrect measurements are the most common culprit, causing walls to be uneven or unstable. Always double-check every cut before you pick up the saw.
Avoid using weak or chemically-treated pallets for your shed walls. These can create health hazards and compromise the integrity of the build. Look for “HT” stamps, which mean the wood was heat-treated rather than soaked in toxins.
- Poor Foundation: Inadequate post-setting causes the structure to sag or shift over time.
- Improper Roof Pitch: A flat roof leads to water pooling and rot; always ensure a steep angle.
- Zoning Issues: Skipping local permit checks might force you to demolish your completed work.
How Professional Shed Plans Save Time and Prevent Errors
Investing in professional plans acts like an insurance policy against expensive errors. These guides provide precise cut lists and visual diagrams that take the guesswork out of building. You will know exactly what to buy before you even start the pallet assembly.
Following a proven blueprint can reduce your building time by 30% to 50%. You won’t waste hours figuring out the next step through frustrating trial and error. Clear instructions ensure your shed stays sturdy and lasts for many years to come.
“A well-planned project is half-finished before the first nail is driven.”
Professional plans include material specifications that guarantee structural soundness. They offer peace of mind that your foundation and roof can handle local weather. Check detailed plans today to ensure a fast, mistake-free building experience.
| Expense Category | DIY Pallet Build | Retail Pre-Built | Estimated Savings |
|---|---|---|---|
| Main Frame & Walls | $0 (Free Pallets) | $500 – $900 | High |
| Foundation & Lumber | $50 – $80 | Included | N/A |
| Roofing & Hardware | $50 – $70 | Included | N/A |
| Total Estimated Cost | $100 – $200 | $800 – $2,000 | $700+ |
👉 Want to Build Your Shed Faster, Easier & Without Mistakes?
Stop guessing measurements and wasting money on trial-and-error…
✅ With My Shed Plans, You Get:
- ✔ 12,000+ step-by-step shed plans for every size & style
- ✔ Beginner-friendly instructions (no experience needed)
- ✔ Complete materials & cutting lists (no confusion, no waste)
- ✔ 3D diagrams & exact measurements so everything fits perfectly
- ✔ Build your shed in days, not weeks
- ✔ Save $1000+ vs buying pre-built sheds
🚀 Don’t Risk Ruining Your Project…
👉 Get the exact plans that make building EASY — even if you’re a complete beginner.
👉 Click Here to Get Instant Access to 12,000 Shed Plans Now
💡 100% Risk-Free with 60-Day Money-Back Guarantee
Conclusion
You now possess the skills to build a functional pallet wood shed that will last for years. This project offers significant financial savings and helps the environment through upcycling. Start your build today to enjoy the personal satisfaction of completing a rewarding DIY task.
Apply a high-quality sealant to all exposed wood surfaces to protect against moisture and pests. Tom Silva suggests using finishes with built-in UV protection to keep the pallet structure from fading. Properly sealing the walls ensures your materials withstand harsh weather exposure.
Inspect the roof for loose sheets or leaks after any severe storms. Keep the area around your building clear of debris and overhanging branches. Resealing the wood every few years will extend the life of your shed significantly.
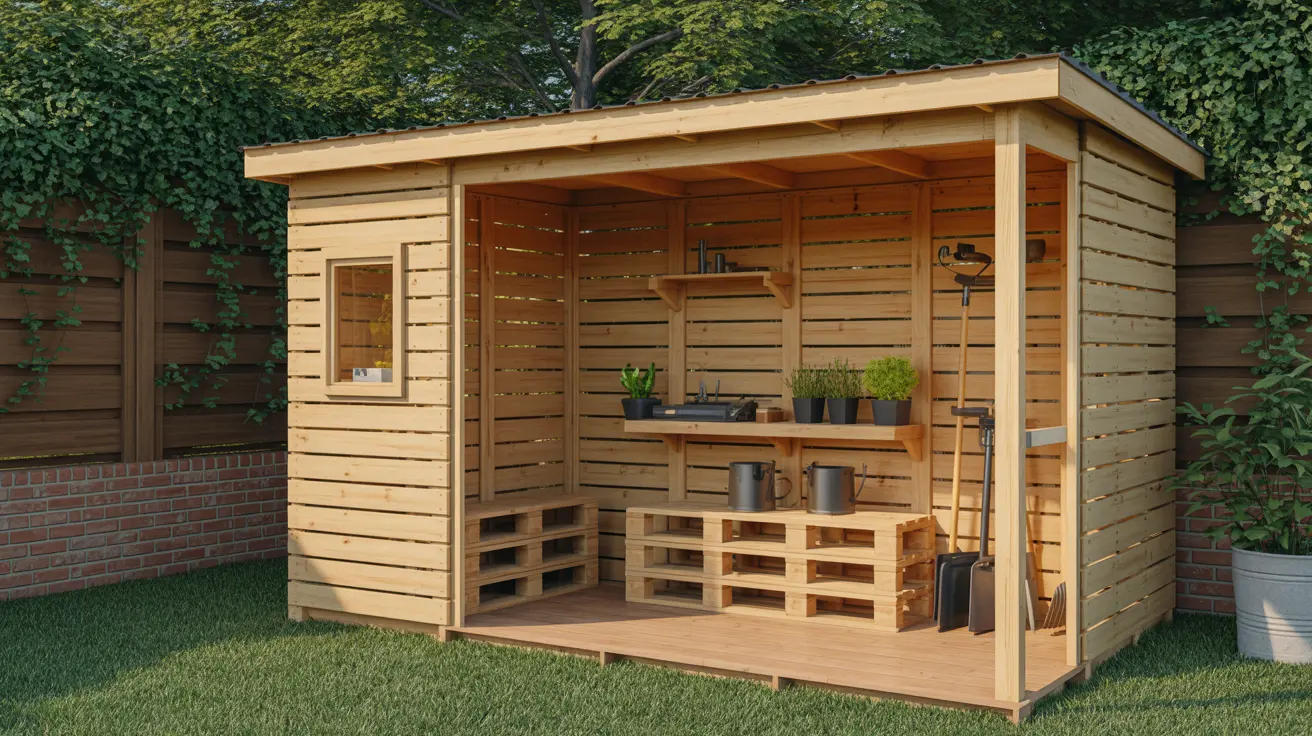
Maximise functionality by adding shelves to a side or an interior wall. You can leave the front open if you prefer to use the space for firewood storage. Using stainless steel fasteners and a bit of waterproof adhesive prevents rust and moisture intrusion.
Consider using professional plans for exact measurements and detailed diagrams. These guides ensure your walls are sturdy and meet all structural requirements. Treating the wood with borates in damp spots will further prevent rot and pest damage.
Frequently Asked Questions
Are these materials safe for home use? Always look for the “HT” stamp on pallets, which indicates they were heat-treated rather than chemically preserved. This ensures the pallet wood is safe for your backyard and family.
How long does the construction take? Most beginners can complete the main structure in a single weekend. Once the base is set, the walls and roof sheets go up quite quickly.
Do I need a building permit? Permit requirements vary by location and the size of the structure. Check with your local building department before you start gathering pallets for your build.
Gather your materials this week so you can start building this coming weekend. This approachable project proves you are capable of tackling DIY construction with total confidence!
FAQ
Which pallet wood is safe for your project?
Look for an HT stamp on the side because this mark signifies heat-treated timber. Avoid MB stamps since those boards contain toxic chemicals, as selecting clean materials for your backyard area ensures your family remains safe.
Can you use concrete for the base?
Placing solid blocks on level ground creates a sturdy foundation while preventing rot by keeping the floor frame away from moisture. A reinforced deck structure ensures your chosen size stays level over time, while various tools help maintain stability.
What works best for roofing?
Corrugated metal sheets offer excellent protection when you secure them using screws featuring rubber washers. This approach prevents leaks during heavy rain, provided the front stands higher than the back for proper water runoff from the roof.
Should you strengthen the walls?
Utilise a drill bit for pre-drilling holes before you fasten every wall section tightly for maximum stability. Adding exterior siding makes your diy storage shed look professional, although using pallets requires careful alignment during assembly.