
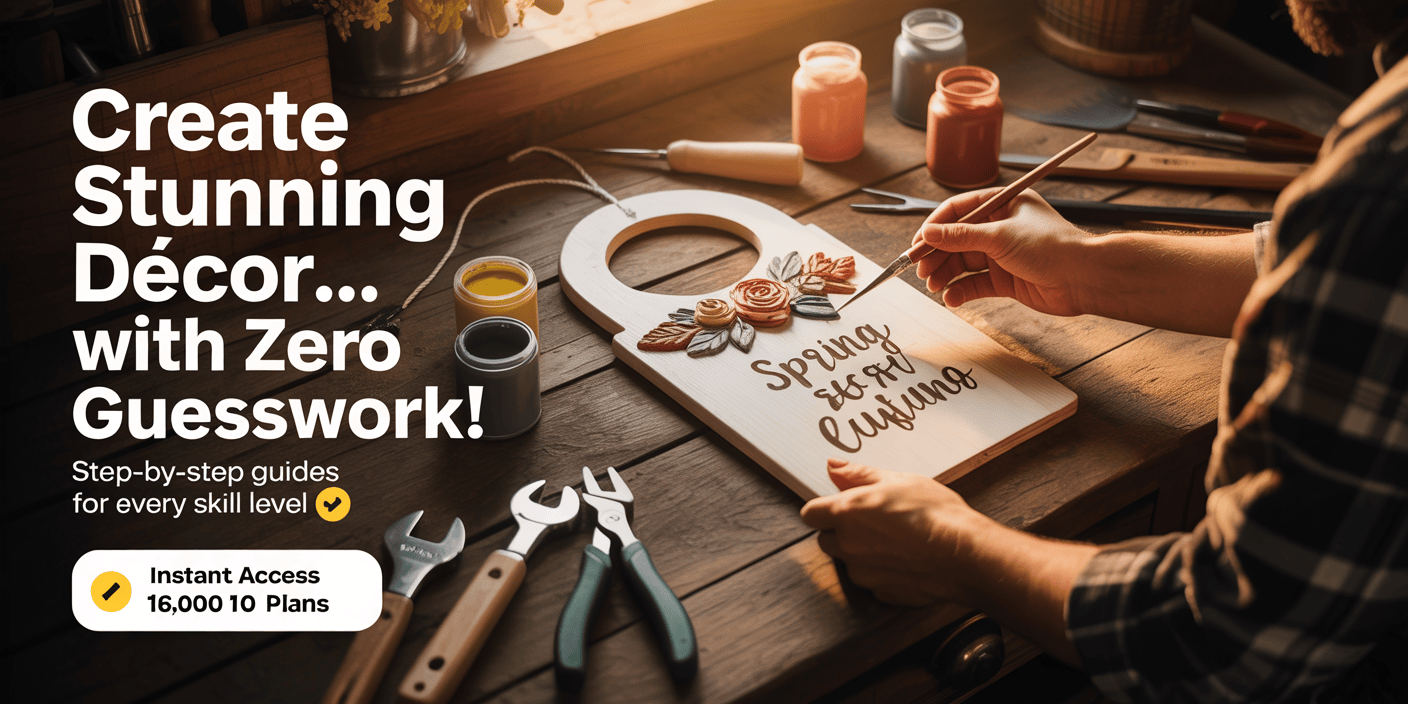
Did you know that over 50 million U.S. households do DIY home decor projects each year? You can turn your front door into a seasonal canvas in just 15 minutes. This guide shows you 15 diy wooden door hangers for every season, from spring to winter.
These 15 diy wooden door hangers for every season are perfect for beginners. They use simple tools and materials you might already have. Make ordinary wood into a statement piece that changes with the seasons or holidays.
Whether it’s autumn’s harvest or summer’s sunshine, you can make door decor that’s unique to your home. Each design has tips to change patterns, colors, or materials for any season. This keeps your front entry looking fresh all year.
No two hangers have to look the same. Mix stencils, paint, or natural elements like leaves or twine to match your style.
Key Takeaways
- Create 15+ season-themed designs with basic woodworking skills.
- Use affordable materials like pine boards or reclaimed wood for cost-effective projects.
- Swap paint colors or decorations to refresh hangers between seasons.
- Projects take 30 minutes to 2 hours, perfect for weekend crafting.
- Learn how to personalise hooks, hinges, or hanging methods for durability.
Introduction
Your front door is more than just a way in—it’s a chance to show off your creativity. DIY wooden door hangers can turn this area into a seasonal highlight. They let you change your home’s look with the seasons, from spring flowers to winter snow.
“A well-decorated door sets the tone for your home’s atmosphere.” – HomeDecorToday
Picture hanging a bright sunflower in summer or a spooky spiderweb for Halloween, all made of wood. Making your own seasonal wooden door decor means each piece can be unique. These projects are easy to start, no matter your skill level, and won’t break the bank.
- Quick to assemble with basic tools
- Cost-effective compared to store-bought options
- Perfect for experimenting with seasonal themes
Next, we’ll show you what materials you’ll need, how to make them, and some fun seasonal ideas. Let’s explore how wooden door hangers can be your go-to seasonal decor.
Materials and Tools for DIY Wooden Door Hangers
Starting any homemade door hanger crafts requires the right materials and tools. Here’s what you need to create lasting wooden door hanger ideas that blend style and durability.
Essential Supplies
Begin with these basics to build a sturdy foundation:
- Wood: Opt for lightweight options like pine or cedar for indoor projects. For outdoor use, choose pressure-treated plywood or basswood for weather resistance.
- Paints and stains: Acrylic paints, chalk-based finishes, or oil-based stains work best. Brands like FolkArt or Rust-Oleum offer vibrant options.
- Sealants: Polyurethane or spar urethane (Minwax or Varathane) protect surfaces from moisture and wear.
- Hardware: D-rings, screws, or decorative hooks from brands like Stanley or Lee Valley ensure secure hanging.
Recommended Equipment
These tools simplify the process and improve results:
- Saw or jigsaw: For cutting wood shapes; DeWalt or Bosch models offer precision.
- Sanding block: Smooth edges with 120-grit sandpaper before painting.
- Drill and bits: Use a cordless drill from Black+Decker to attach hardware.
- Paintbrushes and rollers: Choose synthetic brushes for even paint application.
Investing in quality tools ensures your wooden door hanger ideas turn out professional-looking every time. Start with these essentials and enjoy transforming raw materials into personalised decor.
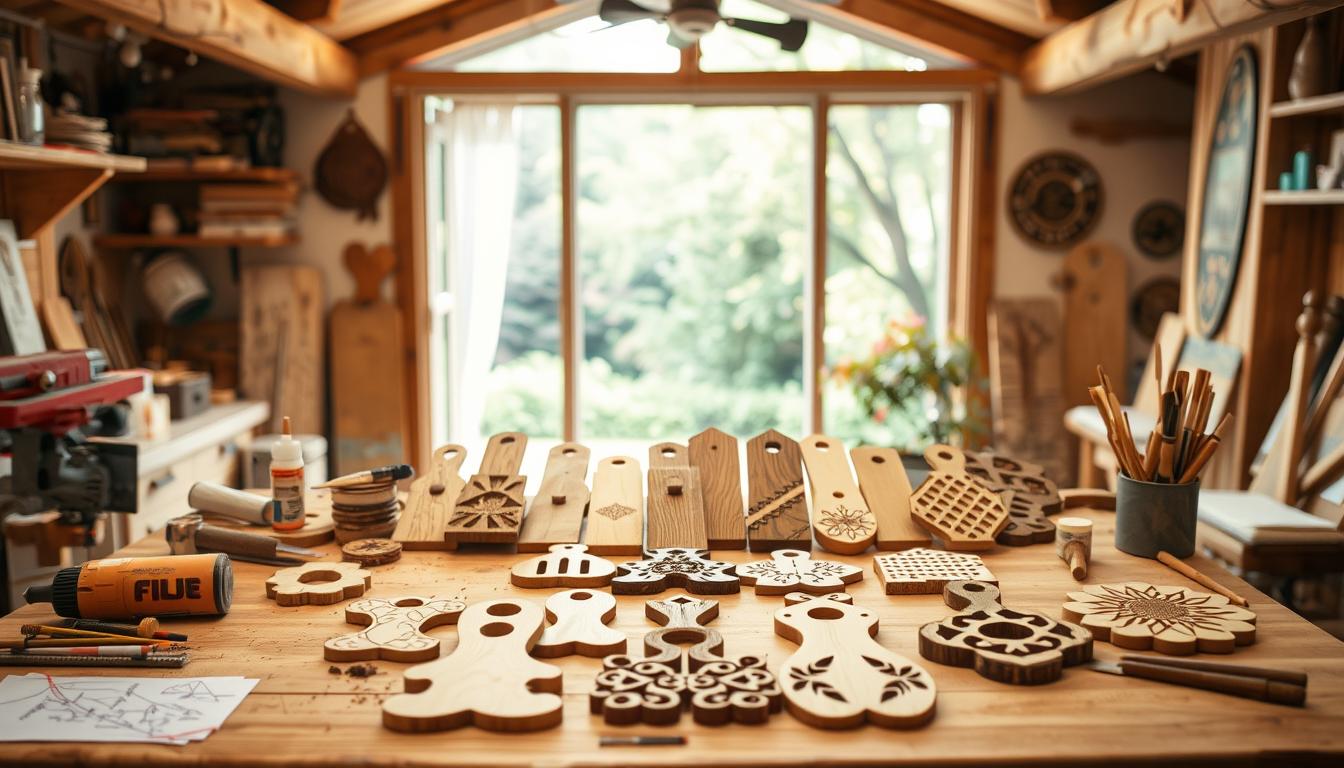
Step-by-Step Guide to Crafting Wooden Door Hangers
Begin by picking a wooden plank or pre-cut board. Lightly sketch your design on it with a pencil. Think about geometric patterns or floral motifs for creative DIY door decorations. Sand the edges to make them smooth and avoid splinters.
- Cut and shape: Use a jigsaw or scroll saw to follow your pencil marks. For rounded edges, sand again after cutting.
- Prime and paint: Apply a coat of primer, then paint with acrylics or chalk paint. Let it dry completely before adding details like stencilled letters or hand-painted accents.
- Add hardware: Drill two small holes near the top. Attach D-rings or rope hangers using screws. Use weatherproof materials if hanging outdoors.
- Seal and finish: Apply a clear sealant like polyurethane to protect the design. Let cure for 24 hours before hanging.
Try stencils, metallic paints, or decoupage for unique effects. For creative DIY door decorations, layer colors or add adhesive rhinestones. Simple patterns often look best from a distance.
- Use outdoor-rated wood like cedar if decorating for porch doors.
- Test paint colors on scrap wood first to ensure the desired shade.
- Hang lightweight items only—avoid heavy hardware that could warp the wood.
Once done, place the hanger at eye level for maximum impact. Adjust its position based on door size to keep the design centred and balanced.
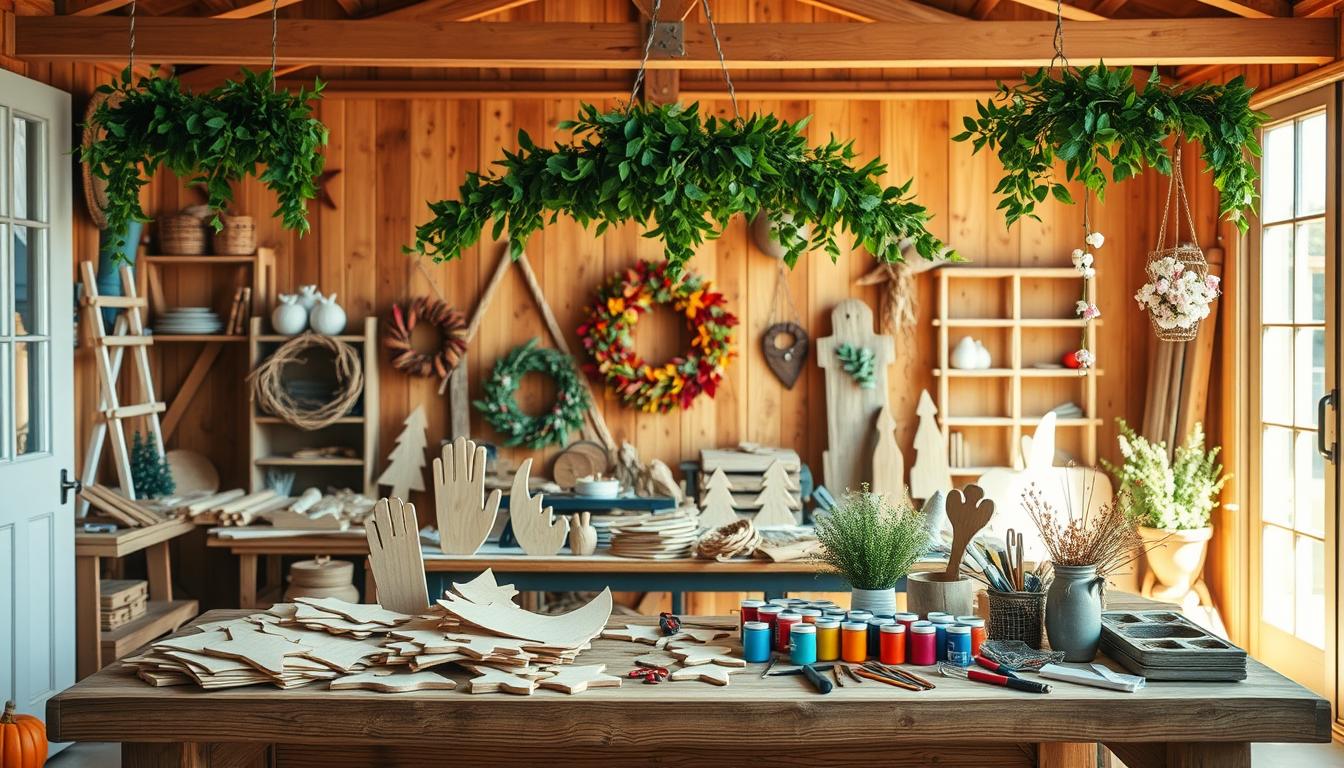
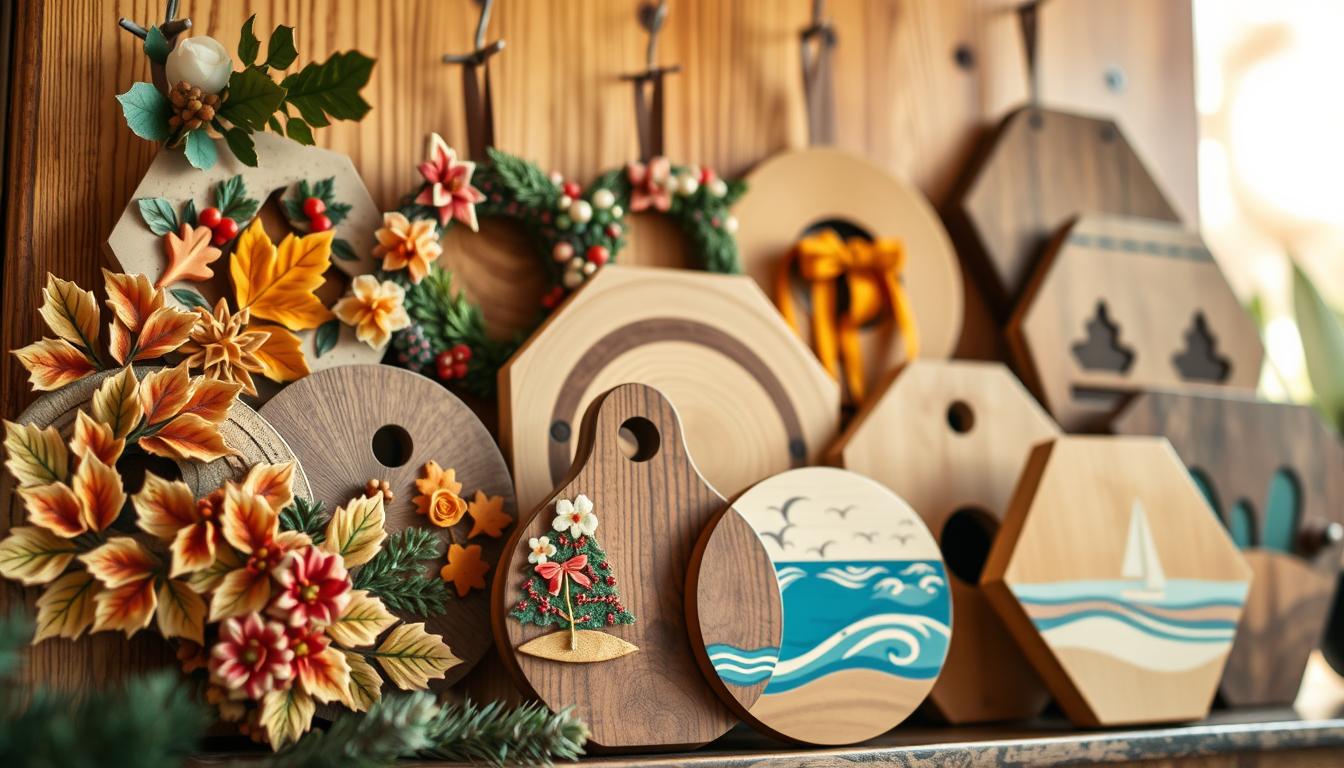
Seasonal Inspiration in Wooden Door Decor
Check out diy seasonal door signs that make your entryway pop with each season. You can go for bright colors or warm themes. Wooden door hangers are easy to change up for the current season.
Spring and Summer Ideas
For warmer months, choose lighter colors and designs that remind you of nature. Here are some ideas:
- Bright floral patterns with pastel paints or sunflower motifs
- Lightweight designs using thin wood slices for a breezy feel
- Add mini wind chimes or painted butterflies for movement
Fall and Winter Themes
For cooler seasons, go for earthy tones and festive touches. Try these:
- Pumpkin carvings or autumn leaf engravings
- Evergreen branches glued onto wood for a rustic look
- Snowflake cutouts or red/gold paint for holiday cheer
Change materials as the weather changes—use waterproof varnish in wet seasons. These diy seasonal door signs make it easy to refresh your door without starting over.
Decorating Tips and Techniques for Creative DIY Door Decorations
Enhance your how to make wooden door hangers skills with these decorating tips. Begin by playing with texture. Sand edges for a worn look or add a glossy wax coat.
- Stencil Magic: Apply adhesive vinyl stencils for detailed designs. Choose geometric shapes or floral patterns for a bold look.
- Layered Color: Start with chalk paint, then add contrasting colors with a dry brush. This creates depth.
- Weatherproofing: Use outdoor-rated polyurethane or Mod Podge Outdoor to seal. Apply two thin layers for protection without obscuring details.
“Layering stains and paints is the secret to professional results,” says DIY influencer Lisa Nguyen, founder of CraftedWithWood. “Let each coat dry fully before adding the next.”
Add decorative hardware like copper nails or resin beads to your hangers. For a coastal vibe, sand edges before sealing. Always test new methods on scrap wood to avoid errors. These tips transform simple wooden door hangers into lasting decorative pieces.
Personalising Your Wooden Door Hanger Projects
Make your wooden door hangers special with easy changes. They can be for holidays or just for everyday. Here’s how to make them uniquely yours.
Color and Finish Options
Try different finishes to match your home. You can:
- Natural stains for a rustic look
- Acrylic paints in bold or soft colors
- Wax seals for a vintage feel
“A coat of chalk paint and distressing adds instant character.”
Adding Personal Touches
Enhance your seasonal wooden crafts with these ideas:
| Technique | How-To | Example |
|---|---|---|
| Hand-lettering | Use fine liners for quotes or names | “Welcome” in cursive script |
| Stenciled patterns | Apply designs like snowflakes (winter) or leaves (fall) | Reusable vinyl stencils for quick shapes |
Match these details with seasonal themes. Think glitter for holidays or monograms for all year. Your door hanger shows off your creativity.
Troubleshooting Common Crafting Challenges
Mastering door hanger painting tips means solving everyday problems. If paint drips or streaks, try thin, even brushstrokes. Wait 2-4 hours for each coat to dry before adding more.
- Uneven color: Lightly sand surfaces before priming with acrylic gesso. This helps paint stick better.
- Peeling edges: Use exterior-grade wood sealers like Minwax Wood Finish or DecoArt’s outdoor acrylics for lasting results.
- Loose hardware: Reinforce screws with wood glue. Drill pilot holes first to prevent splitting.
Weatherproofing is crucial for outdoor wooden door hangers. Apply two clear sealant coats—spray-on polycrylic works well. Store finished hangers in a horizontal position to avoid warping during curing.
Remember, patience is key. Rushing drying steps can lead to cracks or flaking.
When designs bleed through stains, use multiple thin paint layers instead of one thick coat. Always test colors on scrap wood first. For intricate details, tape edges with painter’s tape and use fine-tip brushes. These door-hanger painting tips turn mistakes into opportunities for perfection.
diy wooden door hangers for every season
Make your wooden door hangers last all year with smart changes. You don’t have to stop being creative just because the weather changes. Here’s how to keep them looking good and working well all year.
Adapting Projects for Different Weather
Use weather-resistant materials to protect your creations. Outdoor paint or sealants keep them safe from rain. Sand and recoat them after a harsh winter.
For places with a lot of humidity, choose treated wood. It helps prevent warping.
Season-Specific Design Hacks
- Spring: Attach removable floral magnets for floral updates.
- Summer: Drill drainage holes to avoid moisture buildup.
- Fall: Use heat-resistant paint for carved pumpkin or leaf accents.
- Winter: Add hooks for hanging holiday lights or wreaths.
Change decorations with the seasons—swap out ribbon or add LED lights. You don’t have to change the whole design. Follow these tips to keep your wooden door hangers looking great all year.
Maintenance and Care for Your Wooden Door Hangers
Keep your handmade wooden door hangers in top shape with these easy steps. They will stay looking great for many seasons.
Cleaning and Preservation Tips
Regular care makes your creations last longer. Here’s how:
- Wipe dust with a damp cloth. Don’t soak the wood to avoid warping.
- For stains, mix mild dish soap with warm water. Test on a small area first.
- Apply a protective sealant like Minwax® Polycrylic annually to block moisture.
Repairing Minor Damage
Got small issues? Fix them easily:
Scratches? Lightly sand with 220-grit paper. Fill deep marks using Elmer’s Wood Filler, then repaint. Peeling paint? Clean the surface and repaint with exterior-grade paint.
“A yearly check and touch-up are key to lasting beauty,” says DIY expert Sarah Lee of HomeCraft Hub.
Follow these steps to keep your wooden door hangers looking vibrant. Store them indoors during harsh weather for extra protection.
Expanding Your DIY Wooden Crafts Projects
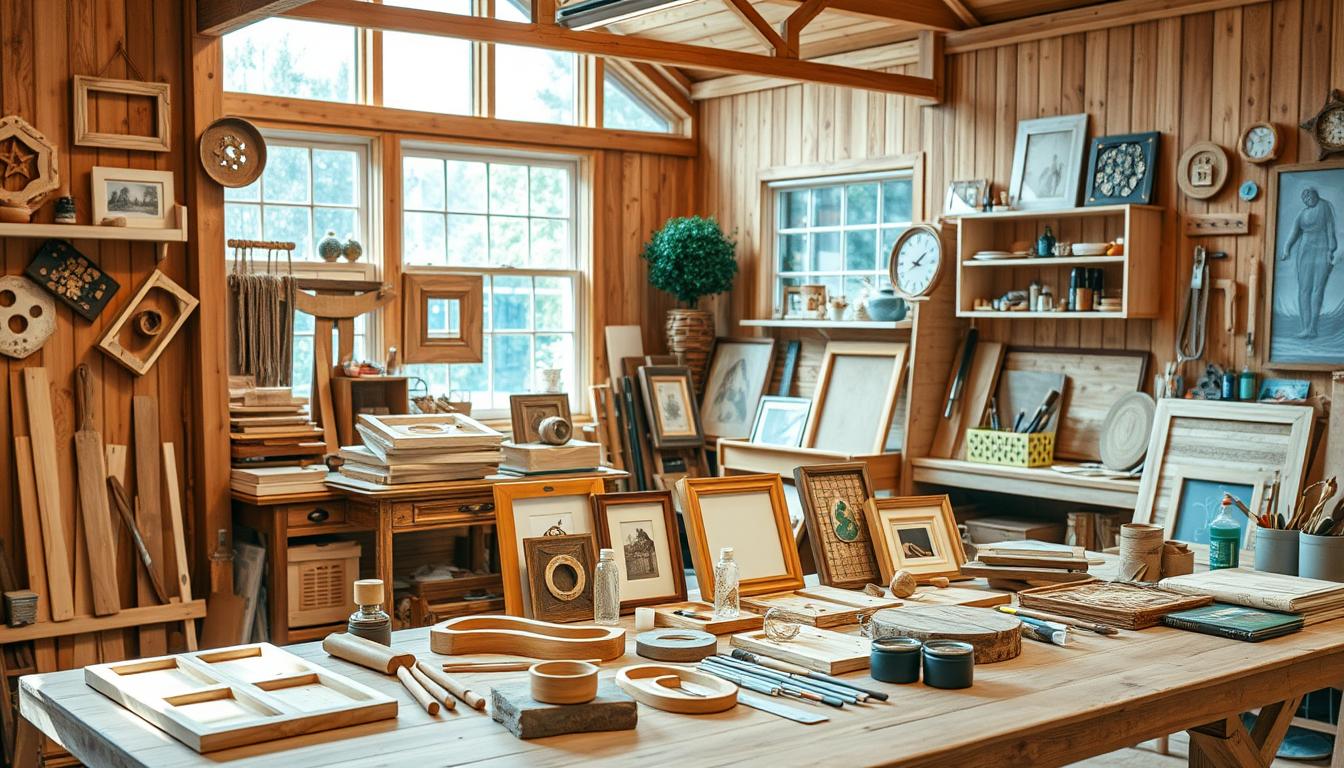
Mastering wooden door hangers opens doors to countless home decor possibilities. Start experimenting with advanced methods to transform basic woodwork into standout pieces.
Exploring New Techniques
Try these methods to elevate your skills:
- Carving: Use a Dremel rotary tool for intricate patterns on wood surfaces.
- Layered staining: Apply multiple stains for vintage or gradient effects.
- Magnetic accents: Attach rare-earth magnets to create functional art.
Inspired Ideas for Home Decor
Apply your skills to these projects:
- Wall shelves: Cut and sand reclaimed wood into floating displays.
- Coasters: Sand small wooden rounds for drink-friendly decor.
- Picture frames: Carve designs into frame borders for personalised gifts.
Pair these projects with seasonal themes from earlier sections to match holidays or trends. Mix techniques like distressing with stencilling for dynamic results.
🚀 Love These DIY Door Hangers? Build Even More with TedsWoodworking!

Why waste time guessing when you can build like a pro? Get instant access to 16,000+ detailed woodworking plans—including door hangers, furniture, and crafts—with step-by-step blueprints perfect for beginners and experts alike.
✅ 16,000+ Done-for-You Plans – From seasonal decor to furniture.
✅ Beginner-Friendly – No expensive tools or workshop needed.
✅ Lifetime Updates – Free monthly plans + custom requests.
✅ Exclusive Bonuses – CAD software, video tutorials & business guides (worth $190).
🔥 Limited-Time Offer: Grab everything for **just 67∗∗(originally67∗∗(originally297)!
60-Day Money-Back Guarantee – No risk!
Conclusion
Seasonal changes bring new chances to update your home’s entrance with diy wooden door hangers. Whether it’s spring’s flowers or winter’s warmth, these projects fit every season. Begin by picking your wood, paint, or stencils from the list above.
Each step leads to a unique design. You can carve pumpkins for fall or snowflakes for winter. It’s all about your creativity.
Don’t worry about mistakes. Sand rough spots, seal with outdoor-safe finishes, and touch up chips with paint. These steps keep your wooden door hangers looking great all year.
Try new things like burning designs or adding LED lights to make your next project even better. Each piece tells a story. Give your front door a personal touch that changes with the seasons. Get your tools ready and make your vision a reality today.
FAQ
What materials do I need to create DIY wooden door hangers?
To make DIY wooden door hangers, you’ll need wood (like ¼ inch plywood), paints, brushes, and sealants. You might also need brushes, scissors, stencils, and sandpaper.
How can I customise my wooden door hanger for each season?
You can change up your door hangers for each season. Use bright colors for spring and summer. For fall and winter, go for cosy, festive designs.
What are some creative techniques for decorating my door hangers?
Try stencilling, layering colors, and using weatherproof finishes for advanced decorating. These methods make your door hangers look great and last longer.
How do I troubleshoot issues like uneven paint or wood warping?
For uneven paint, paint in even strokes and wait for each layer to dry. If wood warps, use thicker wood or seal it to fight moisture.
What tips do you have for maintaining my wooden door hangers?
To keep your door hangers in good shape, clean them with a damp cloth often. Apply a sealant yearly. Also, fix any small damage to make them last longer.
How can I adapt my door hangers to different weather conditions?
Make your designs weather-resistant by using the right materials and finishes. Also, create parts that can be swapped out for each season to keep your decor fresh.
What are some other DIY wooden crafts I can explore?
Try making signs, picture frames, or decorative trays, apart from door hangers. Each project lets you try new techniques and styles.


Pingback: 10 Farmhouse-Style DIY Wooden Door Hangers to Elevate Your Home