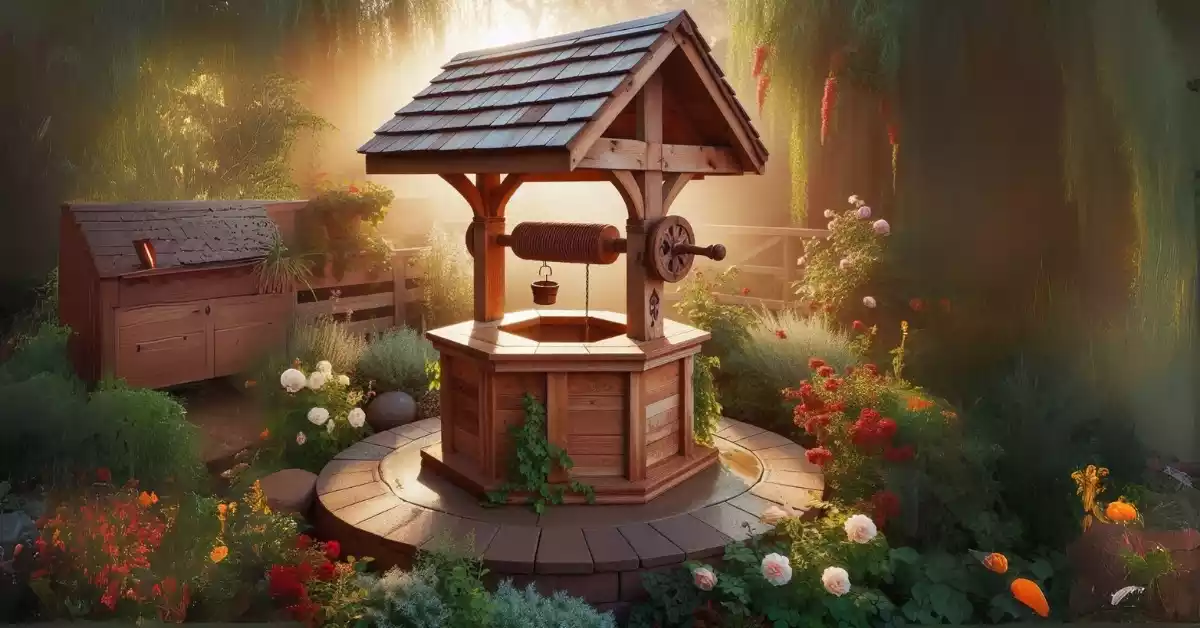
Did you know that a wishing well in your garden or backyard can make it peaceful? It becomes a key spot for family gatherings. It’s a lovely addition that adds tranquillity and magic to your outdoor area.
Building a wooden wishing well is a DIY project you can do with the right help. In this article, we’ll give you detailed step-by-step plans and useful tips. These will help you make your own wishing well.
By following our guide, you can make a beautiful and useful wishing well. It will become a special part of your garden. Whether you want to improve your outdoor look or have a special spot for wishes, our guide will help you.
Key Takeaways
- Learn how to build a DIY wooden wishing well with our step-by-step guide.
- Discover the benefits of having a wishing well in your garden or backyard.
- Get access to comprehensive plans and tips for a successful DIY project.
- Enhance your outdoor space with a charming and functional wishing well.
- Create a unique spot for making wishes and enjoying quality time with family and friends.
The Charm and Purpose of Wooden Wishing Wells
Wooden wishing wells are special because they mix old history with today’s garden decor. They’re not just pretty; they can also hold plants, making them useful and lovely.
Historical Significance of Wishing Wells
Wishing wells have a long history, going back to ancient times. People believed they connected the world of humans to the divine. It was thought that throwing coins into the well could make wishes come true, a tradition that has lasted for ages.
Modern Uses in Landscaping and Garden Decor
Now, wooden wishing wells are a part of landscaping to bring charm and nostalgia to gardens. You can put them in a corner, by a pond, or as a main feature. They make your outdoor area look better.
Popular Styles and Design Variations
Wooden wishing wells come in many styles, from simple to fancy. You can pick one that matches your garden’s look. Options include octagonal and hexagonal shapes, with or without a roof, to fit your taste.
Adding a wooden wishing well to your garden does more than just decorate. It brings a piece of history into your outdoor space.
Planning Your DIY Wooden Wishing Well Project
Before starting your DIY wooden wishing well, planning is key. It ensures your project looks great and works well. You’ll need to think about a few important things.
Choosing the Right Size and Style
The size and style of your wishing well should match your garden or yard. Think about the space you have and the look you want.
Small Decorative Wells vs. Larger Statement Pieces
Small decorative wells are great for small spaces, adding charm without taking over. Larger wells can be a highlight in bigger gardens. Consider the size and how it fits with other garden elements.
Determining the Perfect Location
Finding the right spot for your wishing well is important. It should be easy to see and get to, but not block paths or other features. Think about how it looks from your house and in different light.
Budget Considerations and Cost-Saving Tips
It’s crucial to set a budget. Think about the cost of materials, tools, and extra features. Using reclaimed wood or keeping the design simple can save money. You can also find a DIY plan with a budget guide.
With careful planning, you can make a beautiful wishing well for your garden. It will fit your budget and enhance your outdoor space.
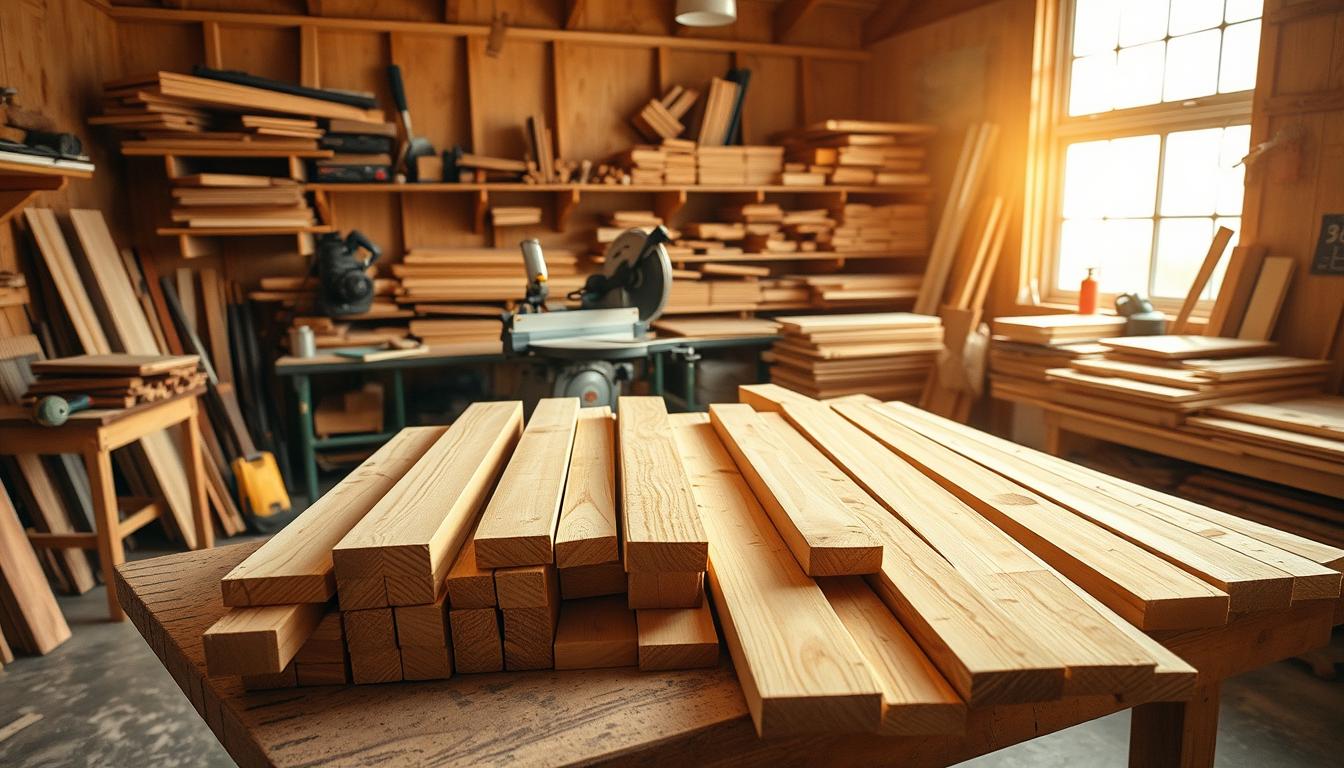
Essential Tools and Materials Needed
Getting the right tools and materials is key to building your DIY wooden wishing well. It makes the project fun and rewarding. You’ll need a detailed list of what you need to do it right.
Complete Tool List for Construction
You’ll need many tools to build your wishing well. Here’s what you’ll need:
- Power drill
- Circular saw
- Impact driver
- Tape measure
- Square
- Level
Power Tools vs. Hand Tools Options
Power tools can make building faster, but hand tools offer a traditional feel. Think about your project and what you like best when choosing.
Lumber Selection and Quality Considerations
Choose pressure-treated lumber for a strong and lasting wishing well. The lumber’s quality is key to the well’s stability and life span.
Hardware and Fastener Requirements
Use galvanised metal straps and rust-resistant screws. They keep your wishing well strong and safe from rust.
Safety Equipment Essentials
Remember to add safety gear to your list. Safety glasses, a dust mask, and gloves protect you from dangers while building.
Understanding DIY Wooden Wishing Well Plans
Starting a DIY wooden wishing well project needs a clear plan and understanding. It doesn’t matter if you’re new or experienced. Knowing the plans well helps avoid mistakes and ensures your project looks great.
Reading and Interpreting the Blueprints
DIY wooden wishing well plans are usually blueprints or detailed diagrams. They show dimensions, materials, and how to put it together. To get the most out of them, learn the symbols, measurements, and notes.
Key elements to focus on include:
- Scale and measurements
- Material specifications
- Assembly instructions
Customising Plans to Fit Your Space
Building a DIY wooden wishing well lets you tailor it to your space and taste. You can change its size, design, and features to match your garden or yard.
When customising, think about:
- The available space where the wishing well will be placed
- The style and decor of your garden or yard
- The materials and resources you have available
Common Measurements and Dimensions
DIY wooden wishing well plans usually have standard measurements. But it’s key to know how to adjust these for your needs.
Scaling Your Project Up or Down
Scaling your DIY wooden wishing well project means changing measurements. Here’s a simple table to show how to scale a plan:
| Original Dimension | Scaled Dimension (1:2) | Scaled Dimension (2:1) |
|---|---|---|
| 10 inches | 5 inches | 20 inches |
| 20 inches | 10 inches | 40 inches |
| 30 inches | 15 inches | 60 inches |
By learning to scale your project, you can make a DIY wooden wishing well that fits your space perfectly.
Preparing Your Work Area and Materials
To start your DIY wooden wishing well project, you need to prepare your work area and materials. This is a key step for a successful build.
Setting Up a Safe Workspace
First, clear a flat area of any debris or obstructions. Make sure your workspace is well-ventilated if you’ll be using power tools or chemicals. Wear protective gear, including safety glasses and gloves, to avoid injuries.
Cutting and Preparing Lumber
Accurate cutting is vital for your wishing well’s structure. Use a sharp saw to cut your lumber as planned. Sand the cut edges to smooth them out.
Pre-Treatment of Wood for Longevity
To make your wooden wishing well last longer, pre-treat the wood. This means applying a wood preservative to protect against rot and insects.
Choosing the Right Wood Preservatives
When picking a wood preservative, think about the wood type and where your wishing well will be. Pressure-treated lumber is great for outdoor projects because it’s durable.
Building the Base and Foundation

The foundation of your DIY wooden wishing well is key to its stability and lifespan. A solid base keeps your wishing well standing tall, no matter the weather.
Creating a Stable Foundation
To make a stable foundation, think about where your wishing well will sit. Different places need different setups to stay steady.
Options for Different Terrain Types
On flat ground, a simple slab or shallow footing works well. But on uneven or sloping land, you might need a stepped base or adjustable footings to level it out.
Assembling the Octagonal Base
Your DIY wooden wishing well plans probably have an octagonal base. Building this needs careful measuring and precision. Begin by setting out the base parts as your plans show, making sure all corners are right angles, and the frame is even.
Ensuring Proper Levelling and Stability
After putting your base together, check that it’s perfectly level. Use a spirit level to confirm, and tweak it if needed. A stable and level base is essential for the stability of the wishing well.
By following these steps, you’ll craft a strong base for your wishing well. This solid foundation is crucial for the success of your project.
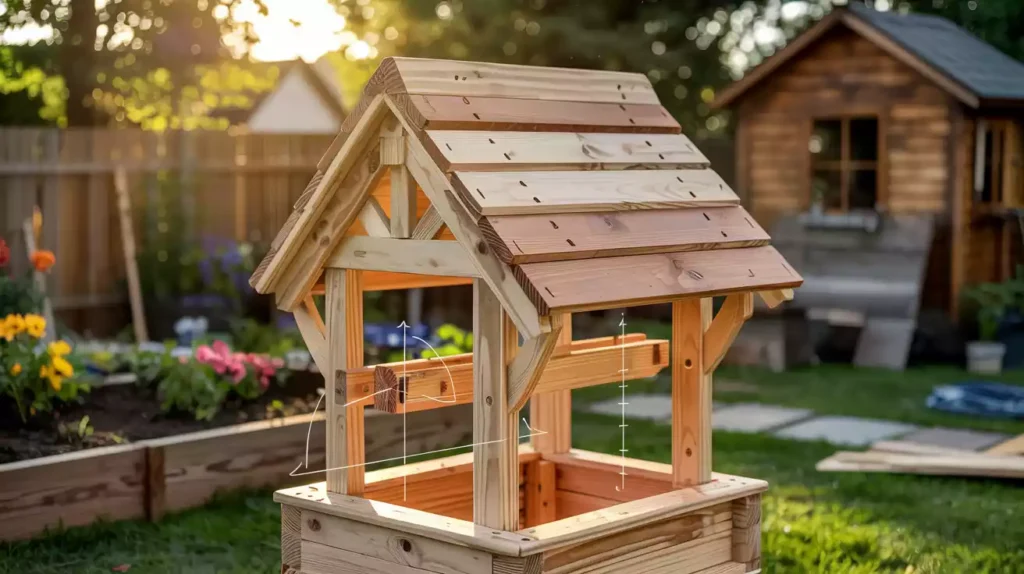
Constructing the Well Walls
Now that your DIY wooden wishing well’s base is ready, it’s time to build the well walls. This step is key for both the structure and look of your wishing well.
Cutting and Positioning Wall Boards
Start by cutting the wall boards as your plan shows. Always double-check your measurements before cutting. Place the wall boards around the base, making sure they’re even and straight.
Securing Walls to the Base
After setting the wall boards, attach them to the base with the right hardware. This is vital for your wishing well’s stability and lasting power. Tighten all screws or nails well.
Adding Structural Support
To make the well walls strong against the weather, add extra support. You can do this by putting in more brackets or beams between the boards.
Reinforcement Techniques for Durability
For extra strength, use weather-resistant glue and make sure all joints are tight. Below is a table with some common ways to make your structure last longer:
| Technique | Description | Benefit |
|---|---|---|
| Weather-resistant glue | Used between joints for added strength | Increases durability |
| Tightly secured joints | Ensures all parts are firmly connected | Prevents structural damage |
| Additional brackets | Provides extra support between wall boards | Enhances stability |
By using these methods, you’ll make well walls that look great and are strong. This will finish a big part of your DIY wooden wishing well project.
Crafting the Roof Structure
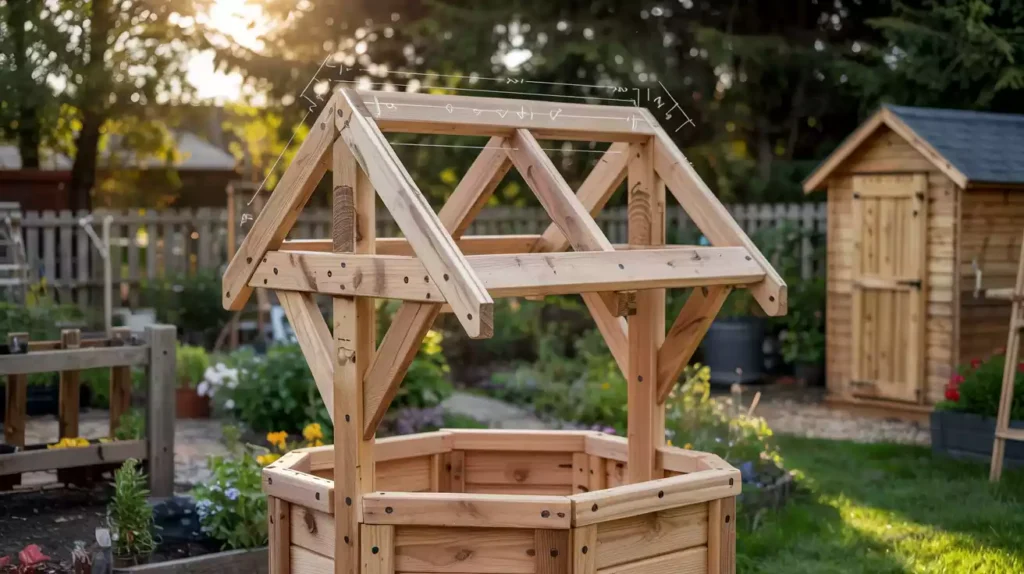
Now that the walls are up, it’s time to build the roof for your wooden wishing well. This step is key. It not only finishes the look but also keeps the well dry.
Building the Roof Frame
Start by making the roof frame. Cut the lumber to size and put it together. Make sure the frame is strong enough to handle the weather.
Experts say, “A solid roof frame is vital for your wishing well’s life span.”
“The roof is not just a cover; it’s a critical component that shields your wishing well from rain, snow, and sun exposure.”
Installing Roof Boards
When the frame is set, install the roof boards. Place them evenly and secure them well. Getting them right is important to avoid leaks and keep the roof strong.

Adding Shingles or Alternative Roofing
Next, add shingles or another roofing material. This makes the roof look better and adds more protection.
Weatherproofing Your Roof
Weatherproofing is crucial to keep your roof strong and leak-free. Use a sealant on all joints and seams. Also, add a waterproof coating to the material.
By doing these steps, you’ll have a sturdy and good-looking roof for your DIY wooden wishing well. Weatherproofing is key to making your project last longer.
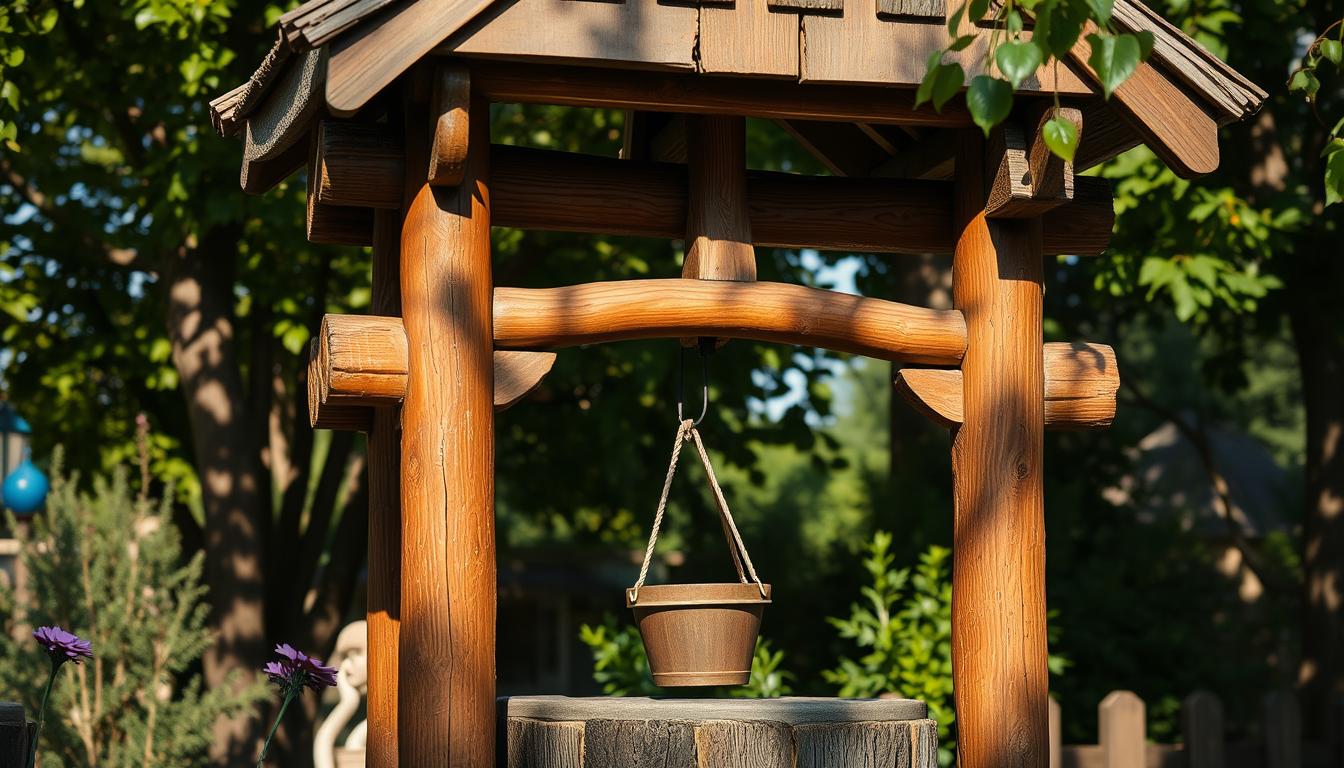
Creating and Installing the Bucket Mechanism
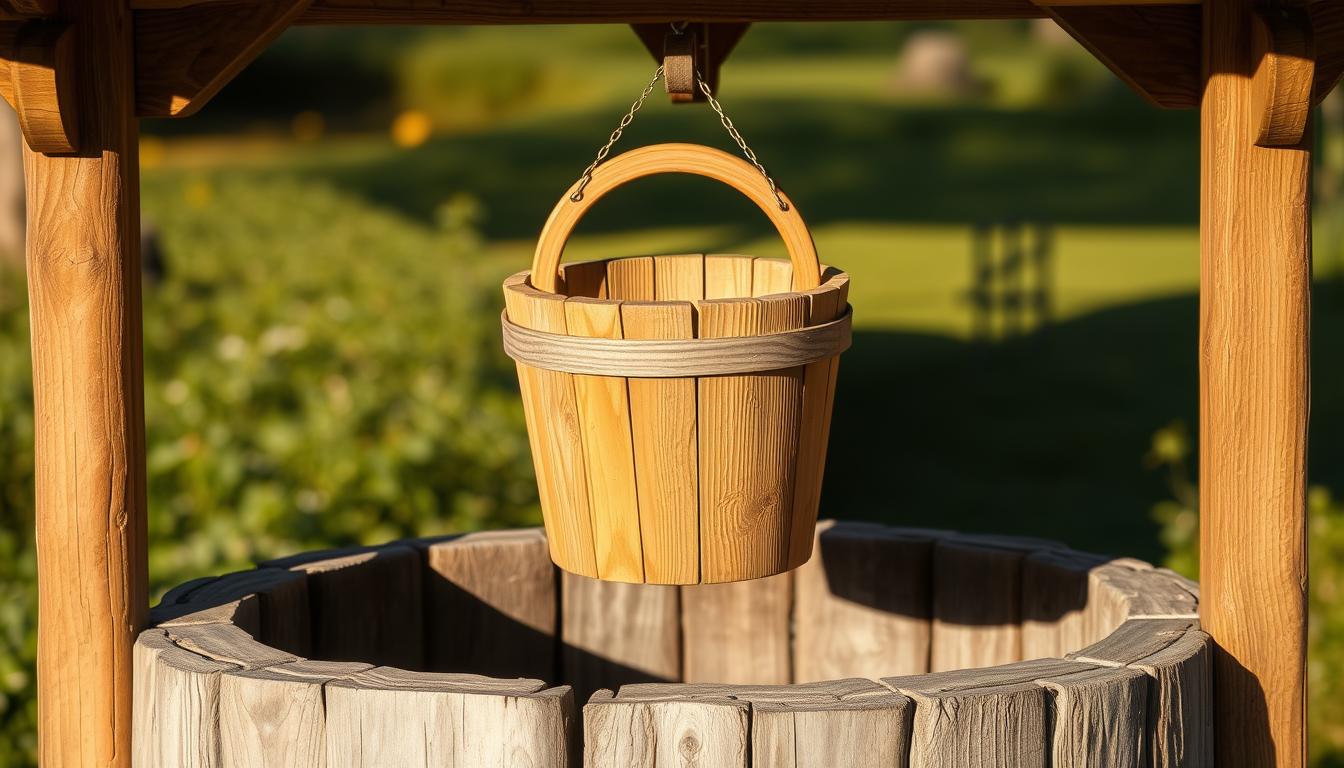
To finish your DIY wooden wishing well, you need to make and put in the bucket mechanism. It’s key for both looks and function. It honours the old ways of wishing wells.
Building the Crossbeam and Support
The crossbeam is crucial for the bucket mechanism. It holds the bucket and pulley system. Pick a strong piece of lumber that fits your well’s width. Make sure it’s well attached to the well to avoid sagging.
Crafting a Decorative Bucket
Making a decorative bucket lets you add your own style to your wishing well. You can pick a bucket that works or one just for looks. Use wood or metal and add carvings or ornaments.
Functional vs. Decorative Considerations
Think about what you want your wishing well for. If it’s for wishes, a working bucket is best. But if it’s just for looks, a decorative bucket is better.
Setting Up the Pulley System
The pulley system makes the bucket go up and down. This adds fun to your wishing well. Attach a pulley to the crossbeam and put a rope or chain through it. Make sure the pulley is tight and the rope or chain can hold the bucket’s weight.
By doing these steps, you’ll make a lovely and useful bucket mechanism for your DIY wooden wishing well. It will make your well more charming and appealing.
Troubleshooting Common Challenges
Even with careful planning, issues can arise during the construction of your wooden wishing well. Troubleshooting these common challenges is essential to ensure the longevity and aesthetic appeal of your DIY project.
Fixing Alignment and Stability Issues
To address alignment and stability issues, check that the base is level and the walls are properly secured. Ensuring a stable foundation is crucial. Refer to the tips provided in the second source on ensuring proper levelling and stability.
Addressing Wood Splitting and Warping
Wood splitting and warping can be mitigated by using high-quality lumber and applying a protective sealant. Regularly inspect your wishing well for signs of warping or splitting.
Solutions for Weather-Related Problems
Weather-related issues can be addressed by applying a waterproof coating and ensuring the roof is securely attached. Consider the climate in your area when selecting materials and designing your wishing well.
| Issue | Solution |
|---|---|
| Alignment Issues | Apply a waterproof coating |
| Wood Splitting | Use quality lumber and apply sealant |
| Weather Damage | Apply waterproof coating |
Finishing Touches and Decorative Elements
The final stages of building your DIY wooden wishing well involve adding the finishing touches. These touches protect it from the elements and enhance its visual appeal. This step ensures your wishing well remains beautiful and functional in your garden for years.
Sanding and Smoothing Surfaces
Start by sanding all the wooden surfaces to smooth out any rough edges or splinters. This improves the appearance of your wishing well and prevents injuries. Use a fine-grit sandpaper for a smooth finish.
Applying Stain and Sealant
To protect your DIY wooden wishing well, apply a suitable stain and sealant. Choose a stain that complements your garden’s color scheme and provides UV protection.
Color Selection and Finish Options
When picking a stain color, think about your garden’s overall aesthetic. You can choose a natural wood tone or a bold color to make your wishing well stand out. Make sure the stain is outdoor-friendly and follow the manufacturer’s application and drying times.
Adding Personalised Details and Embellishments
To make your wishing well unique, add personalised details like engravings, decorative metalwork, or a custom-made bucket. You can also paint the wishing well to add extra protection and decoration, as DIY enthusiasts suggest.
- Engravings or carvings on the wood
- Decorative metal or rope details
- A custom-made bucket or pulley system
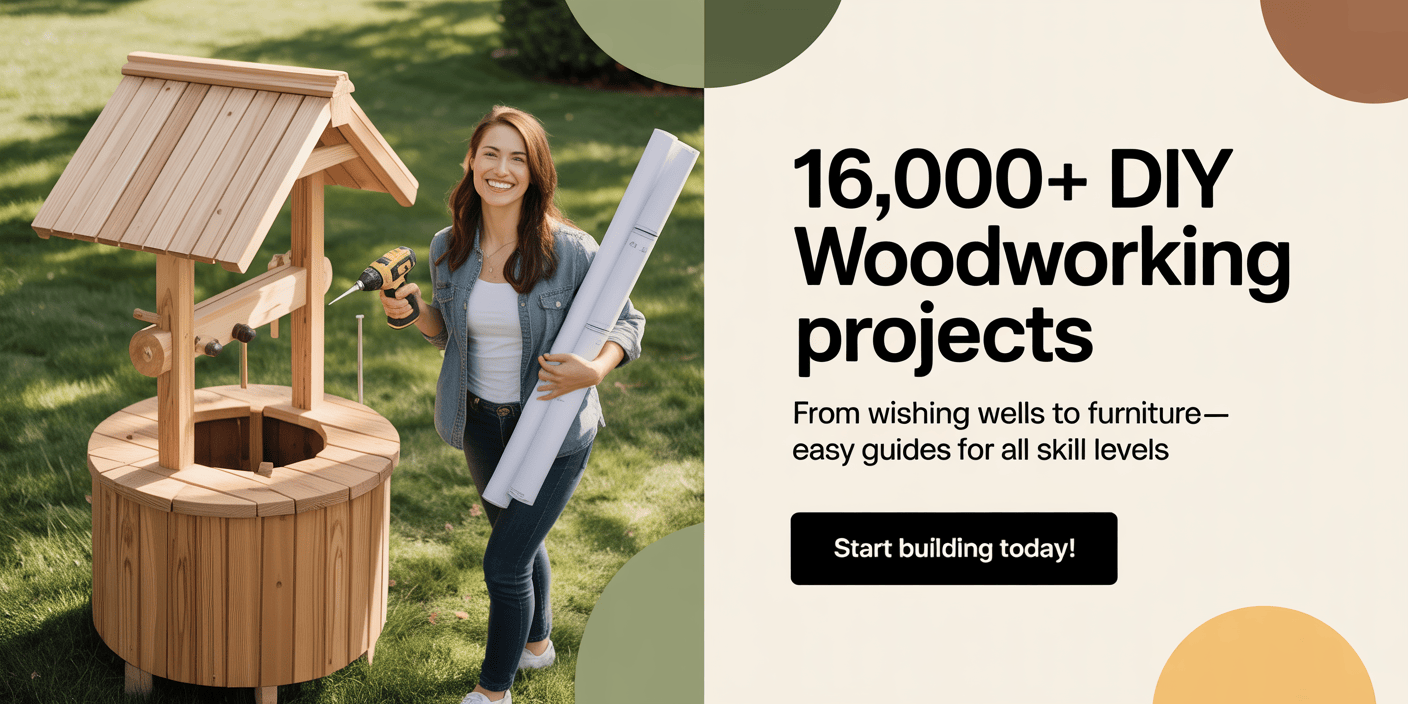
⭐ Ready to Build Your Dream Wishing Well (and ANY Wood Project) With Zero Guesswork?

If you loved this DIY guide, then you’ll be blown away by the complete step-by-step plans inside Ted’s Woodworking—the world’s largest collection of 16,000 done-for-you woodworking plans designed for beginners AND pros.
With super-detailed schematics, cutting lists, 3D views, and A-to-Z instructions, your woodworking projects will turn out perfect the first time—no stress, no confusion, no costly mistakes.
👉 Unlock Instant Access to Ted’s Woodworking — Just $67 (Limited Time!)
🔥 Why Woodworkers LOVE Ted’s Woodworking
- 16,000+ Step-by-Step Plans – Every project you can imagine, from wishing wells to furniture.
- Cutting Lists + Material Guides – Buy the right materials and save money.
- Crystal-Clear Schematics & 3D Views – No guessing, no confusion, no missing steps.
- Beginner-Friendly – Build confidently even with basic tools or small workshops.
- Lifetime Free Monthly Plans – New projects added every month at no extra cost.
- Custom Plan Requests – Get a plan drafted specifically for your idea.
- 150+ Premium Video Tutorials – Learn from master woodworkers step by step.
- Includes DWG/CAD Viewer – Edit or design your own wood plans with ease.
- One-Time Payment — No Monthly Fees – Full lifetime access forever.
🎯 Build Smarter. Build Faster. Build Like a Pro.
Stop wasting time hunting for incomplete plans online.
Start building ANY project—including your dream wooden wishing well—with professional, done-for-you plans trusted by 54,000+ woodworkers worldwide.
👉 Click Here to Get Ted’s Woodworking & Start Your Next Project Today
Conclusion: Enjoying Your Handcrafted Wooden Wishing Well
Now that you’ve finished your DIY wooden wishing well, it’s time to enjoy it. Your handcrafted wooden wishing well is more than just a decoration. It’s a place where you can make wishes and find peace in your outdoor space.
Building your wishing well was likely a rewarding journey. It shows your skill and creativity. Your wooden wishing well is a special part of your home’s landscape. Enjoy the details, like the woodwork and personal touches you added.
Your wishing well might become a key spot in your garden. It can start conversations and create memories. You should be proud of your DIY wooden wishing well. It makes your outdoor space better.
FAQ
What is the ideal size for a DIY wooden wishing well?
The size of your DIY wooden wishing well depends on your garden or backyard space. It also depends on how you want it to look. Wishing wells usually range from 2 to 4 feet in diameter and 3 to 6 feet tall.
What type of wood is best suited for building a wooden wishing well?
Cedar, redwood, and cypress are great for wishing wells because they resist rot and insects. You can also use pressure-treated lumber for extra durability.
How do I choose the right location for my DIY wooden wishing well?
Choose a spot that’s easy to see and get to. It should be far enough from your house but still visible. Make sure the area is flat and drains well.
What are the essential tools needed to build a DIY wooden wishing well?
You’ll need a circular saw, drill press, and hand saw or jigsaw. Sandpaper, a drill, hammer, tape measure, square, and safety gear like gloves and glasses are also essential.
How do I customise DIY wooden wishing well plans to fit my space?
Measure your space and adjust the plans as needed. You can also change the design to fit your style, like adding decorations.
What are some common challenges when building a DIY wooden wishing well, and how can I troubleshoot them?
Issues like alignment and stability, wood splitting, and weather damage are common. To fix these, double-check your measurements and assembly. Use proper joinery and apply a waterproof sealant.
How do I maintain and protect my wooden wishing well from the elements?
Regularly check and clean your wishing well. Use a waterproof sealant to protect the wood. You can also stain or paint it to make it look better and last longer.
Can I use pre-made DIY wooden wishing well plans, or should I create my own?
You can start with pre-made plans, but it’s better to customise them for your needs. Making your plans from scratch is challenging, but it lets you fully customise your project.
Are there any budget-friendly options for building a DIY wooden wishing well?
Yes, use reclaimed or recycled wood and look for sales on materials. Simplify your design to save money. You can also use old pallets or fencing for a unique and affordable wishing well.
How long does it take to build a DIY wooden wishing well?
Building time varies based on design complexity, your skill, and available time. On average, it takes several weekends to finish a DIY wooden wishing well.


Pingback: Wooden Wishing Well Decorating Ideas – Flowers, Lights & More!