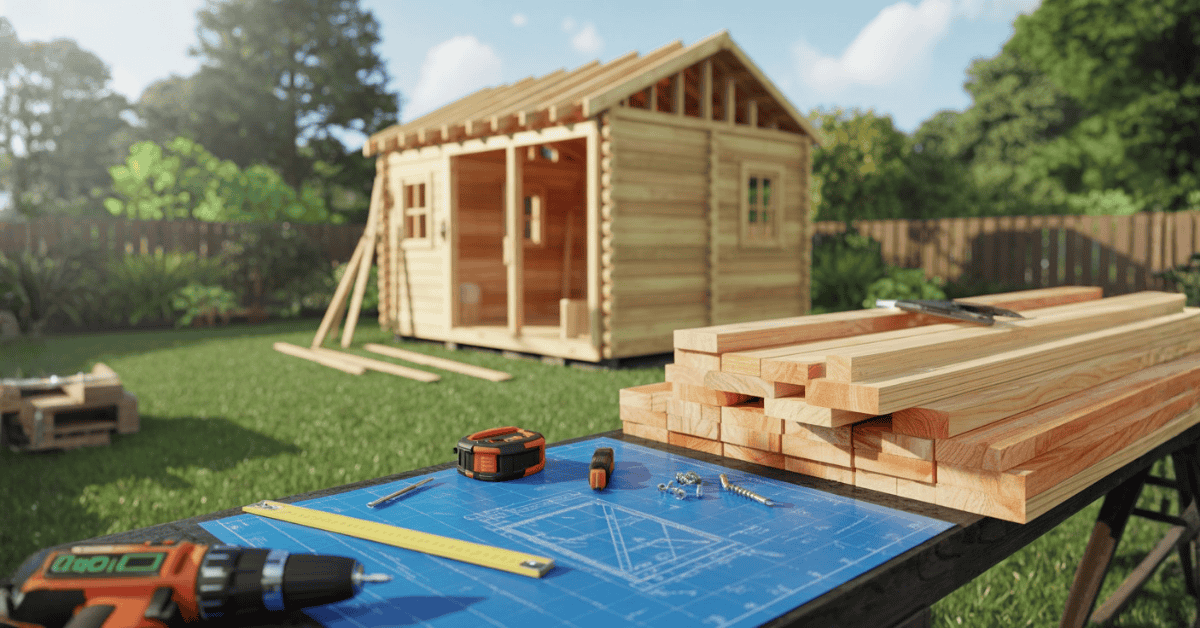
Building a small wooden outdoor shed is a smart way to improve your outdoor area. Doing it yourself can save you $1,000 to $2,000 compared to hiring a pro. A 10′ x 12′ shed costs about $3,100 to build on your own, making it a great DIY project.
Following detailed DIY outdoor shed plans can help you save a lot. This guide will help you through the process, even if you’re new to DIY projects. With the right materials and a solid plan, you can build a shed that’s both useful and looks good.
Key Takeaways
- Save between $1,000 to $2,000 by building your own shed.
- A 10′ x 12′ shed typically costs around $3,100 to build.
- Follow a beginner-friendly DIY guide for a successful project.
- Proper planning and materials are crucial for a functional shed.
- Enhance your outdoor space with a custom wooden shed.
Getting Started with Your Shed Project
Starting your shed project needs careful planning. You must think about several important factors. As you get ready to build your small wooden outdoor shed, consider the benefits, skills needed, and what it will cost in time and money.
Benefits of Building Your Own Wooden Shed
Building your own shed is a rewarding DIY project. You can make it fit your needs perfectly. You’ll also save money and learn a lot about building.
“A shed is not just a storage space; it’s an opportunity to create a functional and beautiful area that enhances your outdoor living experience.”
Essential Skills You’ll Need (and Develop)
To finish your shed, you’ll need basic carpentry skills. This includes measuring, cutting, and putting things together. You can learn these skills online or in local workshops on small shed building tips.
Time and Budget Expectations
Before you start, set a realistic timeline and budget. Think about how complex your outdoor shed design ideas are and the cost of materials. Make sure to check local building codes and get the right permits. Also, pick a spot that’s level and not near water, as backyard shed building essentials
Planning Your Small Wooden Outdoor Shed
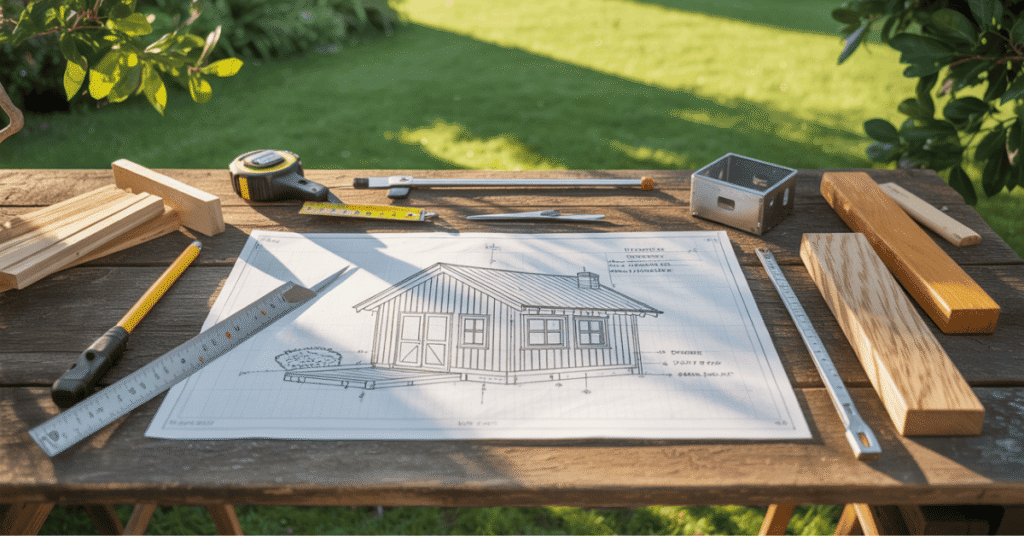
Planning your shed project well is key to success. You need to think about a few important things to start right.
Determining the Right Size for Your Needs
Think about what you’ll use the shed for. Measure your biggest items to figure out the size. Also, consider how it will fit in your yard and the landscape.
Choosing the Perfect Location
Make sure the spot is level and drains well. Think about how easy it is to get to and how it will be used.
Checking Local Building Codes and Permits
Look into local building codes and permits needed. Following these rules is important to avoid legal trouble and fines.
Creating a Timeline for Your Project
Make a timeline that fits your schedule and the project’s complexity. Break it down into smaller tasks to keep on track.
| Task | Estimated Time | Deadline |
|---|---|---|
| Planning and Permitting | 1-2 weeks | Week 1-2 |
| Site Preparation | 2-3 days | Week 3 |
| Construction | 4-6 weeks | Week 4-9 |
Selecting the Best Shed Design

Choosing the right outdoor shed design ideas is key. It’s not just about looks; it’s about how well your shed works. The design you pick will change how your yard looks and how your shed functions.
Popular Small Shed Styles
There are many shed styles out there. Gable and gambrel roofs are popular. Gable roofs are easy on the wallet and simple. Gambrel roofs give you more room inside. Think about what style fits your yard’s look and your needs.
Functional Features to Consider
Think about what makes a shed useful. You might want windows for light, shelves for storage, and a door that’s easy to get to and big enough.
Adapting Plans to Your Space
Make sure your shed fits your yard. Look at your yard’s size and shape. Also, think about anything that might get in the way.
Single-Slope vs. Gable Roof Options
Choosing between a single-slope and a gable roof depends on what you like and need. Single-slope roofs are easy to build. Gable roofs give a classic look.
Door Placement and Size Considerations
The door’s size and where it is matter a lot. Make sure the door is big enough for you and easy to get to.
By thinking about these things, you can make a shed that looks good and works well. It will make your outdoor space better.
Complete Materials and Tools List
Before you start building your small wooden outdoor shed, it’s essential to gather all the necessary materials and tools. Having everything on hand will save you time and ensure your project goes smoothly.
Lumber and Building Materials
For a 10′ x 12′ shed, you’ll need:
- Pressure-treated lumber for the foundation
- Plywood for the floor and walls
- Oriented strand board (OSB) or pine for the roof sheathing
- Exterior-grade pine or cedar for the frame and siding
Hardware and Fasteners
Don’t forget the essential hardware:
- Galvanised lag screws and washers
- 3″ and 2″ galvanized screws
- Nails and roofing nails
- Hinges and a latch for the door
Essential Tools for the Job
You’ll need the following tools to complete your shed:
- Circular saw
- Drill and bits
- Impact driver
- Tape measure and square
- Level
Where to Source Quality Materials on a Budget
To stay within budget, consider:
- Local hardware stores
- Home improvement centres
- Online retailers
- Reclaimed or recycled materials
| Material | Quantity | Cost Estimate |
|---|---|---|
| Pressure-treated lumber | 10 pieces (2″ x 4″ x 12′) | $100 |
| Plywood (3/4″) | 2 sheets (4′ x 8′) | $150 |
| Roofing felt and shingles | 1 bundle | $200 |
By gathering all the necessary materials and tools, you’ll be well-prepared to complete your shed project efficiently and effectively.
Preparing the Foundation for Your Shed

Building a strong foundation is key to your shed’s life and stability. A good foundation keeps your shed level, safe, and dry.
Foundation Options for Small Wooden Sheds
You have many foundation choices for your shed, each with benefits.
Concrete Slab Foundations
A concrete slab foundation is solid and great for busy sheds or those with heavy stuff.
Gravel Pad Foundations
Gravel pads are cheaper and let water drain well. They’re also easy to set up.
Pier Block Foundations
Pier blocks work well on uneven ground. They help level your shed without a lot of digging.
| Foundation Type | Cost | Drainage | Installation Ease |
|---|---|---|---|
| Concrete Slab | High | Poor | Difficult |
| Gravel Pad | Medium | Good | Easy |
| Pier Block | Low | Good | Moderate |
Levelling the Ground Properly
It’s important to make sure the ground is even. This stops your shed from leaning or becoming unstable.

Creating Proper Drainage
Good drainage stops water from gathering around your shed. This can damage the foundation. Make sure the area slopes away from your shed.
Choosing the right foundation and ensuring the ground is even and drains well will help you build a strong, useful shed.
How to Build a Small Wooden Outdoor Shed: Floor Frame Construction
A strong floor frame is key to your small wooden outdoor shed. It supports the whole structure. Start by following easy shed-building steps for a solid base.
Measuring and Cutting Floor Joists
First, measure and cut the floor joists according to your shed’s design. Use pressure-treated lumber to fight rot and bugs. For a small shed, joists should be 16 inches apart.
Cut the joists to the right length. Use a circular saw or mitre saw for accuracy.
Assembling the Floor Frame
Next, build a rectangular frame with the joists. Use 3-inch galvanised lag screws to hold them together. Make sure the frame is square by checking the diagonals.
Installing the Subfloor
After the frame is built, put in the subfloor. Use 3/4-inch plywood or OSB. Cut it to fit the frame tightly.
Secure the subfloor to the joists with 2-inch nails or 1-1/2-inch screws. Space them 6 inches apart.
Waterproofing Considerations
To keep your shed dry, apply a waterproof coating to the subfloor. Use a waterproofing membrane or outdoor sealant. This is key how to build small wooden outdoor shed that lasts.
| Component | Material | Spacing/Size |
|---|---|---|
| Floor Joists | Pressure-treated lumber | 16 inches apart |
| Subfloor | 3/4-inch plywood or OSB | Fits snugly over frame |
| Fasteners | Fits snugly over the frame | 6 inches apart |
By following these wooden shed construction guide steps, you’ll get a strong floor frame. It will be the solid base for your small wooden outdoor shed.
Building the Shed Walls Step-by-Step
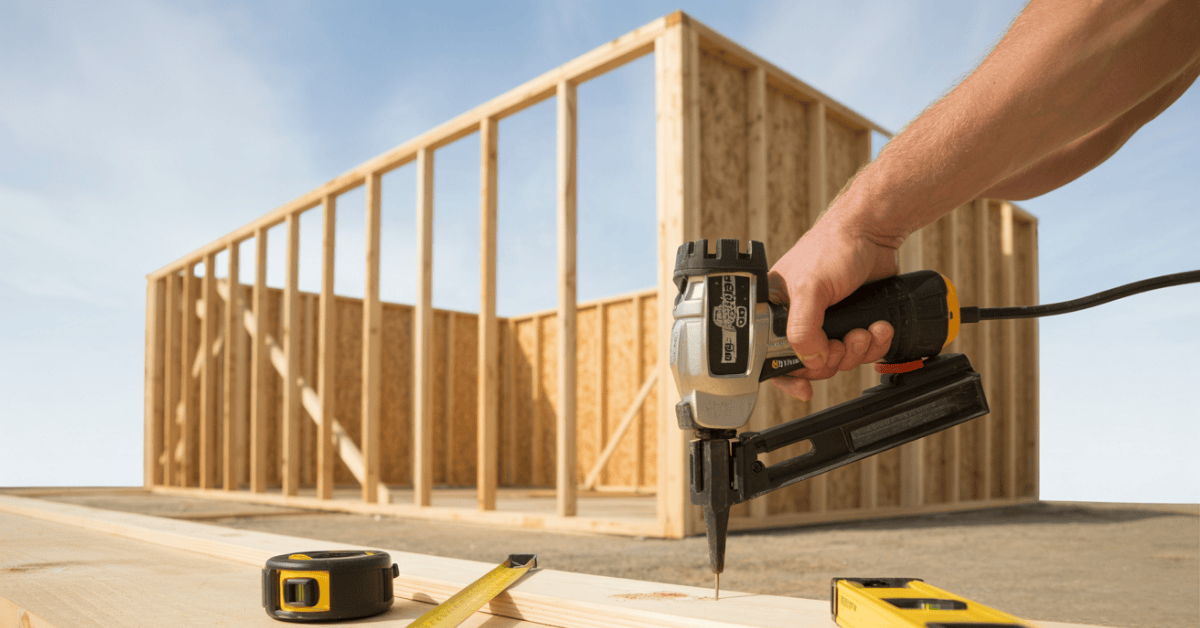
Now that your floor frame is ready, it’s time to build the walls. This step is key to your shed’s stability and structure.
Framing the Wall Sections
Start by framing the wall sections on a flat surface. Use your plans to cut the wall studs to the right length. You’ll need two top plates and one bottom plate, with studs 16 inches apart. Make sure your corners are perfectly angled with a square.
Here’s a simple table to help you plan your wall framing:
| Component | Length | Quantity |
|---|---|---|
| Top Plate | Length of wall | 2 |
| Bottom Plate | Length of wall | 1 |
| Studs | Height of wall | Variable |
Installing Wall Sheathing
After assembling your wall frames, it’s time for sheathing. This layer adds strength and a base for finishing materials. Use oriented strand board (OSB) or plywood. Make sure it’s aligned and fastened well to the frame.
“The right materials and a bit of patience can make all the difference in your DIY outdoor shed plans.”
Raising and Securing the Walls
With sheathing in place, it’s time to raise the walls. This step can be tough, so having help is a good idea. Use temporary braces to hold the walls up, then attach them to the floor frame. Ensure they’re straight and aligned.
Adding Windows (Optional)
If your design has windows, now’s the time to frame them. Measure carefully and cut openings in the sheathing and framing. Install the window frames as per your plans, making sure they’re level and secure.
By following these steps, you’ll have a solid structure for your small wooden outdoor shed. Always check local building codes and regulations as you build.
Roof Construction and Installation
Now that your shed’s walls are up, it’s time to focus on the roof. The roof protects your shed from the weather and affects its design and function.
Building Roof Trusses or Rafters
First, decide between roof trusses or rafters. Roof trusses are pre-made frames that make building easier. Rafters let you customise more. Pick what fits your skill and design.
To build, measure and cut lumber for your roof. Make sure your measurements are right to avoid problems. For a simple roof, you’ll need to make a series of trusses or rafter pairs.
Installing Roof Sheathing
After setting up your roof trusses or rafters, install the roof sheathing. This layer gives a solid base for your roof and adds strength. Use oriented strand board (OSB) or plywood for sheathing. Make sure it’s aligned and fastened well to the trusses or rafters.
Applying Roofing Materials
With the sheathing on, you can put on your roofing material. Asphalt shingles and metal roofing are common choices for small sheds.
Asphalt Shingles Installation
Asphalt shingles are easy to install and affordable. Start with an underlayment to keep moisture out. Then, put on shingles from the bottom up. Make sure to overlap and nail them correctly.
Metal Roofing Options
Metal roofing is durable and weather-resistant. It comes in materials like aluminium and steel. Follow the manufacturer’s guide for installation. Metal roofing is harder to install, so think about your skills first.
Adding Proper Ventilation
Good ventilation is key to avoiding moisture buildup under the roof. This can cause mould and damage. Make sure your shed has enough vents or a ridge vent. This keeps the temperature and moisture levels right, making your roof last longer.
By following these steps and picking the right materials, you can build a strong and good-looking roof for your shed. Always check local building codes and think about weather resistance and energy efficiency when making your choices.
Exterior Finishing Touches
The final stages of building your wooden shed involve several key exterior finishing elements. These elements are essential for both functionality and aesthetics. They not only enhance the appearance of your shed but also protect it from the elements.
Installing Siding Materials
Choosing the right siding material is crucial for the durability and look of your shed. Options include wood, vinyl, or metal, each with its own benefits. For a wooden shed, using cedar or redwood siding can add natural beauty and resistance to rot and insects. Ensure that the siding is properly installed to prevent gaps and overlaps that could lead to water intrusion.
Building and Hanging the Door
A sturdy door is essential for the security and functionality of your shed. You can either build a door from scratch or purchase a pre-hung door. When hanging the door, ensure it’s level and securely attached to the frame to prevent sagging over time. Adding a lock will enhance the security of your shed.
Applying Weather Protection
To protect your shed from the elements, apply a waterproof coating or paint. This not only shields the wood from moisture but also adds an extra layer of protection against UV rays. Regularly inspect the shed’s exterior for any signs of wear or damage and address these issues promptly.
Adding Trim and Decorative Elements
Adding trim and decorative elements can significantly enhance the curb appeal of your shed. Use exterior-grade trim to add details around windows, doors, and corners. This not only adds a finished look but also helps to seal any gaps, further protecting your shed.
By carefully attending to these exterior finishing touches, you’ll not only improve the functionality and durability of your small wooden outdoor shed. You’ll also enhance its overall appearance, making it a valuable and attractive addition to your backyard.
Interior Organisation and Customisation
Organising your shed’s interior is key to making it useful. A tidy shed boosts your productivity and helps you find tools quickly.
Installing Shelving and Storage Solutions
Think about adding shelving and bins to keep things organised. You can pick between wooden or metal shelves, based on your taste and the shed’s look. Labelling bins makes it easier to see what’s inside.
Workbench Options for Tool Sheds
A workbench is a must-have for any tool shed. You can pick from simple wooden benches to ones with built-in vice and storage. Think about the projects you’ll do and design your workbench to fit.
Lighting and Electrical Considerations
Good lighting is crucial for a shed. You might need to add lights or use LED strips for better task lighting. Make sure you have enough outlets and wiring for power tools and equipment.
Maximising Space in a Small Shed
In a small shed, use wall space for storage and keep the floor free. Stackable containers and foldable workbenches help use every inch. This way, you can turn your shed into a productive workspace.
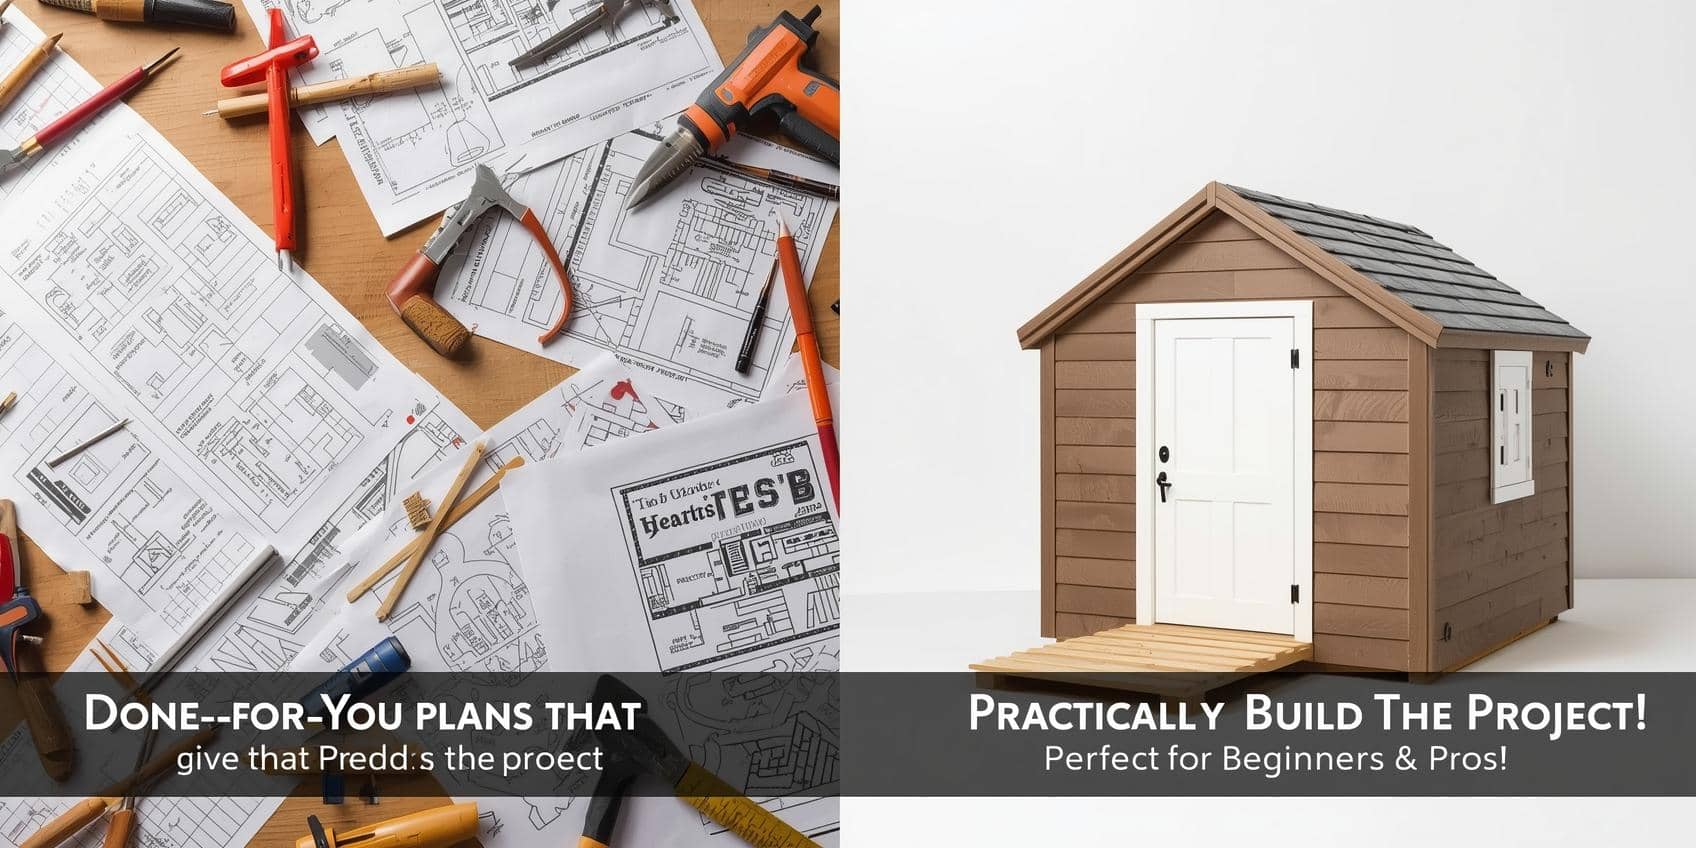
🔨 Want Shed Plans That Make Building a 10× Easier?
If you’re serious about building your outdoor shed quickly, accurately, and without guesswork, you’ll love Teds Woodworking — the world’s largest collection of 16,000+ done-for-you woodworking plans.
It’s the perfect resource to help you build any project confidently, even if you’re a beginner.
⭐ Why Woodworkers Love Teds Woodworking
- 16,000 step-by-step plans with A-to-Z instructions
- Exact cutting & materials lists (no wasted wood or money)
- Detailed drawings & 3D schematics—your project “builds itself”
- Beginner-friendly & pro-ready plans for every skill level
- Lifetime access + free monthly plans added forever
- Custom plan requests created by expert woodworkers
- 150 premium woodworking videos + complete guides included
🎯 Ready to Build Your Shed the Easy Way?
👉 Get Instant Access to All 16,000 Plans — For Just $67!
(One-time purchase. No monthly fees.)
Click Here to Unlock Teds Woodworking »
Conclusion: Enjoying Your Newly Built Wooden Shed
Now that your small wooden outdoor shed is done, you can enjoy the extra storage and space. You followed a guide to build it, making a useful outdoor area.
Your shed is great for keeping gardening tools and outdoor gear. It also works as a workshop or hobby spot, thanks to the plans you used.
As you start using your shed, think about adding things like electrical outlets or shelves. If you’re up for more, look into building a shed from scratch for bigger projects.
Your shed is a wonderful addition to your outdoor space. It helps with storage and organisation. Be proud of your work and enjoy the benefits.
FAQ
What is the average cost of building a small wooden outdoor shed?
The cost can vary. It depends on size, materials, and features. On average, expect to spend between $500 to $2,000 for a small wooden shed.
Do I need a building permit to construct a small wooden shed?
It depends on your location and local regulations. Check with your local government to see if a permit is needed for your shed project.
What type of foundation is best for a small wooden shed?
The best foundation depends on the shed’s size and weight, and the terrain. Common options include a concrete slab, gravel base, or skid foundation.
How long does it take to build a small wooden shed?
Building time varies. It depends on the design’s complexity, your experience, and how much time you can dedicate. On average, it can take from a few days to several weeks.
What are the essential tools needed to build a small wooden shed?
Essential tools include a circular saw, drill, impact driver, tape measure, square, and safety glasses. You might also need specialised tools for your shed’s design and features.
Can I customise the design of my small wooden shed?
Yes, you can customise the design to fit your needs and preferences. Consider the size, style, and features you want, like windows, doors, and shelving.
How do I ensure proper ventilation in my small wooden shed?
Proper ventilation is key to preventing moisture buildup and reducing mould and mildew risk. You can install vents or windows, or use a shed ventilation system.
What are some tips for sourcing quality materials on a budget for my shed project?
To find quality materials on a budget, shop during sales, use reclaimed or recycled materials, and compare prices at different stores or online.
How do I level the ground for my shed foundation?
To level the ground, use a level tool, transit level, or laser level. Remove debris, vegetation, or obstructions. Then, adjust the ground with a shovel or grading rake to the desired level.
What are some common mistakes to avoid when building a small wooden shed?
Common mistakes include poor planning, inadequate foundation preparation, incorrect measurements, and insufficient ventilation. Carefully plan and execute your project to avoid these mistakes.

