Imagine stepping into a cozy cabin filled with warm wooden accents. The space is enhanced by beautifully crafted display signs that add a personal touch. You can bring this charm into your home with DIY wooden signs. It’s a fun project for anyone, whether you’re a crafting pro or just starting with beginner woodworking.
This guide will teach you the basics of making stunning wooden display signs. You’ll learn to work with wood and feel proud of creating something beautiful by hand.
Key Takeaways
- Learn the fundamentals of beginner woodworking for creating wooden display signs.
- Understand the materials and tools needed for DIY wooden signs.
- Discover techniques for designing and crafting beautiful wooden signs.
- Explore tips for customizing your wooden display signs.
- Gain confidence in your ability to create professional-looking signs.
Understanding the Basics of Wooden Sign Making
Wooden sign making is an art that beginners need to understand. It involves several key elements. To make beautiful signs, you must learn the basics.
Types of Wooden Display Signs
Wooden signs come in many styles, like rustic, modern, and vintage. You can pick from various shapes, sizes, and materials. Some popular types are hand-painted signs, carved wooden signs, and distressed finish signs.
Common Uses for Wooden Signs
Wooden signs are very versatile. They can be used for business, home decor, and events. They help convey information, add beauty, or welcome people. You can use them to brand your business, decorate your home, or direct customers.
Skill Level Requirements
Wooden sign making can be complex, but beginners can start simple. You’ll need basic woodworking skills like measuring, cutting, and sanding. Also, patience and attention to detail are key. As you get better, you can tackle more complex designs.
Essential Tools and Materials for DIY Wooden Signs
To make wooden signs, you’ll need a toolkit and materials. The right tools are key to making signs that look professional.
Must-Have Woodworking Tools for Beginners
Beginners need basic tools to start. You’ll need a table saw or circular saw for cutting, a drill press for precise holes, and sandpaper for a smooth finish.
- Table saw or circular saw: For cutting wood to the desired size.
- Drill press: For precise drilling and making holes for hardware.
- Sandpaper: For smoothing out the wood surface.

Types of Wood Recommended for Signs
The wood you choose affects your sign’s look and durability. Popular choices are pine, cedar, and cypress.
| Wood Type | Characteristics | Best For |
|---|---|---|
| Pine | Softwood, easy to work with, affordable | Beginner projects, indoor signs |
| Cedar | Durable, resistant to rot and insects, aromatic | Outdoor signs, decorative projects |
| Cypress | Durable, resistant to moisture, attractive grain | Outdoor signs, rustic designs |
Additional Materials and Supplies
You’ll need more than just tools and wood for your sign.
Paints, Stains, and Finishes
Choose paints, stains, and finishes that match your design. They should enhance the look and protect the wood.
- Paints: For bold, vibrant colors.
- Stains: To enhance the wood grain and add color.
- Finishes: To protect the wood and give it a glossy or matte finish.
Hardware and Fasteners
You might need hardware and fasteners for your design. They help assemble and hang your sign.
Safety Precautions for Woodworking Projects
When you start woodworking, safety is key. A safe workspace is essential for your DIY wooden sign tutorial or any woodworking project.
Proper Workshop Setup
A clean and organized workshop is the basis of safety. Make sure your workspace is tidy and free from clutter. It should also be well-lit and have enough room for you to move around.
Personal Protective Equipment
Wearing the right gear is crucial. You’ll need safety glasses, hearing protection, and a dust mask. When using power tools, gloves can help prevent injuries. For example, a dust mask is important when sanding to avoid breathing in dust.
Safe Tool Handling Practices
Knowing how to handle tools safely is important. Always read and follow the tool’s instructions. Keep your tools in good condition and be careful with your body position when using power tools.
| Safety Tip | Description |
|---|---|
| Keep Workspace Clean | Prevent accidents by keeping your workspace clutter-free. |
| Wear PPE | Use safety glasses, hearing protection, and a dust mask when necessary. |
| Follow Tool Instructions | Read and follow the manufacturer’s instructions for each tool. |
By following these safety tips, you can make your wood sign-making process safe and fun. Remember, safety is an ongoing effort that needs constant attention and practice.
Designing Your Wooden Display Sign
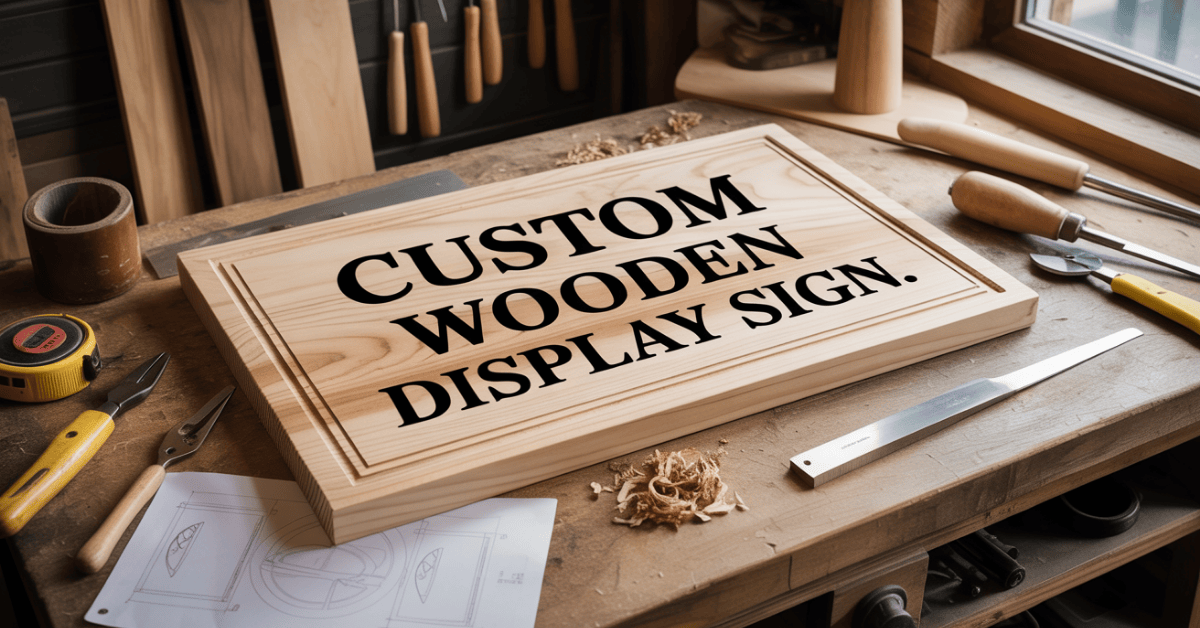
A great wooden display sign starts with a good idea. Consider what you want to say and how you want it to appear.
Sketching Your Design Concept
Begin by drawing your ideas on paper. This helps you see your design and make changes before you start working with wood. Consider the style, theme, and key elements you want to highlight.
Sizing and Proportions
Choose the right size for your sign based on where it will go. Make sure the parts of your design look good together.
Typography and Layout Considerations
The way you write and arrange your sign matters a lot. Pick fonts that are easy to read. Think about how you’ll space and line up your text and other parts.
Font Selection for Different Sign Styles
Each sign style needs its own font. For example, a rustic sign might need a worn-out font, while a modern sign might look better with a simple font.
Spacing and Alignment Tips
Good spacing and alignment make your sign look professional. Make sure your text is evenly spaced and lines up with other parts.
| Design Element | Consideration | Tip |
|---|---|---|
| Typography | Font choice and size | Choose fonts that are clear and easy to read |
| Layout | Spacing and alignment | Ensure even spacing and alignment |
| Sizing | Proportion and scale | Balance design elements for visual appeal |
By thinking about these design parts, you can make a wooden sign that gets your message across and grabs people’s attention.
Selecting and Preparing Wood for Your Sign
Choosing the right wood for your sign is key. The wood’s quality and type affect your sign’s look and how long it lasts. Making a DIY wooden sign is all about the wood you pick.
Evaluating Wood Quality
Look at the wood’s grain, moisture, and any knots or flaws. High-quality wood has a steady grain and few defects.
Cutting Wood to Size
To cut wood right, you need a saw. The saw you pick depends on the cut you’re doing. For straight cuts, a circular saw or table saw works best.
Sanding and Smoothing Techniques
Sanding is vital for getting your wood ready for finishing. It makes the surface smooth and gets rid of any blemishes.
Grit Progression for Perfect Surfaces
To get a smooth finish, use different grits of sandpaper. Begin with a coarse grit (80-100) and move to finer ones (220-240).
| Grit | Purpose |
|---|---|
| 80-100 | Coarse sanding, removing large imperfections |
| 120-150 | Medium sanding, smoothing out the surface |
| 220-240 | Fine sanding, final smoothing before finishing |
Woodworking expert,
“The key to a professional-looking finish is in the preparation. Sanding is not just about smoothing out the wood; it’s about creating a surface that’s ready for staining or painting.”
Creating a Complete How to Make Wooden Display Signs Guide

Creating high-quality wooden display signs requires a well-organized workflow. You must plan carefully, manage your time well, and keep your workspace tidy.
Planning Your Workflow
Planning your workflow is key. Start by defining your project’s scope, including design, materials, and tools. Then, break it down into smaller tasks and set a timeline for each.
Here’s an example of planning your workflow:
| Task | Estimated Time | Tools/Materials Needed |
|---|---|---|
| Designing the sign | 1 hour | Pencil, paper, ruler |
| Cutting the wood | 2 hours | Circular saw, safety glasses |
| Sanding and finishing | 3 hours | Sander, sandpaper, finish |
Time Management Tips
Effective time management is crucial for completing your project on time. Prioritize tasks based on importance and urgency. Use a calendar to schedule tasks and set realistic deadlines.
Tip: Set specific times for tasks like cutting and sanding. Try to avoid interruptions during these times.
Organizing Your Workspace
Keeping your workspace organized is vital for efficiency and safety. Make sure your tools are clean and stored properly. Keep your work area free of clutter.
By following these tips, you can create an efficient workflow. This will help you complete your wooden display sign project well and on time.
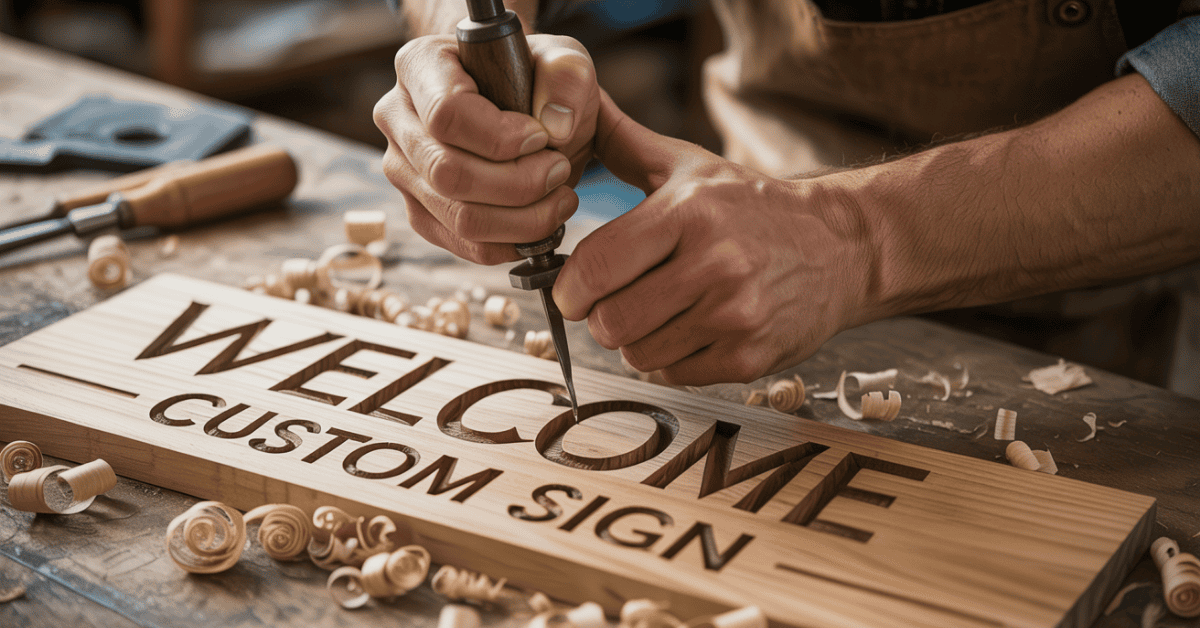
Transferring Your Design to Wood
Transferring your design to wood is key to making your DIY wooden sign. It needs precision and patience. This ensures your sign looks professional and well-made.
Tracing and Stencilling Methods
Tracing and stencilling are classic ways to put designs on wood. You can trace with a pencil or make a stencil from cardstock or acetate. For detailed designs, use a fine-tip marker or a tracing wheel.
Using Carbon Paper for Transfers
Carbon paper is great for transferring designs. Place it between your design and the wood, tracing with a pencil or stylus. This method gives a precise design transfer.
Digital Design Transfer Techniques
If you’re into digital design, printing and applying templates work well.
Printing and Applying Templates
Print your design on paper or vinyl. Then, stick it to the wood with adhesive or transfer tape. Make sure the wood is clean and dry for a smooth stick.
| Method | Description | Best For |
|---|---|---|
| Tracing | Using a pencil to draw the design onto the wood | Simple designs, freehand artists |
| Stenciling | Creating a stencil and applying paint or ink | Repetitive designs, bold letters |
| Carbon Paper | Transferring a design using carbon paper | Detailed designs, precise transfers |
Choosing the right method makes your wooden sign look professional. It brings your design to life.
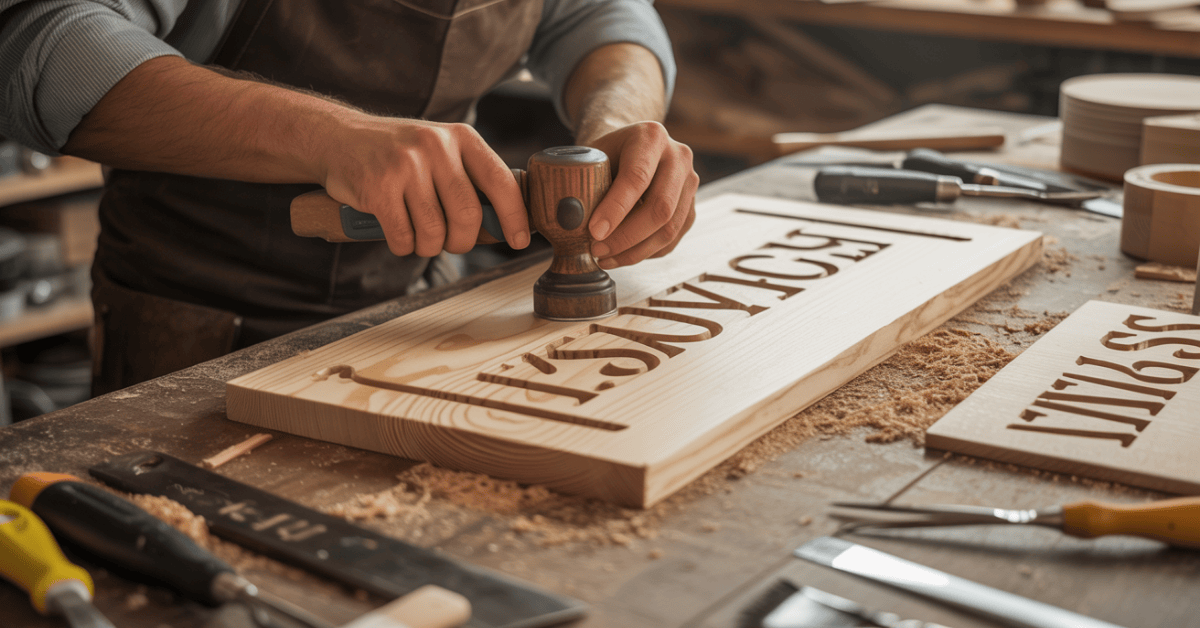
Carving and Cutting Techniques for Wooden Signs
To make your DIY wooden signs look great, you need to learn how to carve and cut. The quality of your sign depends on these skills.
Hand Carving Basics
Hand carving is a traditional method that adds a personal touch. You’ll need gouges, chisels, and mallets to get started. Start with simple projects to improve your skills.
- Choose the right wood type for hand carving, such as basswood or pine.
- Use sharp tools to avoid tearing the wood.
- Practice different carving techniques, such as relief carving and chip carving.
Using a Router for Letters and Designs
A router is great for making detailed designs and letters. Router bits come in various shapes and sizes, giving you different effects. Make sure to hold the router steady and keep your workpiece secure.
Scroll Saw Techniques for Detailed Work
A scroll saw is perfect for detailed cuts. It makes complex designs easy to create. Use the right blade type for the best results.
Creating Inlays and Raised Letters
To make your signs stand out, try inlays or raised letters. This means cutting out wood and filling it with other materials. Precision is key for these details, so take your time.
Learning these techniques will help you make stunning wooden signs. Your craftsmanship will shine through.
Painting and Finishing Your Wooden Sign
After making your wooden sign, it’s time to add paint and finish. The right techniques can turn your sign into a vibrant piece of art. It will grab everyone’s attention.
Choosing the Right Paints and Stains
Choosing the right paints and stains is key to the look you want. For a rustic look, try latex-based paints or water-based stains. For a polished finish, acrylic enamels or oil-based stains are better. Always test on a small area first to see if it affects the wood.
Brush Selection and Techniques
The right brush is important for the finish. Natural bristle brushes are good for oil-based products. Synthetic brushes are better for latex and acrylics. Try different strokes for smooth or textured looks.
Creating Distressed and Vintage Effects
To get a distressed or vintage look, try different techniques. Sanding edges and corners can make it look worn. Applying a glaze over a base coat and wiping it off adds depth.
Layering Colors for Dimension
Layering colors adds depth to your sign. Start with a base coat, then add more layers. Let each dry before adding the next. This creates a rich, eye-catching look.
Troubleshooting Common Wooden Sign Problems

When making wooden display signs, you might run into a few common problems. These can be fixed with the right techniques. Whether you’re new to woodworking or have experience, knowing how to solve these issues can save you time and stress.
Fixing Paint Bleeding and Smudges
Paint bleeding under stencils or around edges can be a big problem. To avoid this, use a high-quality stencil and apply a thin layer of paint. If bleeding happens, you can fix it by carefully scraping away the excess paint with a craft knife or sanding it down once it’s dry.
Repairing Wood Splits and Cracks
Small splits or cracks in the wood can be fixed with wood glue. Apply the glue to the affected area and clamp it until it’s dry. For bigger cracks, you might need to use a wood filler before sanding it smooth.
Correcting Measurement and Alignment Errors
If your sign’s measurements or alignments are off, figure out the best way to fix it. Minor adjustments can often be made by re-cutting or re-routing the affected area. In more severe cases, you might need to start over.
When to Start Over vs. When to Fix
Deciding whether to start over or fix a mistake depends on the severity of the error and when it was caught. If the mistake is minor and caught early, fixing it might be best. But if the error is big or has been built upon, starting the project again might be more efficient.
Mounting and Display Options
After making your wooden sign, it’s time to pick the best way to mount and display it. How you show off your sign can really make it stand out.
Wall Hanging Hardware and Techniques
For signs on walls, you need the right hardware. You might use French cleats or D-rings for a secure hang. Make sure the hardware can handle your sign’s weight.
Freestanding Display Methods
For signs that stand alone, think about using easels or making a custom stand. This is great for signs you need to move around.
Weather Considerations for Outdoor Signs
Outdoor signs need to be weather-proof. Use a waterproof sealant to protect the wood. Also, make sure any metal parts won’t rust.
Reinforcement for Larger Signs
Bigger signs might need extra support to avoid damage. Adding a backing or support brackets can help keep your sign looking good for longer.
Choosing the right way to mount and display your sign can make it last longer and look better.
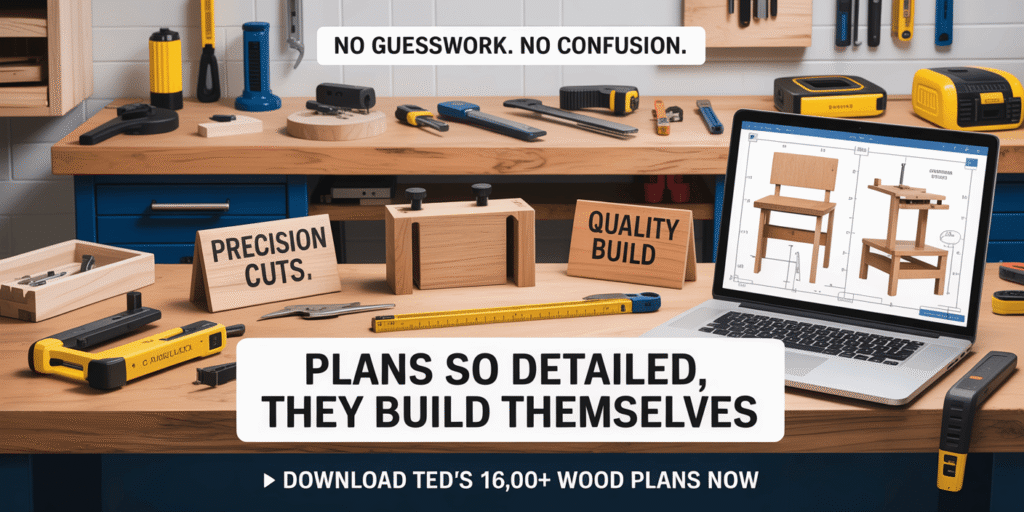
Stop Guessing and Start Building — Get 16,000+ Step-by-Step Woodworking Plans Today!

Turn your woodworking passion into perfectly crafted projects with Ted’s Woodworking — the world’s largest collection of easy-to-follow plans trusted by over 50,000 woodworkers.
👉 Click Here to Unlock Instant Access »
🧰 Why DIY Woodworkers Love Ted’s Woodworking
- ✅ 16,000+ “Done-for-You” Plans: Build anything from wooden signs to furniture without confusion or wasted materials.
- 🪵 Step-by-Step, Hold-You-by-the-Hand Guidance: Perfect for beginners and pros — each plan includes diagrams, blueprints, and detailed instructions.
- 💰 Save Time & Money: Get exact cutting lists and material breakdowns to eliminate guesswork and waste.
- 📐 Professional-Grade Schematics: See every joint, angle, and measurement clearly before you start.
- 🎥 Free Lifetime Bonuses: Includes 150+ woodworking videos, complete guides, and CAD plan viewer tools.
- 🌳 Lifetime Access, One-Time Fee: No subscriptions or hidden costs — just instant, unlimited access for life.
- 🪚 60-Day “Love It or Shove It” Guarantee: Try it risk-free and start crafting with total confidence.
Conclusion
Now that you’ve learned how to make wooden display signs, you’re ready to begin your woodworking journey. This guide has shown you how to create beautiful signs for your home or as gifts. You can follow the steps to make your own DIY wooden signs.
Remember, practice and patience are crucial. As you work on more projects, your skills will grow. You’ll be able to handle more complex designs.
Using the techniques from this guide, you can make unique and personalized signs. Your creativity will shine through. So, start your beginner woodworking projects and enjoy making something with your own hands.
FAQ
What type of wood is best for making wooden display signs?
The best wood for signs depends on what you want it to look like and how long it will last. Pine, cedar, and reclaimed wood give a rustic feel. Maple and birch offer a smooth look.
What are the essential tools needed for making wooden signs?
You’ll need basic tools like a saw, sandpaper, drill, and router to make signs. A scroll saw and carving tools can help with detailed designs.
How do I transfer my design to the wood?
You can use tracing, stencilling, carbon paper, or digital methods to transfer designs. Pick the method that fits your design and skill level.
What safety precautions should I take when working with power tools?
Always wear safety glasses, ear protection, and a dust mask when using power tools. Make sure your workshop is set up right and handle tools safely to avoid injuries.
How do I achieve a smooth finish on my wooden sign?
Sand your sign well, starting with coarse grit and moving to finer ones. A sanding block helps keep the sanding even.
What are some common mistakes to avoid when making wooden signs?
Avoid mistakes like measurement errors, paint bleeding, and wood splits. Take your time, plan well, and use proper techniques to avoid these issues.
How do I hang my wooden sign on the wall?
Use screws, nails, or adhesive strips to hang your sign. Choose the right hardware for your sign’s weight and size, and follow the installation steps.
Can I make wooden signs for outdoor use?
Yes, you can make signs for outdoors. Use durable wood and finishes that won’t weather. Sealing your sign can also protect it from the elements.
What are some tips for creating a distressed or vintage look on my wooden sign?
For a distressed look, try sanding, staining, and painting. Use tools like a wire brush or hammer to add texture and character.
How do I correct mistakes on my wooden sign?
If you make a mistake, figure out how to fix it. For example, wood glue can fix splits, and sanding and repainting can fix paint bleeding.


