
More than 40% of Americans now love making their home decor. DIY wooden door hangers are among the most popular crafts. They turn simple wood into beautiful, personalised items.
From custom monograms on Etsy to festive designs on Pinterest, these door hangers are everywhere. Over 3 million people search for them every month. This shows how much they’re loved.
Imagine making a wooden door hanger with your family’s initials or a holiday theme in just a few hours. Even beginners can make amazing ones, as shown by bloggers like Jennifer McGee. You can save up to 50% by making your own instead of buying them.
Key Takeaways
- Personalised DIY wooden door hangers combine home decor and gift-giving in one project.
- Popular designs include custom text, seasonal patterns, and layered finishes.
- Beginners can master the craft using affordable tools and step-by-step guides.
- Custom door hangers reduce costs while offering unique personalisation opportunities.
- Modern trends favour handmade items, making these projects highly marketable.
Introduction to Personalised DIY Wooden Door Hangers
Turn simple entries into stylish statements with wooden door decor. DIY wooden door hangers are more than just useful—they’re a canvas for your creativity. They mix function with flair, letting you add a personal touch to your doors or rooms.
What Are Personalized DIY Wooden Door Hangers?
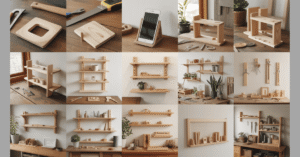
They begin as wood slabs or pre-cut pieces. You can shape them into various designs, from classic knockers to detailed carvings. You can choose from:
| Style | Description |
|---|---|
| Rustic | Weathered textures with natural stains |
| Modern | Geometric lines and bold paint finishes |
| Vintage | Antique lettering and distressed finishes |
Why Create Your Own Door Hangers?
- Customisation: Add names, dates, or symbols unique to you.
- Affordability: Save money compared to store-bought decor.
- Longevity: High-quality wood withstands outdoor elements better than plastic alternatives.
Creating your own ensures every detail shows your style. From paint to hardware, it’s all about you. These projects are a fun way to express yourself and follow wooden door decor trends.
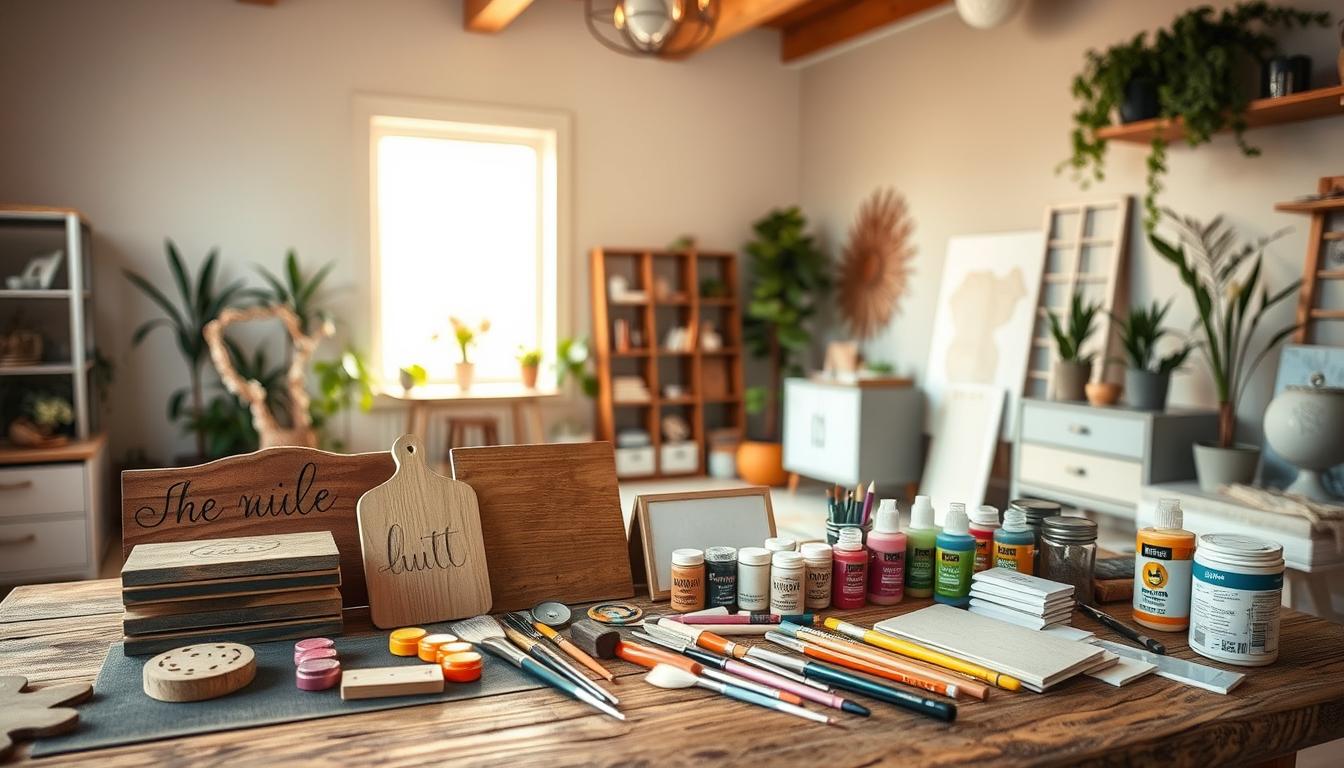
Materials and Tools You’ll Need
Before starting your project, make sure you have all the necessary supplies. Quality materials and tools are key to a great custom wooden hanger look.
Choosing the Right Wood
Begin with wood that’s both durable and easy to work with. Softwoods like basswood or poplar are good for carving. Hardwoods like birch or maple are better for strong custom wooden hangers.
Choose wood that’s ¼-inch to ½-inch thick to avoid warping.
- Basswood: easy to carve and paint
- Birch: naturally resistant to moisture
- Poplar: affordable and smooth-grained
Essential Tools and Finishes
Basic tools make the job easier. A jigsaw or scroll saw cuts out shapes. Sandpaper smooths out edges. For detailed designs, a Cricut Explore Air 2 or a laser cutter is best.
Don’t forget to wear gloves and safety glasses for protection.
Finishing touches keep your work safe. Use chalk paint for color, then seal with polycrylic. Apply two thin coats with a brush, letting each dry fully. Use weeding tools to remove excess vinyl after cutting designs.
Step-by-Step Guide to Crafting Your Wooden Door Hanger
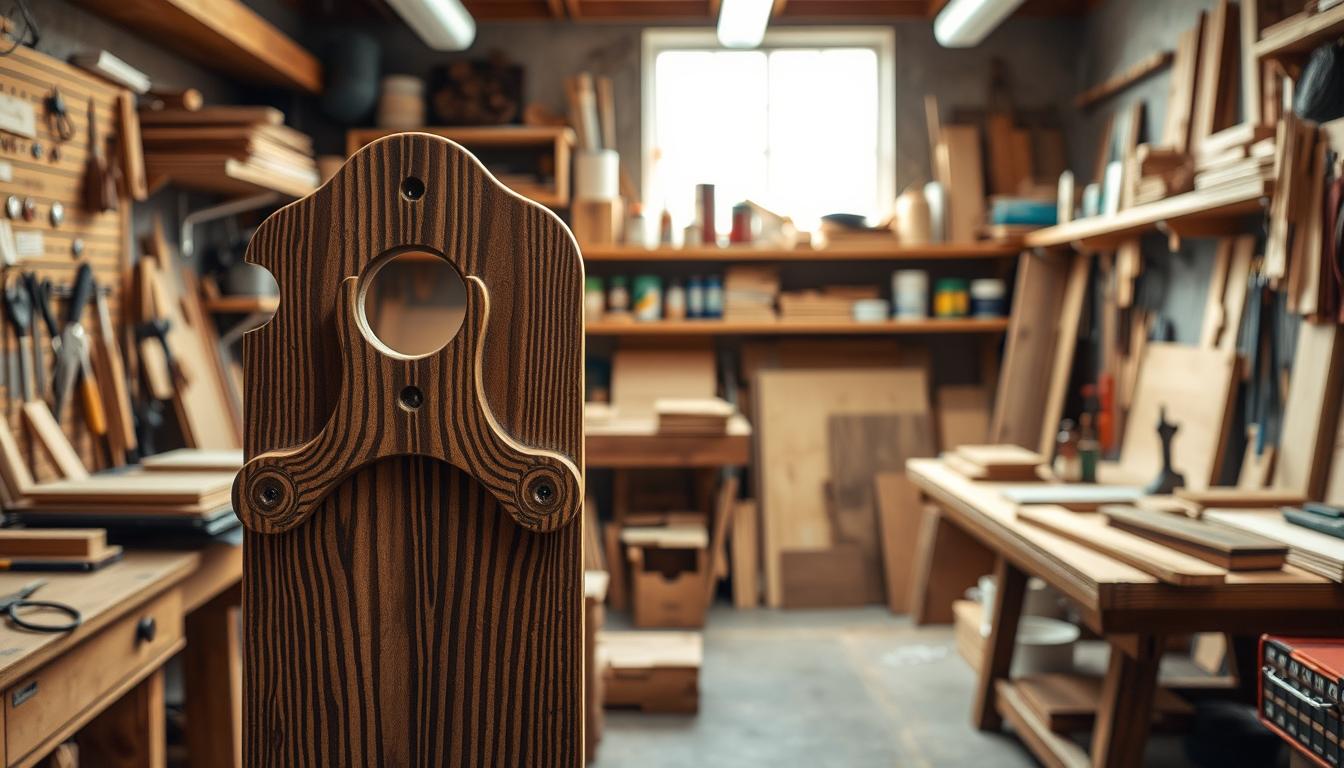
Turn raw materials into your own unique door hangers with this easy guide. Start by setting up your workspace. This helps you work with precision and safety.
Preparing Your Workspace and Materials
1. Clear a sturdy work surface and lay down protective material like cardboard. 2. Arrange tools within reach: saw, sandpaper, clamps, and drill bits. 3. Check your design sketch against your wood pieces. Always wear eye protection and a dust mask when cutting.
Cutting and Shaping the Wood
- Transfer your design onto the wood using a pencil and ruler.
- Cut along lines with a jigsaw for curves or a handsaw for straight edges. Move slowly to avoid splintering.
- Sand surfaces with 120-grit sandpaper until smooth to the touch. Wipe dust with a damp cloth afterwards.
Assembling and Attaching Components
1. Drill pilot holes where hardware will attach.
2. Screw D-rings or hooks into the top centre for hanging.
3. Attach decorative elements like knobs or initials using wood glue and clamps. Let dry completely before final assembly.
“Aim for clean cuts first—repairs are harder after painting,” advises woodworker Sarah Lee. “Take breaks if needed to maintain focus.”
Each stage builds toward a functional piece that balances aesthetics and durability. Pay close attention to alignment during assembly for stable, unique door hangers. Patience ensures every component fits seamlessly into your final design.
Customising Your Design for a Personal Touch
Make your wooden door hanger truly yours with diy door hanger ideas. Choose from bright colors to textured finishes. Each choice brings your project to life.
Adding Color and Texture
Start with paints, stains, or chalkboard finishes. Try different colors for depth or sand to show natural wood. Add texture with crackle glaze or heat-embossed designs.
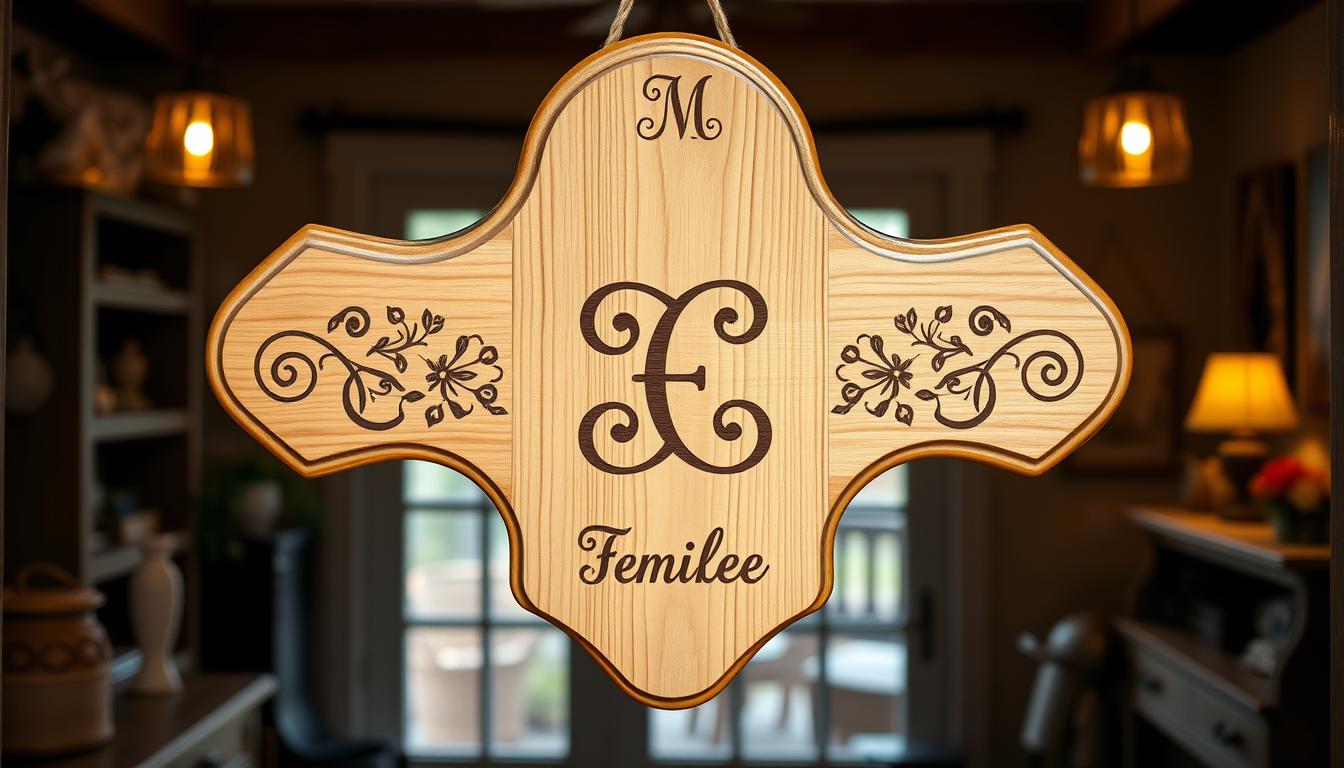
Incorporating Personal Elements
Here are some ways to make it even more special:
- Add vinyl decals for names, dates, or symbols.
- Carve or paint monograms using stencils.
- Attach small charms, initials, or photos using hooks or resin.
“Mix bold colors with subtle textures—this contrast makes diy door hanger ideas unforgettable,” says craft blogger Maria Lopez of Handmade Haven.
Think about seasonal themes or holiday motifs for all year. Whether you like simple designs or bold patterns, every detail matters. Your creativity knows no bounds!
Ensuring Durability and Functionality

Protecting your personalised wooden door hanger is key. It’s about finding the right balance between looks and function. These steps will help keep your wooden crafts looking great and working well for years.
Techniques for a Long-Lasting Finish
- Sand surfaces with 220-grit paper before applying finishes for smooth absorption.
- Use water-based polycrylic sealers like Minwax for UV and moisture resistance.
- Apply three thin coats, waiting 2-4 hours between layers for optimal bonding.
Tips for Enhancing Structural Integrity
To make joints stronger, drill pilot holes before screwing. Choose weather-resistant woods like cedar or teak for outdoor use. Add metal corner brackets to hinges for extra stability.
| Sealant Type | Pros | Cons |
|---|---|---|
| Polyurethane | Durable, water-resistant | Yellowing over time |
| Wax | Natural appearance | Requires frequent reapplication |
| Shellac | Fast-drying, glossy finish | Less weather-resistant |
Always test finishes on scrap wood first. Properly sealed wooden crafts can handle daily use while keeping designs sharp. Regular care, like annual touch-ups, keeps them looking new without losing their style.
Creative Inspiration: DIY Door Hanger Ideas

Let your creativity shine with these handmade door decoration ideas. Whether you want a seasonal look or a bold mix of textures, these tips will elevate your project.
Incorporating Seasonal Themes
Make your door reflect the seasons:
- Summer: Add beach-themed seashell carvings or sun motifs painted in warm hues.
- Fall: Carve pumpkins, autumn leaves, or use earthy tones like burnt orange and deep red.
- Winter: Etch snowflakes, add faux fur cutouts, or use metallic accents for a festive glow.
Mixing Patterns and Finishes
Combine textures and colors for unique designs:
| Pattern Style | Finish Option |
|---|---|
| Geometric | Matte wax with gold leaf accents |
| Rustic | Weathered wood stained with metallic paint |
| Floral | Distressed finish paired with floral decal transfers |
Try layered stains or contrast finishes like glossy and matte. Mix geometric carvings with rustic hardware for a unique look. These ideas make your handmade door decorations a standout piece that changes with your style.
Budget-Friendly Tips for Your DIY Project
Creating personalised home decor doesn’t need to cost a lot. Start by finding affordable materials: thrift stores, garage sales, or repurposed items. These places often have wood scraps or hardware at low prices. Look for discounted paint or stains at local craft stores. Also, buying in bulk can save you money in the long run.
- Reuse old frames or hooks as hanger bases.
- Use free online templates for designs instead of paid software.
- Ask for wood offcuts from home improvement stores.
| Cost-Saving Option | Benefit |
|---|---|
| Acrylic paints (instead of oil-based) | Less expensive and easier to clean up |
| Heat guns for distressing | Reusable tool for multiple projects |
Buy small items with friends to split the cost. Even basic tools like sandpaper or brushes can last for many projects. Focus on quality for important items like saws, but save money on extras like decorative nails. With these tips, you can make stylish personalised home decor that’s affordable and uniquely yours.
Troubleshooting Common Challenges
Even with careful planning, crafting personalised wooden door hanger projects may face hurdles. This section helps address issues like uneven finishes or loose components. It ensures your creative door accessories meet expectations.
Identifying and Fixing Common Mistakes
| Problem | Cause | Solution |
|---|---|---|
| Peeled Paint | Unprimed wood or rushed drying | Apply primer first and let coats dry fully between layers |
| Wobbly Hinges | Improperly drilled holes | Use a drill guide to ensure precise hole alignment |
| Brittle Edges | Over-sanding or thin wood | Choose 1/4-inch plywood and sand lightly before finishing |
How to Refine Your Technique
Master precision with these steps:
- Test paint or stain on a scrap piece first.
- Measure twice, cut once—accuracy prevents redoing work.
- Reinforce joints with wood glue and clamps for stability.
Practice adjustments gradually. Small tweaks to cutting angles or finish application can drastically improve results. Remember, even minor errors in alignment or material choice affect the durability and aesthetics of your creative door accessories.
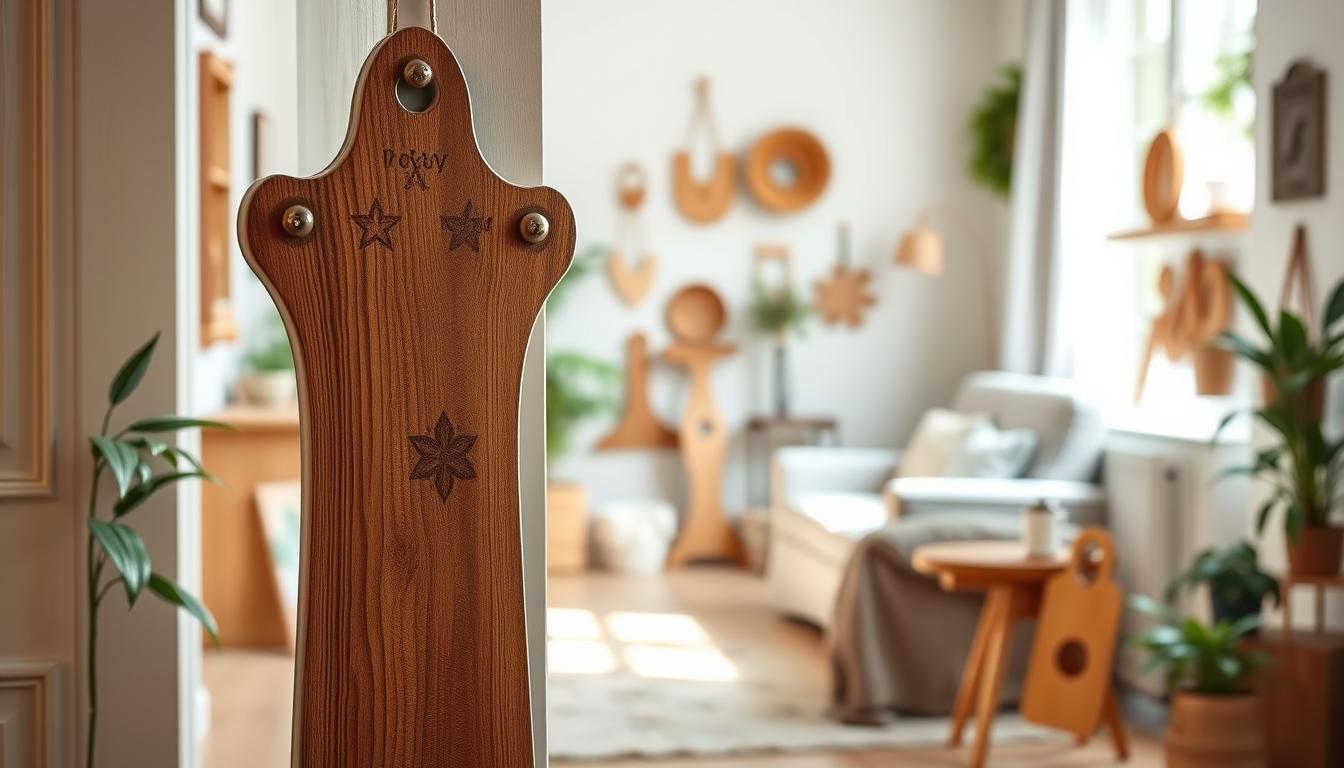
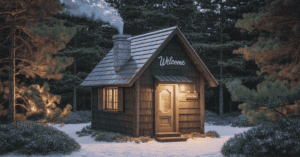
Incorporate Personalised DIY Wooden Door Hangers into Your Home Decor
Turn your handmade door hangers into stylish accents that fit your home’s look. They’re not just useful; they’re design pieces that can make spaces look better. Use them indoors and outdoors to make the most of them.
Styling Your Door Hangers with Existing Decor
Match your hanger’s color or texture to your room’s style. Hang them above doorways or on accent walls for a unified look. For a different look, pair bold designs with simple interiors or use soft stains in rustic places.
Pro tip: Change up your hangers for different seasons or themes.
- Use metallic finishes to complement modern decor.
- Pair natural wood tones with earthy textiles.
“A well-placed wooden door hanger can anchor a room’s theme while adding warmth,” says Architectural Digest’s 2023 guide to DIY decor.
Showcasing Your Handmade Art
Make your hangers a centrepiece by grouping them on a gallery wall. Frame one in a shadowbox for a gallery-like effect. For outdoor spaces, hang them on garden gates or patio doors to show off your skill.
Let the hanger’s text or motifs show your personality. A family name or favourite quote is perfect.
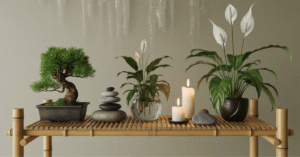
For more ideas, check out Pinterest or West Elm’s blog. Mix them with plants, candles, or wall art for a layered look.
🔥 Want to Create Stunning DIY Wooden Door Hangers Like a Pro?
Get 16,000+ Done-for-You Woodworking Plans Instantly!
✅ Step-by-Step Blueprints – No guesswork, just follow along!
✅ Cutting & Materials Lists – Save time and money with exact measurements.
✅ Beginner-Friendly – Perfect for all skill levels, even if you’re just starting.
✅ Lifetime Access + Monthly Updates – New plans added regularly!
✅ BONUSES: CAD Plan Viewer, 150+ Video Tutorials & Business Guide!
👉 Click Here to Get Instant Access Now! (Limited-Time Discount!)
Conclusion
Making your own wooden door hangers is a mix of fun and usefulness. You’ve learned how to make them by following this guide. It shows you how to pick materials and add the final touches.
These DIY projects are not just pretty. They also save you money and let you express your creativity. You can make them last long and look good, whether you like simple designs or something more colourful. Websites like The Spruce Crafts show how these projects can help you learn and grow.
Now you know how to start. Get your tools ready, pick a design, and let your imagination run wild. Each hanger you make shows off your skill, great for giving as a gift or showing off at home. This guide will help you get better at making DIY decor with each project.
FAQ
What materials do I need to create personalised DIY wooden door hangers?
To make your own wooden hangers, you’ll need quality wood and sandpaper. You’ll also need cutting tools like a jigsaw or circular saw. Don’t forget finishing products like paints or stains. You can also add vinyl decals or stencils for extra detail.
How do I choose the right wood for my door hangers?
Choose wood that’s both durable and looks good. Plywood, MDF, or hardwoods like oak or maple are popular choices. Think about the wood’s weight and grain. These factors can change how your door decoration looks and lasts.
Can I add my personal touch to the door hangers?
Yes, you can! Add colors, textures, and personal touches like monograms or seasonal designs. You can hand-paint, use fabric, or add decorative hardware. These steps will make your door hangers truly unique.
What are some common finishing techniques for wooden door hangers?
Common techniques include sanding for a smooth finish and applying paint or stain for color. Sealing with a clear coat protects the wood. These steps keep your door hanger looking good and lasting longer, indoors or outdoors.
How can I stay within budget while crafting my door hangers?
To save money, use materials you already have at home. Look for cheap wood or decorative elements. Choose affordable tools and finishes. Keep an eye out for sales or discounts to stretch your DIY budget.
What should I do if I encounter mistakes while crafting?
If you make mistakes like uneven finishes or misaligned parts, take a break. Try sanding down imperfections or using filler for gaps. Reassess your assembly method to improve your results.
Where is the best place to hang my wooden door hanger?
Hang your door hanger in a place where it’s seen a lot, like your front door or a feature wall. Match the colors and themes with your home’s decor. This way, your door hanger will enhance your home’s look and feel.