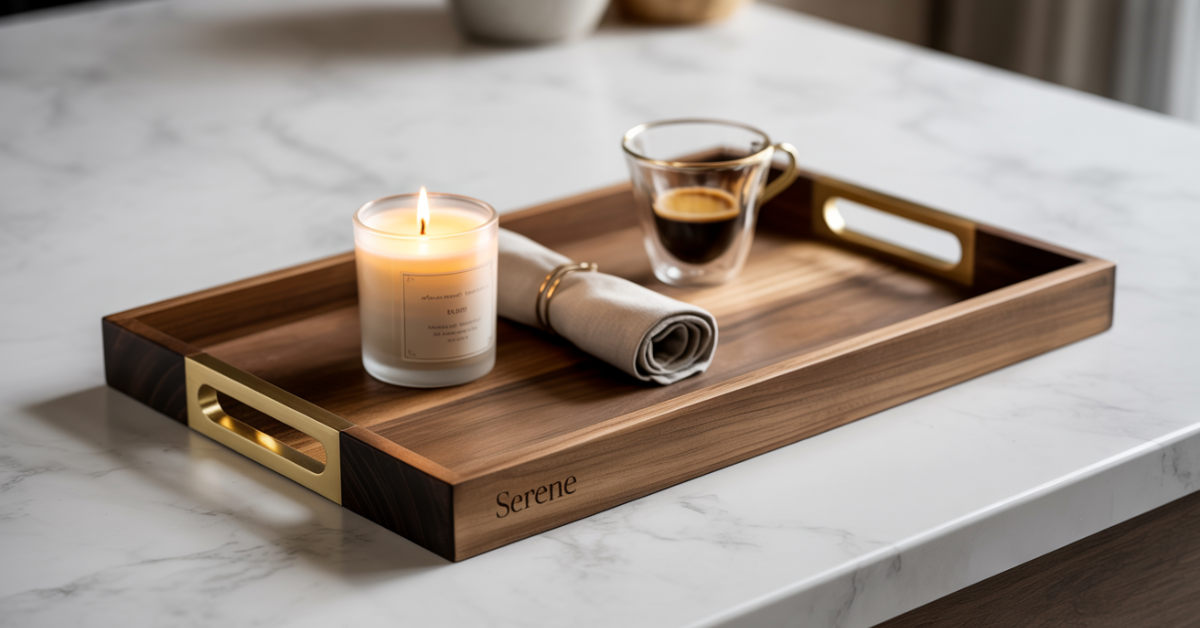
Have you seen that DIY wooden tray on TikTok? It’s simple yet elegant, like it was made by a pro. And the best part? It only takes 5 minutes to make.
This viral DIY trend has swept the internet. Many people are sharing their wooden tray diy projects. You can too, and make your tray look fancy with a quick trick.
Key Takeaways
- Create a luxurious-looking wooden tray in just 5 minutes.
- Use a simple DIY hack to give your tray a luxurious look.
- Join the viral DIY trend and share your project on social media.
- Get creative with your DIY project and make it your own.
- Impress your friends and family with your new wooden tray.
The Viral 5-Minute DIY Wooden Tray Hack Taking Over Social Media
The 5-minute DIY wooden tray hack is sweeping social media, captivating DIY fans everywhere. This easy yet classy project has become a hit on TikTok and YouTube. Creators are showing off their quick and chic wooden trays.
How This Quick Wooden Tray Became a TikTok Sensation
The 5-minute DIY wooden tray hack quickly became popular on TikTok. It’s simple and looks great. Creators shared their projects, showing how to make them and the finished tray. This caught the eye of viewers seeking quick and easy DIY projects.
Its success also stems from how quickly it can be produced. In just 5 minutes, you can craft a lovely and useful wooden tray. This makes it perfect for those short on time or new to DIY.
The Appeal of Fast Yet Elegant Woodworking Projects
Projects like the 5-minute DIY wooden tray hack are a hit with many DIY fans. They offer a quick way to feel creative and accomplished without spending a lot of time or money. The charm is in making something beautiful and useful fast, fitting well into today’s fast world.
| Benefits | Description |
|---|---|
| Time-Efficient | Completing a project in just 5 minutes |
| Elegant Outcome | Creating a stylish and functional wooden tray |
| Accessibility | Suitable for DIY enthusiasts of all skill levels |
Materials You’ll Need for Your 5-Minute Wooden Tray

This 5-minute DIY wooden tray is simple to make. You only need a few basic items. You can find these at your local hardware store or online.
Essential Supplies List
To make your wooden tray, you’ll need these things:
- A wooden tray base or a wooden plank to create the base
- Self-adhesive tiles or decorative paper for the bottom
- Acrylic paint or stain to add color and protection
- Air-dry clay or decorative elements for added design
- A sealant or varnish to protect the wood
These items are easy to find. You can pick and choose based on your style and what you want your tray to look like.
Budget-Friendly Alternatives
If you’re watching your budget, try these:
- Use reclaimed or recycled wood for the tray base
- Choose simpler decorations or skip them
- Look for sales or use coupons at your local hardware store
These tips can save you money without sacrificing the quality of your project.
Where to Source Quality Materials
You can find what you need at:
- Local hardware stores like Home Depot or Lowe’s
- Online retailers such as Amazon or Walmart
- Craft stores for decorative elements and speciality items
Shopping around can help you find great materials at good prices. This way, your DIY project will be both beautiful and affordable.
Tools Required for This Quick Wooden Tray DIY

Getting the right tools is key to a smooth DIY wooden tray project. The right tools make the process easier and ensure your tray looks great.
Basic Tools Every DIYer Should Have
To begin your wooden tray DIY, you’ll need some basic tools. These are essential for any DIY project. You’ll need:
- A jigsaw for cutting wood
- Sandpaper for smoothing out the surfaces
- A drill for making holes for handles or other decorative elements
These tools are vital for any woodworking project. They help you build the tray’s basic structure.
Optional Tools to Enhance Your Project
While basic tools cover the basics, optional tools can make your project better. Consider adding:
| Tool | Purpose | Benefit |
|---|---|---|
| Orbital Sander | Smooths out wood surfaces | Gives a professional finish |
| Clamps | Holds wood in place | Ensures accurate assembly |
| Wood Stain | Colors and protects the wood | Enhances appearance and durability |
These tools can give your wooden tray a more polished and unique look.
Step-by-Step Guide to Creating Your Viral 5-Minute DIY Wooden Tray Hack

Get ready to make your own 5-minute DIY wooden tray. This guide will help you prepare your materials, build the base, add handles or decorations, and finish it off.
Preparing Your Materials
First, make sure all your materials are ready. Cut your wooden planks to size and sand them to remove rough edges. This ensures your wood is clean and ready to assemble.
- Cut the wooden planks according to your desired tray size.
- Sand the cut edges to prevent splinters.
- Clean the wood to remove any dust or debris.
Assembling the Base Structure
Building the base of your tray is easy with the right tools. Align your planks and glue them together. Use nails or a nail gun to secure them. Make sure your corners are square, and edges are straight.
- Apply wood glue to the edges of the planks.
- Use clamps to hold the planks together while the glue dries.
- Secure the planks with nails or a nail gun.
Adding Handles or Decorative Elements
Adding handles or decorations makes your tray unique. You can use metal or wooden handles and attach them with screws. Wood carvings or engravings also add a special touch.
- Choose your handles or decorative elements.
- Mark the positions where you want to attach them.
- Drill pilot holes and attach the handles or elements.
Finishing Touches
Now, add a finish to protect and beautify your tray. Use varnish, stain, or paint. Follow the instructions and let it dry before using.
By following these steps, you’ll have a beautiful, functional wooden tray. The 5-minute DIY wooden tray hack is easy and adds elegance to any room.
Customisation Options for Your Wooden Tray
Customising your wooden tray is where the fun starts. It lets you add a personal touch to this quick project. With a few tweaks, you can turn a basic tray into something unique that shows off your style.
Color Variations and Staining Techniques
Changing the color of your wooden tray is easy. You can get different looks with different staining techniques. For a rustic vibe, try a weathered wood stain. For something modern, go for a bold color.
Some popular staining techniques include:
- Distressing: Adding scratches and marks for a vintage look.
- Layering: Applying multiple layers of stain for a unique effect.
- Waxing: Using wax over stain for protection and shine.
Try out different stains and techniques to find the perfect look for your tray.

Decorative Elements to Consider
Adding decorative elements can make your tray stand out. Think about using metal hardware like handles or hinges for an industrial look. Decorative nails or intricate carvings can give it a traditional feel. Other ideas include:
- Engravings: Adding personalised messages or designs.
- Inlays: Inserting contrasting wood or materials into your tray.
- Painted designs: Using paint to add patterns or motifs.
Size Adaptations for Different Uses
The size of your tray affects its use. You can adjust the dimensions for different purposes. For example, a bigger tray can be a coffee table centrepiece, while a smaller one is great for breakfast in bed. Here’s a look at different sizes and their uses:
| Tray Size | Potential Uses |
|---|---|
| Small (12×12 inches) | Serving individual meals, holding jewelry or small items |
| Medium (18×24 inches) | Coffee table centerpiece, serving snacks or drinks |
| Large (24×36 inches) | Dining table serving tray, outdoor entertainment |
By adjusting the size and adding customisation options, you can make a wooden tray that fits your needs perfectly.
Styling Your DIY Wooden Tray in Different Spaces

Your DIY tray can make any room special with its charm and usefulness. After making your easy wooden tray tutorial, think about where it will go in your home. Its versatility makes it great for many places.
Coffee Table Styling Ideas
Place your wooden tray on a coffee table for elegance in your living room. Fill it with candles, vases, or small sculptures for a beautiful centrepiece. Try grouping similar items or mixing textures for a lively look.
Kitchen and Dining Room Applications
In kitchens or dining rooms, your tray can be a stylish platter or organiser. Use it for small gadgets, fruit, or appetisers. Its natural look fits well with rustic or modern kitchens.
Bedroom and Bathroom Decor Options
In bedrooms, your tray can organise jewellery, perfumes, or small items on a dresser or nightstand. It adds rustic charm. In bathrooms, it holds toiletries or decor, bringing nature inside.
Outdoor Entertainment Uses
Use your tray outdoors too. It’s perfect for carrying drinks, snacks, or condiments. The wood’s natural look is great for patios or barbecues.
Exploring DIY tray decor ideas can enhance your tray’s usefulness and beauty. It becomes a favourite in many home areas.
Cost Comparison: DIY vs. Store-Bought Expensive Trays
The 5-minute DIY wooden tray hack is very cost-effective. It’s cheaper than buying trays from stores. Plus, you get to make something special and save money.
Price Breakdown of Materials
Making your own tray is much cheaper. You’ll need materials that cost between $10 to $20. This depends on the wood and finish you pick. It’s a great way to make something beautiful without spending a lot.
What You’d Pay for Similar Trays in Stores
Trays from stores can cost $50 to over $100. For example, a wooden tray from a well-known brand might be $70. But your DIY tray can do the same job for much less.
Long-Term Value of Your DIY Creation
Your DIY tray has long-term value. It’s not just about saving money. It’s also about making something that’s yours. You can pick the design and finish to match your style. It becomes a unique piece that adds value to your home.
Maintaining and Caring for Your Easy Wooden Tray
Proper care keeps your wooden tray looking great. Regular upkeep boosts its beauty and extends its life.
Cleaning Tips for Different Finishes
Cleaning your tray depends on its finish. For a natural finish, a damp cloth works well. For stained or painted trays, a mild soap solution is best. Stay away from harsh chemicals or abrasive cleaners to avoid wood damage.
Preventing Damage and Wear
Keep your tray away from extreme temperatures and moisture. Use coasters or placemats to protect it from spills and scratches. Dusting it regularly also helps keep the finish in good shape.
“A well-maintained wooden tray is a long-lasting one.” – Woodworking Expert
Refreshing Your Tray Over Time
As time goes by, you might want to refresh your tray. Sanding and reapplying a finish can make it look new again. You could also change the stain or paint to match your current decor.
By following these easy care tips, your DIY wooden tray will last for many years. It will become a cherished part of your home.
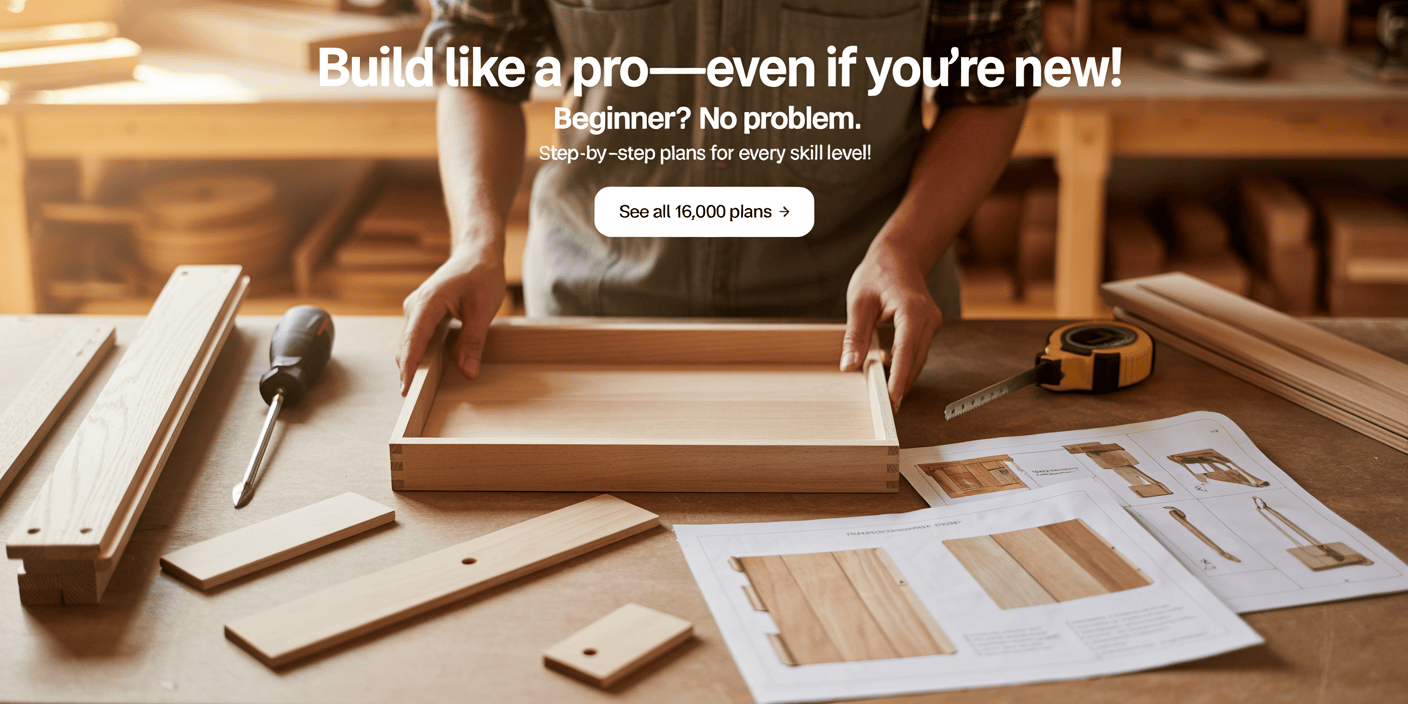
🔨 Turn Your Wooden Tray Skills Into Masterpieces!
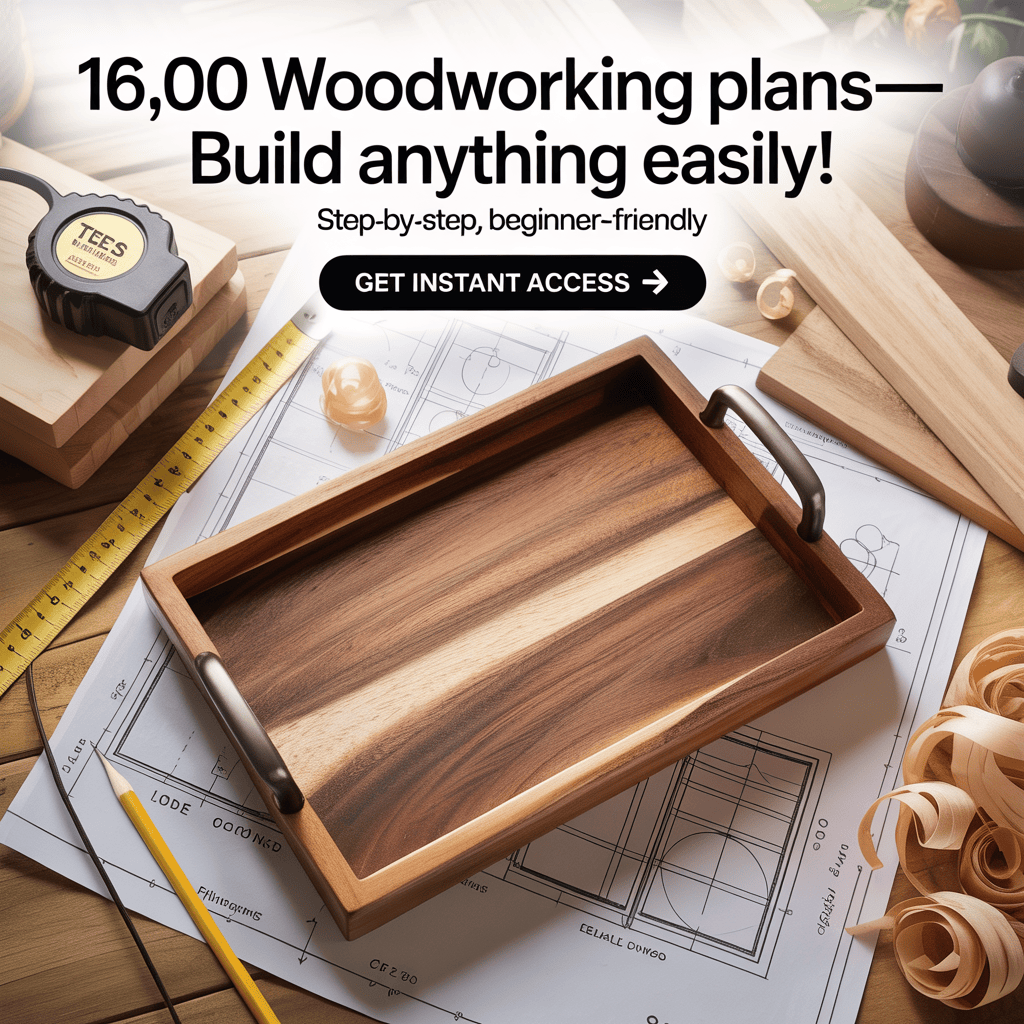
If building a classy DIY wooden tray felt amazing, imagine what you could do with 16,000+ woodworking plans at your fingertips! Whether you’re a hobbyist or just getting started, Ted’s Woodworking gives you everything you need to create pro-level projects effortlessly.
✅ Why DIYers Love Ted’s Woodworking:
- 🪚 16,000 “Done-For-You” Plans with step-by-step instructions
- 📐 Cutting lists, schematics & multiple views—no guesswork!
- 🎥 150+ woodworking tutorial videos included
- 💡 Lifetime updates + free monthly plans
- 🎁 BONUS: CAD viewer + woodworking business guide
- 💸 One-time payment – No hidden fees, no subscription!
🎯 Ready to Build More Than Just a Tray?
👉 [Get Instant Access to All 16,000 Plans for Just $67!]
Craft smarter. Build faster. Impress more.
Conclusion
You’ve now learned how to make a stylish wooden tray in just 5 minutes. This DIY project is quick, affordable, and can be customised to match your decor style.
With the viral-5-minute-diy-wooden-tray-hack, you can make a beautiful piece that adds elegance to any room. Try out different diy tray decor ideas to make your tray unique. It can be for serving, showing off decorative items, or as a centrepiece.
This project is easy, cheap, and lets you add your own touch. It’s perfect for homeowners who want to improve their space without spending a lot. By following the steps in this article, you can make a tray that shows off your style.
Now that you know how to make a wooden tray, it’s time to get creative. Start building your dream decor with this simple yet impressive DIY project.
FAQ
What is the viral 5-minute DIY wooden tray hack?
The viral 5-minute DIY wooden tray hack is a quick woodworking project. It lets you make a fancy-looking wooden tray in just 5 minutes. You only need simple materials and tools.
What materials do I need to make a 5-minute DIY wooden tray?
You’ll need a wooden plank, handles or decorations, wood glue, and a finish. You can find these items cheaply at your local hardware store or online.
What tools are required for this DIY project?
You’ll need basic tools like a saw, drill, and sandpaper. You might also want a jigsaw or router for extra details. Make sure you have all the tools before you start.
Can I customise my wooden tray to fit my style?
Yes, you can make your wooden tray your own. You can change the color, use different stains, and add decorations. You can also adjust the size to fit your needs, making it perfect for many uses.
How do I maintain and care for my wooden tray?
To keep your tray looking good, clean it regularly based on its finish. Avoid damage and wear, and refresh it when needed. Taking care of it will keep it beautiful and useful.
Is the 5-minute DIY wooden tray hack cost-effective?
Yes, making your own wooden tray is cheaper than buying one. You save money and get a unique piece that adds value to your home.
Can I use my DIY wooden tray in different rooms and settings?
Absolutely! You can use your tray in many places, like coffee tables, kitchens, and bedrooms. Get creative and find the best spot for your tray.
How long does it take to complete the 5-minute DIY wooden tray hack?
This project takes just 5 minutes, as the name says. But if you want a detailed design, it might take longer.


Pingback: Beginner's Guide to DIY Wooden Serving Trays (Only 3 Tools Needed)
Pingback: DIY Scandinavian Wooden Stool Designs: 15 Minimalist Projects for Modern Homes (2025 Guide)