Have you ever wondered how simple designs can transform ordinary items into extraordinary treasures? If you’re curious about the art of pyrography, you’re in the right place!
This guide will take you through 20 unique projects that will not only inspire your creativity but also help you build confidence in your skills. Whether you want to create beautiful gifts or personalized home décor, this craft is accessible to everyone.
You don’t need advanced techniques or expensive tools to get started. With just a few basic supplies, you can create stunning pieces right from the beginning. Each project idea is designed to be easy to follow, ensuring that you can develop your skills while enjoying the process.
Get ready to explore a variety of fun and creative options that will spark your imagination!
Key Takeaways
- Discover 20 creative projects that boost your confidence.
- Learn essential techniques for stunning designs.
- Start with basic tools and materials.
- Enjoy a friendly, supportive approach to learning.
- Explore diverse options from gifts to home décor.
Introduction to Wood Burning Project Ideas for Beginners
Curious about how basic techniques can elevate everyday objects into unique creations? Welcome to the fascinating world of pyrography! This art form, also known as wood burning, involves decorating surfaces using a heated pen or tool. With a bit of practice, you can create stunning designs, patterns, and textures that bring your wooden items to life.
One reason many are drawn to pyrography is its accessibility. You don’t need advanced skills or expensive equipment to get started. Even simple wood burning projects can yield impressive results. This hands-on craft encourages patience, precision, and attention to detail, all while allowing you to express your personal artistic style.
Moreover, the versatility of this craft is remarkable. You can personalize household items like spoons, coasters, and cutting boards or create decorative pieces for gifts and home décor. The wide range of wood burning design ideas includes:
- Floral motifs
- Geometric patterns
- Inspirational quotes
- Nature-inspired illustrations
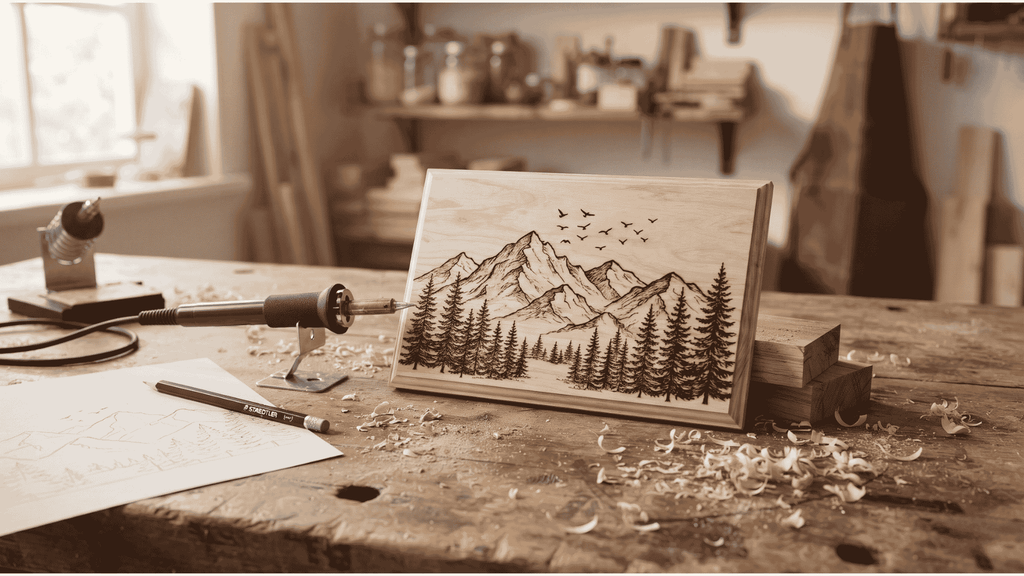
This guide will inspire and equip you with wood burning project ideas for beginners that cover a full range of decorative, useful, rustic, and personalized projects. You will learn essential techniques such as controlling line thickness, creating shading, and transferring designs onto wood.
Starting with small, manageable projects ensures a smooth learning curve. This approach helps you gain confidence in using various wood burning patterns. By the end of this introduction, you will feel ready to gather your tools and start your first wood burning project with excitement and clarity.
Essential Tools and Materials You’ll Need for Wood Burning
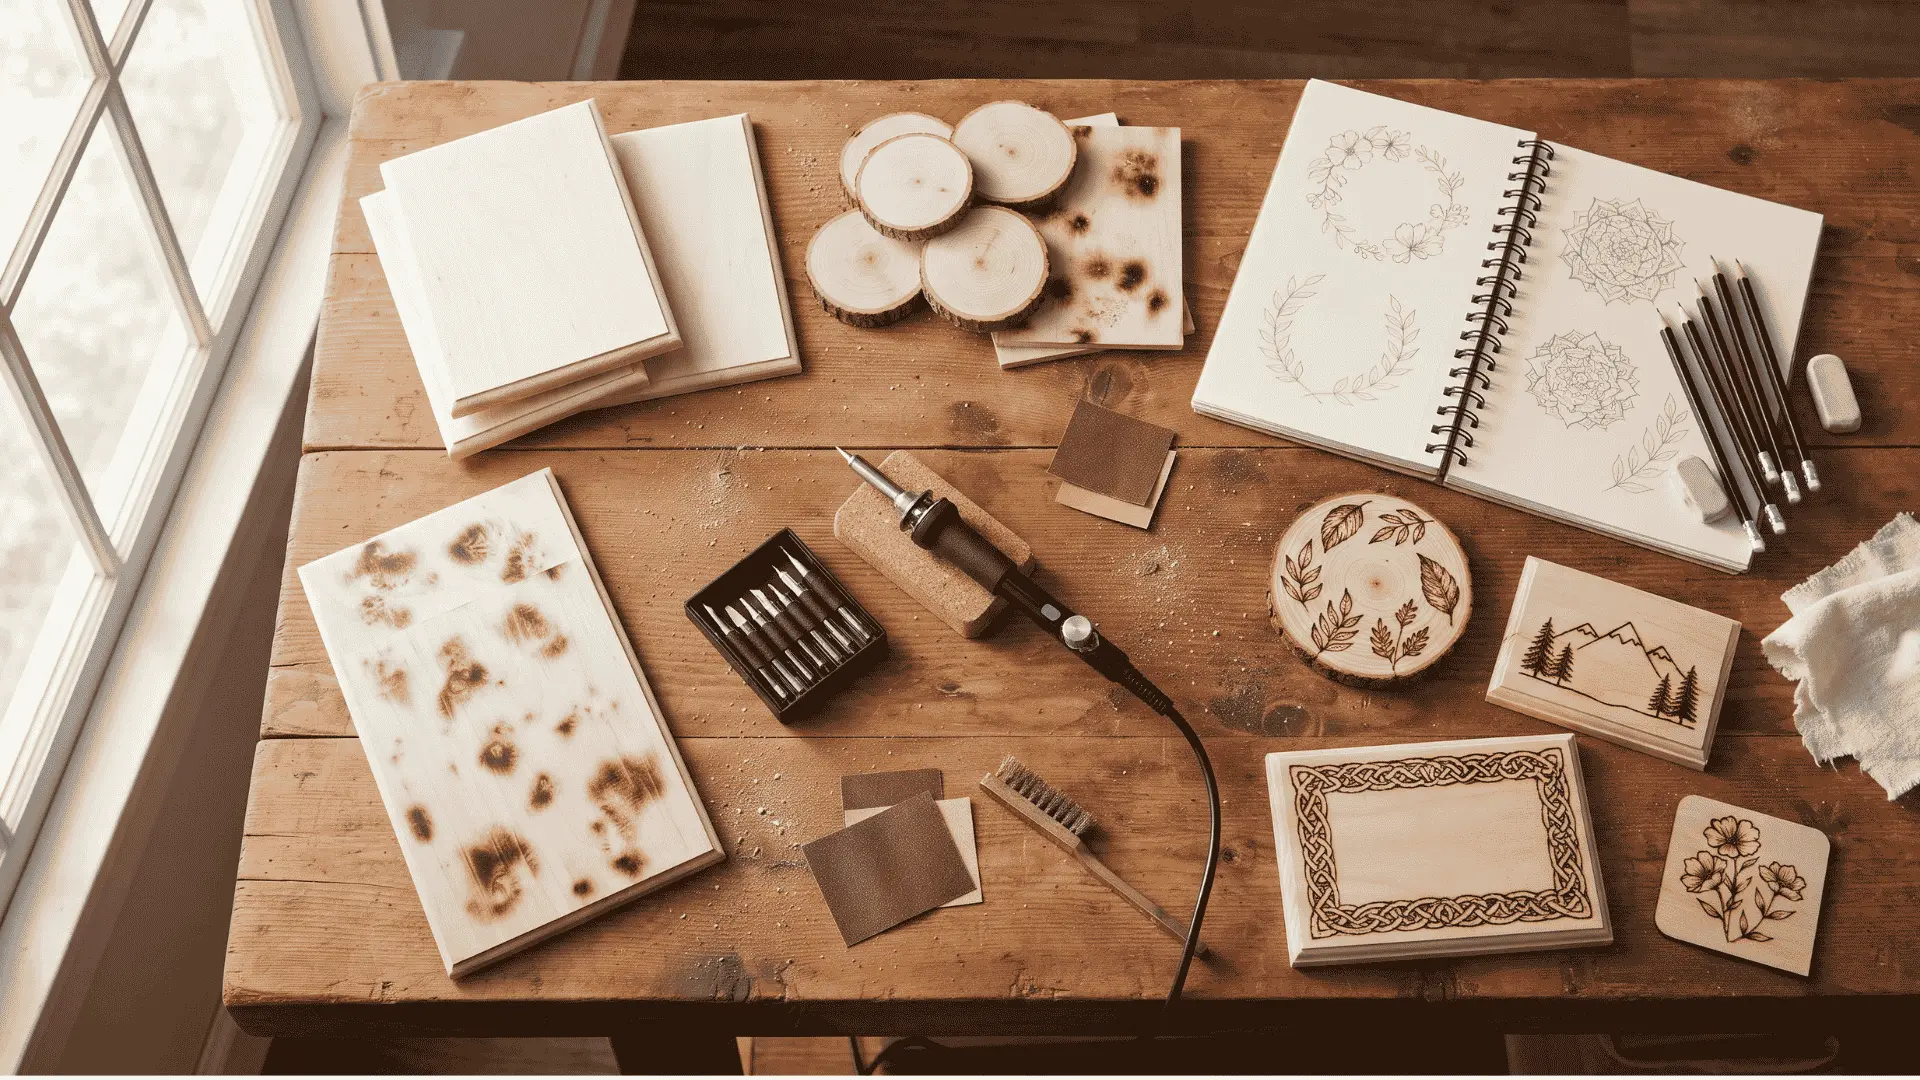
Ready to dive into the essentials of wood burning? Let’s explore the tools and materials that will set you up for success. Having the right equipment can make a significant difference in your experience and results.
The first item on your list should be a wood burning pen or pyrography tool. Choose one with adjustable temperature settings. This feature gives you better control over your designs. A basic kit with interchangeable tips is perfect for those just starting. It allows you to experiment with different shapes and effects.
Next, consider the type of wood you will use. Softwoods like basswood, pine, and birch are ideal for simple designs. They burn more evenly, which can reduce frustration as you learn. Avoid hard or resinous woods until you gain more experience. These can be unpredictable and difficult to work with.
In addition to your main tools, gather some additional supplies. Graphite paper and a pencil will help you transfer your designs onto the wood. Sandpaper is essential for smoothing the surface before you start burning. This preparation leads to cleaner lines and better results. A ruler and stencils can also be useful for creating straight lines and symmetrical patterns.
As you start, it’s wise to work with small boards and simple patterns. This approach helps build your confidence and refine your technique. Remember, soft wood will burn more evenly, making your initial projects more enjoyable.
If you’re looking for more detailed plans and schematics, consider exploring Ted’s Woodworking. This resource offers comprehensive woodworking plans, materials lists, and step-by-step instructions. While it’s not necessary to start your journey, it can be a helpful reference as you progress.
By gathering these essential tools and materials, you’ll be well-equipped to set up your first wood burning workspace with confidence.
| Tool/Material | Description | Purpose |
|---|---|---|
| Wood Burning Pen | Tool with adjustable temperature | For creating designs |
| Softwoods (Basswood, Pine, Birch) | Easy to burn and work with | For crafting pieces |
| Graphite Paper | Transfer designs onto wood | For accurate design placement |
| Pencil | For sketching designs | To outline before burning |
| Sandpaper | For smoothing surfaces | To ensure clean lines |
| Ruler and Stencils | For straight lines and patterns | To assist in design accuracy |
Wood Burning Safety Tips for Beginners
Before you begin your pyrography adventure, let’s talk about safety. Safety is crucial when working with heated tools. It ensures a positive experience and helps you focus on your creativity without worry.
Creating a safe workspace is your first step. Always work in a well-ventilated area. Smoke from burning wood can irritate your respiratory system. If possible, open a window or use a small fan to keep the air fresh. Additionally, keep a fire extinguisher or a container of water nearby. This precaution is vital in case of accidental sparks or overheating.
Setting Up a Safe Workspace: Ventilation and Fire Safety
When setting up your workspace, remember to eliminate distractions. Staying focused on your work is essential. Even a brief lapse in attention can lead to burns or damage to your workspace. Never leave a hot tool unattended. Always place it in a secure, heat-resistant stand when not in use.
Personal Protective Gear and Handling Hot Tools
Your clothing choices also matter. Avoid loose-fitting clothes that could accidentally touch the heated tip. If you have long hair, tie it back to prevent it from coming into contact with the tool. Consider wearing heat-resistant gloves, especially when handling small or intricate pieces.
After completing your project, allow your wood burning tool to cool completely before storing it. Residual heat can still cause burns or start a fire.
Common Safety Mistakes to Avoid
It’s essential to recognize common safety mistakes. Working in a cluttered space can lead to accidents. Leaving the tool plugged in when not in use is another risk. Rushing through a project can also result in injuries.
A safe environment not only protects you but also helps you build the patience and precision needed for beautiful designs. By following these precautions, you can enjoy your wood burning projects confidently. Focus on exploring wood burning patterns and experimenting with simple designs without worry.
| Safety Tip | Description | Importance |
|---|---|---|
| Ventilation | Work in a well-ventilated area | Reduces smoke irritation |
| Fire Extinguisher | Keep nearby during projects | Prevents fire hazards |
| Tool Supervision | Never leave hot tools unattended | Avoids burns and accidents |
| Clothing | Avoid loose clothing | Prevents contact with heated tools |
| Cooling Tools | Let tools cool before storing | Prevents burns and fires |
Preparing Your Wood and Controlling Heat: Beginner Advice
Understanding how to prepare your materials is essential for creating beautiful pyrography pieces. Proper preparation not only enhances your designs but also ensures a smoother crafting experience. Let’s dive into the crucial steps you need to take.
Why Surface Preparation Matters
Surface preparation is key in achieving the best results. Sanding your material until it is completely smooth ensures your pyrography tool glides evenly. This process prevents unwanted scratches and allows for clean, even burns.
After sanding, it’s vital to clean the surface. Dust and debris can interfere with your designs, leading to uneven patterns. A quick wipe-down with a cloth will do wonders!
Selecting Safe Woods and Avoiding Treated or Toxic Materials
Choosing the right type of wood is critical. Always select untreated materials, as burning treated wood can release toxic fumes. Avoid resinous woods, which can be difficult to work with.
Natural imperfections like whorls and knots can actually enhance your designs. They can serve as unique starting points for your creativity. Grab a pencil and start sketching; you might be surprised at how these features inspire your wood burning ideas!
Adjusting and Controlling Temperature for Best Results
Temperature control is essential for avoiding scorch marks and achieving clean lines. Start with a medium temperature, especially when working with softwoods like basswood or birch. Each wood type may require different settings, so don’t hesitate to experiment.
By mastering surface preparation and heat control, you will set yourself up for success on every pyrography project you tackle. Remember, practice makes perfect!
| Step | Description | Importance |
|---|---|---|
| Sanding | Make the surface smooth | Ensures even burns |
| Cleaning | Remove dust and debris | Prevents design interference |
| Wood Selection | Choose untreated materials | Avoid toxic fumes |
| Temperature Control | Adjust for different woods | Prevents scorch marks |
| Sketching | Use a pencil to outline | Guides your designs |
“Surface preparation is the foundation of beautiful pyrography.”
Key Techniques in Wood Burning: Lines, Shading, and Avoiding Common Mistakes
Exploring the essential techniques of pyrography can significantly enhance your creative journey. Mastering these skills will allow you to create stunning designs and avoid common pitfalls. Let’s delve into the key techniques that will elevate your work.
Creating Clean Lines and Consistent Pressure
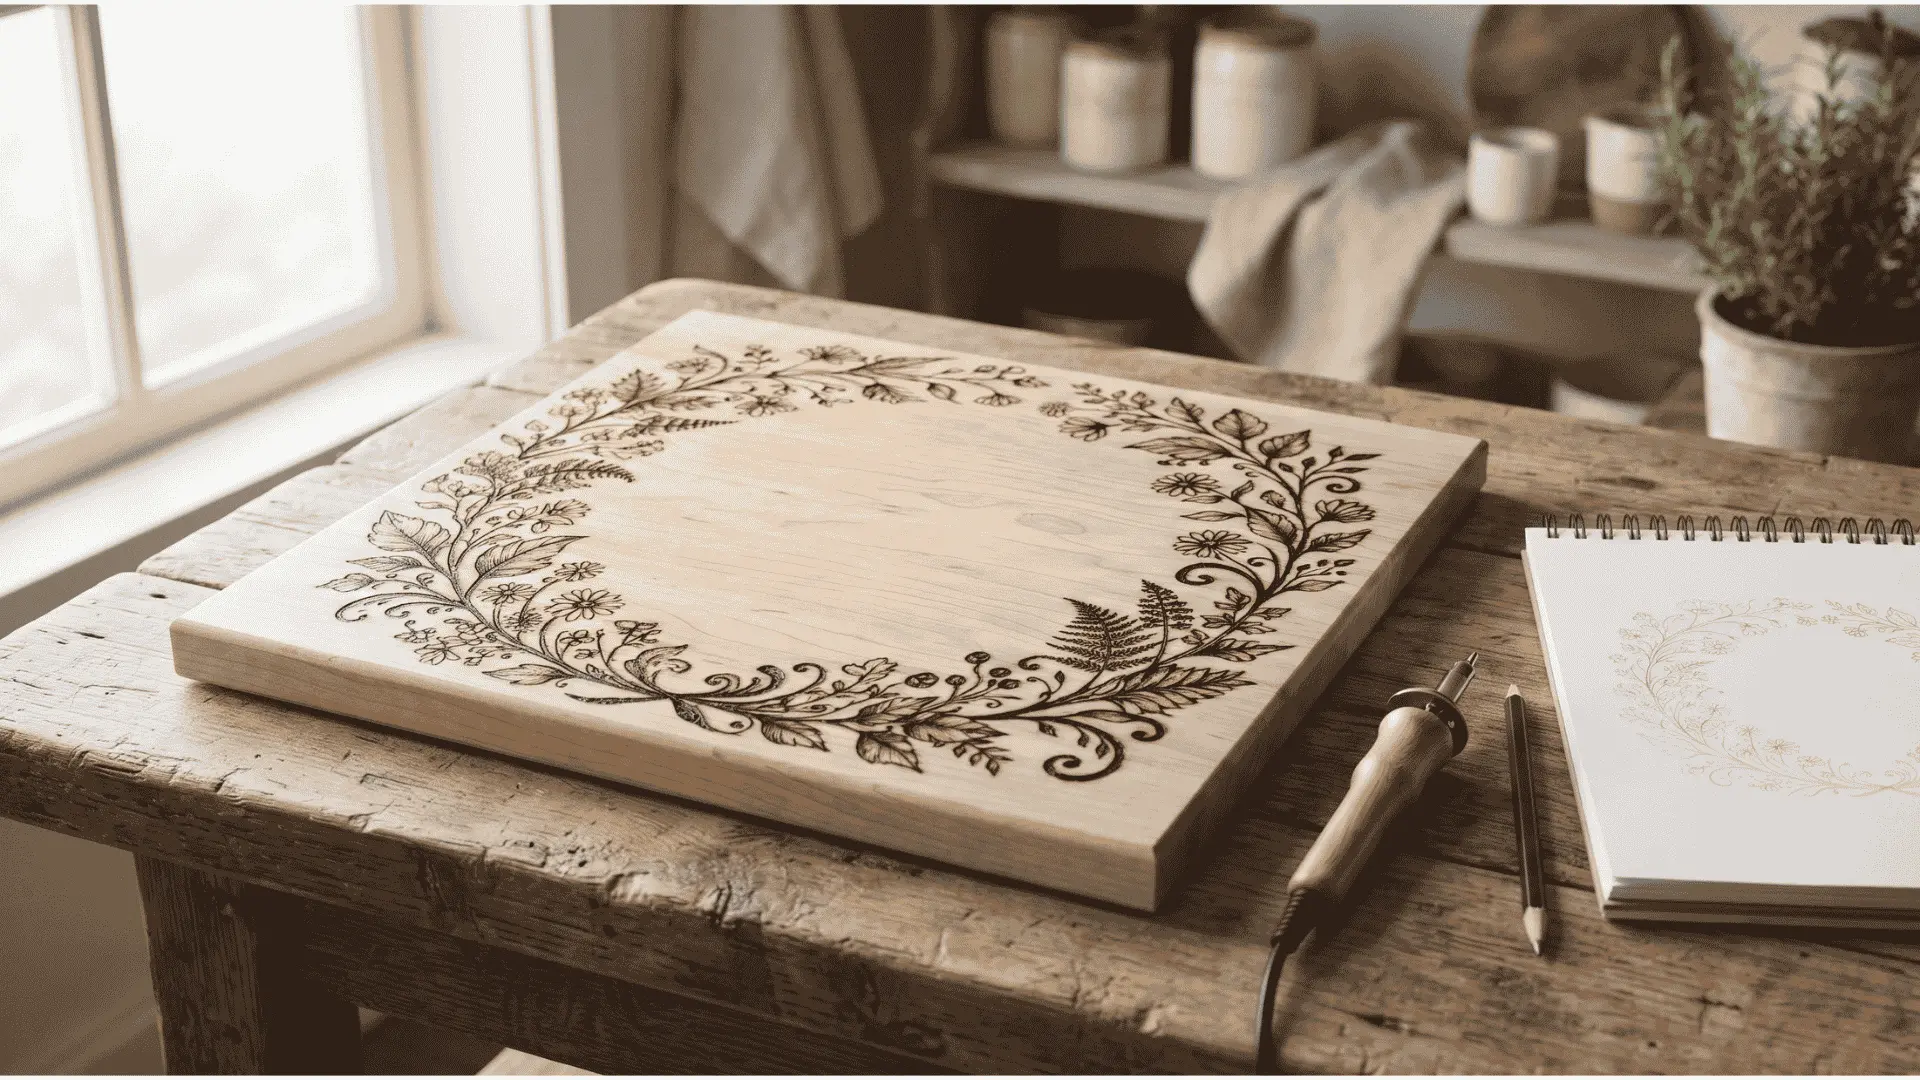
To achieve clean lines, you need to move slowly and steadily. Maintain consistent pressure on your pyrography tool. This technique ensures even results, making your designs look polished.
Practice controlling line thickness by adjusting your speed and pressure. This skill is crucial for adding depth and visual interest to your patterns.
Mastering Shading and Texture Effects
Shading and texture can bring your designs to life. Experiment with different tip shapes and temperatures. Use stroke patterns like cross-hatching, stippling, and smooth gradients to create unique effects.
There are countless textures you can create with pyrography, making it a perfect medium for exploring various illustration styles.
Tips for Transferring Designs and Using Stencils
Transferring designs accurately is essential. Use graphite paper or charcoal paper to transfer text designs and templates onto your surface. This method ensures your patterns are perfectly aligned.
Always draw at least a basic outline of your design before starting. This practice helps you burn your design to the right scale and prevents running out of space.
Avoiding Burn Marks and Overheating
To avoid burn marks, take breaks during your work. Adjust your temperature settings as needed and keep your tool tip clean. These steps will help maintain the quality of your designs.
Solid point wood burning tools often come with interestingly shaped nibs. These can create hot stamp effects, adding variety to your patterns.
“Mastering these key techniques will build the skills needed to tackle more complex wood burning projects with confidence and creativity.”
20 Wood Burning Project Ideas for Beginners
Imagine the joy of transforming basic materials into beautiful, functional pieces that reflect your style. In this section, we will explore a range of creative projects that are perfect for enhancing your skills in pyrography. Each idea offers unique opportunities to express your artistic flair while being practical and enjoyable.
Decorative and Personalized Kitchen Items
Start with wood-burned kitchen spoons, a perfect blend of functionality and decoration. Use softwoods like basswood or birch, a medium-temperature pyrography tool, and practice a simple vine or leaf pattern to master smooth, continuous strokes.
Next, create custom wood-burned coasters on small 4×4-inch flat wood squares. This project is excellent for practicing precision and line control. Geometric patterns like triangles or concentric circles work well. Finish by sealing them with a clear wood finish.
A simple decorative cutting board can be enhanced with a border of small stylized apples or lemons along the edge. Using a food-safe mineral oil finish keeps it functional and durable for daily kitchen use.
Home Décor and Functional Pieces
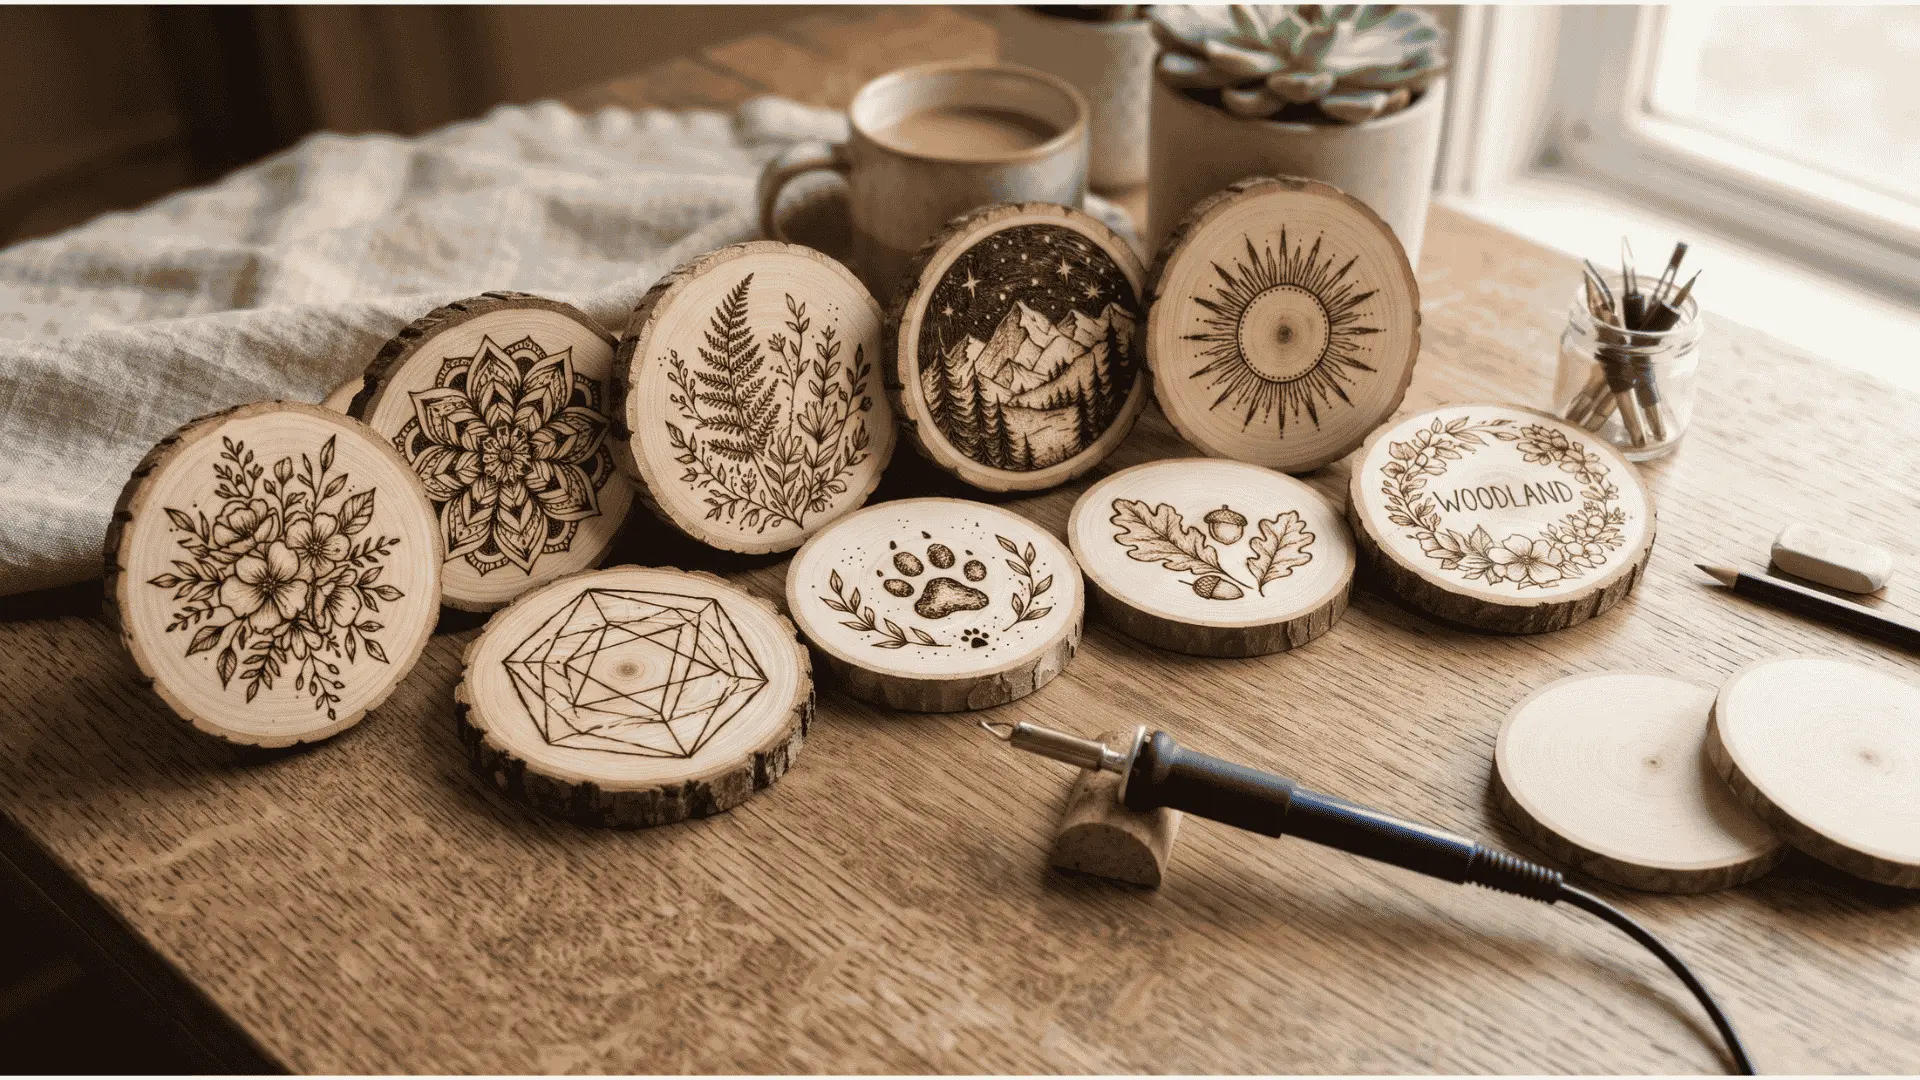
Design a personalized wooden sign featuring family names, inspirational quotes, or welcome messages. Combine text with simple decorative elements like floral borders or leaves, and finish with a clear sealant for longevity.
Craft serving boards and trays as thoughtful housewarming gifts or wedding presents. Decorate the surface with names, phrases, or patterns, and consider staining the wood after burning for a polished look.
Wood-burned photo frames are another fantastic way to showcase your artistry. Add decorative borders, small floral motifs, or geometric accents to turn an ordinary frame into a cherished display piece.
Gift and Jewelry Ideas
Wooden jewelry, such as earrings, pendants, or bracelets, offers a creative outlet. Use simple patterns rather than intricate images, ensuring they are well-sanded and finished since they will be worn next to the skin.
Keychains and bag tags are excellent projects for practicing precision on smaller surfaces. Create personalized initials, miniature illustrations, or fun symbols to make them unique.
Wood burned magnets can be made from scrap lumber. Carve designs with typical pen tips and glue magnets to the back for a classic, personalized gift idea.
Advanced and Larger Scale Projects
For those looking for a challenge, consider crafting wooden buttons and small charms by sawing slices off a thick wooden dowel and drilling holes. Use solid point wood burning tools with shaped nibs for hot stamp effects.
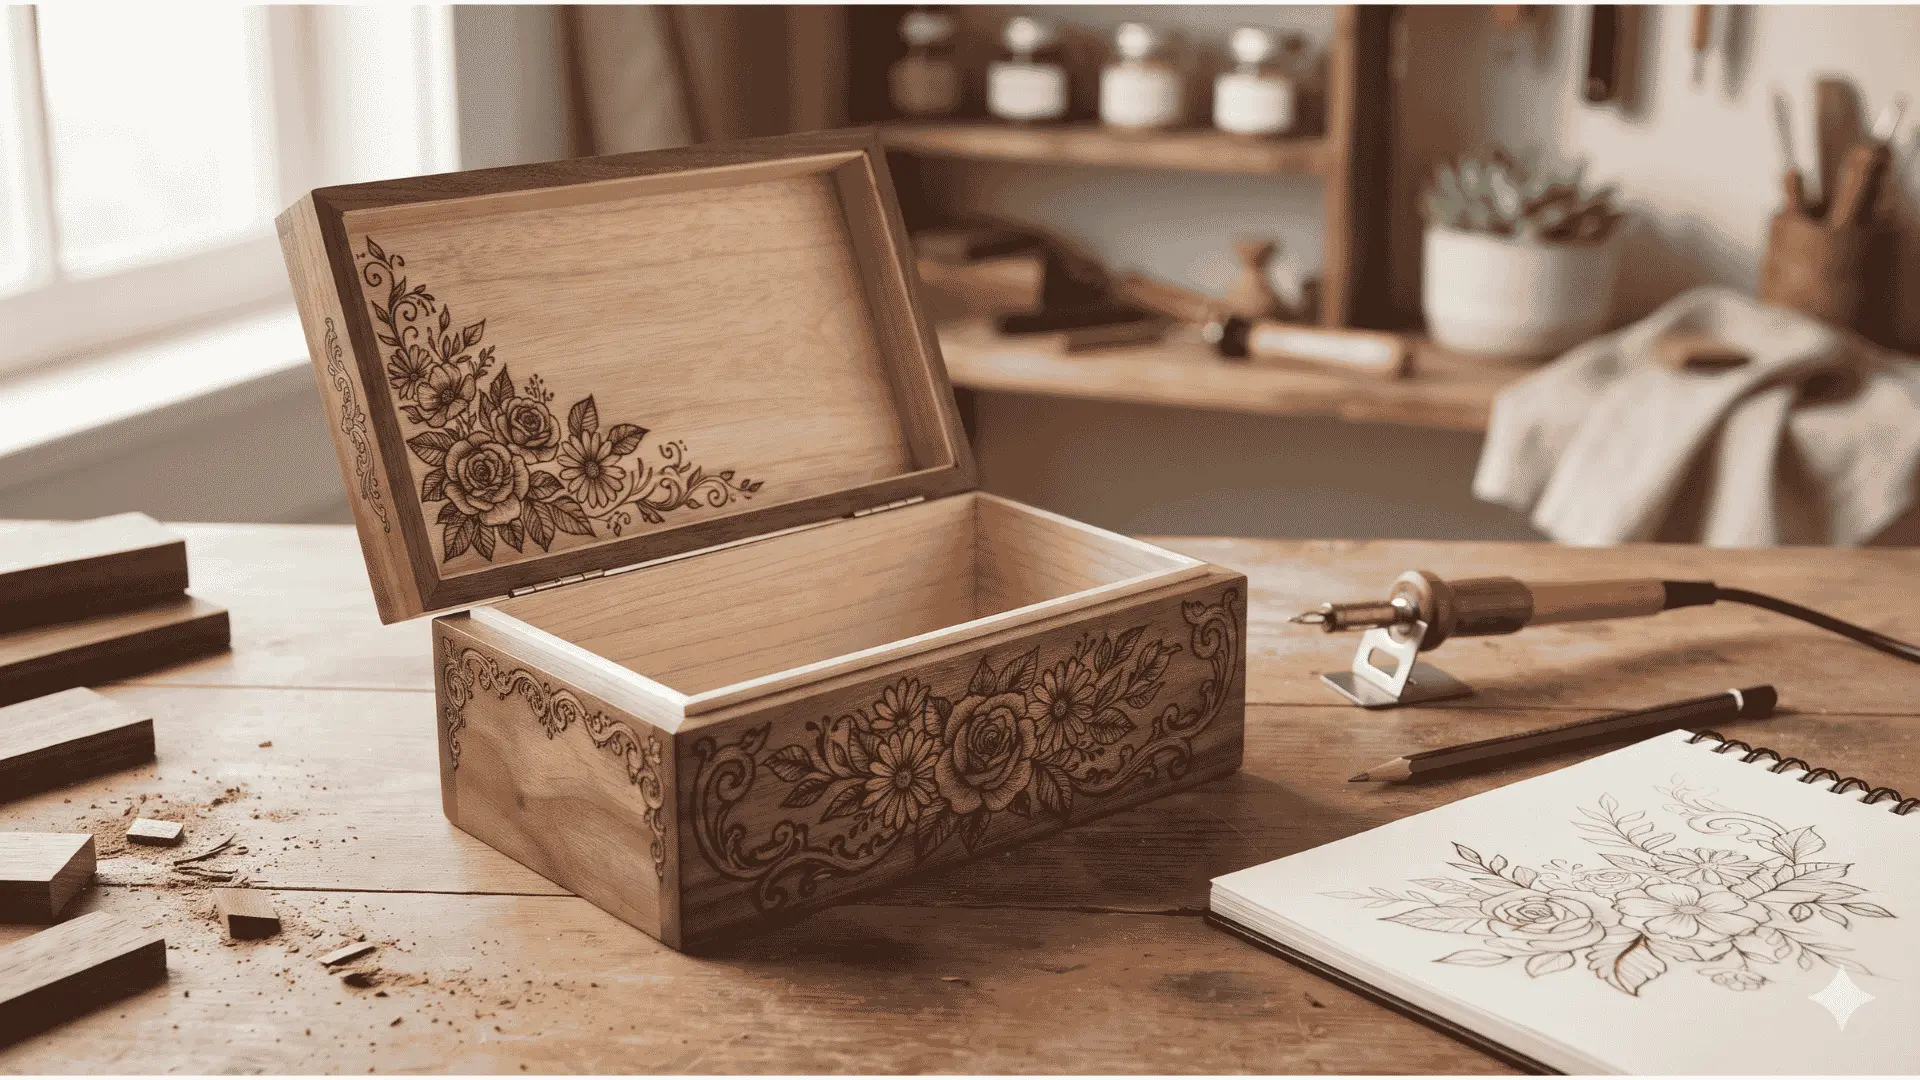
Decorate wood burned boxes, such as a Celtic knot design box. Use a medium-temperature pen tip and decorate the whole box in a cohesive design or add individual elements to specific panels.
Create decorative clocks with burned faces by drilling a suitable hole for a clock mechanism. Use numbers, Roman numerals, or simple dots and shapes to make the clock face legible.
Finally, tackle rustic coffee tables and furniture accents, inspired by artist Cecilia Galluccio. Protect the surface with a clear coat after decorating to ensure durability.
Each of these projects includes options for different skill levels and budgets, from affordable wooden spoons and utensils to larger pieces like coffee tables and serving trays. By working through these 20 wood burning project ideas, you will build a diverse portfolio of skills while creating beautiful, functional pieces for your home and as gifts.
| Project | Design | Difficulty | Suitable Wood | Basic Tools | Preparation | Key Techniques | Finishing Tips |
|---|---|---|---|---|---|---|---|
| Kitchen Spoons | Vine or leaf pattern | Easy | Basswood, Birch | Pyrography tool | Sand and clean | Smooth strokes | Food-safe finish |
| Coasters | Geometric patterns | Easy | Softwood | Pyrography tool | Sand and clean | Precision line control | Clear wood finish |
| Decorative Cutting Board | Stylized fruits | Easy | Softwood | Pyrography tool | Sand and clean | Border design | Mineral oil finish |
| Wooden Sign | Text and floral borders | Medium | Softwood | Pyrography tool | Sand and clean | Text alignment | Clear sealant |
| Photo Frames | Decorative borders | Medium | Softwood | Pyrography tool | Sand and clean | Pattern design | Clear finish |
Finishing and Protecting Your Wood-Burned Pieces
Once your artistic vision is complete, it’s time to focus on the finishing touches that will enhance your creation. Proper finishing not only beautifies your work but also ensures its longevity. Let’s explore how to clean, finish, and protect your wood-burned pieces effectively.
Removing Pencil Marks and Cleaning Your Work
After completing your design, it’s important to remove any pencil marks. Gently erase any remaining graphite and wipe away dust and debris. This step is crucial before applying any finish, as it ensures a clean surface for better adhesion.
Choosing Finishes: Food-Safe Oils, Sealants, and Clear Coats
Choosing the right finish is essential for your projects. For kitchen items like spoons and cutting boards, opt for food-safe mineral oil. This not only protects the wood but also enhances the grain, giving your kitchen pieces a polished look.
For decorative items like coasters and signs, clear wood finishes or sealants work best. These products shield your designs from wear and tear, ensuring they remain beautiful over time.
Tips for Enhancing Wood Grain and Longevity
To enhance the wood grain and durability, consider applying multiple thin coats of finish rather than one thick coat. Allow each coat to dry completely before adding the next. This technique helps achieve a professional appearance.
Additionally, remember that a good finish preserves your artwork. It ensures that your pieces are durable, whether they are used daily in the kitchen or displayed as home décor.
Experiment with different finishes to see how they affect the final appearance of your wood burned designs. By mastering these finishing techniques, you will create pieces that you can proudly give as gifts or keep in your home.
🔥 Ready to Turn Your Wood Burning Ideas Into Beautiful Wood Projects?

Love creating DIY wood-burning art? Take your woodworking skills further with Ted’s Woodworking!
✅ 16,000+ Woodworking Plans – Explore projects for crafts, furniture, home décor, and more.
✅ Step-by-Step Instructions – Follow detailed plans, drawings, cutting lists, and materials lists.
✅ Beginner-Friendly Ideas – Find projects suited to different skill levels.
✅ Lifetime Access & Free Updates – Access new plans as they’re added, with no recurring fees under the offer described on the sales page.
🎁 Bonus Resources Included: Woodworking videos, guides, and a CAD plan viewer.
Stop searching for ideas. Start building projects you’ll be proud of!
👉 CLICK HERE TO EXPLORE TED’S WOODWORKING PLANS
Conclusion
Imagine the fulfillment of developing your artistic talents with every project you undertake. Starting with simple wood burning projects is a rewarding way to enhance your skills and create personalized items. Remember to begin with small tasks, experiment with various patterns, and gradually increase the complexity of your designs.
As you practice with softwoods and simple tools, follow safety tips, and explore different wood burning design ideas, your confidence will grow. You’ll find joy in crafting intricate patterns and even start designing your own pieces.
Whether you are new to this craft or have some experience, each project is a step toward mastery. Keep practicing, as every burn refines your technique and develops your unique artistic style. Embrace the journey and let these wood burning ideas inspire you to create beautiful, lasting gifts and cherished items.
With patience and a willingness to explore new techniques, you are well on your way to achieving your creative goals. So, pick up your pyrography tool and start your next adventure!
FAQ
What is pyrography?
Pyrography is the art of decorating wood or other materials with burn marks, creating beautiful designs and patterns using a heated tool.
What tools do I need to start wood burning?
Essential tools include a wood-burning pen, various tips for different effects, and safety gear. You may also want sandpaper and graphite paper for preparation.
Can I use any type of wood for my projects?
It’s best to use softwoods like basswood or pine, as they are easier to burn and provide better results. Avoid treated woods or those with toxic finishes.
How do I ensure safety while wood burning?
Set up your workspace with good ventilation, wear protective gear, and always handle hot tools with care to prevent burns and accidents.
What are some beginner-friendly project ideas?
You can start with simple items like wooden spoons, coasters, or decorative signs. These projects help you practice your skills while creating functional pieces.
How do I control the heat while burning?
Adjust the temperature of your wood burning pen according to the type of wood and the effect you want. Practice on scrap pieces to find the right settings.
What finishes should I use on my burned pieces?
For food-safe items, use mineral oil or beeswax. For decorative pieces, consider sealants or clear coats to enhance and protect your designs.
How can I transfer designs onto the wood?
You can use graphite paper to trace designs onto the wood surface or create stencils for more intricate patterns.
Affiliate disclosure: Add a brief disclosure near the link stating that you may earn a commission if readers purchase through it, at no extra cost to them.