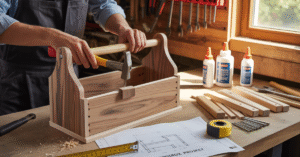
Did you know a well-organised outdoor storage space can boost your backyard’s value? Building your own wood storage shed is a fun project. It lets you create the perfect spot for storage, hobbies, or a backyard upgrade, as noted by Wright’s Shed Co.
You can save money and make the shed your own by following a step-by-step guide. Using budget-friendly materials is key. A dedicated space for your tools and equipment keeps your yard tidy and protects your investments from the weather.
Key Takeaways
- Create a functional outdoor storage space with a DIY shed project.
- Customise your shed according to your specific needs and preferences.
- Save money by using budget-friendly materials for your shed.
- Follow a step-by-step guide to ensure a successful build.
- Protect your tools and equipment from the elements with a dedicated storage shed.
Why Build Your Own Wood Storage Shed
Building your own wood shed is a smart choice for saving money. It lets you design the shed just how you want it.
Benefits of a Dedicated Wood Storage Space
A backyard firewood shed keeps your area tidy and wood dry. It’s great for small spaces or rainy areas. It stops moisture and pests from getting into your home.
Cost Savings of DIY vs. Pre-built Options
DIY sheds are much cheaper than buying one. Wright’s Shed Co. says DIY sheds save money, thanks to budget-friendly materials and tools you might already have. Here’s a cost comparison:
| Item | Pre-built Shed | DIY Shed |
|---|---|---|
| Materials | $500-$1000 | $200-$500 |
| Labor | $1000-$2000 | $0 (your labor) |
| Total | $1500-$3000 | $200-$500 |
Long-term Value of Custom Construction
Custom sheds are not just cheaper upfront. They also last longer. You can use strong materials and designs that stand up to the weather. This makes a reliable storage spot and boosts your home’s value.
Complete DIY Outdoor Wood Storage Shed Tutorial Overview
Before you start building your DIY outdoor wood storage shed, it’s crucial to plan carefully. A successful project begins with understanding your needs and constraints.
Determining the Right Size for Your Needs
Think about what you’ll use your shed for. Will it be for storing garden tools, setting up a workshop, or creating a storage space? Consider the size of the items you plan to store and the space available in your backyard.
Choosing the Ideal Location
The location of your shed is just as important as its size. Choose a spot that is level, dry, and accessible. Make sure it’s not too close to your property lines or other structures.
Understanding Local Building Codes and Permits
Check with your local government to determine if you need a permit to build your shed. Compliance with local building codes is essential to avoid fines or having to dismantle your shed.
Timeline and Project Planning
Create a project timeline and plan your tasks. This will help you stay on track and ensure your project is completed within a reasonable timeframe.
| Task | Estimated Time |
|---|---|
| Planning and Permitting | 1-2 weeks |
| Site Preparation | 1 day |
| Construction | 2-4 weekends |
By following these steps, you’ll be well on your way to building a functional and durable DIY outdoor wood storage shed.
Essential Tools and Budget-Friendly Materials List
To build a useful outdoor wood storage shed, you need the right tools and materials that won’t break the bank. Planning well and picking the best resources are key to a successful DIY project.
Required Tools for Construction
Make sure you have the tools you need before you start. You’ll likely need:
- A circular saw for cutting lumber
- A drill for screwing and drilling holes
- A hammer for tapping pieces into place
- A tape measure and a square for ensuring accurate measurements
- Safety glasses and a dust mask for protection
Money-Saving Material Options
Choosing the right materials can really help your budget. Think about these options:
- Lumber for framing, which can be found at local hardware stores or reclaimed from old structures
- Roofing materials such as asphalt shingles, felt, or metal roofing, each with its own cost and durability benefits
- Siding options like plywood or oriented strand board (OSB) for a cost-effective solution
New vs. Reclaimed Wood Considerations
When choosing between new and reclaimed wood, think about cost, durability, and look. Reclaimed wood adds character but might need extra prep work.
“Reclaimed wood not only reduces waste but also brings a unique history to your shed.” –
Wright’s Shed Co.
Estimated Total Cost Breakdown
The cost of your DIY outdoor wood storage shed depends on size, materials, and features. Here’s a rough estimate:
| Material | Estimated Cost |
|---|---|
| Lumber for framing | $200-$500 |
| Roofing materials | $100-$300 |
| Siding | $150-$400 |
| Total | $450-$1,200 |
Wood Shed Design Ideas for Different Needs

Choosing the right wood shed design is key to your backyard storage. Different designs offer unique benefits for space and efficiency. Your project can greatly benefit from these options.
Simple Lean-to Designs
Lean-to sheds are great for small spaces. They save room by leaning against a building. This design is also cost-effective and easy to build.
Standalone Gable Roof Structures
Gable roof structures are loved for their simplicity and effectiveness. They keep rain and snow off, making them perfect for storing things. You can choose from various sizes to fit your needs.
Space-Efficient Corner Designs
Corner designs are perfect for tight spaces. They use every inch of your yard. This way, your shed doesn’t take up too much room.
Aesthetic Considerations for Your Yard
Think about how your shed will look in your yard. It should match your home and the landscape. Consider the color, materials, and style of your shed.
| Design Type | Space Efficiency | Aesthetic Appeal |
|---|---|---|
| Lean-to | High | Moderate |
| Gable Roof | Moderate | High |
| Corner Design | High | Moderate |
By thinking about these factors and designs, you can make a shed that looks good and works well. It will meet all your needs.
Preparing the Foundation
To build a durable outdoor wood storage shed, start with a well-prepared foundation. A sturdy base prevents your shed from settling unevenly or rotting. This ensures it remains a reliable outdoor storage solution for years.
Ground Preparation Techniques
First, clear the area of debris, vegetation, or obstructions. You might need to level the ground for a stable surface. This step is key to your shed’s structural integrity.
Building a Simple Gravel Base
A gravel base is a cost-effective and efficient foundation option. It involves laying down a layer of compacted gravel for drainage and a level surface. This method is part of a step-by-step shed construction process that’s both budget-friendly and durable.
Alternative Foundation Options
You might also consider alternative foundations like a concrete slab or concrete blocks. These options provide a more permanent base but need more labour and shed building materials.
Ensuring Proper Drainage
Proper drainage is crucial, no matter the foundation type. Water accumulation can cause rot and structural damage. Ensure your foundation design includes adequate drainage solutions to protect your shed and its contents.
Framing the Base Structure

Now that you’ve prepared the foundation, it’s time to start framing the base structure of your DIY wood storage shed. This step is crucial as it provides the foundation for the entire shed, ensuring it is sturdy and durable.
Measuring and Cutting Floor Joists
To begin framing the base, you’ll need to measure and cut the floor joists. Typically, 2×6 or 2×8 lumber is used for this purpose, depending on the size of your shed and the load it will bear. Measure the length required for your shed’s floor frame, and cut the lumber accurately. It’s essential to be precise to avoid any discrepancies that could affect the overall structure.
- Use a tape measure to determine the length and width of your shed.
- Cut the lumber using a circular saw or a mitre saw for precision.
- Label each joist to ensure they are assembled correctly.
Assembling the Base Frame
With the floor joists cut, the next step is to assemble the base frame. Use galvanised or coated screws to resist corrosion. Begin by constructing the perimeter frame, then add the inner joists spaced evenly apart, typically 16 inches on centre.
- Assemble the perimeter frame on the ground.
- Use a square to ensure the corners are at a 90-degree angle.
- Secure the inner joists to the perimeter frame.
Installing the Subfloor
Once the base frame is assembled, it’s time to install the subfloor. Use 3/4-inch plywood or oriented strand board (OSB) for the subfloor, ensuring it is cut to fit the frame snugly. Secure the subfloor to the joists using 2-inch screws.
Preventing Ground Moisture Damage
To prevent ground moisture from damaging your shed, consider installing a moisture barrier under the subfloor. This could be a layer of plastic sheeting or a specialised underlayment material. Ensure the barrier covers the entire floor area and extends up the sides of the frame to prevent water seepage.
By following these steps, you’ll have a solid base structure for your wood storage shed, ready for the next stages of construction. Remember to check local building codes and consider consulting a professional if you’re unsure about any aspect of the process.
Building the Wall Frames
Now that you’ve prepared the foundation, it’s time to build the wall frames. This is a key part of your DIY outdoor wood storage shed tutorial. It needs careful planning and execution.
Wall Framing Basics
To begin, learn the basics of wall framing. You’ll cut lumber to the right length and build rectangular frames. These frames are made by nailing vertical studs between horizontal plates. Make sure your frames are square, and corners are tight.
Creating Front Wall with Access Opening
The front wall needs an access opening. You’ll frame this area with extra studs and a header. This step is vital in your step-by-step shed construction. It affects how your shed works.
- Measure and mark the access opening’s spot.
- Cut and build the frame around it.
- Make sure it’s strong enough for the roof.
Assembling Side and Back Walls
The side and back walls are built like the front wall, but without an opening. It’s important to be precise. This ensures they fit well with the front wall.
Securing Wall Frames Together
After building all the wall frames, you’ll need to connect them. Raise the walls and nail them to the floor and each other. Use shed building materials like galvanised nails for strength.
- Put up the first wall and secure it.
- Do the same for the other walls, making sure they’re straight.
- Attach the walls at the corners.
By doing these steps, you’ll have a solid frame for your outdoor wood storage shed. It’s ready for the next steps in building.
Roof Construction Techniques

As you work on your wood storage shed, roof construction is key. A strong roof keeps your shed safe from the weather.
“A sturdy roof is the backbone of any successful shed building experience,” says experts from Wright’s Shed Co. “It not only provides structural integrity but also safeguards your stored wood from rain and snow.”
Building Simple Roof Trusses
To begin, frame the roof with your chosen design. This includes making trusses and rafters. You’ll need to measure and cut lumber carefully for a perfect fit.
Installing Roof Supports
Next, put in the roof supports. Make sure the trusses are evenly spaced and well-attached to the shed walls.
Adding Roof Sheathing
After the trusses are set, add roof sheathing. This layer makes a smooth surface for your roofing and strengthens the roof.
Creating a Proper Roof Pitch for Water Runoff
A key part of roof building is getting the right pitch for water runoff. A shallow pitch can cause water to pool, leading to leaks or damage.
To get the best roof pitch, think about your local weather. For places with lots of snow, a steeper pitch helps prevent snow buildup.
By using these roof-building methods, your outdoor shed will be strong and useful. Remember, the success of your project depends on details like roof pitch and support installation.
Installing Exterior Siding and Roofing
Now that your shed’s base is ready, it’s time to add siding and roofing. This step makes your shed look good and keeps it safe from the weather.
Budget-Friendly Siding Options
Choosing the right siding is key to your shed’s look and upkeep. Metal and vinyl siding are great because they’re easy to care for.
| Siding Material | Cost | Durability | Maintenance |
|---|---|---|---|
| Vinyl | $1.50 – $3.00 per sqft | 20-30 years | Low |
| Metal | $2.00 – $4.00 per sqft | 30-50 years | Low |
| Wood | $3.00 – $5.00 per sqft | 10-20 years | Medium-High |
Weatherproofing Techniques
To keep your shed dry, you need to weatherproof it. Seal any gaps and make sure the siding fits right to keep water out.
Roofing Material Installation
Choosing the right roofing is important. Asphalt shingles are cheap, but metal roofing lasts longer.
Sealing Joints and Edges
Sealing your siding and roofing is vital to avoid water damage. Use a good sealant for a tight seal.
Adding Ventilation for Your Backyard Firewood Shed

A well-ventilated backyard firewood shed is key to preventing moisture buildup. It keeps your wood dry and ready for use. Good airflow dries out the wood, reducing mould and insect risks.
Importance of Airflow in Wood Storage
Airflow is vital for keeping firewood quality high. Adequate ventilation stops moisture buildup, which can cause rot. Air circulation around the wood extends its storage life.
Creating Ventilation Gaps and Openings
To ensure good ventilation, add gaps and openings in your shed’s design. Consider vents at the top and bottom or slatted siding for better airflow. Here’s a simple table to show some ventilation options:
| Ventilation Method | Description | Effectiveness |
|---|---|---|
| Slatted Siding | Using wooden slats with gaps for airflow | High |
| Top and Bottom Vents | Installing vents at the top and bottom of the shed | Medium |
| Side Vents | Adding vents to the sides of the shed | Low-Medium |
Preventing Moisture Buildup
Along with ventilation gaps, preventing moisture buildup is crucial. Place your shed in a well-drained area and use waterproof roofing. Regularly check for moisture signs and fix them if found.
By following these tips, you can make a well-ventilated shed. It will protect your wood and keep it ready for use.
Customising Your Wood Storage Space
Customising your wood storage shed can make it more useful and efficient. By adding smart design features, you can turn it into a space that stores wood well and makes it easy to find. This way, your shed becomes a place of order and convenience.
Adding Shelving and Dividers
Adding shelving and dividers is a great way to make your shed better. It helps you sort wood by type and keeps kindling tidy. Plus, it uses your space up top, saving room on the floor.
Think about using shelves that you can adjust. This way, you can fit wood of all sizes without any trouble.
Incorporating a Kindling Storage Area
A special spot for kindling is a smart addition to your shed. You can make a small area or bin for it. This keeps it dry and makes it easy to grab when you need it.
Tool Storage Solutions
Keeping tools organised is key to a tidy shed. You can use hooks, bins, or a pegboard to store them. This makes it simple to find what you need and keeps your shed clutter-free.
Organising Different Wood Types
Organising wood by type makes your shed more efficient. For instance, you can keep firewood and kindling separate. Or, store different types of wood on different shelves. This makes it easier to find what you need when you need it.
| Customization Idea | Increased storage capacity, improved organisation |
|---|---|
| Adding Shelving | Increased storage capacity, improved organization |
| Kindling Storage Area | Easy access to kindling, reduced clutter |
| Tool Storage Solutions | Reduced clutter, improved tool accessibility |
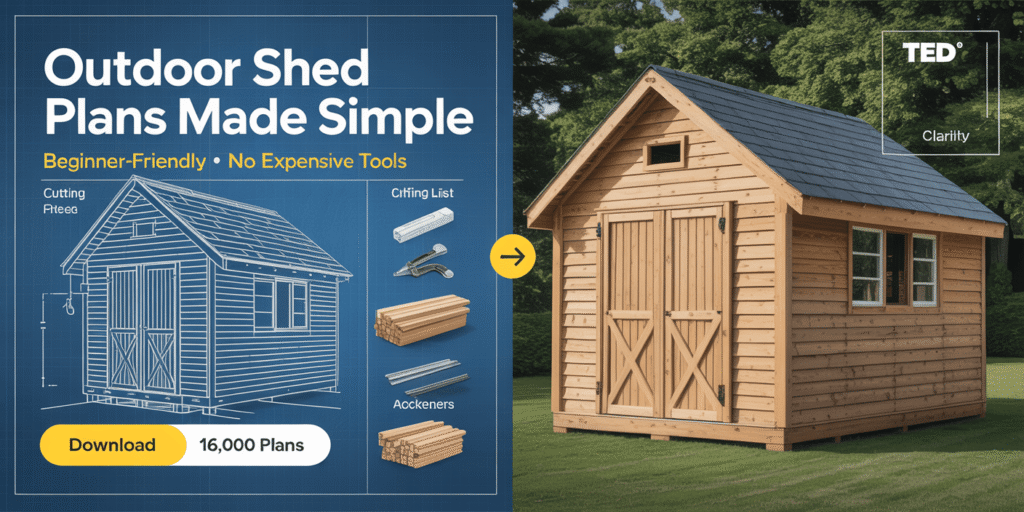
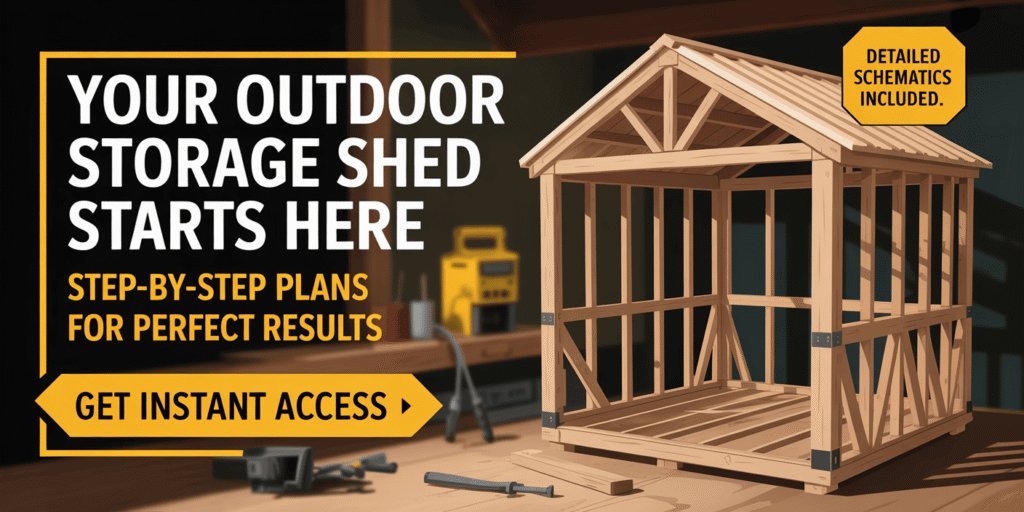
⭐ Build a Strong, Weather-Ready Outdoor Shed—The Easy Way!
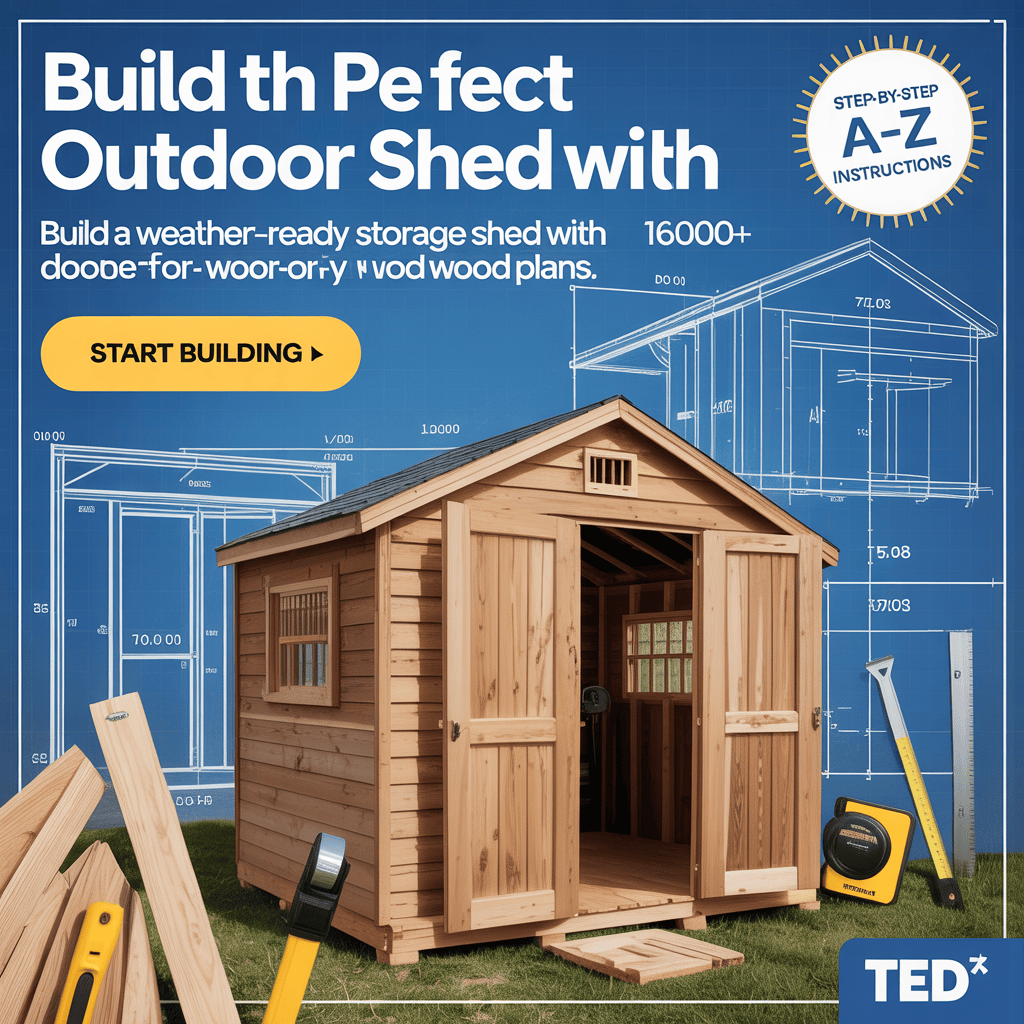
Want to build a durable outdoor wood storage shed without wasting time on confusing, incomplete, or poorly drawn plans? Teds Woodworking gives you everything you need to build beautifully, confidently, and affordably—even if you’re a beginner.
Why Teds Woodworking Is a Game-Changer for Shed Builders
- ✔ 16,000+ Done-For-You Woodworking Plans (including shed designs)
- ✔ Step-by-Step A-to-Z Instructions—no guesswork, no confusion
- ✔ Detailed Schematics, Blueprints & 3D Views
- ✔ Exact Cutting & Materials Lists to save time and money
- ✔ Perfect for Beginners & Pros—no expensive tools required
- ✔ Lifetime Access + Free Monthly Plans
🔥 Turn Your Outdoor Shed Idea Into a Perfect Build—Starting Today!
👉 Click Here to Get Instant Access to Teds Woodworking and Start Building Smarter!
Create a shed that’s sturdy, functional, and built to last—with professional-grade plans guiding every step of your project.
Conclusion
Now that you’ve learned how to make a DIY outdoor wood storage shed, it’s time to start. This guide has shown you how to design and build a shed that fits your backyard needs.
With your new shed, you’ll have better outdoor storage. This keeps your firewood dry and your yard tidy. Your shed is not just for storing wood. It also adds value to your property with its good looks and function.
Building your shed is a rewarding experience. It lets you create a space that’s both useful and personal. So, grab your tools, follow the steps, and begin building your dream shed today.
FAQ
What is the ideal size for a DIY outdoor wood storage shed?
The right size depends on how much wood you need to store and your yard’s space. Pick a size that fits your wood but doesn’t take up too much room. Also, make sure it follows local building codes.
Do I need a permit to build a DIY outdoor wood storage shed?
Check with your local government about permits. Rules change based on the shed’s size, location, and local laws.
What type of materials are best for building a wood storage shed?
Affordable choices are pressure-treated lumber, cedar, and reclaimed wood. Think about their durability, weather resistance, cost, and availability.
How do I ensure proper ventilation in my wood storage shed?
Make sure there are gaps for air to flow and prevent moisture. Adding vents or windows helps keep your wood dry.
Can I customise my wood storage shed to fit my specific needs?
Yes, you can add shelving and dividers for organisation. Include a kindling area and tool storage to make your shed more functional.
How do I protect my wood storage shed from the elements?
Use weatherproofing, like sealing joints and edges. Choose roofing that can handle the weather. A finish coat helps protect against rot and insects.
What are some common mistakes to avoid when building a DIY outdoor wood storage shed?
Avoid mistakes like a bad foundation, not enough weatherproofing, and ignoring local codes.
How can I ensure my wood storage shed is secure?
Add a lock to the door and consider security cameras. Other measures can also protect your wood and tools.
Can I build a wood storage shed on a slope or uneven ground?
Yes, but you’ll need to plan and prepare more. Use adjustable footings or other solutions to level it.
How long does it take to build a DIY outdoor wood storage shed?
Building time varies based on the shed’s size, complexity, and your experience. Plan for several days or weekends to finish it.