Could a single weekend of focused work give you a durable backyard unit that fits your tools and frees your garage?
This guide walks you through a clear, step-by-step plan for an Outdoor Wood Storage Shed. So you can build with confidence. You will get a practical tools list, materials, measurements, and simple framing and roofing tips tailored for beginners.
Safety is central: always wear personal protective equipment, including a helmet, cut protection trousers, and safety boots when operating a chainsaw, following your equipment’s official owner manuals from brands like STIHL.
We use straightforward explanations and beginner-friendly techniques that help you avoid common mistakes. By the end, you will understand foundation prep, pallet wood options, flooring, finishing touches, and safety checks.
Key Takeaways
- You will follow a step-by-step approach that fits a beginner’s skill level.
- Essential safety gear and tool guidance are emphasised throughout.
- Measurements, foundation prep, and framing are explained in plain language.
- Pallet wood and finishing tips help you save money and get a clean look.
- Finish checks and safety reminders ensure a durable, usable outcome.
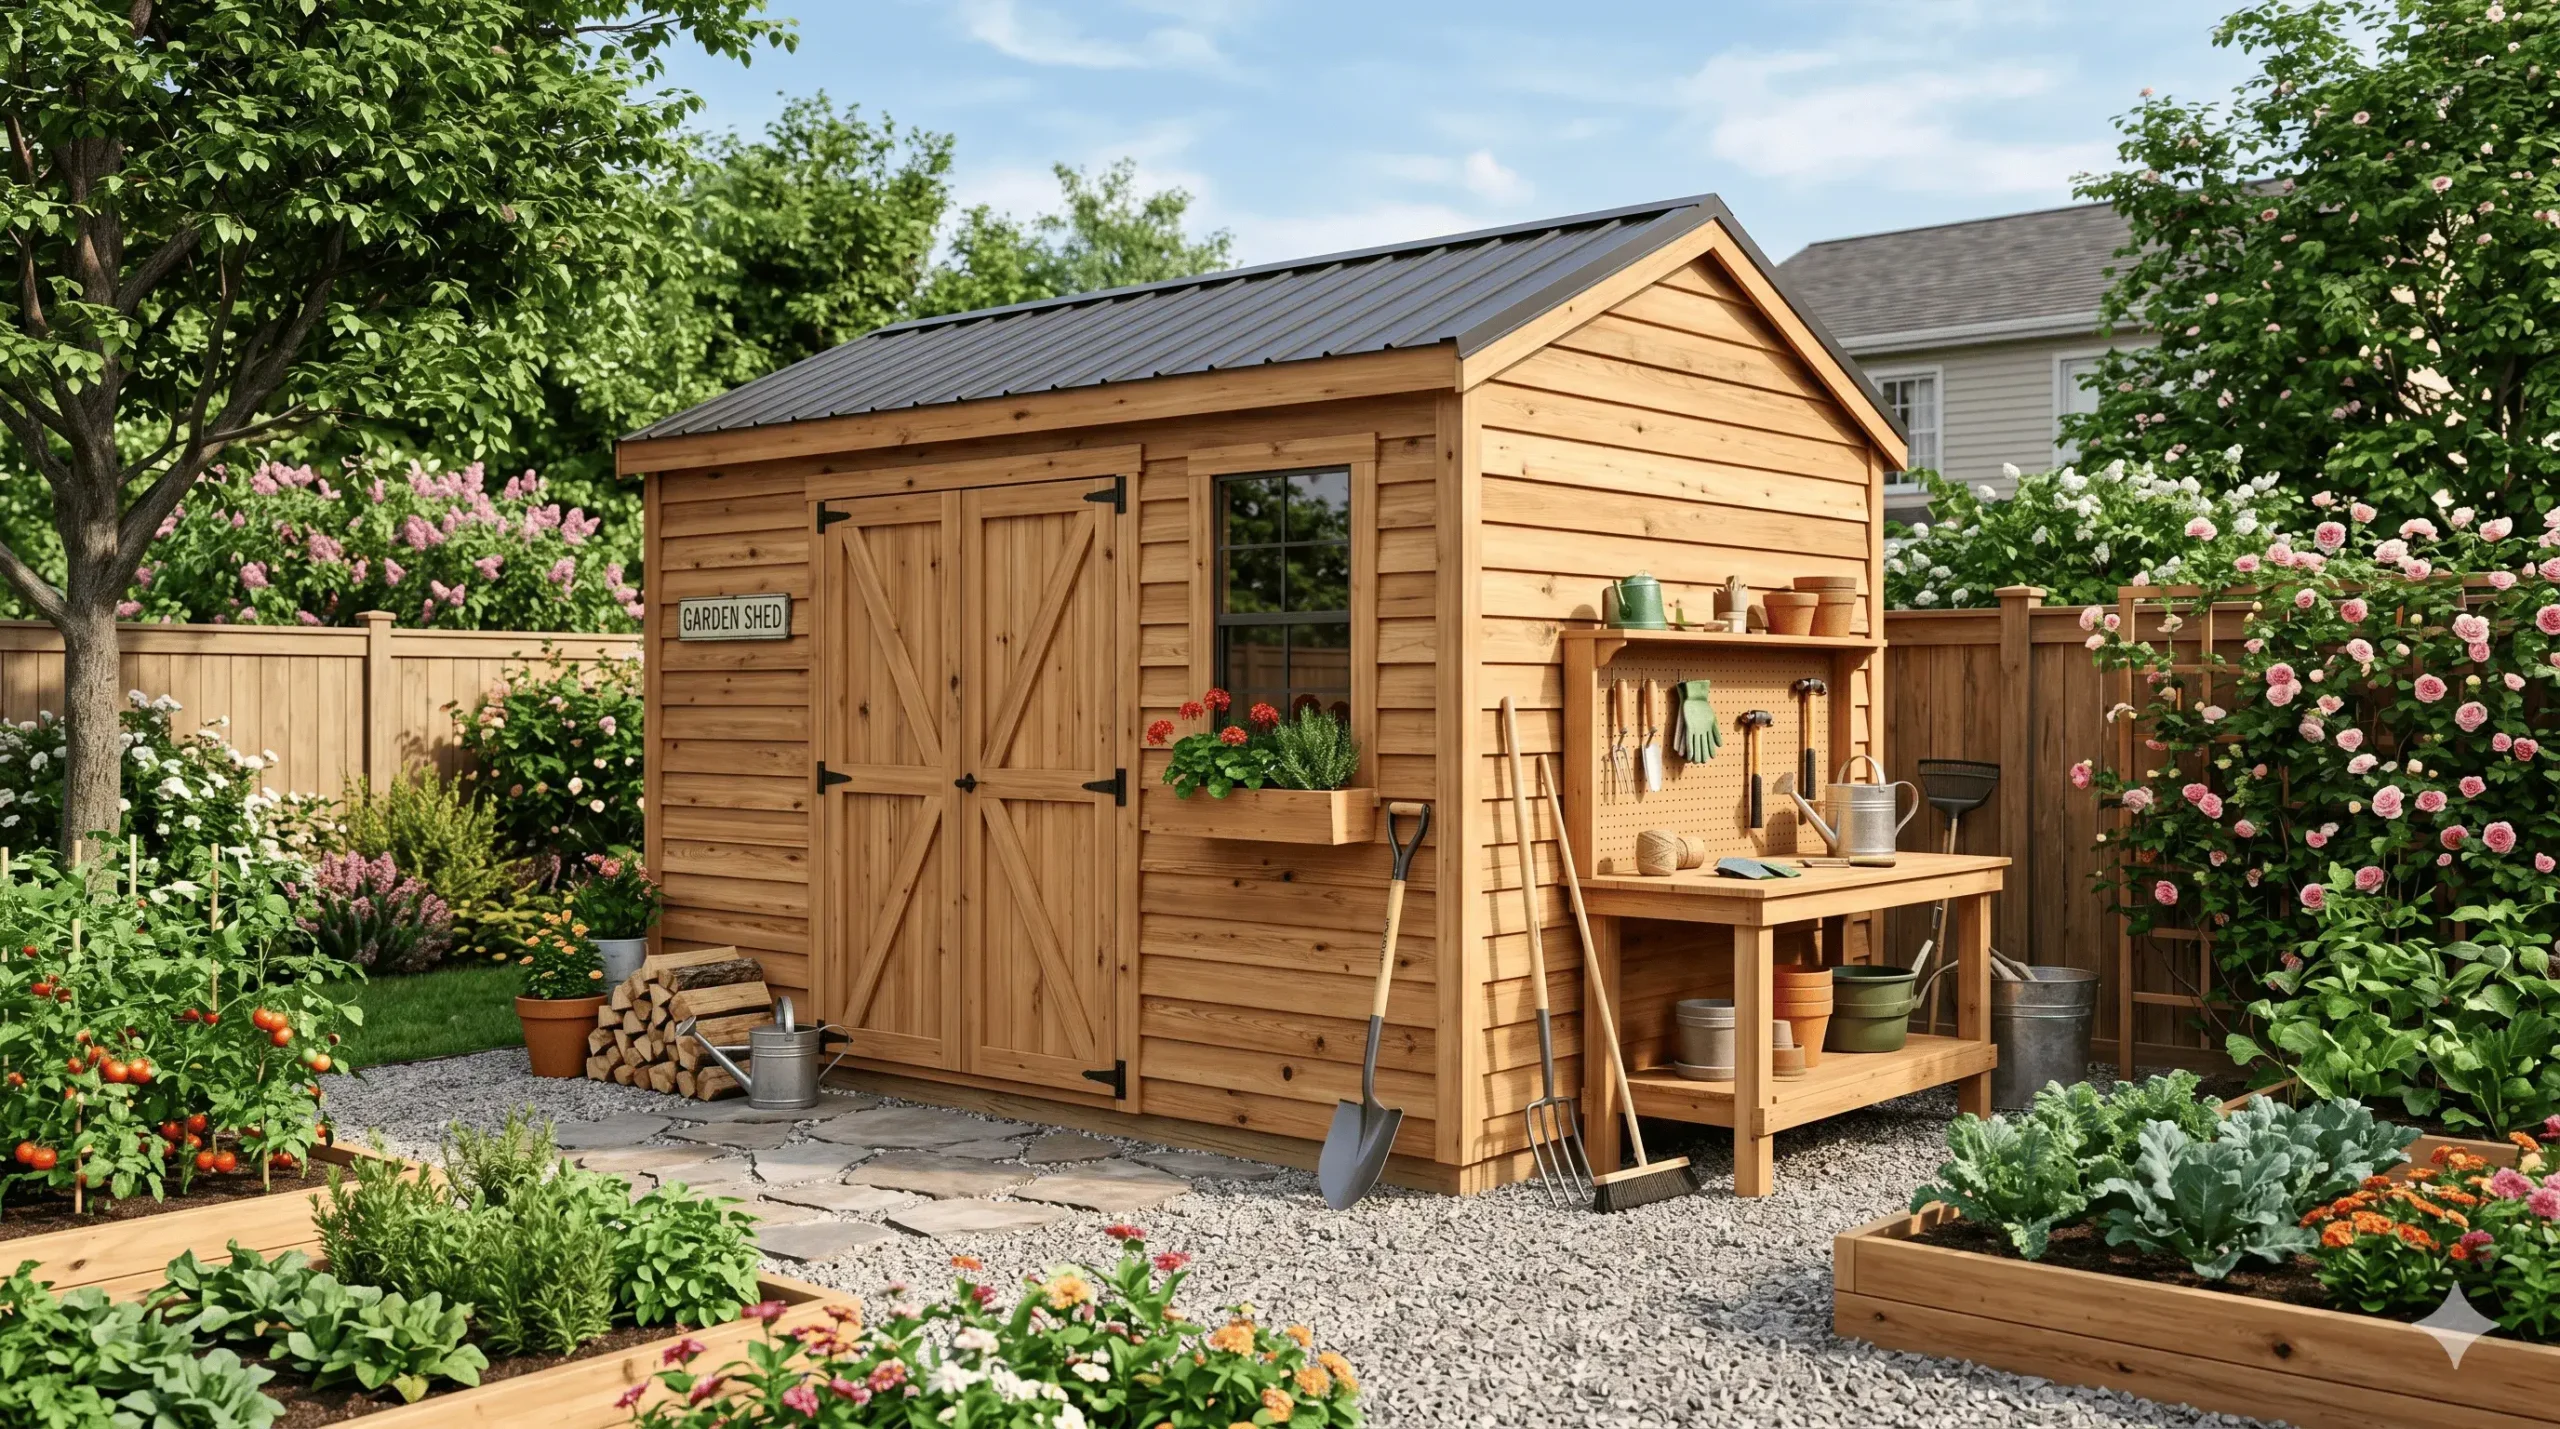
Planning Your DIY Outdoor Wood Storage Shed Tutorial Project
Before you cut a single board, choose a site that helps timber dry and keeps your build trouble-free.
Strategic Site Selection for Optimal Airflow
Choosing the right site is critical. A south-facing location gets the most sun and helps timber dry faster.
In the UK, prevailing winds come from the west, so orient the open side south when possible. Leave at least a 10 cm gap from any wall or fence to let air move freely.
Note: Aim for a final wood moisture content of 20% or less before burning to meet regulations and improve performance.
Benefits of Using Detailed Plans
Structured plans save time and cut confusion. Good plans include step-by-step instructions, 3D diagrams, and exact material lists.
These details help you avoid common mistakes and speed up each phase of the build. Always check local building rules before you begin.
| Planning Element | Why It Matters | Action |
|---|---|---|
| Site orientation | Maximizes drying and reduces damp | Face open side south; consider wind direction |
| Clearance | Improves airflow and prevents rot | Keep ≥10 cm gap from walls/fences |
| Detailed plans | Reduces errors and saves time | Use 3D diagrams and material lists |
| Regulations | Ensures safety and legal compliance | Maximises drying and reduces dampness |
Essential Tools and Materials for Your Build
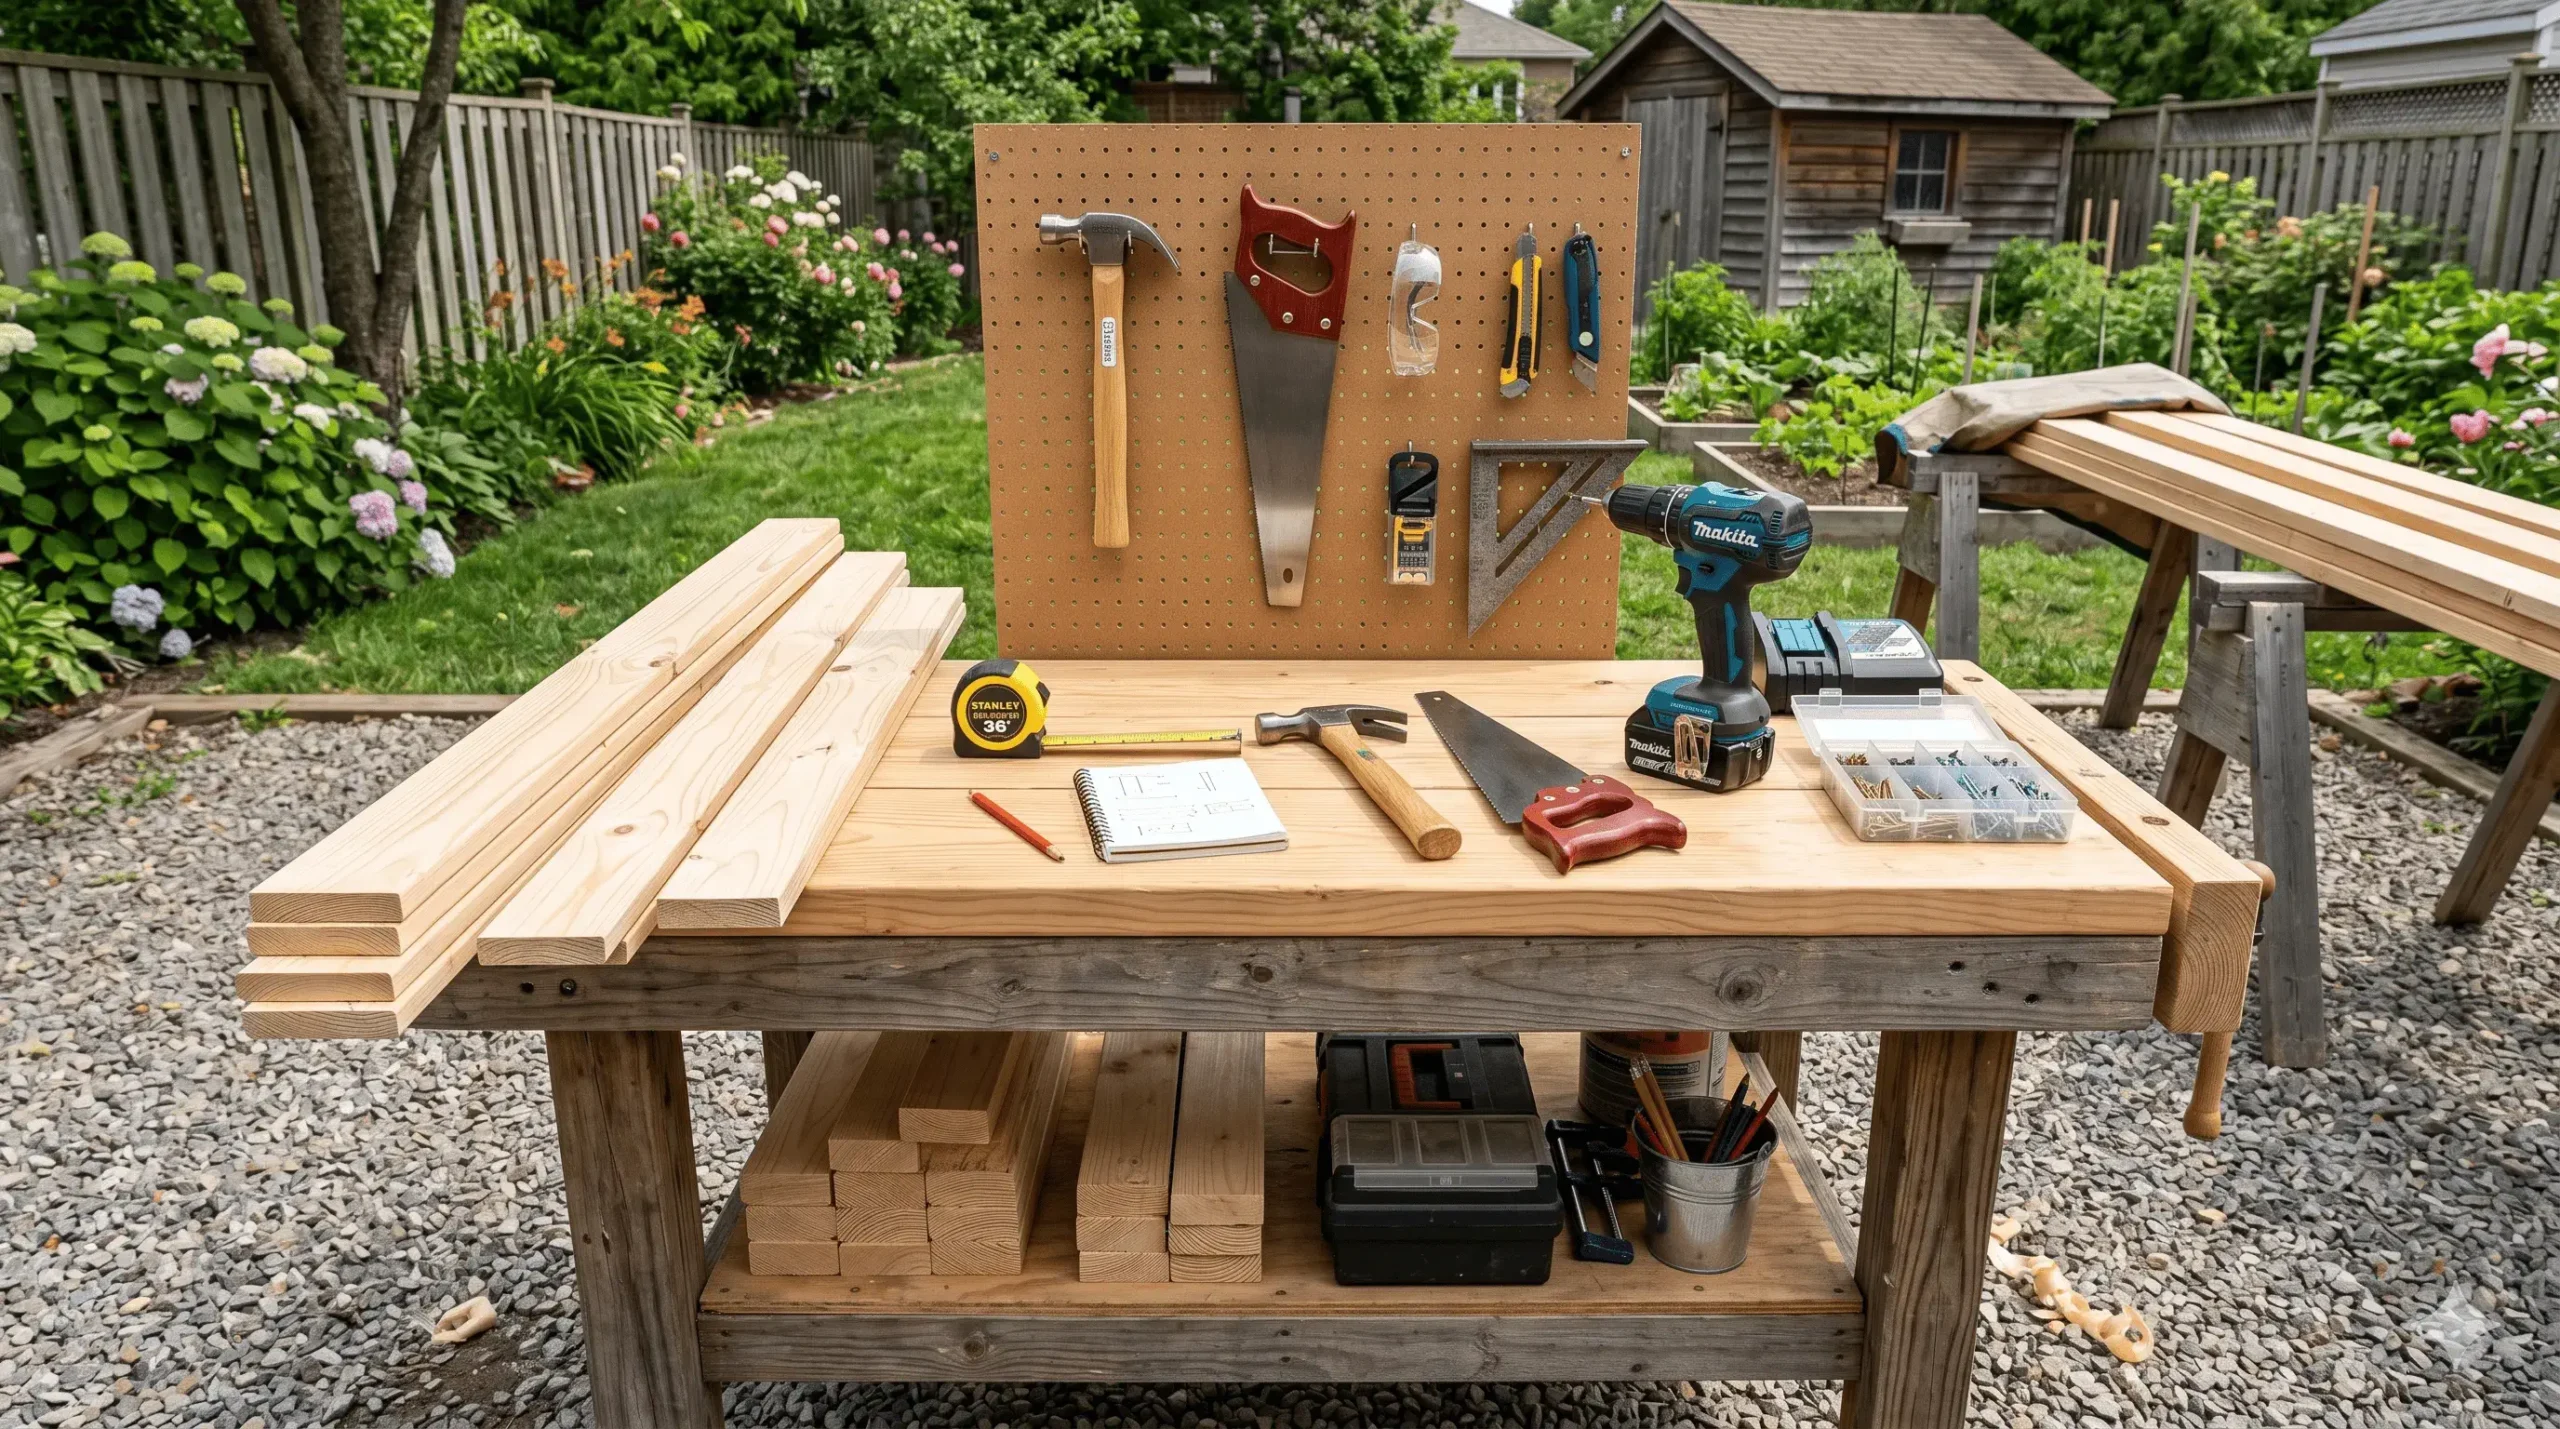
Gathering the right tools and materials before you start keeps the job smooth and fast.
You will need these core materials:
- 6 pre-cast concrete decking blocks with a recess sized for 50 mm beams to form a stable foundation.
- 23 meters of 76 x 50 mm construction timber for the primary frame.
- 51 meters of 69 x 22 mm wooden laths for cladding and internal supports.
- One corrugated metal sheet, 2200 x 1300 mm, plus exterior screws, washers, and spacers for the roof.
Key tools to have on hand:
- A mitre saw or chop saw to cut precise angles, including the 8-degree tilt for support posts.
- Electric drill, impact driver, spirit level, tape measure, and safety gear.
- Assorted exterior-grade screws and washers to secure the roof sheet and battens.
This list gives you the practical information you need for a single shopping trip. Use pre-treated timber where possible to extend service life and resist weather stress.
Step-by-Step Construction Process
Follow these construction steps to move from foundation to finish with clear, manageable tasks.
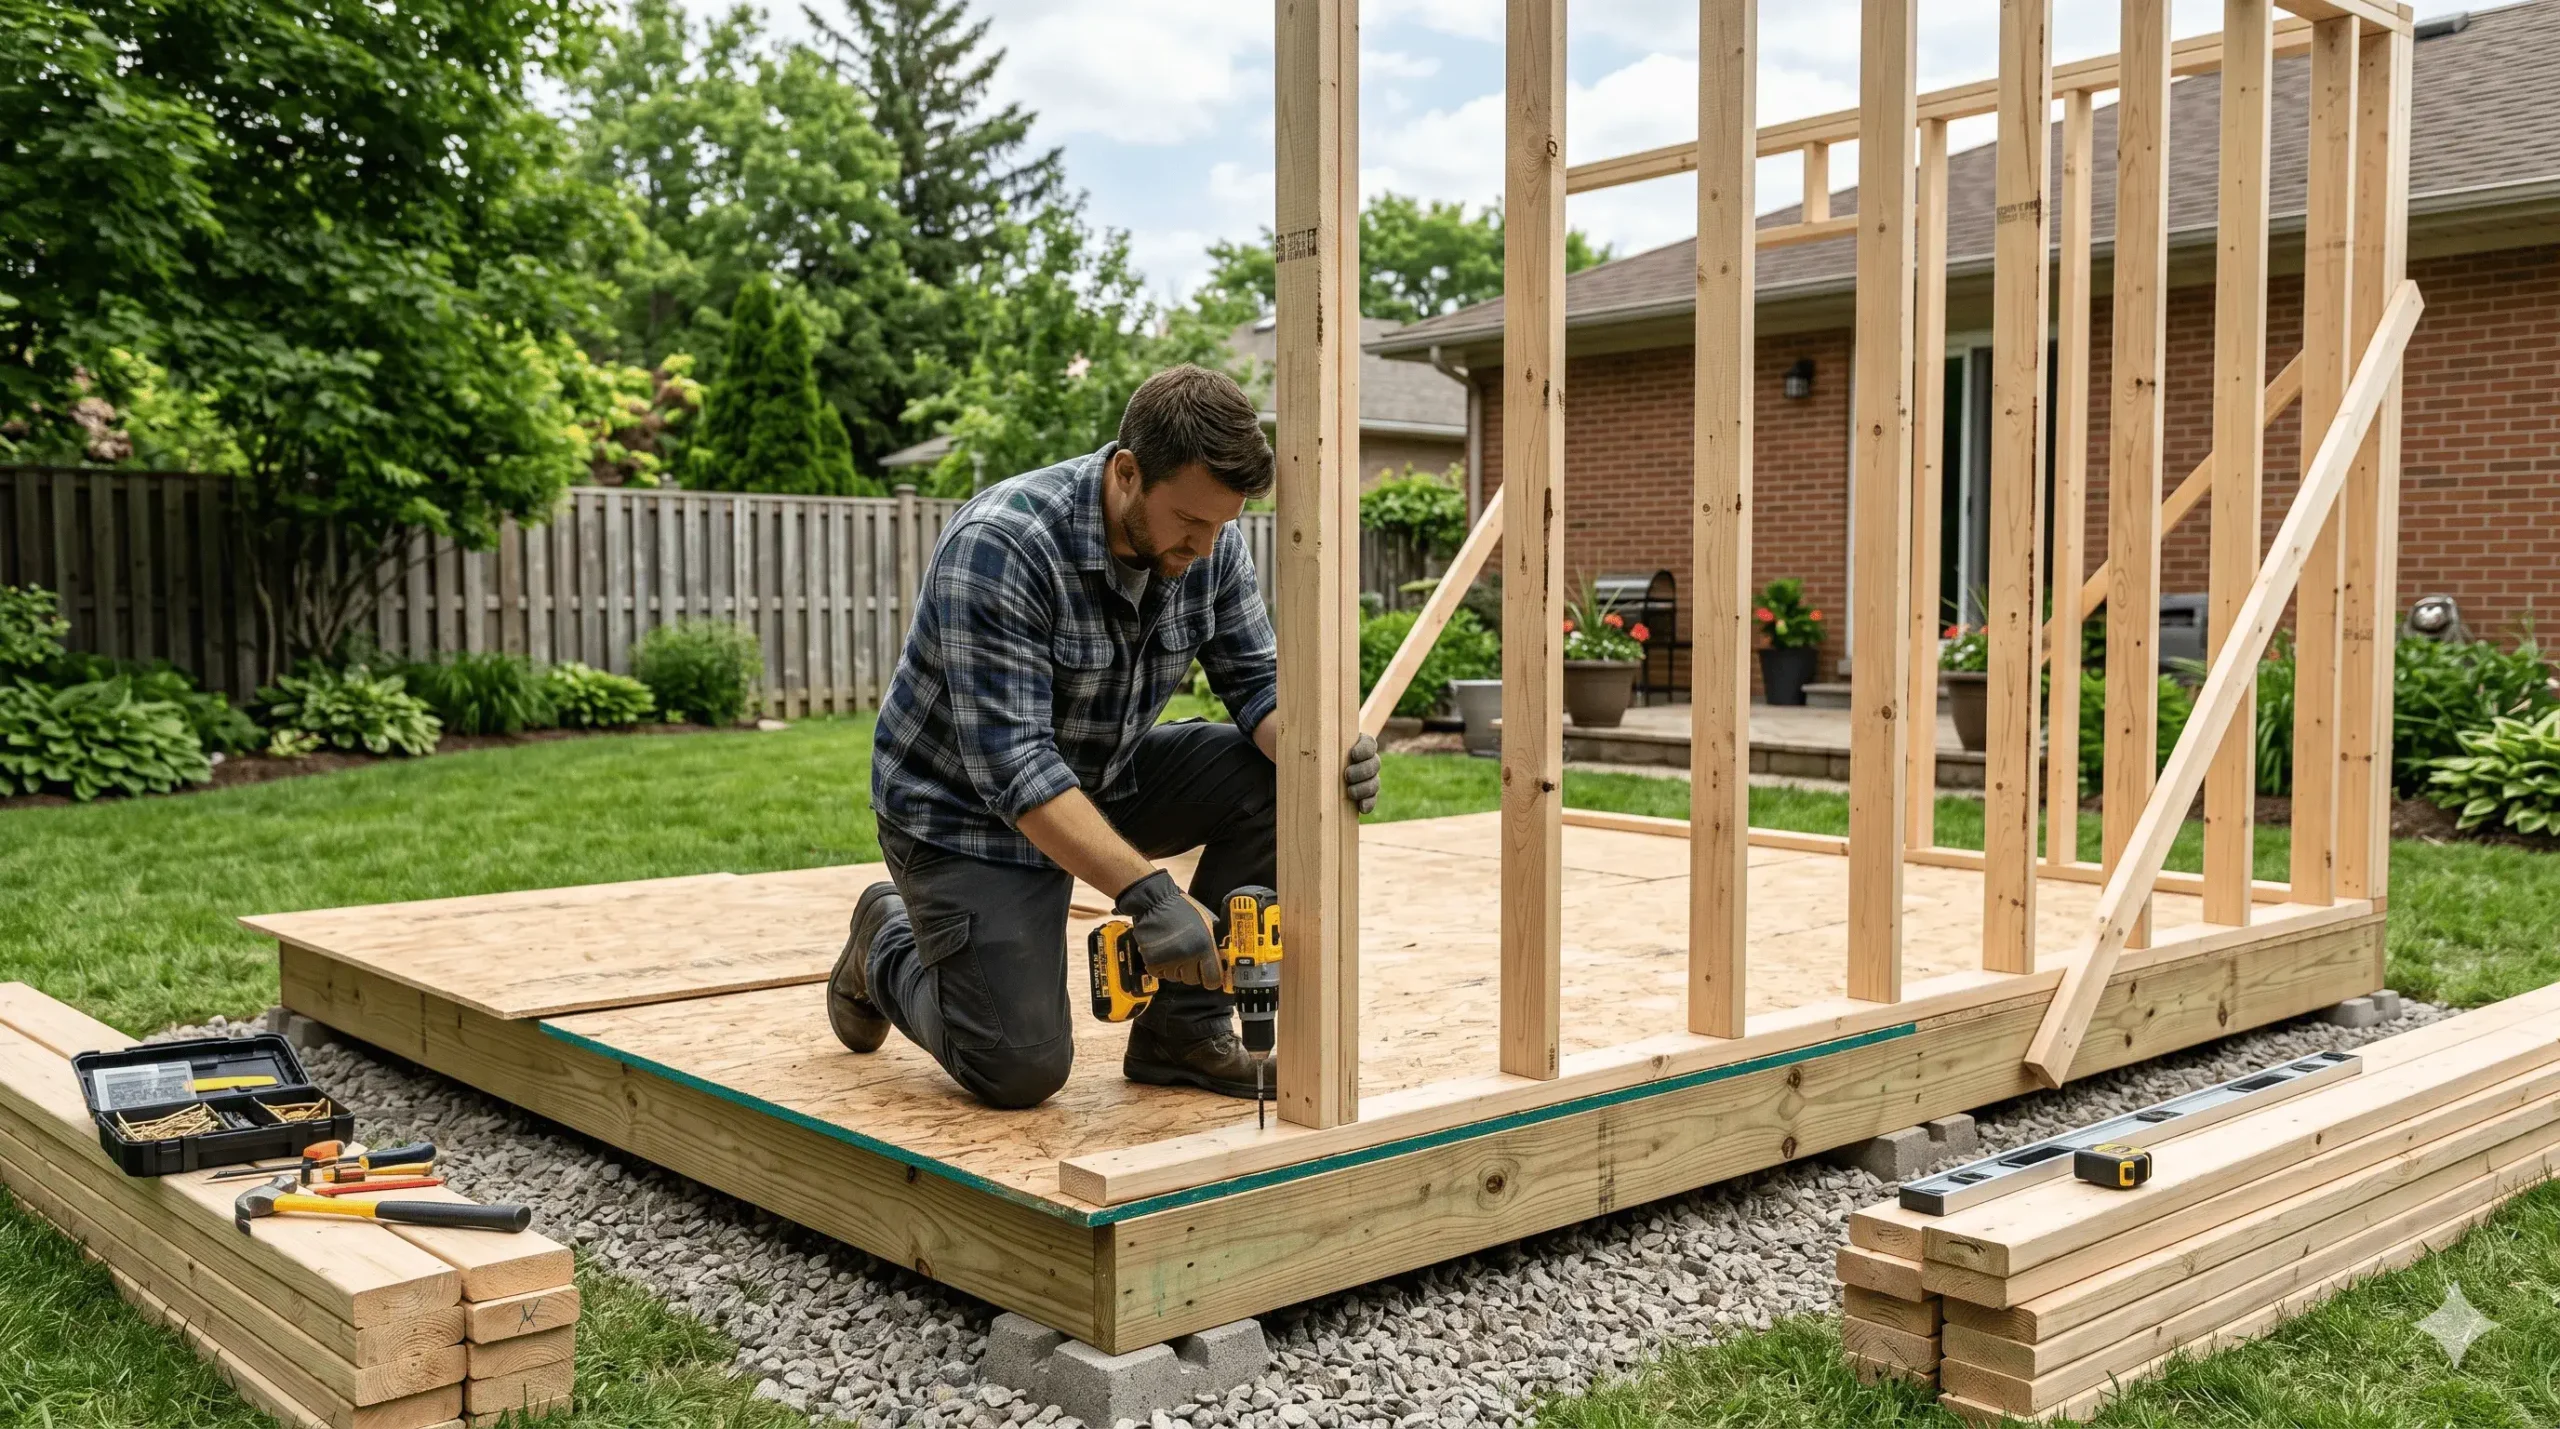
Foundation and Framing Techniques
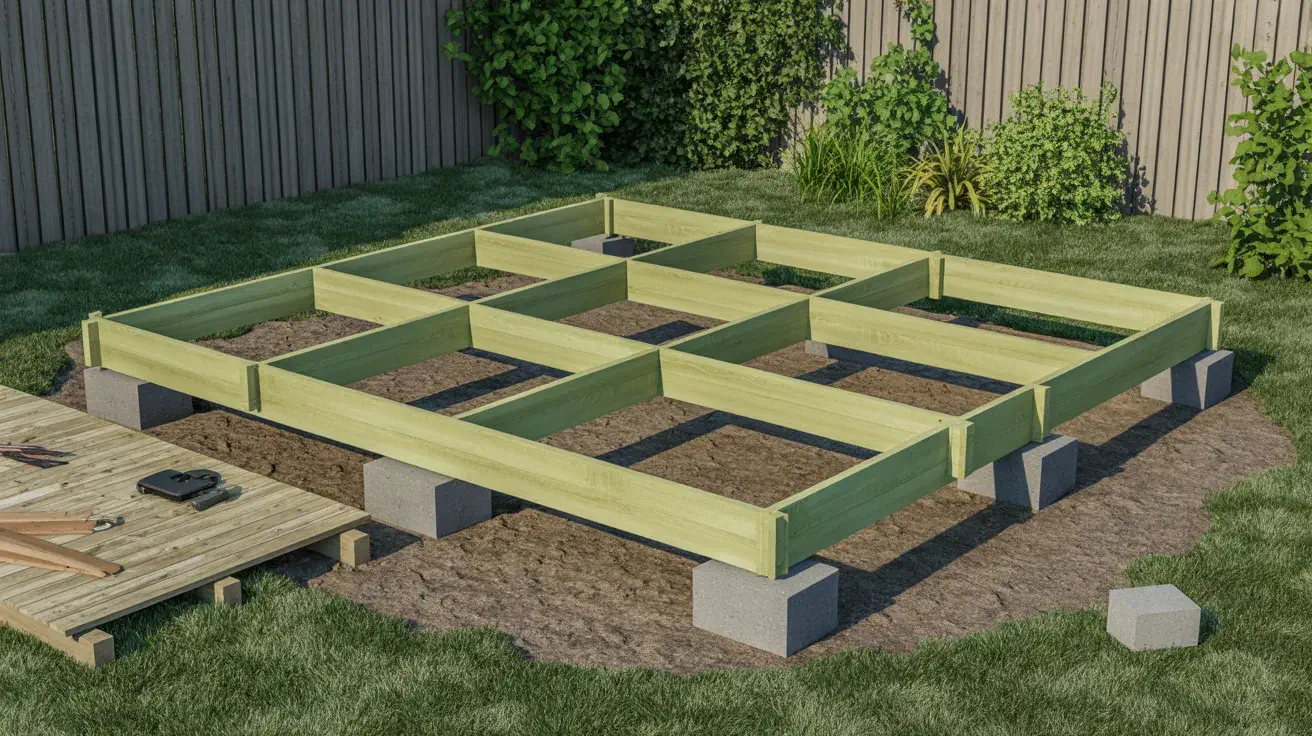
Start by levelling the site. Dig holes 30 cm deep for the concrete blocks, then add 20 cm of compacted gravel beneath each block.
Set the blocks so the base is flat and square. The floor frame should be made with pressure-treated boards. Confirm the rectangle is perfectly level before you install upright posts.
Cut the front uprights 12.5 cm taller than the rear ones to form the correct roof pitch. Trim 4 x 4 posts at a 30-degree angle where they meet the roof supports.
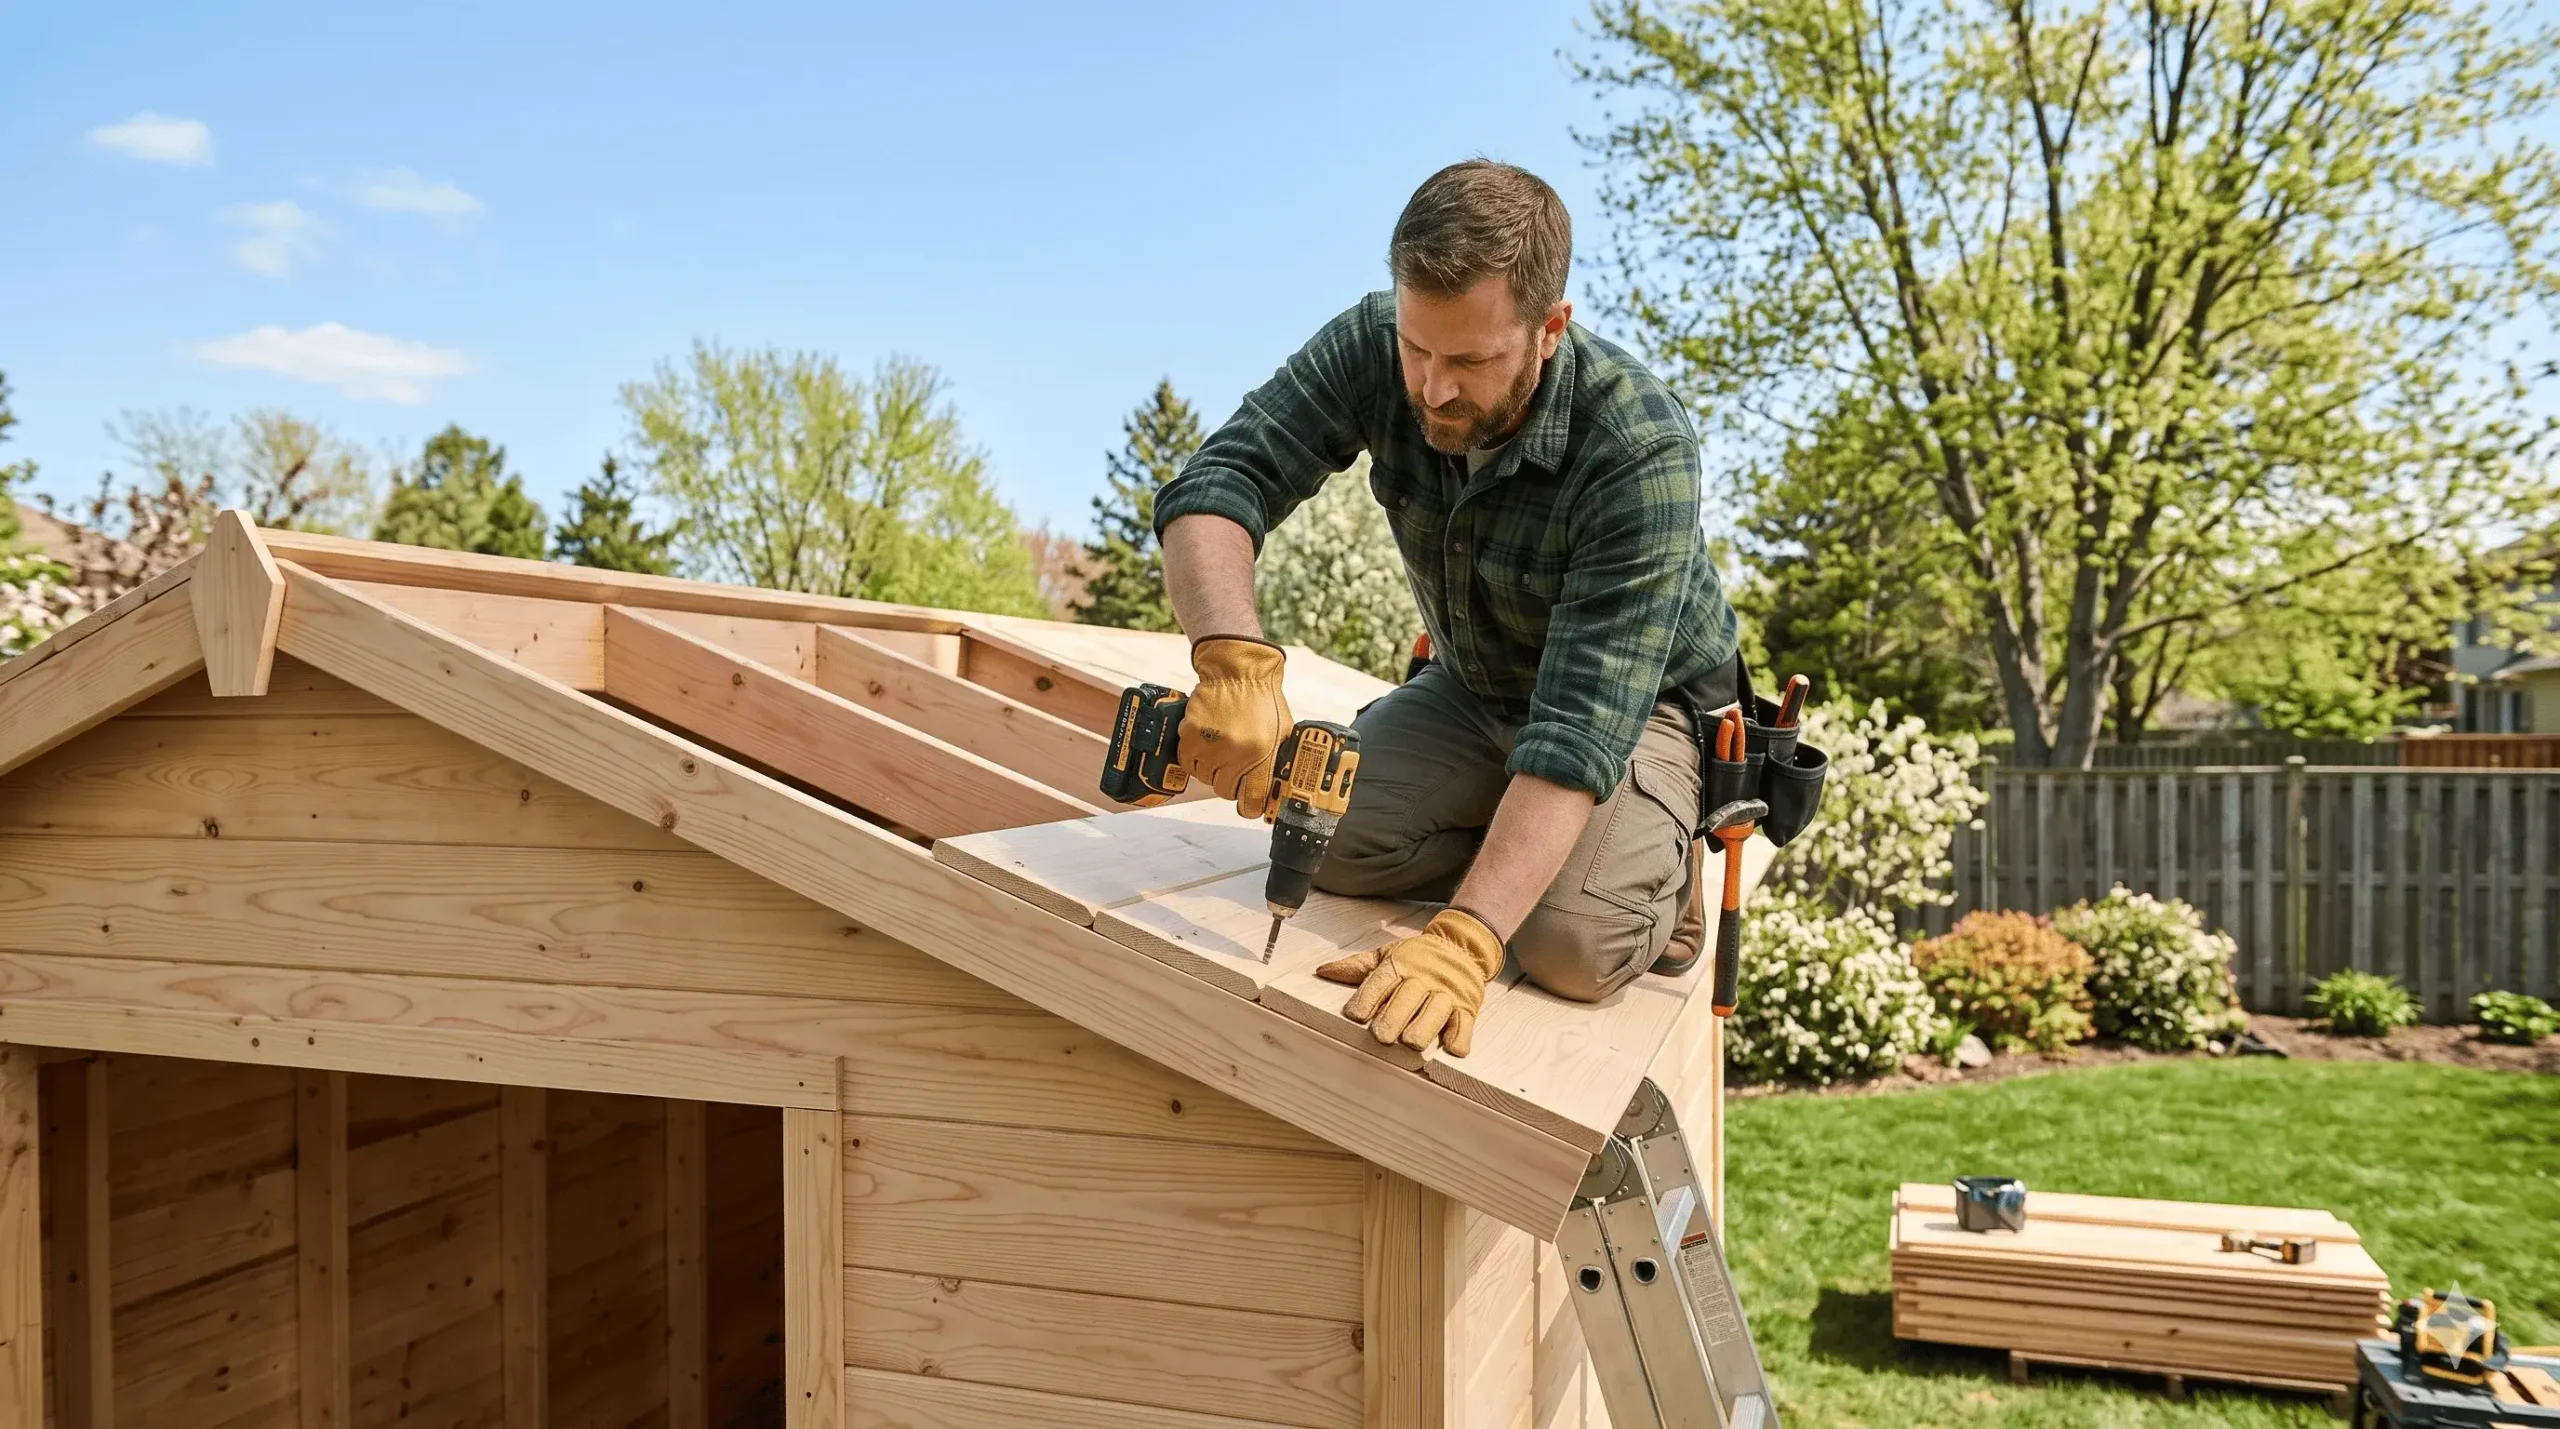
Roofing and Flooring Installation
Lay the flooring with composite boards or pressure-treated lumber. Leave small gaps between boards to allow air circulation under the floor.
Attach corrugated metal sheets for the roof using exterior screws and washers. Trim sharp edges with tin snips and fasten every rafter for a secure cover.
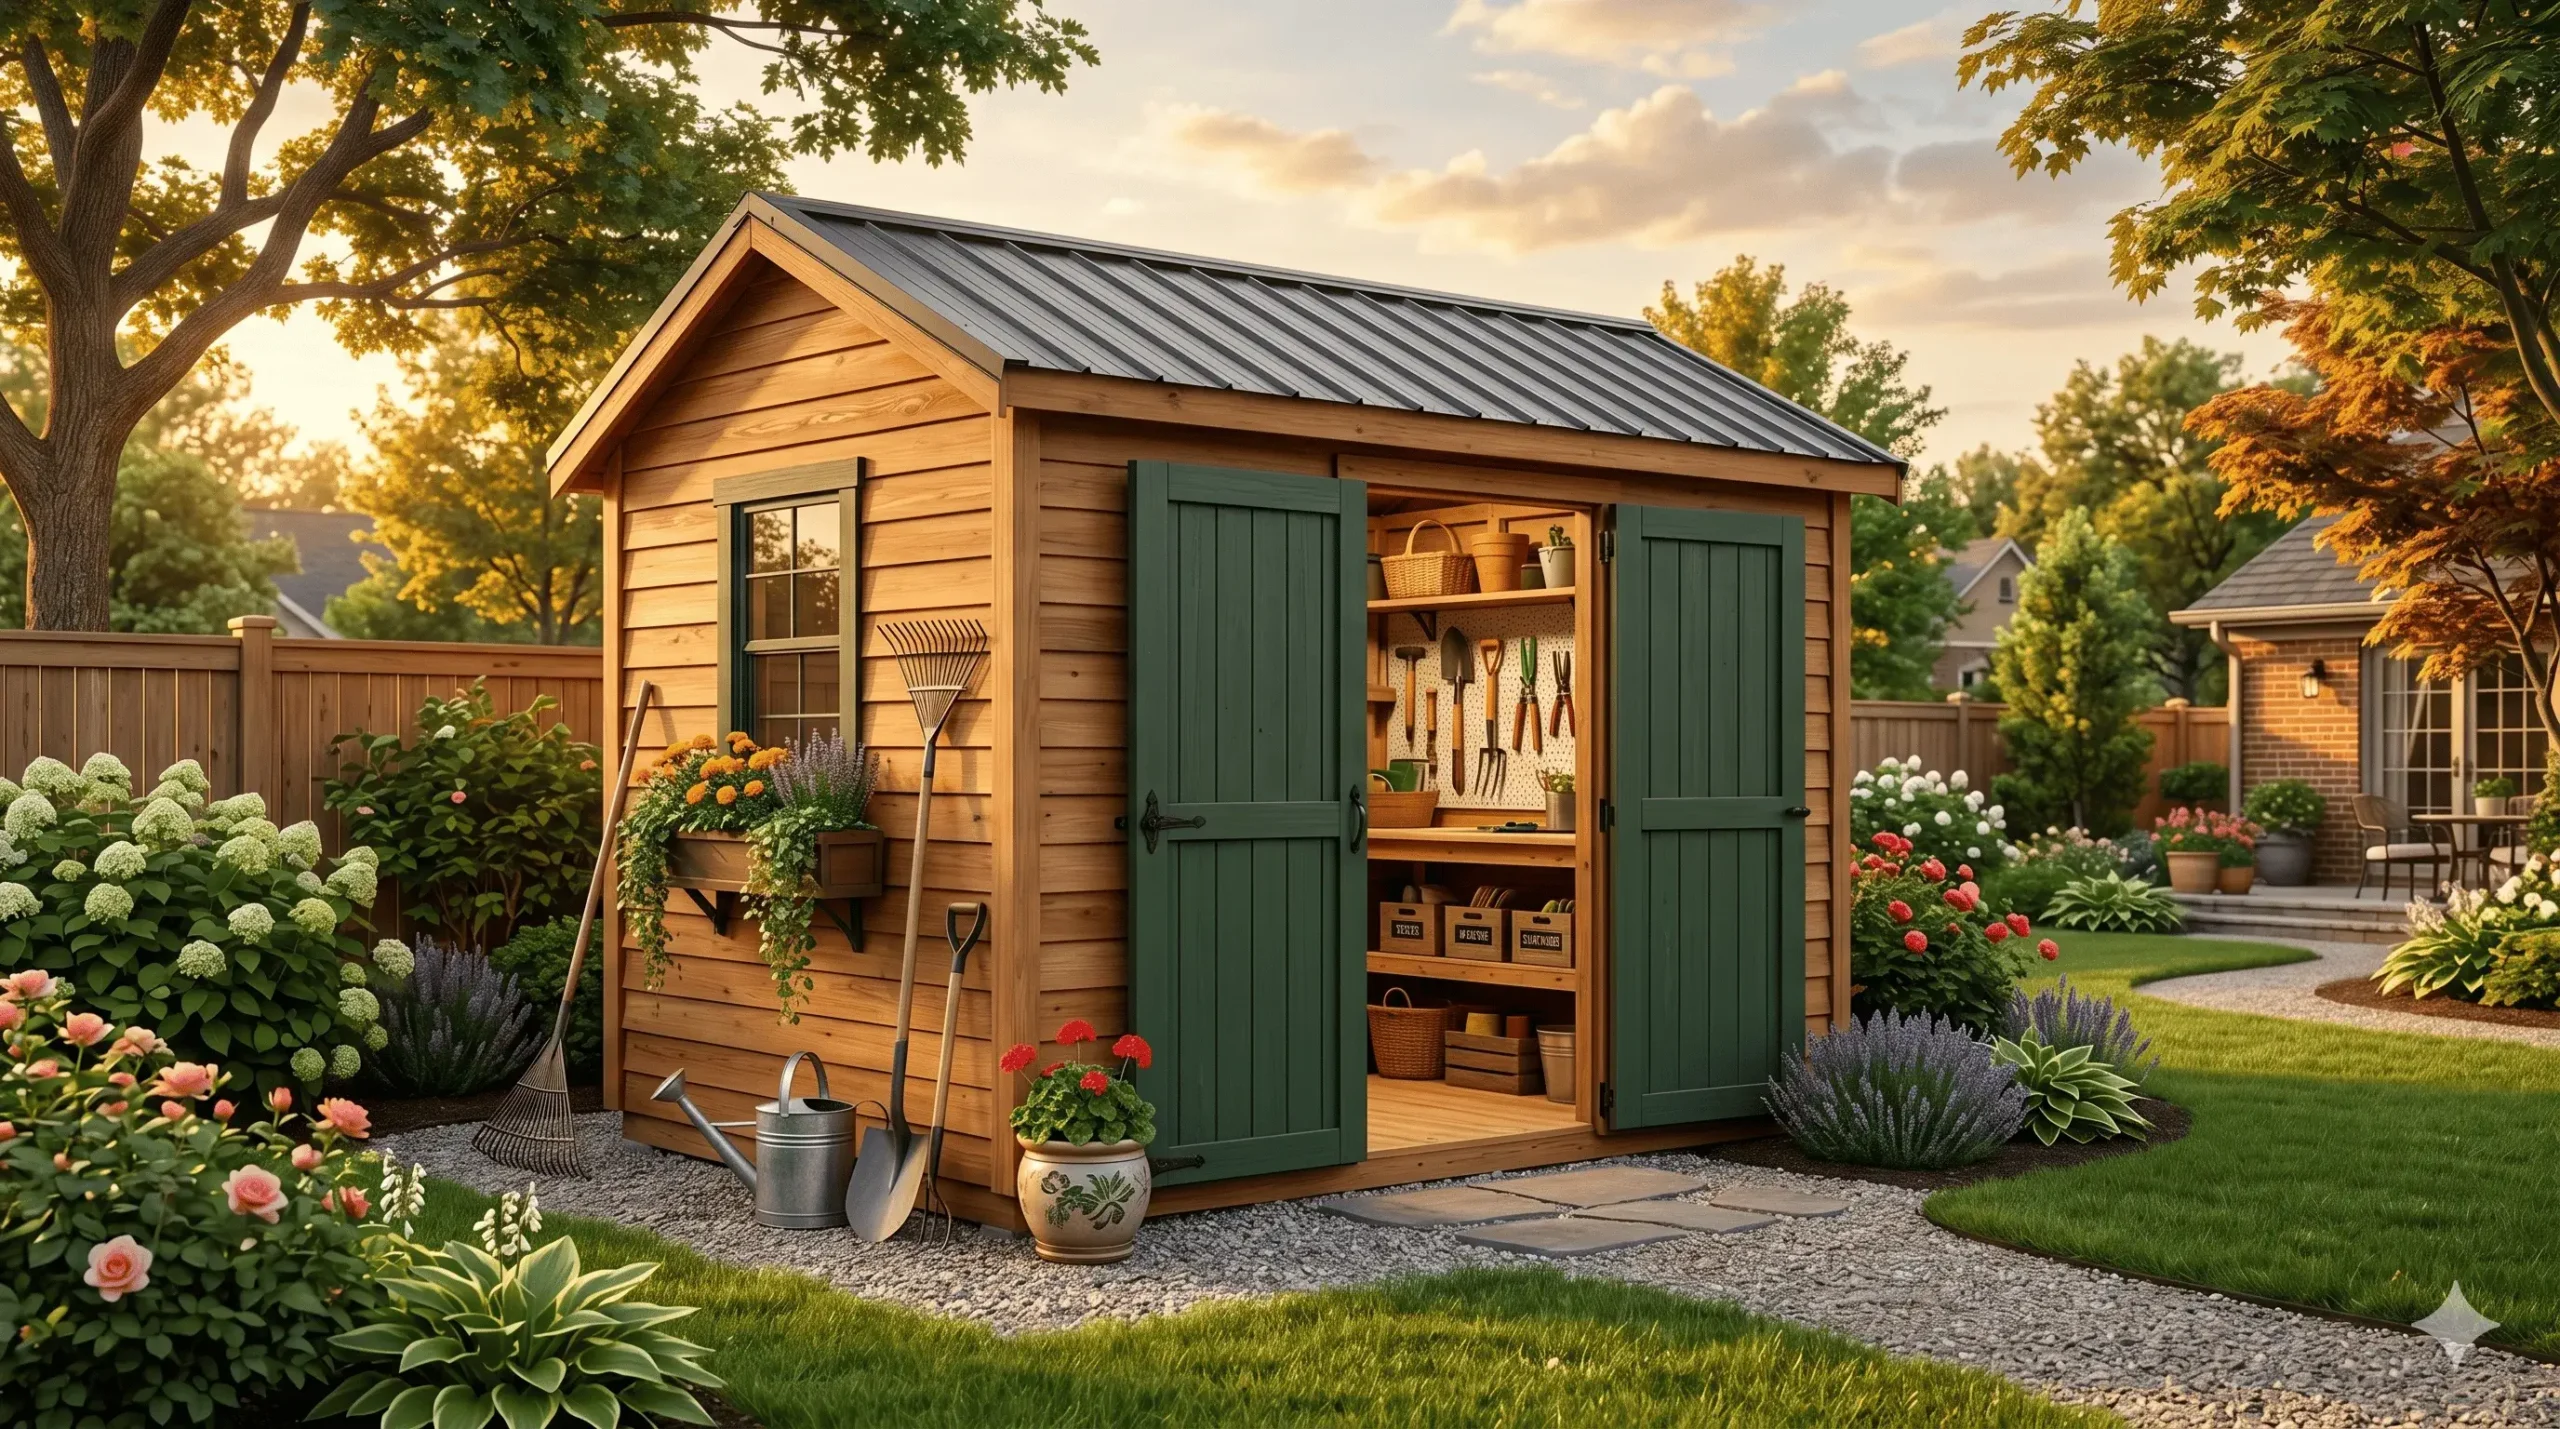
Finishing Touches and Weatherproofing
Seal joins with exterior-grade sealant and check that water runs off the front edge. The final structure measures 97″ wide by 43″ deep and 83″ tall at the front.
| Phase | Key Action | Why it matters |
|---|---|---|
| Foundation | 30 cm holes + 20 cm gravel and blocks | Stable, drained base prevents settling |
| Framing | Level floor frame; posts cut at 30° | Correct pitch and sturdy structure |
| Roof & Floor | Corrugated roof; ventilated floorboards | Weatherproof top and airflow below |
Cost Savings and Common Mistakes to Avoid
Knowing where your money and time go helps you choose the best option.
Cost comparison: Building your own unit typically costs far less than buying a pre-built model. You save on labour and can select materials to suit your budget. A pre-built option often includes higher labour costs and delivery fees.
You should expect the total build time to be around 1–2 days if you have basic skills and the right tools. Fast completion lowers incidental costs like rentals and transport.
| Item | DIY Build | Pre-built |
|---|---|---|
| Typical cost | $200–$900 (materials only) | $800–$2,500 (unit + delivery) |
| Labor | Your time (1–2 days) | Included, higher markup |
| Customization | High—choose materials and finish | Limited—fixed sizes and colors |
| Long-term value | Repairable and upgradable | Often harder to modify |
Common mistakes to avoid:
- Failing to monitor moisture: freshly harvested wood needs about two years to season. Use a moisture meter to ensure levels are 20% or less before burning.
- Placing the structure directly on the ground: this traps moisture and speeds rot. Use blocks or piers for airflow.
- Skipping local regulations: always consult local building codes and use the correct information to remain compliant.
🚀 🔨 Build Your Dream Shed — The EASY Way!

Stop guessing, wasting money, or getting stuck halfway through your shed project…
👉 Get instant access to 12,000+ step-by-step shed plans and build like a pro — even if you’re a complete beginner!
✅ What You’ll Get Inside:
- 🏗️ 12,000+ Shed Plans – All sizes, styles & designs in one place
- 📐 Step-by-Step “LEGO Style” Instructions – No confusion, just build
- 🪵 Complete Materials & Cutting Lists – Buy only what you need, save money
- 🧠 Beginner-Friendly – Perfect even if you have ZERO woodworking experience
- 💰 Save $1000s vs buying pre-built sheds
- 🎯 3D Diagrams + Exact Measurements – No mistakes, no guesswork
- 🎁 FREE Bonuses Worth $340 (limited time)
- 🛡️ 60-Day Money-Back Guarantee – 100% risk-free
⚡ Ready to Build Your Shed Without Stress?
👉 Click below now and start building TODAY (not someday)
🔥 👉 [Get Instant Access to 12,000 Shed Plans Now]
💡 Don’t wait… this special price won’t last forever — and neither will your motivation.
Conclusion
Finish strong by reviewing essential checks and choosing a clear plan to speed the build.
By following this guide, you now know how to plan, build, and maintain a high-quality storage unit for your yard.
Keep in mind that proper air circulation and a solid foundation are the two most important factors for letting your firewood season correctly.
We highly recommend our complete shed plans package, which includes 3D diagrams and full material lists to make the build faster and easier.
Investing in a professional plan helps you avoid mistakes and finish with precision. Start your project today and enjoy a reliable, weather-resistant solution for your firewood needs.
FAQ
What size shed should you build for lawn and garden tools?
Choose a footprint that matches your storage needs and site constraints. A 6×8 or 8×10 structure works well for a lawn mower, hand tools, and seasonal gear. If you plan to store a riding mower or bulky equipment, increase the depth and door width accordingly. Always measure your largest item first and add room for aisles and shelving.
How do you pick the best location for airflow and drainage?
Select a level spot with a slight grade to encourage runoff, and avoid low-lying areas where water pools. Position the building with prevailing winds in mind to improve ventilation. Place vents high on gable ends and add a ridge vent or soffit vents to promote continuous airflow and reduce moisture buildup.
What foundation options are practical and budget-friendly?
Pressure-treated skids, concrete piers, and compacted gravel pads are common choices. Skids are fast and cheap for smaller structures and keep wood off the ground. Concrete piers offer stability on uneven terrain. A gravel pad with a weed barrier gives good drainage and a sturdy base without a full slab.
Which tools are must-haves to complete the build efficiently?
At minimum, have a circular saw, drill/driver, level, framing hammer, tape measure, speed square, and a pair of sawhorses. A mitre saw and table saw speed up cutting and improve accuracy. Renting heavier equipment like a plate compactor or generator can save time and money.
How can you weatherproof the structure for long-term durability?
Use pressure-treated lumber where it contacts the ground, apply exterior-grade sheathing and house wrap, and install quality flashing around openings. Finish with a breathable stain or exterior paint and seal all seams with exterior caulk. Proper roof underlayment and overhangs will divert water away from siding and doors.
What roofing materials are best for longevity and cost control?
Asphalt shingles are affordable, easy to install, and widely available. Metal roofing lasts longer and sheds snow well but costs more upfront. For a balance, choose architectural shingles or a corrugated metal option with a protective finish to extend lifespan without breaking your budget.
How do you plan for ventilation and pest control?
Install screened vents near the roofline and add a ridge vent to allow hot, moist air to escape. Seal gaps around windows and doors to deter rodents and insects. Elevate the floor and use treated materials for areas prone to pests, and consider a small gap between siding and ground to prevent termite access.
What permits or codes might affect your project?
Regulations vary by city and county. Many jurisdictions exempt small accessory buildings under a size threshold, but setbacks, height limits, and electrical permits may still apply. Contact your local building department before starting to confirm requirements and avoid costly rework.
How do you estimate total material and labour costs?
Start with a detailed materials list based on your plans, then get current prices from lumber yards and suppliers. Factor in fasteners, roofing, finishes, and hardware. For labour, multiply local hourly rates by estimated build hours or add 15–25% contingency for unexpected needs. Comparing a build vs. buying a pre-built unit helps you decide if the project saves money.
What common mistakes should you avoid during construction?
Don’t skip site prep or level the foundation; that leads to alignment and roofing issues. Avoid using untreated wood where it contacts the ground. Measure twice before cutting, and don’t neglect flashing and caulking around openings. Rushing any step increases repair needs later, so take time to follow the plans precisely.
How can you customise storage for tools and gear efficiently?
Add vertical pegboard panels, adjustable shelving, and overhead racks to maximise capacity while keeping the floor clear. Use clear bins with labels and magnetic strips for small metal tools. Plan door swings and aisle width to ensure you can access stored items comfortably.
Are there eco-friendly materials and methods you should consider?
Choose FSC-certified lumber, low-VOC paints and stains, and recycled-content roofing materials when possible. Optimise insulation and natural ventilation to reduce energy needs. Salvaged windows or recycled hardware can reduce waste without sacrificing performance.
