
Over 10 million homes worldwide now use renewable energy, with wind power being a top choice. You can join this movement by making your DIY wind generator with wooden blades. This approach saves money and lets you tailor it to your energy needs.
Creating a DIY wind generator needs a few key parts: the generator, blades, and tower. Choosing the right materials and designing well can help you make a lot of electricity.
Key Takeaways
- Understand the basic components required for a DIY wind generator.
- Learn how to design and build wooden blades for your wind turbine.
- Discover the steps to assemble and install your wind generator.
- Find out how to maintain your wind turbine for optimal performance.
- Explore the benefits of using renewable energy sources.
Understanding Wind Generator Basics
Starting a project on sustainable energy? First, learn about wind generators. They turn wind into electricity, a clean and endless power source.
How Wind Generators Work
Wind generators use blades to capture wind energy. This energy turns into mechanical power. Then, a generator changes it into electricity. The wind turbine blade design is key to capturing more energy.
Benefits of DIY Wind Power
Choosing a homemade wind turbine has many perks. It cuts down energy bills and helps the planet. With diy renewable energy projects, you save money and help the environment.
Safety Considerations
Building and running a wind generator must be safe. Make sure your diy wind generator has safety features. Also, keep it well-maintained for safe and efficient use.
| Safety Feature | Description | Importance Level |
|---|---|---|
| Blade Design | Properly designed blades to minimise the risk of breakage | High |
| Electrical Grounding | Proper grounding to prevent electrical shock | High |
| Regular Maintenance | Regular checks to ensure all components are in good condition | Medium |
With these basics and safety in mind, you can build a diy wind generator. It’s a great way to help with sustainable energy solutions.
Tools and Materials Needed
Before starting your DIY wind generator, know what tools and materials you need. This helps you prepare and budget for your project. It makes the construction process smoother.
Essential Tools List
You’ll need various tools to begin. These include a drill press, a hand saw or jigsaw, sandpaper, and a workbench. Precision is key, so use high-quality tools and accurate measuring tools.
Materials for Generator Components
For the generator, you’ll need copper wire, a permanent magnet, and steel. The quality of these materials affects the generator’s efficiency.
Materials for Wooden Blades
Use durable woods like cedar or pine for the blades. The size and shape depend on your design. Typically, you’ll need three blades, each about 6 feet long.
Optional Equipment
You might also need a tail vane to keep the turbine facing the wind. Or a charge controller to regulate power output.
| Component | Material | Quantity |
|---|---|---|
| Blades | Cedar or Pine Wood | 3 |
| Generator Coils | Copper Wire | Variable |
| Stator/Rotor | Steel | 2 |
Choosing the right tools and materials makes your DIY wind generator project cost-effective and efficient. It helps you achieve your eco-friendly power generation goals.
Planning Your DIY Wind Generator Project
Before starting your DIY wind generator, planning is key. Good planning makes sure your wind generator works well and safely.
Determining Power Requirements
To figure out your power needs, look at how much energy you use. Add up the wattage of all appliances you want to power. Think about your daily energy use and when you need the most power.
Choosing the Right Location
The spot for your wind generator is very important. Find a place with steady wind and no big obstacles. Make sure it’s high up to catch more wind.
Understanding Wind Patterns in Your Area
Knowing the wind in your area is essential. Look at past wind data to find out the average speed and direction. Use tools like anemometers to measure wind speed and direction.
Local Regulations and Permits
Check local rules and permits needed before installing. Some places have laws about wind turbines, like height and noise rules. Get the right permits to avoid legal trouble.
With careful planning, your DIY wind generator project can be a success. It will give you reliable and green energy.
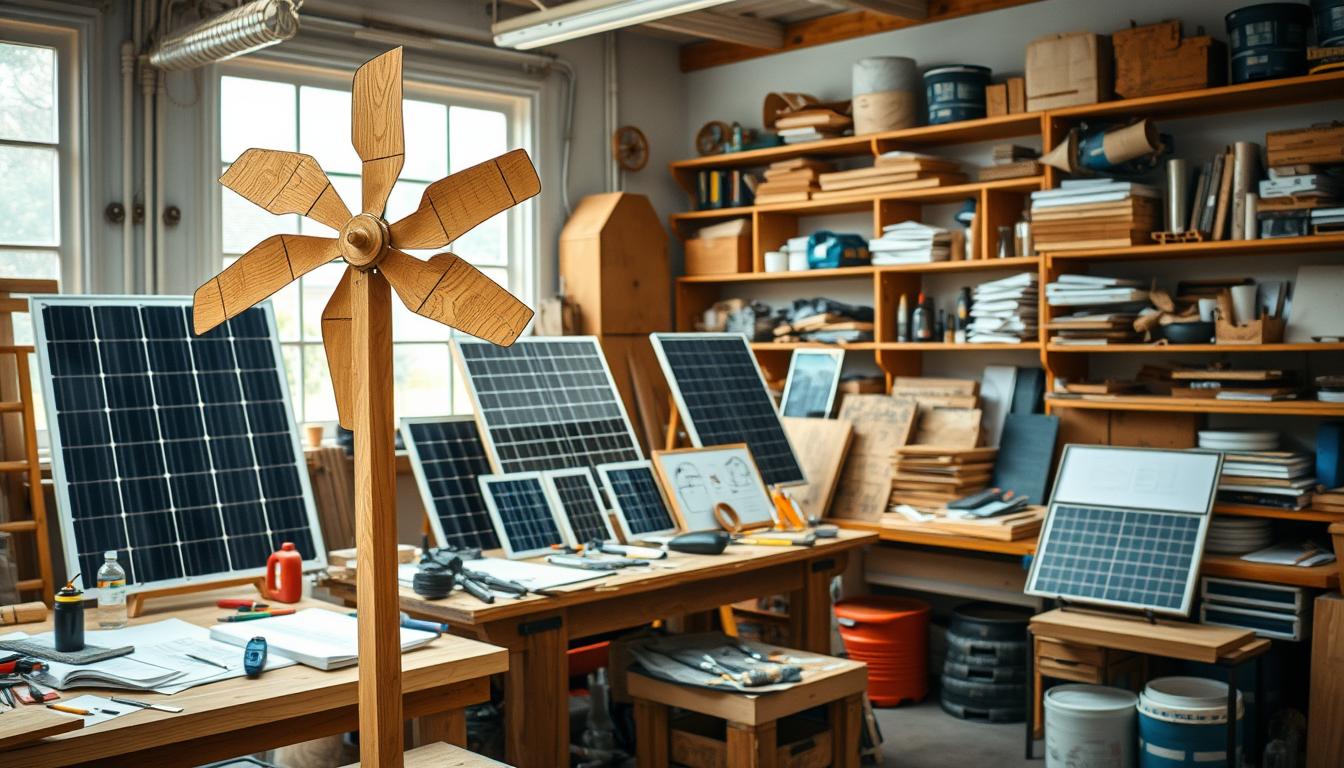
Designing Your Wooden Blades
Creating effective wooden blades is key to your DIY wind generator’s success. These blades catch wind energy and turn it into mechanical energy. This energy is then changed into electrical energy. So, how well the blades are designed affects your wind generator’s performance.
Optimal Blade Shapes and Sizes
The shape and size of your wooden blades are very important. Studies show that an airfoil shape is best for catching wind energy. The size of the blades should match the power output you want from your wind generator. Bigger blades catch more wind but put more stress on the generator.
Wood Selection for Durability
The durability of your wooden blades depends on the wood type. Hardwoods like oak or maple are good because they’re dense and last long. The wood should also resist moisture to avoid rot. Applying a protective coating can make the wood last even longer.
Creating Blade Templates
Creating a template is a smart move for precise blade design. You can use computer-aided design (CAD) software to make a template. This template helps you cut out identical blades, which is important for your wind generator’s balance.
Calculating Blade Dimensions
Figuring out the right blade size involves several factors. You need to think about the power output you want, the wind speed in your area, and the size of your generator. There are online tools and formulas to help you find the best blade size for your needs.
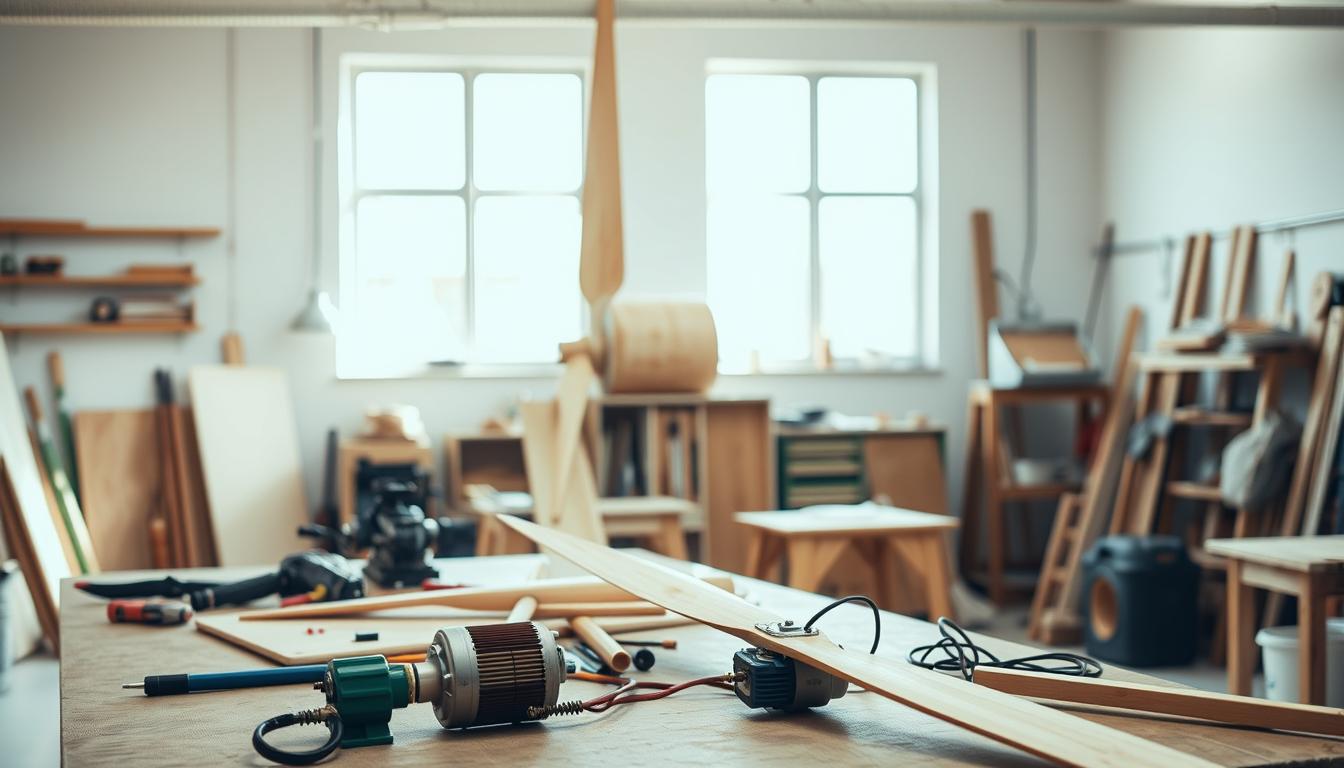
DIY Wind Generator Wooden Blades Guide: Crafting Process
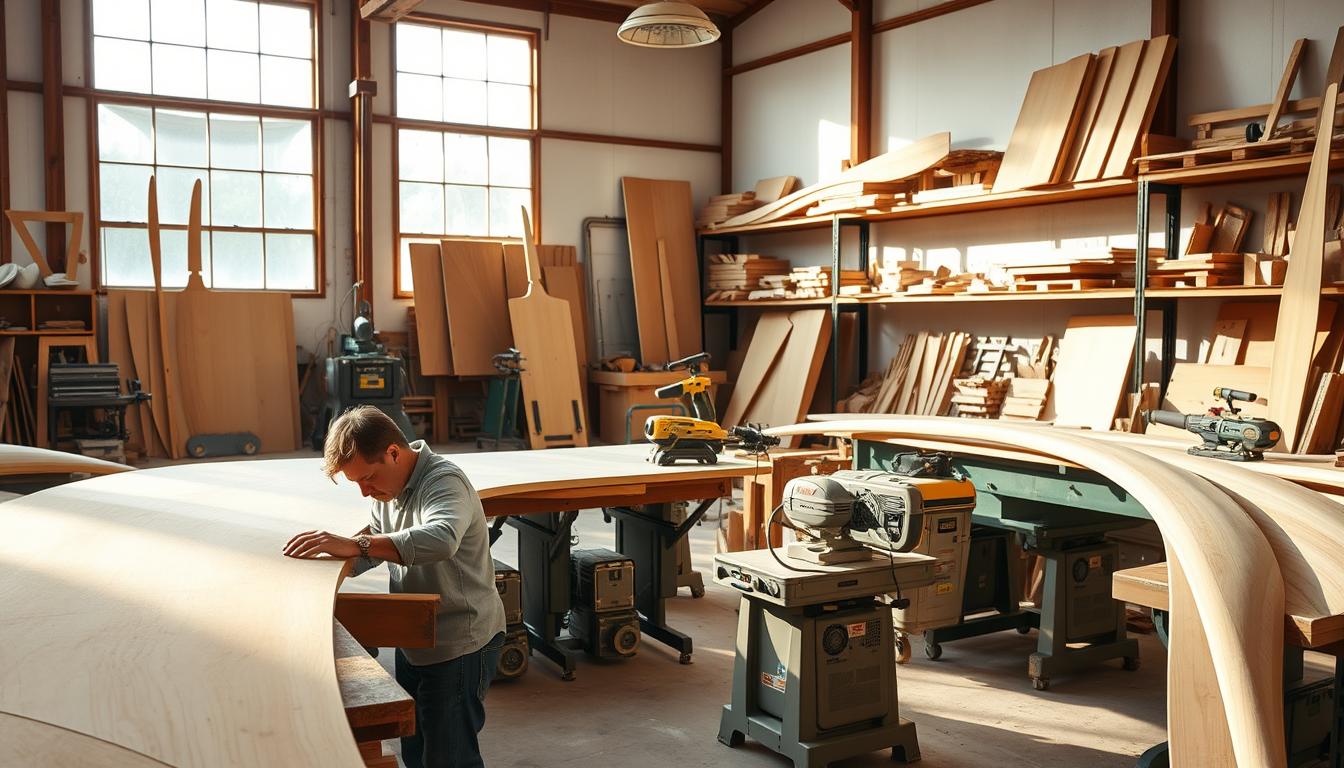
Making wooden blades for your wind generator needs both woodworking skills and knowledge of aerodynamics. The way you craft your blades is key to their efficiency and lasting power.
Cutting the Wood to Shape
The first step is to cut the wood into the right shape. Use a template to draw the blade shape on the wood. You can use a jigsaw or bandsaw, depending on your design and tools.
Carving the Airfoil Profile
Next, carve the airfoil shape into the blade. This step shapes the blade for better aerodynamics. Use hand tools or power tools like a router or sanding drum for this.
Sanding and Finishing
Sanding is vital to smooth out the blades. Start with coarse-grit sandpaper and move to finer grits for a smooth finish. Then, apply a protective finish like varnish or paint.
Balancing Your Blades
It’s crucial to balance your blades for smooth operation and less vibration. Mount the blades on a shaft and check for balance. Make adjustments as needed.
Applying Protective Coatings
Apply protective coatings to make your blades last longer. Use varnish, paint, or wood sealants. Choose a coating that’s good for outdoor use and can handle different weather.
| Step | Process | Tools Required |
|---|---|---|
| 1 | Cutting the Wood to Shape | Jigsaw or Bandsaw |
| 2 | Carving the Airfoil Profile | Router or Sanding Drum |
| 3 | Sanding and Finishing | Sandpaper, Varnish or Paint |
| 4 | Balancing Your Blades | Shaft, Balancing Stand |
| 5 | Applying Protective Coatings | Varnish, Paint, or Wood Sealant |
Building the Generator Hub and Mount
As you work on your DIY wind generator, making a strong hub and mount is key. It keeps your turbine stable and efficient. This step is important for safe and smooth operation.
Constructing the Hub Assembly
The hub holds your wooden blades together. You’ll need strong materials like steel or aluminium for this. Make sure it can handle the weight and size of your blades.
Attaching Blades to the Hub
After making the hub, attach the wooden blades. You need to do this carefully to keep everything balanced. This step helps reduce vibration when it’s running.
Creating a Sturdy Mount
A strong mount is vital for your wind generator’s stability. It must handle strong winds and harsh weather. The mount’s design depends on where you’ll install it and the turbine’s size.
| Mount Type | Characteristics | Suitability |
|---|---|---|
| Fixed Mount | Stable, durable | Low to moderate wind speeds |
| Tilt-up Mount | Adjustable, easy maintenance | Moderate to high wind speeds |
Building a Tail Vane for Direction
A tail vane directs your wind generator into the wind. It should adjust to wind direction changes. The size and shape depend on your turbine and wind conditions.
“The tail vane is a critical component that ensures your wind turbine is always facing into the wind, maximizing energy production.” – Renewable Energy Expert
In conclusion, a solid hub and mount are essential for your DIY wind turbine. By following these steps, you’ll have a stable, efficient turbine. It will provide sustainable energy solutions for many years.
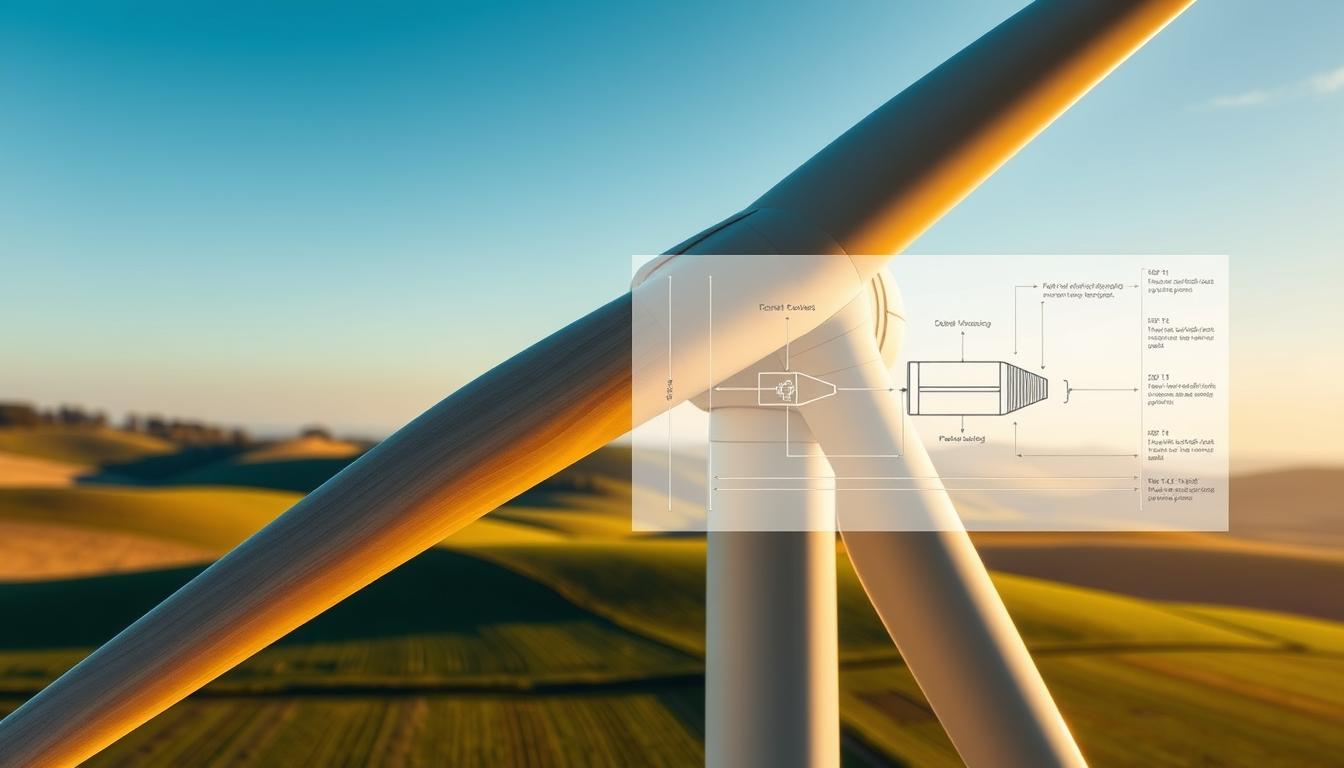
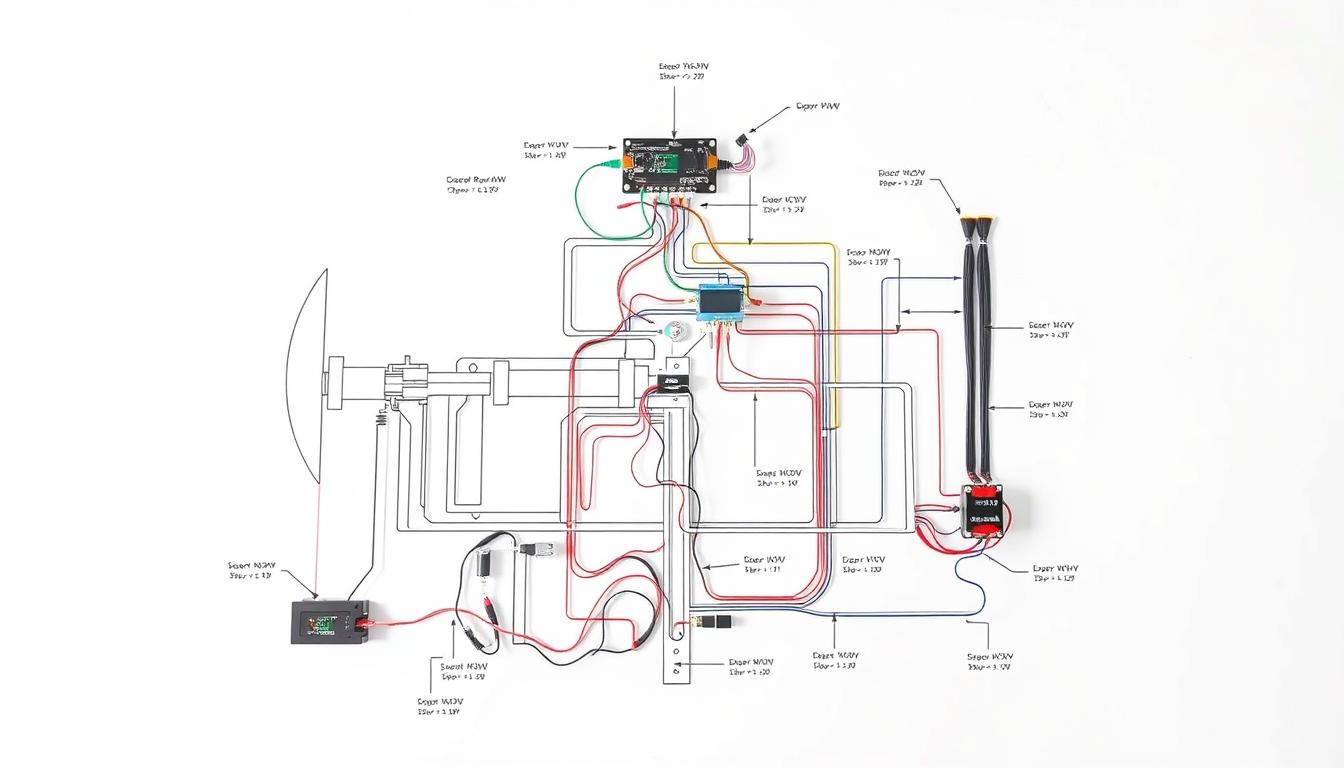
Electrical Components and Wiring
To make your DIY wind generator work, you must plan and install electrical parts and wiring. This step is key to using the power from your wind turbine. It turns that power into electricity you can use.
Selecting the Right Generator
The generator is the core of your DIY wind generator. It changes mechanical energy into electrical energy. When selecting a generator, look at voltage, current, and power output. Make sure it fits your energy needs. Permanent magnet generators are good for DIY projects because they’re simple and efficient.
Wiring Diagram and Connections
A good wiring diagram is crucial for your DIY wind generator’s safety and efficiency. Make sure your wiring is secure, insulated well, and meets local electrical standards. A well-wired system reduces the risk of shock and damage.
Installing Rectifiers and Regulators
Rectifiers change the AC from your wind turbine to DC. Then, voltage regulators keep the voltage stable. This lets your system safely charge batteries or power your home.
Battery Storage Options
Battery storage is key for your DIY wind generator system. It lets you save extra energy for when there’s little wind. Deep-cycle batteries are best for wind systems because they handle charge and discharge well.

Safety Circuits and Breakers
Adding safety circuits and breakers to your DIY wind generator is crucial. They protect against overvoltage, short circuits, and other dangers. These parts help your system last longer and work better.
By planning and installing electrical parts and wiring well, you can make a reliable and efficient, and eco-friendly power generation system. It will give you sustainable energy solutions for many years.
Assembling Your Wind Generator
The final assembly of your wind turbine is where all your hard work comes together. This step involves putting all the components together, mounting the generator, and ensuring that all safety features are in place.
Putting All Components Together
Start by gathering all the components you’ve built or acquired. This includes the wooden blades, generator, hub, and electrical components. Make sure all parts are clean and free from debris. Carefully follow the assembly instructions to avoid damaging any components.
Mounting the Generator
Mounting the generator is a critical step. You’ll need to secure it firmly to withstand various wind conditions. Use sturdy materials for the mount to ensure stability.
Installing Safety Features
Safety should be your top priority. Install safety features such as circuit breakers and fuses to protect against electrical surges. Ensure that all electrical connections are secure and meet local electrical standards.
Final Checks Before Operation
Before powering up your wind generator, conduct a thorough inspection. Check that all components are securely fastened and the blades are balanced. Refer to the following checklist:
| Component | Status |
|---|---|
| Blades | Balanced and Secure |
| Generator Mount | Firmly Secured |
| Electrical Connections | Secure and Inspected |
By following these steps, you’ll be able to assemble your DIY wind generator safely and efficiently. This ensures a reliable source of renewable energy.
Testing and Optimising Performance
After building your DIY wind generator with wooden blades, it’s time to test and improve its performance. This step is key to making sure your sustainable energy solution works well.
Initial Testing Procedures
Start by testing your wind generator to see if it’s working right. Look for any unusual sounds or vibrations and make sure the blades move smoothly.
Measuring Voltage and Current Output
Use a multimeter to check the voltage and current of your wind generator. This will show how much power it’s making. Take readings in different winds to get a full picture.
Calculating Power Generation
To find the total power, multiply the voltage and current. This will tell you the wattage your generator makes. Remember, the actual power can change with the wind and other factors.
Making Adjustments for Efficiency
If your tests show your generator isn’t doing great, make some changes. You might need to adjust the blade angle, the generator’s position, or the electrical connections.
Performance in Different Wind Conditions
Test your generator in different winds to see how it does. This will help you understand how it works in different places and make it better.
By following these steps, you can make sure your DIY wind generator with wooden blades works its best. It will give you a steady, green power source.
Scaling Your Project
Scaling up your DIY wind generator project can increase power output. This helps meet your energy needs better. As you get better at it, you can look into ways to grow your setup.
Building Larger Wind Generators
To make bigger wind generators, you’ll need to change your design and materials. You might use stronger materials for the tower and bigger blades. This can greatly increase your power output, but planning for stability and efficiency is key.
Creating Multiple-Unit Systems
Another scaling option is setting up multiple-unit systems. This means having several wind generators in one area to make more power. Such systems work well in places with steady winds. You’ll need to space them right to avoid wind interference and boost energy production.
Adapting the Design for Different Needs
You can adjust your DIY wind generator design for various energy needs. For example, a bigger home might need a more powerful generator, while a cabin might do with a smaller one. Design flexibility lets you match your project to your energy needs.
Cost vs. Output Considerations
When you scale up, think about the cost versus output. Bigger or more units can produce more power but cost more upfront. You need to weigh your energy needs against your budget for the best solution.
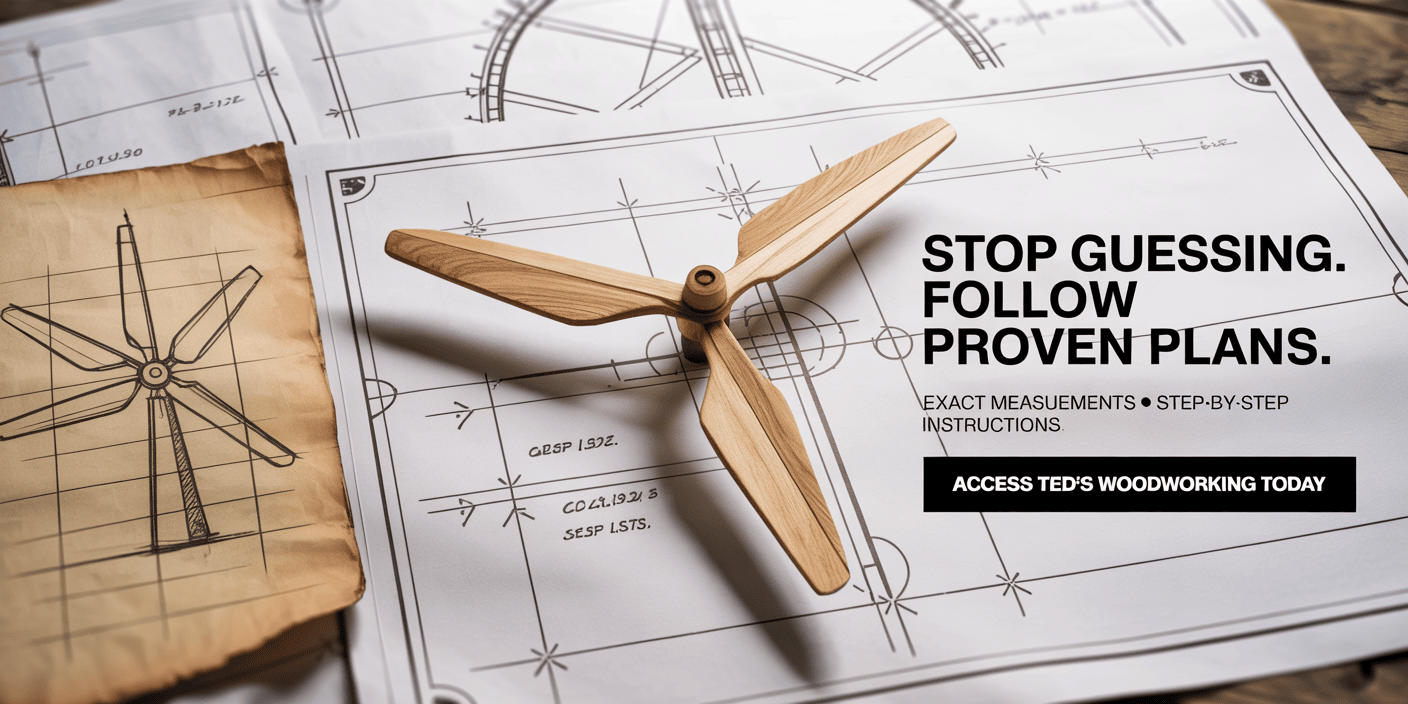
Want to Build Even More Impressive Projects Like Your DIY Wind Generator?

Unlock 16,000+ step-by-step woodworking plans with Ted’s Woodworking—your shortcut to faster, easier, and more enjoyable projects!
Why Ted’s Woodworking?
- 16,000+ Plans: Easy-to-follow blueprints for every skill level—no big shop or fancy tools needed.
- Save Time & Money: Exact material lists and clear instructions reduce waste and guesswork.
- Always Something New: Free monthly plans for life and custom plan requests.
- Expert Guidance: Support from master woodworkers whenever you need it.
👉 Ready to Build Smarter? Get Instant Access to Ted’s Woodworking Now!
(Make your next DIY wind generator—and thousands of other projects—easier than ever!)
Don’t let confusing plans slow you down. Ted’s Woodworking gives you everything you need for stunning results—start building today!
Conclusion
You now know how to make a DIY wind generator with wooden blades. This is a big step towards using sustainable energy. You’ve learned how to figure out your power needs, design the best blade shapes, and put the generator together.
By using this guide, you’re helping the environment and cutting down on energy that harms the planet. Making your own wind power has many benefits. With the right tools and materials, you can make a steady source of clean energy.
Using DIY wind generators helps lower your carbon footprint and supports a greener future. You’re joining a community that’s all about using wind and other clean energy sources. Keep exploring and innovating to help make our world a better place.
FAQ
What are the benefits of building a DIY wind generator?
A DIY wind generator can save you money on energy. It also helps reduce your use of non-renewable energy. Plus, it’s a fun project that teaches you new skills.
What type of wood is best for making wind turbine blades?
For wind turbine blades, use wood that’s strong and doesn’t rot easily. Cedar, pine, and cypress are good choices. Oak or maple can add extra strength.
How do I determine the optimal blade size for my DIY wind generator?
To find the right blade size, think about wind speed, power output, and generator size. A good rule is to make blades 1.5 to 2 times the generator’s diameter. Online tools or experts can help too.
What safety precautions should I take when building and operating a DIY wind generator?
When working on your wind generator, wear protective gear and ensure electrical safety. Install safety circuits and follow local rules for installation.
Can I use a DIY wind generator to power my entire home?
Using a DIY wind generator to power your whole home depends on your energy needs and wind speed. It’s a good start, but might not be enough. You might need more energy sources or a bigger turbine.
How do I maintain and troubleshoot my DIY wind generator?
Keep your wind generator in good shape by inspecting it often and doing routine maintenance. Clean and lubricate moving parts. Also, watch your energy output and adjust the turbine as needed.
Are there any local regulations or permits required for installing a DIY wind generator?
Yes, local rules and permits might be needed for your wind generator. Check with your local government or utility company. They can tell you about zoning, building permits, and electrical inspections.
Can I scale up my DIY wind generator project to meet increasing energy needs?
Yes, you can make your wind generator project bigger to meet more energy needs. Build larger turbines or add more blades. Upgrading your generator can also increase power output.
What are some common mistakes to avoid when building a DIY wind generator?
Avoid using the wrong materials and designing blades poorly. Also, make sure to follow safety rules and local regulations to avoid accidents or fines.


