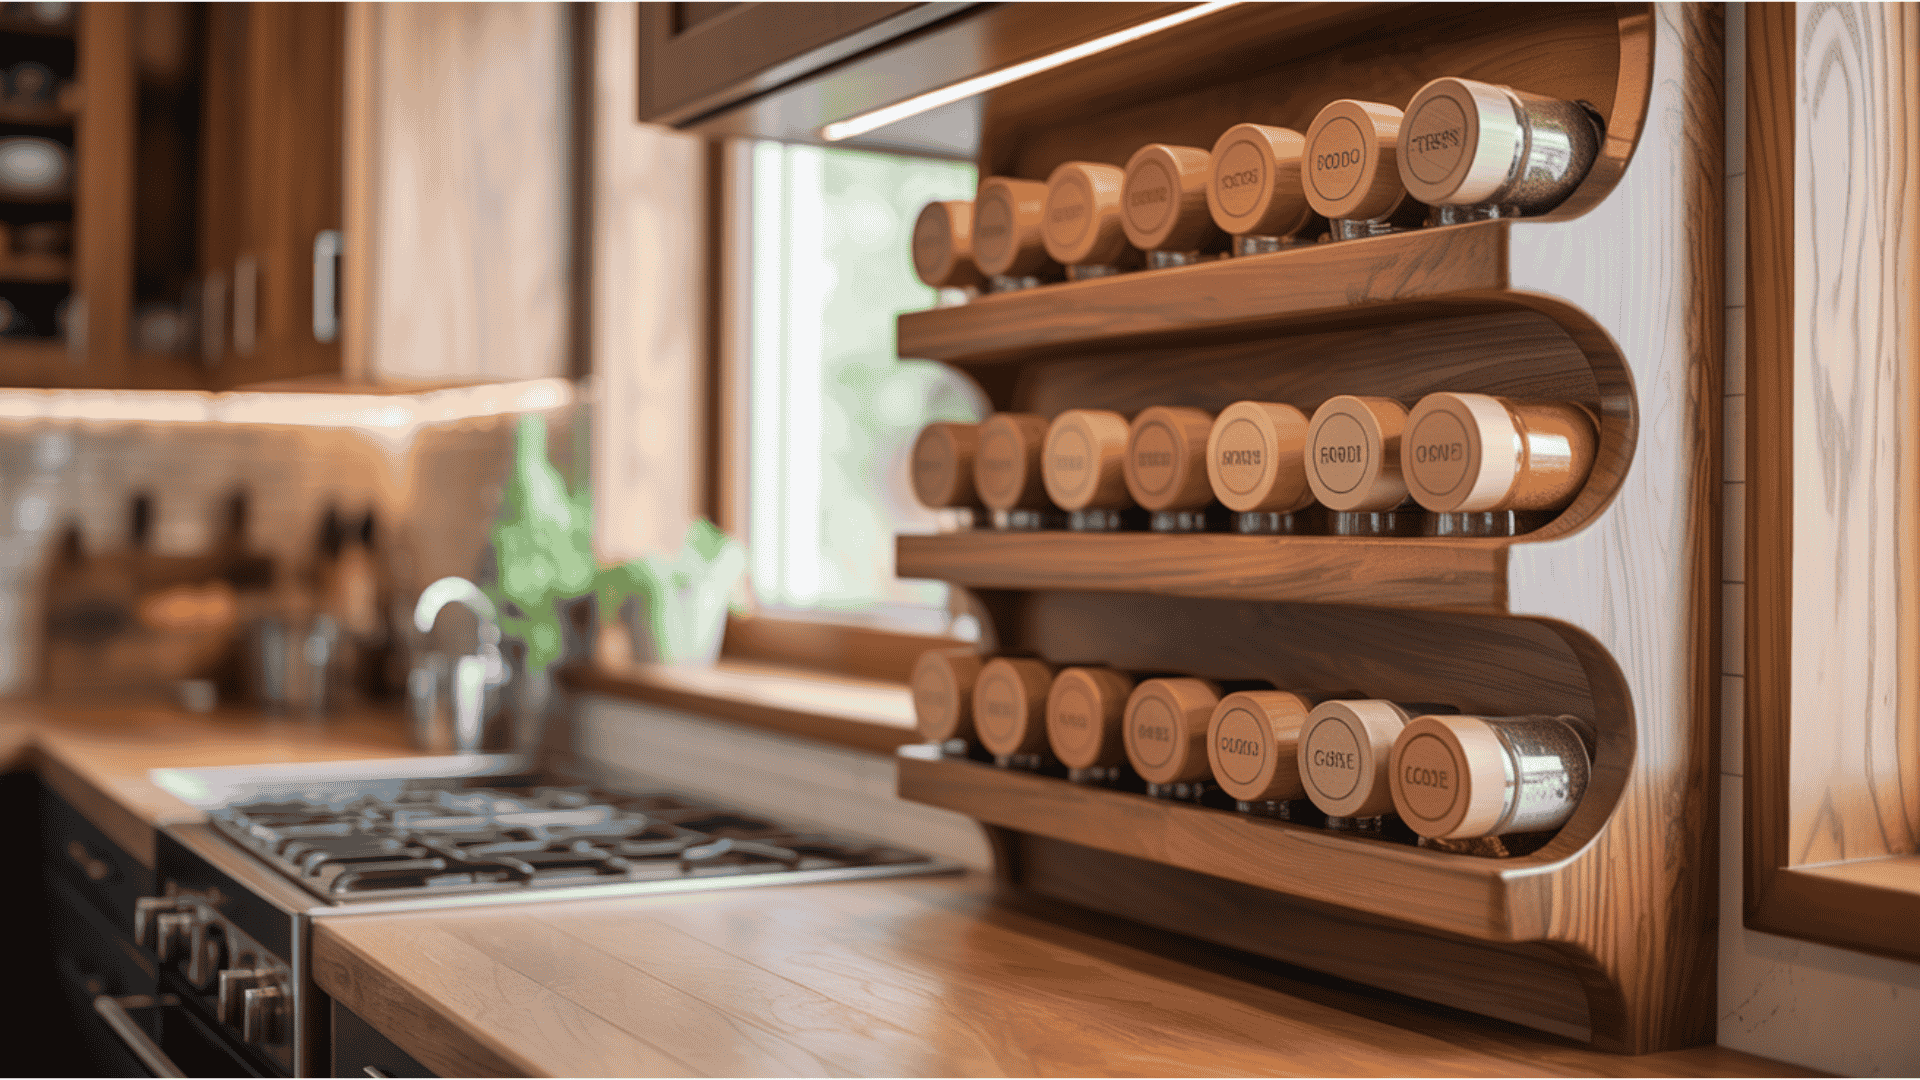
A cluttered kitchen can really slow down your cooking. Organising your kitchen with a simple DIY project like a wooden spice rack can make a big difference.
Building a wooden spice rack is a beginner-friendly woodworking project. It makes your kitchen more functional and adds a personal touch. With just a few basic materials and tools, you can make a beautiful storage solution.
This project is great for beginners. By following a step-by-step guide, you can make a custom wooden spice rack that matches your kitchen’s style.
Key Takeaways
- Enhance your kitchen’s organisation with a custom storage solution.
- Build a functional and beautiful wooden spice rack.
- Start your woodworking journey with a beginner-friendly project.
- Create a personalised kitchen accessory.
- Improve your cooking efficiency with a clutter-free kitchen.
Why Build Your Own Wooden Spice Rack?
Building a wooden spice rack from scratch is a fulfilling DIY project. It lets you design it to fit your needs and kitchen style perfectly.
Benefits of Custom Spice Storage
A custom spice rack maximises your kitchen storage. You can pick the size and design that suits your space. This makes your spices easy to find and use. It also makes your kitchen more functional.
Cost Savings Compared to Store-Bought Options
Building your own spice rack can save you money. You can use materials you already have or find cheaper ones. This way, you can spend your budget more wisely.
Personalising to Match Your Kitchen Décor
A homemade spice rack lets you match your kitchen’s look. You can choose the wood, finish, and design to fit your kitchen’s style. This adds a personal touch and warmth to your kitchen.
Planning Your DIY Wooden Spice Rack Project
To make your wooden spice rack both useful and good-looking, planning is key. You need to think about several things that will shape your project.
Determining Size and Capacity Needs
First, figure out how many spices you want to store. This will help you decide on the size and how much it can hold. Think about the spice containers you’ll use, as they can change the rack’s size.
Choosing a Design Style
Your spice rack should match your kitchen’s look. Pick a design that goes well with your kitchen’s style. Look online or in home magazines for wooden spice rack ideas.
Measuring Your Available Space
Before starting, measure the spot where you’ll put your spice rack.
Height and Width Considerations
Think about the space’s height and width. Make sure your spice rack fits well without blocking other kitchen items.
Depth Requirements for Different Spice Containers
The rack’s depth depends on your spice containers’ size. Measure them to figure out the right depth.
By using these spice rack building tips, you can make a useful and nice-looking spice rack. A step-by-step spice rack construction plan is key to a successful project.
With good planning and focus on details, your DIY wooden spice rack will be a great addition to your kitchen. It will offer both storage and style.
Essential Tools for Building a Wooden Spice Rack
Building a wooden spice rack needs the right tools. The right tools are key to a good DIY project.
Basic Woodworking Tools
You’ll need basic tools to start. A table saw, or circular saw, for cutting wood, is essential. Also, a drill press for precise drilling and a sander to smooth wood surfaces.
Measuring and Marking Tools
Accurate measurements are vital in woodworking. You’ll need a measuring tape, a combination square, and a marking gauge. These tools help ensure your cuts and joints are precise.
Safety Equipment You Shouldn’t Skip
Safety is the most important thing. Always wear safety glasses to protect your eyes. Also, use ear protection to keep your hearing safe. And don’t forget a
With these essential tools, you’re ready to start your DIY spice rack tutorial. You’ll be able to complete your beginner woodworking project successfully.
Materials Needed for Your DIY Wooden Spice Rack
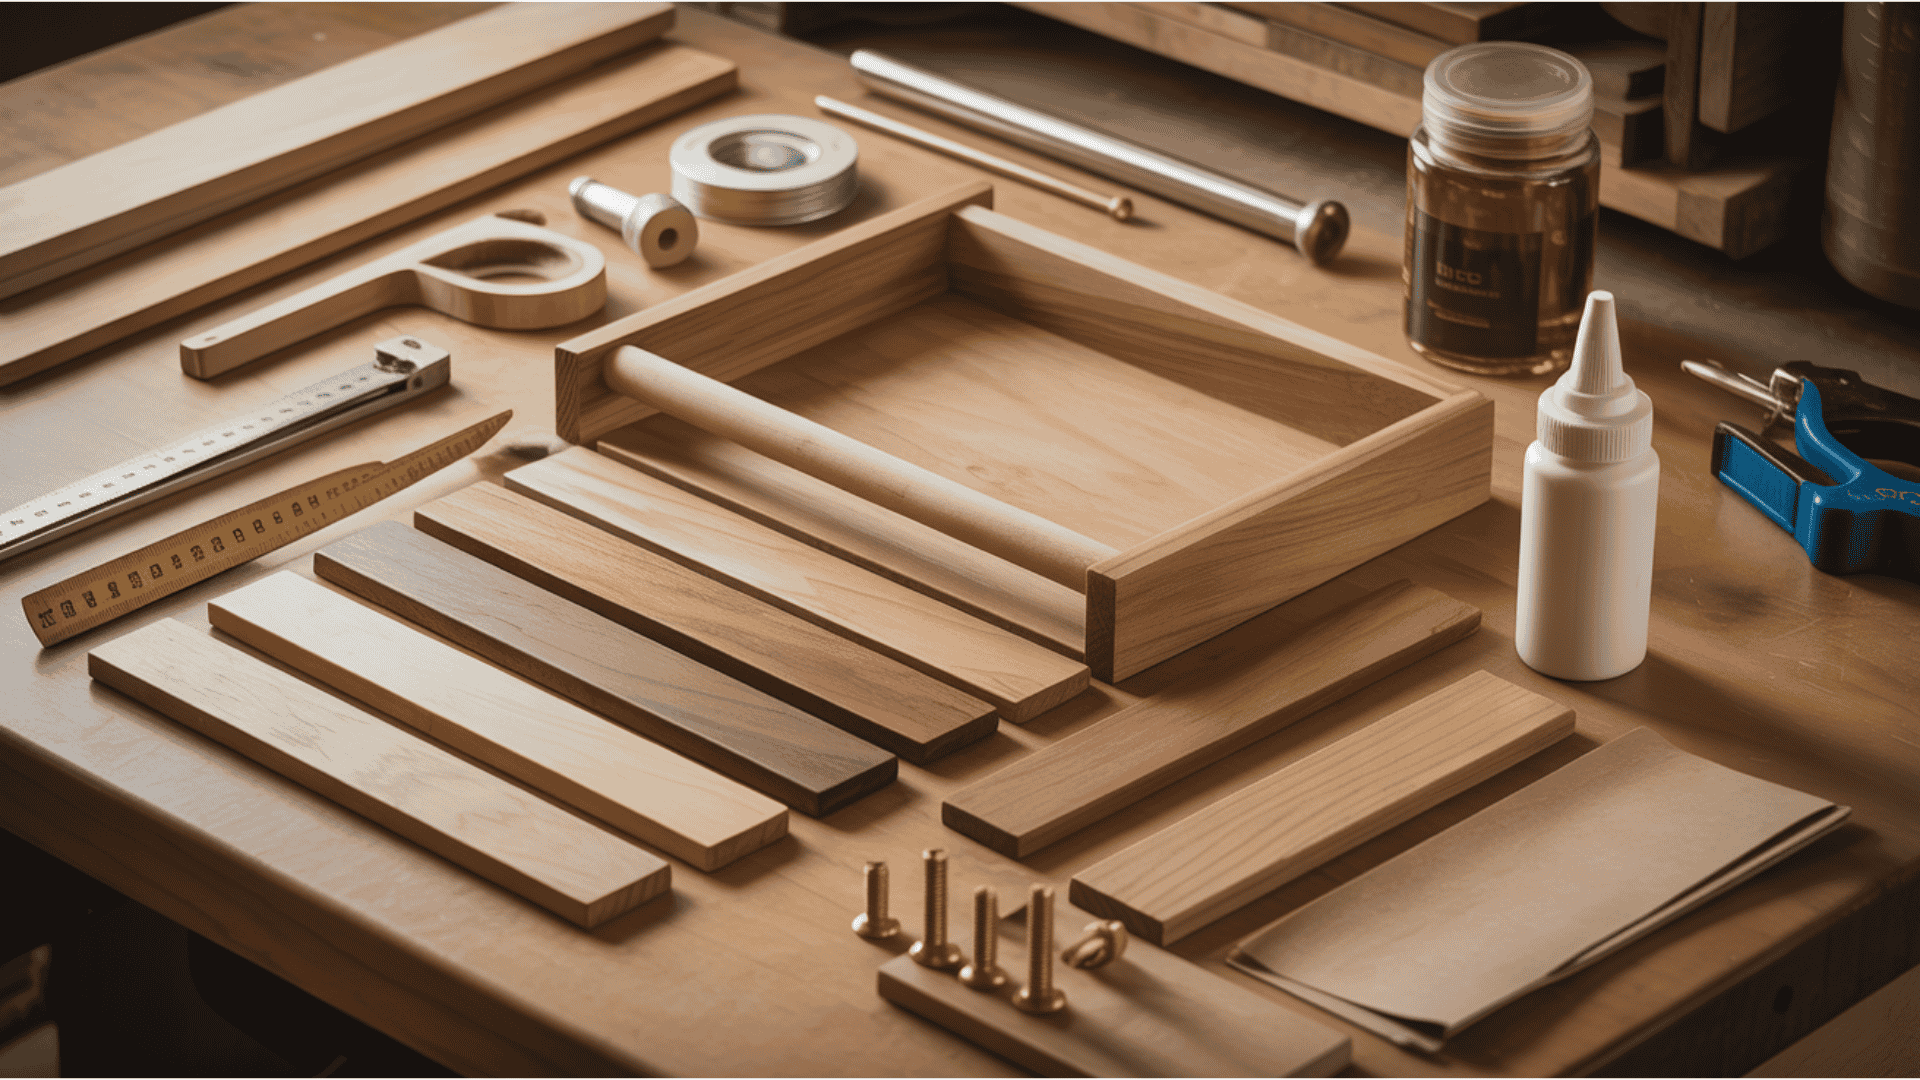
Choosing the right materials is key to a durable and good-looking wooden spice rack. The materials you pick will affect how your spice rack looks and works.
Types of Wood to Consider
Choosing the right wood is crucial for your spice rack. You can pick from softwoods or hardwoods.
Softwoods vs. Hardwoods
Softwoods, like pine, are cheaper but not as strong as hardwoods. Hardwoods, such as oak or maple, are more durable and look better.
Budget-Friendly Options
For a budget-friendly option, think about using engineered wood or finding discounted hardwood.
Hardware and Fasteners
The hardware and fasteners you use matter a lot. Choose high-quality screws and brackets for a sturdy spice rack.
Finishing Supplies
You’ll need finishing supplies to protect and beautify your spice rack. Use wood stain, polyurethane, or paint for this.
| Material | Purpose |
|---|---|
| Wood (Softwood/Hardwood) | Main structure and shelves |
| Screws and Brackets | Assembly and support |
| Wood Stain/Polyurethane | Finishing and protection |
How to Build a Wooden Spice Rack DIY: Preparation Steps
Getting ready is key to a great DIY spice rack. It’s the first step to a beautiful kitchen storage solution. You’ll need to focus on several important steps to make sure your project goes well.
Creating a Detailed Cutting List
First, make a detailed cutting list based on your design. This list keeps you organised and makes sure you have everything before you start cutting wood.
Setting Up Your Workspace
Then, set up your workspace for efficiency and safety. Make sure you have enough space for your materials and tools. Also, clear any clutter to avoid accidents.
Preparing Your Wood
Preparing your wood is a key step. It involves checking for warping and defects and initial sanding.
Checking for Warping and Defects
Look at each piece of wood for warping or defects. This is important to avoid problems during assembly and make sure your spice rack is strong.
Initial Sanding
Do an initial sanding on all wood pieces. This smooths out any rough edges or surfaces. It makes assembly easier and gives a better finish.
| Preparation Step | Description | Importance Level |
|---|---|---|
| Creating a Detailed Cutting List | Organizes your materials and ensures accuracy | High |
| Setting Up Your Workspace | Organises your materials and ensures accuracy | High |
| Checking for Warping and Defects | Prevents assembly issues and ensures sturdiness | High |
| Initial Sanding | Smoothes out rough edges and surfaces | Medium |
Cutting the Wood for Your Spice Rack
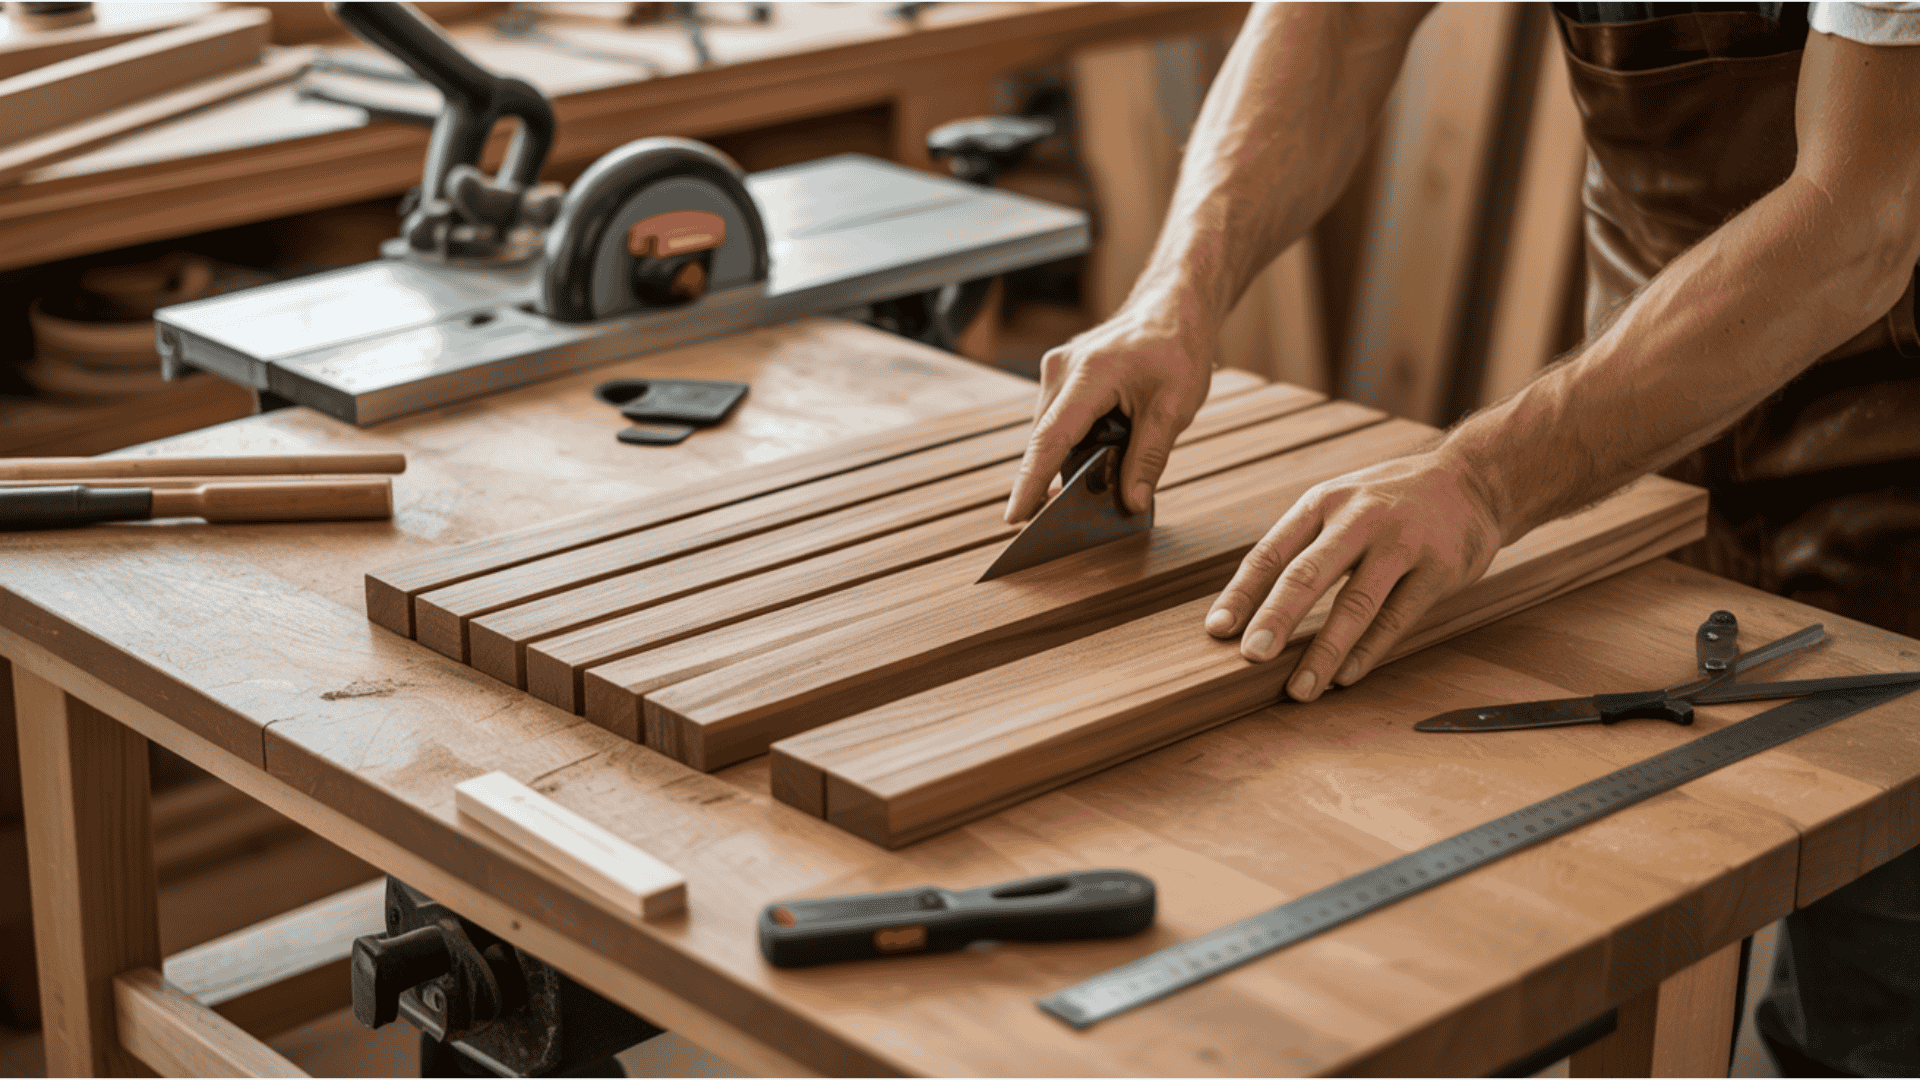
Cutting the wood for your spice rack is a key step. It needs precision and attention to detail. Accurate cutting ensures all pieces fit perfectly.
Measuring and Marking Accurately
Before cutting, measure and mark the wood accurately. Use a tape measure and a pencil for this. Double-check your measurements to avoid mistakes. A combination square helps make sure your marks are straight and accurate.
Making Precise Cuts
To cut accurately, you need the right tools. You might use a mitre box or a circular saw, depending on the cut.
Using a Mitre Box for Straight Cuts
A mitre box is great for straight cuts. It guides your saw for accurate angles. Place the wood in the mitre box, align it, and cut.
Tips for Using a Circular Saw
When using a circular saw, set the blade depth correctly. Use a straight edge guide to keep it straight. Always keep your hands away from the blade and move steadily.
Sanding Cut Edges
After cutting, sand the edges to smooth them out. This step removes splinters or rough spots. Use sandpaper or a sanding block for a smooth finish.
Assembling the Base Structure of Your Spice Rack
Now that your wood is cut, it’s time to build the base of your homemade spice rack. This is a key step. It sets the foundation for your spice storage.
Creating the Back Panel
The back panel is the main support for your spice rack. Take the wood piece for the back and check it’s good to go. Carefully align it with the other parts for a perfect fit.
Attaching Side Pieces
When adding the side pieces, pre-drilling holes is key to avoiding splitting. This step makes your spice rack last longer.
Pre-drilling Holes to Prevent Splitting
Drill holes with a bit smaller than your screws at the marked spots on the sides. This method stops splits, which is important with hardwood.
Using Wood Glue for Extra Strength
Put a bit of wood glue on the edges before screwing them together. This gives your spice rack more strength, keeping it stable for years.
Ensuring Square Corners
To get square corners, use a carpenter’s square to check before tightening screws. This is crucial for your spice rack’s structure and look.
By using these spice rack building tips, you’ll make a solid base for your spice rack. Remember, the success of DIY projects comes from the details. So, take your time to get each step right.
Building and Installing the Wooden Shelves

The wooden shelves are the heart of your spice rack. They need precise measurement and installation. As you build and install these shelves, you’ll create a functional storage solution. This keeps your spices organised and within reach.
Measuring Shelf Spacing
To find the best shelf spacing, think about your spice bottle sizes and the rack’s height. Measure the height of your tallest spice bottle to guide your decision. Shelves are usually 2 to 3 inches apart, but adjust based on your needs.
Creating Shelf Supports
You have two main options for shelf supports: dado joints and cleats. Dado joints offer a strong, seamless look. Cleats are simpler to install and let you adjust shelf spacing easily.
Dado Joints vs. Cleats
Dado joints cut a groove in the spice rack’s sides for shelves. This method gives great support and a clean look. Cleats, on the other hand, are small wooden pieces attached to the sides. They’re easier to install and allow for easier shelf spacing adjustments.

Ensuring Level Shelves
To keep shelves level, use a levelling tool during installation. This is key to preventing spice bottles from rolling off or stacking unevenly.
Securing Shelves in Place
After supporting your shelves, secure them with the right fasteners. For dado joints, shelves fit snugly without extra fasteners. For cleats, screws, or nails hold the shelves to the cleats. Ensure the shelves are firmly attached to avoid movement or wobbling.
By measuring shelf spacing, creating the right supports, and securing the shelves, you’ll have a sturdy wooden spice rack. It will meet your kitchen storage needs perfectly.
Adding Finishing Touches to Your Spice Rack
The finishing touches make your DIY spice rack stand out. As you finish your project, pay close attention to every detail.
Sanding All Surfaces
Start by sanding all parts of your spice rack. This smooths out any rough spots. Use finer grits of sandpaper for a smooth finish.
Applying Wood Finish
Choosing the right wood finish is key. Stains can change the color and look of your rack. Clear coats protect the wood without changing its look.
Stains vs. Clear Coats
Stains are great for matching your rack to your kitchen. Clear coats keep the wood’s natural look while protecting it.
Food-Safe Finishes for Kitchen Use
Make sure your finish is safe for the kitchen. Look for food-safe labels to avoid contamination.
Installing Additional Features
Think about adding labels or small handles. These features improve both function and look.
Woodworking experts say, “The finish is what makes a piece great.” With the right touches, your spice rack will be both useful and beautiful.
Mounting Options for Your DIY Wooden Spice Rack

The way you mount your spice rack affects its use and appearance. A well-mounted spice rack makes your kitchen more organised and stylish.
Wall-Mounted Installation
Wall-mounted spice racks save space and are easy to reach. To mount, you need to find the studs in your wall for a strong hold.
Finding Studs and Secure Attachment
Use a stud finder to find the wall studs. Mark the spot and drill pilot holes for screws. This makes your spice rack stable.
Using Appropriate Anchors
If studs are hard to find, use wall anchors for extra support. Pick anchors that match your spice rack’s weight and wall type.
Cabinet Door Mounting
Mounting on a cabinet door saves space. It’s great for small kitchens. Make sure the rack doesn’t block the door or mess with other things.
Countertop Placement Considerations
Countertop spice racks are easy to set up. But think about the space and clutter. Pick a spot that’s easy to get to and keeps your kitchen neat.
Choosing the right mounting for your DIY wooden spice rack improves your kitchen. Think about your kitchen’s layout and what you like when deciding.
Troubleshooting Common Issues When Building a Spice Rack
Troubleshooting is key for any DIY project, like a wooden spice rack. Issues like wobbly shelves can happen. As you work on your beginner woodworking project, you might face common problems. These can be fixed with the right techniques.
Fixing Wobbly Shelves
Wobbly shelves can be annoying, but they’re simple to fix. First, make sure your shelves are aligned correctly, and supports are tight. If it still wobbles, add more supports or adjust the shelf spacing.
Dealing with Misaligned Joints
Misaligned joints can weaken your spice rack. To fix it, double-check your measurements and adjust the joints. Clamps can help keep pieces in place while you make adjustments.
Repairing Wood Splits and Cracks
Wood splits, and cracks can happen for many reasons. To fix them, use wood filler.
Using Wood Filler Effectively
Follow the filler’s instructions, and let it dry fully before sanding. This will give you a smooth finish.
Clamping Techniques for Repairs
Clamping is vital when fixing wood splits or cracks. Use bar clamps or C-clamps for even pressure. Make sure the clamps are tight but not too tight, to avoid more damage.
By tackling these common problems, you can make a sturdy and useful wooden spice rack. Remember, patience and detail are crucial for successful troubleshooting in your spice rack building tips journey.
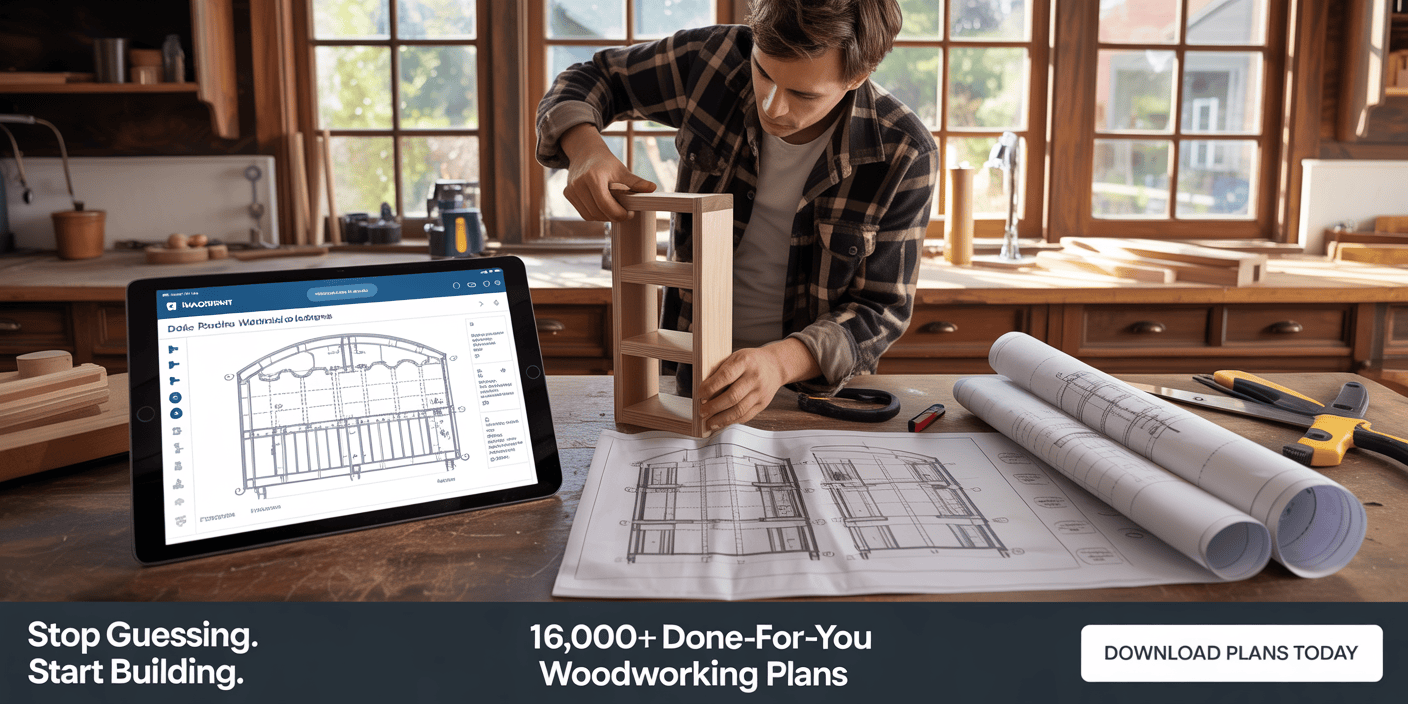
🔨 Want to Build More Than Just a Spice Rack?

If you enjoyed building this wooden spice rack and want step-by-step plans that leave ZERO guesswork, then Teds Woodworking is the perfect next step for you.
✅ Why Smart DIYers Choose Teds Woodworking:
- 📐 16,000+ Done-For-You Woodworking Plans
- 🪚 Beginner-Friendly, Step-by-Step Instructions
- 📋 Exact Cutting & Materials Lists (No Wasted Wood)
- 📊 Detailed Blueprints with Multiple Angle Views
- 🔁 Lifetime Access + FREE Monthly New Plans
- 🎁 Bonus Videos, Guides & Custom Plan Requests
🚀 Build ANY Project With Confidence — Even as a Beginner
From kitchen spice racks to furniture, cabinets, and outdoor projects — everything is explained clearly, just like having a master woodworker guiding you by hand.
👉 Get Instant Access to Teds Woodworking (One-Time Fee, Lifetime Use)
👉 Start Building Smarter, Faster & Cheaper Today
🔗 Click here to unlock 16,000 woodworking plans now
Conclusion: Enjoying Your Handcrafted Wooden Spice Rack
Finishing a DIY project is very rewarding, and your wooden spice rack is a great example. You’ve made a useful storage spot for spices and a beautiful addition to your kitchen.
Your spice storage will keep your spices tidy and easy to grab. The wooden shelves offer plenty of room for your spices. Plus, the custom design fits perfectly in your kitchen.
Now that you have your wooden spice rack, think about more DIY projects for your kitchen. With your new skills, you can make even more storage solutions that fit your style.
FAQ
What type of wood is best for building a spice rack?
The best wood for a spice rack depends on what you like and how durable it needs to be. Oak, maple, and cherry are good choices. They are strong and look great.
What tools do I need to build a wooden spice rack?
You’ll need basic tools like a circular saw, drill press, and sander. Don’t forget measuring and marking tools, like a tape measure and a square. Also, safety glasses and a dust mask are a must.
How do I determine the ideal size for my spice rack?
First, think about your kitchen’s space and how many spices you have. Measure the area where you’ll put the rack. Then, adjust your design to fit.
Can I customise the design of my spice rack to fit my kitchen décor?
Yes, you can make your spice rack match your kitchen. Choose the wood, stain, and hardware that fit your style.
How do I ensure my spice rack is level and secure?
Use a level tool to make sure it’s straight. Attach it to the wall or countertop with wall anchors or screws for stability.
What kind of finish should I use on my wooden spice rack?
Use a food-safe finish like water-based polyurethane or mineral oil-based stain. Stay away from toxic chemicals or VOCs.
How do I fix a wobbly shelf on my spice rack?
Check if the shelf supports are tight and the shelf is securely in place on them. You might need to add more supports or adjust the ones you have.
Can I build a spice rack as a beginner woodworker?
Yes, a spice rack is a good first project. It needs basic skills and tools. Just plan well and pay attention to details.
What are some common mistakes to avoid when building a spice rack?
Avoid poor measuring and cutting, incorrect joinery, and subpar sanding and finishing. These mistakes can ruin your project.
How can I add additional features to my spice rack, such as a lid or drawers?
To add features like a lid or drawers, change your design. You can also add trim or moulding for a nicer look.

