
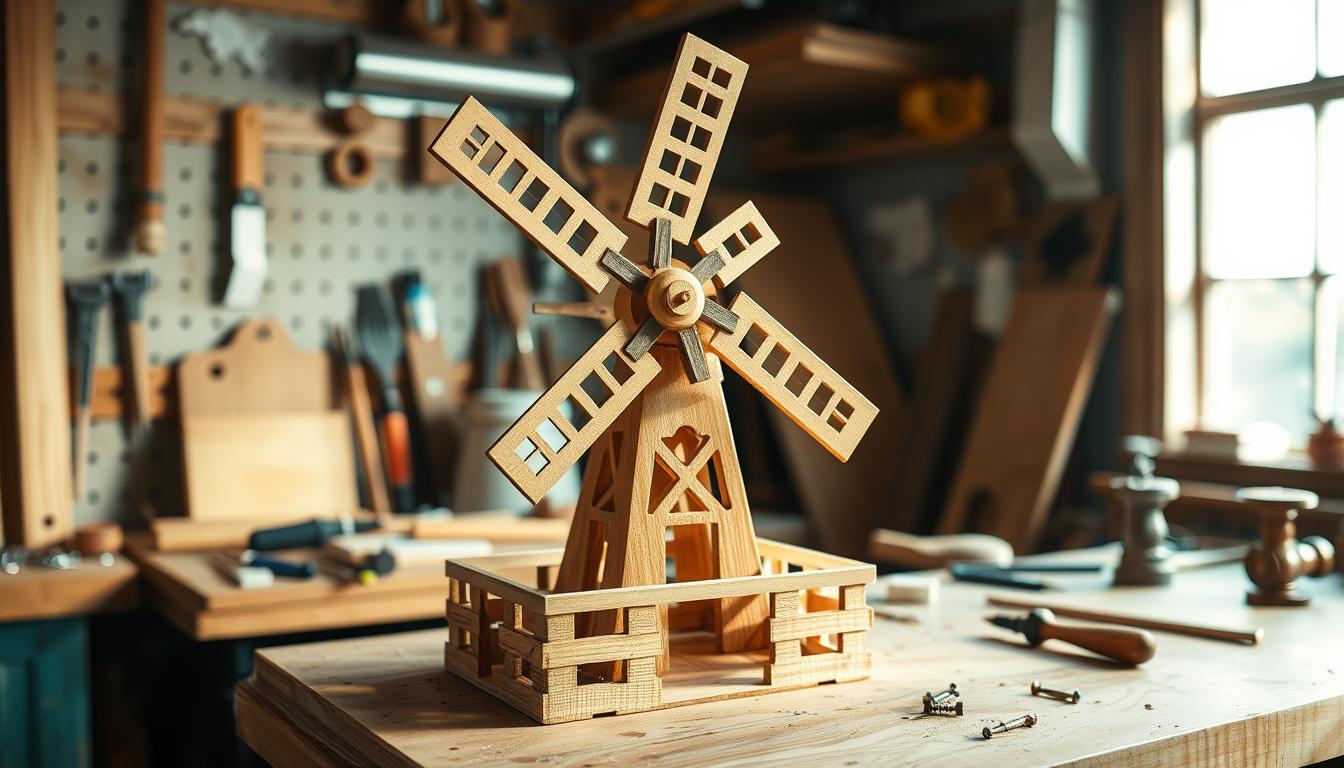
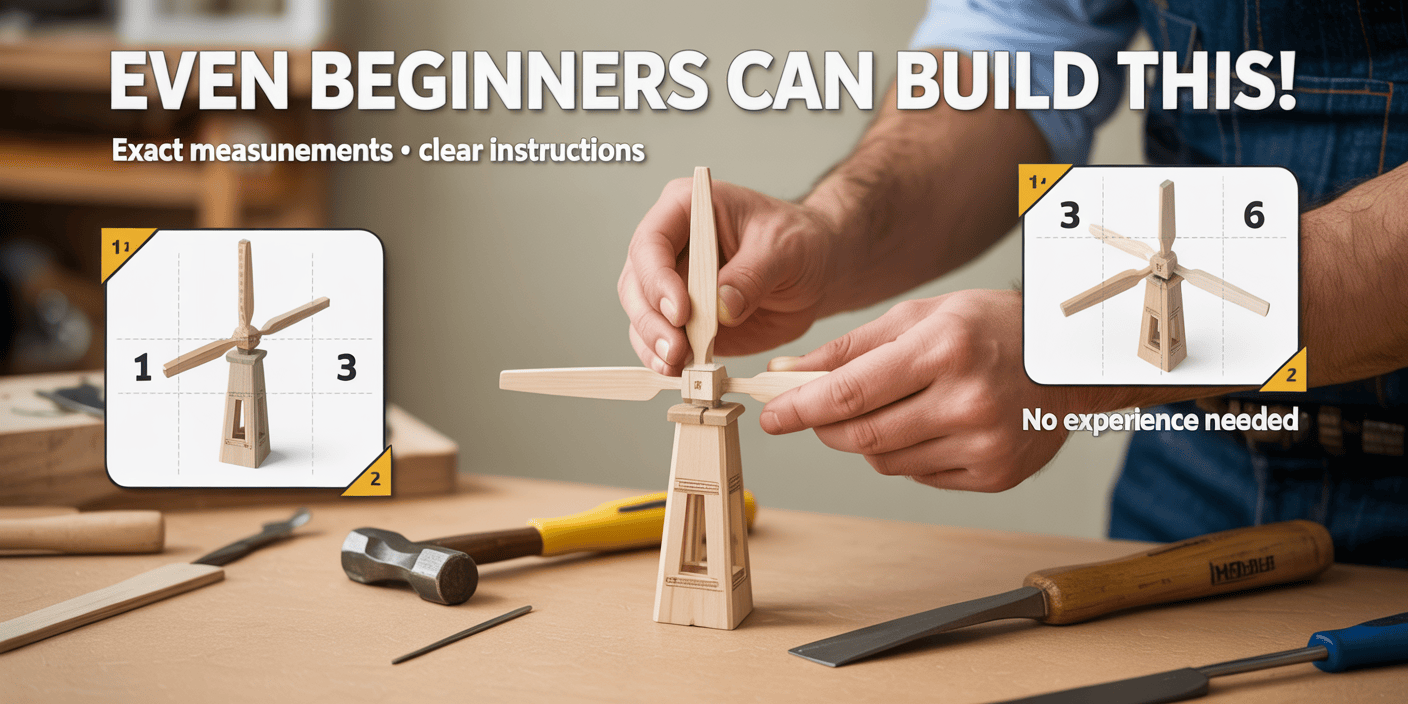
Windmills have been around for centuries, used for power and decoration. Making miniature DIY wooden windmill crafts is a fun weekend project. It lets you express your creativity and make something beautiful and useful.
These wooden windmill crafts are not just pretty; they also honour the history of windmills. By doing DIY woodworking projects, you learn a new skill and create something special.
Starting this project brings joy as you make something with your hands. It’s a great way to spend a weekend. The steps are easy, and you’ll end up with a lovely piece to show off in your home or garden.
Key Takeaways
- Miniature DIY wooden windmill crafts are a fun and creative weekend project.
- These crafts pay homage to the historical significance of windmills.
- Engaging in DIY woodworking projects helps in learning new skills.
- The process of creating these crafts is straightforward and rewarding.
- The finished product can be a beautiful decorative piece for your home or garden.
The Charm of Miniature Wooden Windmills
Woodcraft projects like miniature wooden windmills are both intriguing and fulfilling. They allow you to create something beautiful and functional, showcasing your skills.
Miniature wooden windmills hold a special charm because of their history. Windmills have been a source of power for centuries, showing human ingenuity.
Historical Significance of Windmills
Windmills have a long history, dating back to ancient times. They were key in industries like milling grain and pumping water. Their significance goes beyond just being useful; they also shaped architecture and culture.

Why Miniature Windmills Make Great Craft Projects
Working on miniature windmills is a great way to enjoy woodcraft projects that are both fun and educational. They’re perfect for beginners, helping you learn new skills.
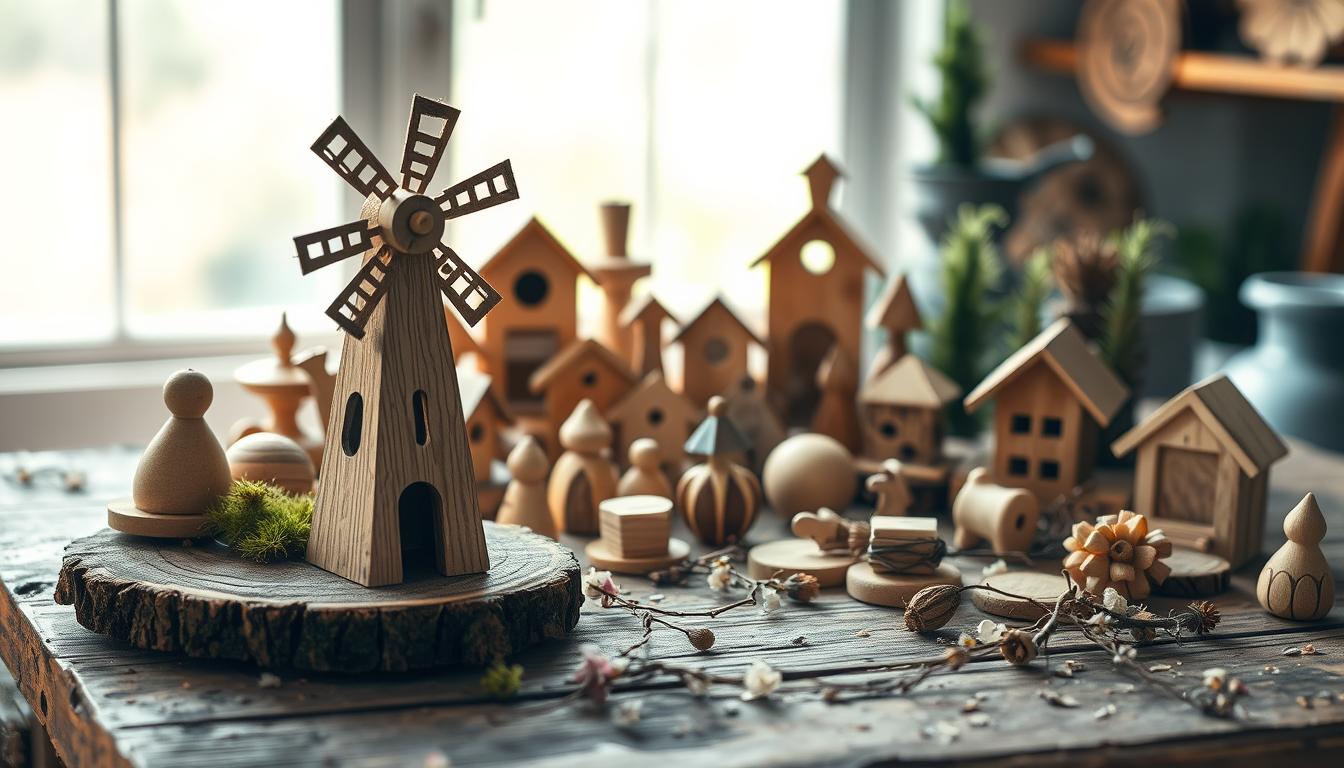
Decorative Value
Miniature wooden windmills can be stunning decorative pieces. They add a rustic charm to any room. You can make them fit your home’s style, making them a unique conversation starter.
Skill Development Benefits
Doing crafts for beginners, like miniature wooden windmills, boosts your skills. You’ll learn woodworking techniques and problem-solving. It’s a hobby that improves your creativity and hand skills.
Essential Tools and Materials for Your Wooden Windmill Project
For a successful small-scale woodworking project like a wooden windmill, the right materials are crucial. The quality of your mini windmill model depends on the wood you choose and the tools you use.
Wood Selection Guide
Choosing the right wood is fundamental to your project’s success. The type of wood you select can affect the durability and appearance of your windmill.
Best Types of Wood for Miniature Projects
For miniature projects, woods like basswood, cedar, and pine are popular. They are easy to work with and look great.
Alternatives for Beginners
If you’re new to woodworking, consider using affordable and easy-to-work-with woods like poplar or birch.
Required Tools List
To construct your wooden windmill, you’ll need basic woodworking tools. These include a saw for cutting, sandpaper for smoothing, and a drill for making holes.
Optional Materials for Embellishment
To add a personal touch to your mini windmill model, consider using optional materials like paint, varnish, or decorative metal parts.
| Material | Use | Recommendation |
|---|---|---|
| Basswood | Main structure | Easy to work with |
| Cedar | Outdoor use | Durable |
| Pine | General crafting | Cost-effective |
By selecting the right materials and tools, you’ll be well on your way to creating a beautiful and functional wooden windmill.
Safety Precautions for Woodworking Beginners
Starting your woodworking journey, with projects like homemade wooden toys or weekend crafting ideas, means safety first.
Proper Tool Handling
Learning to handle woodworking tools correctly is key. Always read the tool manual before use. Wear the right safety gear. For example, when making DIY wooden windmills, using the right tools without hand protection can cause serious harm.
Workspace Setup
A clean, organised workspace is vital for safe woodworking. Keep your area tidy to avoid accidents. Good lighting is also important; it helps you see what you’re doing, reducing mistakes.
Protective Equipment
Protective gear is your first defence against injuries. This includes safety glasses, hearing protection, and dust masks. These are crucial when working on weekend crafting ideas that involve sanding or cutting.
Essential Safety Gear
Some must-have safety gear includes safety glasses, hearing protection, and a dust mask. Safety glasses protect from flying debris, hearing protection prevents long-term damage, and a dust mask keeps you from inhaling wood dust.
First Aid Preparations
Even with precautions, accidents can still occur. Having a first aid kit nearby is essential. It should have bandages, antiseptic wipes, and any needed medications for minor injuries. When making homemade wooden toys, having a first aid kit ready can be a lifesaver in emergencies.
Planning Your Miniature DIY Wooden Windmill Crafts Weekend
Starting your miniature DIY wooden windmill crafts weekend? First, plan your project well. Good planning helps you finish on time and meet your goals.
Choosing the Right Design
Picking a design that matches your skills and interests is key. There are many styles to choose from, each with its special appeal.
Dutch-Style Windmills
Dutch-style windmills are famous for their classic look and rich history. They have strong builds and detailed designs.
American Farm Windmills
American farm windmills are simpler and were used for farm water pumping. They’re a good choice for a rustic or simple project.
Fantasy Windmill Designs
For something creative, fantasy windmill designs are full of possibilities. They can range from playful to elaborate.
Scaling Your Project
After picking a design, think about the project’s size. The size depends on the materials and where you’ll display it.
- Consider the height and width of the windmill.
- Think about the proportion of the blades to the body.
- Ensure the scale is consistent with your chosen design.
Creating Templates
To be precise, making templates for your windmill parts is helpful.
Tips for creating templates:
- Use sturdy paper or cardboard for your templates.
- Double-check your measurements before cutting out the templates.
- Label each template clearly to avoid confusion during assembly.
Step-by-Step Base Construction
A solid base is key for your DIY wooden windmill to last. It keeps the whole thing stable. This is a vital part of making your windmill.
Cutting the Foundation Pieces
First, cut the base pieces as your design needs. Use a precision cutting tool for exact cuts. Pick strong material to hold the windmill’s weight.
Assembling the Windmill Base
Building the base needs careful work. Start by getting your cut pieces ready for assembly.
Joining Techniques
For a strong base, pick the right joining methods. Options include mortise and tenon or butt joints with nails or glue. Your choice depends on your design and tools.
Ensuring Square Corners
Having square corners is essential for stability. Check corners with a carpenter’s square before gluing.
Adding Structural Support
After building the base, add internal supports for more stability. This is crucial for big models or outdoor displays.
By following these steps, you’ll make a strong base for your windmill. It will stay beautiful and useful for many years.
Crafting the Windmill Tower
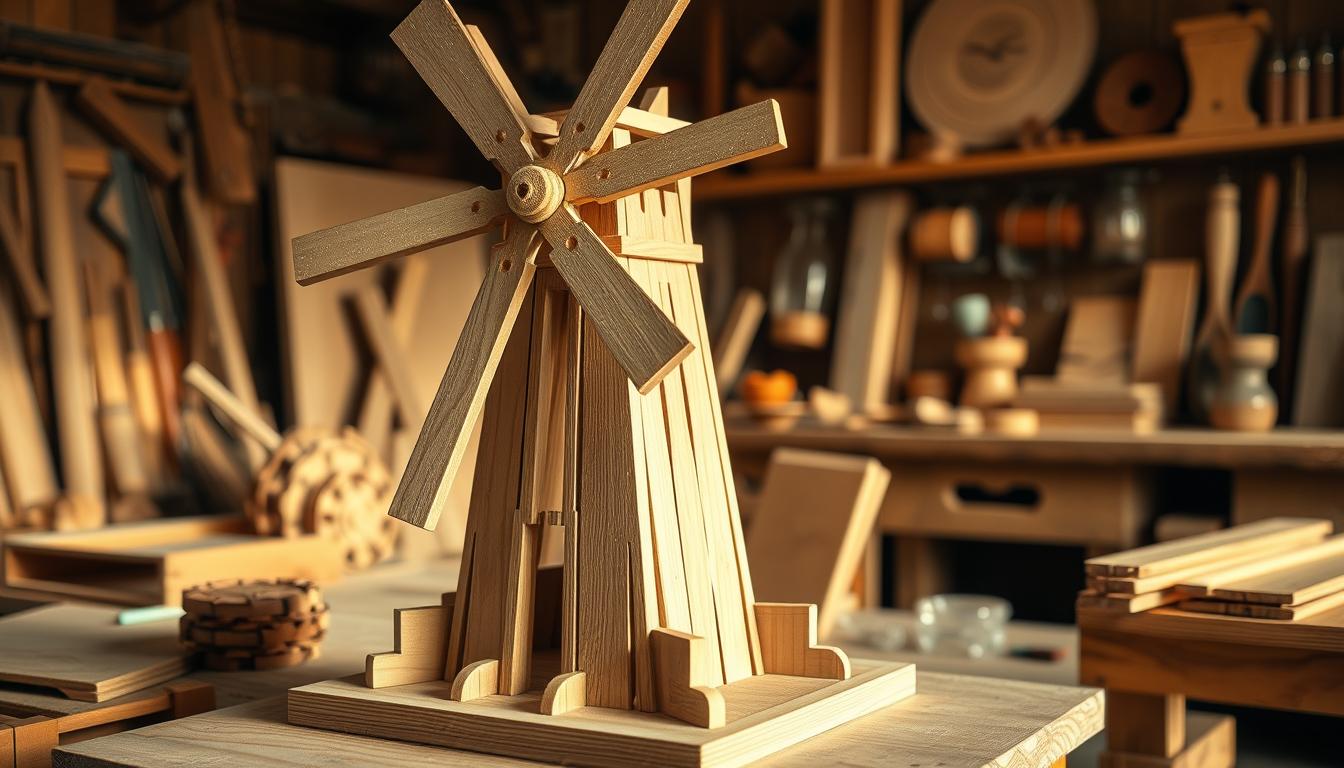
The windmill tower is key to your woodcraft project. It needs careful planning and execution. The tower’s design and stability greatly affect the project’s look and function.
Tower Design Options
There are many tower designs to choose from. You can pick a traditional cylindrical shape, a square tower, or an octagonal design. Each style has its charm and can match your project’s theme.
- Cylindrical towers have a classic look.
- Square towers are sturdy and easy to build.
- Octagonal towers are intricate and beautiful.
Assembly Techniques
Assembling the tower needs precision and the right methods. You can use glue or dowels and pins.
Gluing Methods
Glueing is simple. You apply wood adhesive to the joints. Make sure the pieces are aligned before the glue dries.
Using Dowels and Pins
Dowels and pins make the tower more stable. Drill holes in the pieces, insert dowels or pins, and then glue.
Ensuring Stability
To make your tower stable, follow these tips:
- Choose materials that don’t warp easily.
- Apply even pressure when glueing.
- Let the adhesive dry fully.
By following these steps and picking the right method, you can build a strong and beautiful windmill tower for your project.
Creating the Perfect Windmill Blades
Making the blades for your mini windmill model is key. It needs precision and detail. The blades are important for how well the windmill works, and look good, too.
Blade Design and Proportions
When making your windmill blades, think about their shape and size. Windmill blades are usually curved or angled to catch the wind well. Make sure the blades fit your windmill’s size. For a small model, start with blades a few inches long.
Cutting and Shaping Techniques
The way you cut and shape your blades depends on your tools and skill level.
Hand-Cutting Methods
Use a sharp craft knife or hand saw for hand-cutting. This method lets you control the design well. Use sandpaper to make the edges smooth.
Power Tool Options
Power tools like a jigsaw or bandsaw are good for cutting blades. They’re faster and work with thicker wood. Always use safety guards and keep your fingers away from the blade.
Balancing Your Blades
It’s important to balance your windmill blades for smooth spinning. Unbalanced blades can make the windmill vibrate or not spin properly. To balance, attach the blades to a temporary hub and adjust until they’re even.
| Blade Feature | Importance | Tips |
|---|---|---|
| Shape | Captures wind efficiently | Curved or angled shape |
| Proportions | Affects windmill’s aesthetics and functionality | Proportional to windmill size |
| Balance | Ensures smooth operation | Adjust on a temporary hub |
Working on your mini windmill model takes patience and practice. Follow these tips to make a beautiful and working DIY wooden windmill.
Mechanism Assembly: Making Your Windmill Spin
The secret to a great wooden windmill is its spinning motion. This is made possible by a simple yet effective mechanism. Assembling this mechanism is key to bringing your DIY woodworking project to life.
Simple Rotating Mechanisms
To make your windmill spin, use a simple rotating mechanism. This usually involves a rod or axle that lets the blades rotate freely. For small-scale woodworking projects, a small metal or wooden rod works well as the axle.
Attaching Blades to the Hub
Attaching the blades to the hub is a crucial step. You have two main options: fixed blades or movable blades.
Fixed Blade Options
Fixed blades are easier to make and are sturdy. They’re perfect for decorative windmills where spinning isn’t a must.
Creating Movable Blades
Movable blades make your windmill more dynamic and interactive. To make movable blades, attach them to the hub with a pin or small screw that lets them rotate.
Troubleshooting Movement Issues
If your windmill blades won’t spin smoothly, look for any blockages or misalignments. Make sure the axle is aligned right and the blades are balanced.
| Issue | Solution |
|---|---|
| Blades not spinning | Check axle alignment and blade balance |
| Blades wobbling | Adjust blade attachment or balance weights |
Woodworking expert
“The secret to a well-functioning windmill lies in the precision of its assembly and the quality of its components.”
Finishing Touches and Decorative Elements
As you near the end of your miniature DIY wooden windmill, it’s time for the final touches. These details can turn your project into a stunning miniature wooden decor piece. You’ll be proud to show it off.
Sanding Techniques
Sanding is key to getting your windmill ready for finishing. Begin with coarse-grit sandpaper to smooth out any rough spots. Then, move to finer grits for a smooth finish. This step not only looks good but also helps paint or stain stick better.
Painting and Staining Options
You have a few ways to add color to your windmill. You can paint or stain it, depending on the wood and look you want.
Traditional Color Schemes
Traditional windmills often have classic colors like white, red, or weathered wood. These colors can make your miniature windmill look authentic and traditional.
Creative Alternatives
For a unique look, try bold or pastel colors. You can also play with staining techniques for a distressed look. This adds character to your homemade wooden toy.
Adding Authentic Details
To make your windmill look more real, add details like metal straps, wooden pegs, or a small door. These elements can make your miniature windmill more charming and realistic.
Choosing the right finishing touches and decorative elements can make your miniature wooden decor piece truly special. It shows off your skill and creativity.
Common Mistakes and How to Avoid Them
Starting your miniature DIY wooden windmill project? Knowing common mistakes can save you time and frustration. Understanding these pitfalls will make your weekend crafting more successful and fun.
Measurement and Cutting Errors
Accurate measurement and cutting are key. Always double-check your measurements. Use sharp tools for clean cuts.
Assembly Problems
Assembly issues can happen if pieces don’t fit right. To avoid this, follow your design plan closely. Use clamps to hold pieces in place while glueing.
Finishing Mishaps
Finishing touches are crucial. Common problems include paint drips and wood splits.
Dealing with Paint Drips
To prevent paint drips, choose the right brush. If drips happen, let the paint dry before sanding them off.
Fixing Wood Splits
Wood splits can be avoided with proper joining and gentle handling. If a split happens, use wood glue to fix it. Clamp the area until it’s dry.
| Common Mistake | Prevention Method | Fixing Technique |
|---|---|---|
| Measurement Errors | Double-check measurements | Recut the piece |
| Paint Drips | Use appropriate brush | Sand off dried drips |
| Wood Splits | Handle wood gently | Use wood glue and clamp |
Variations of Miniature DIY Wooden Windmill Crafts
The world of miniature DIY wooden windmill crafts is full of options. You can make models that are decorative, functional, or even educational.
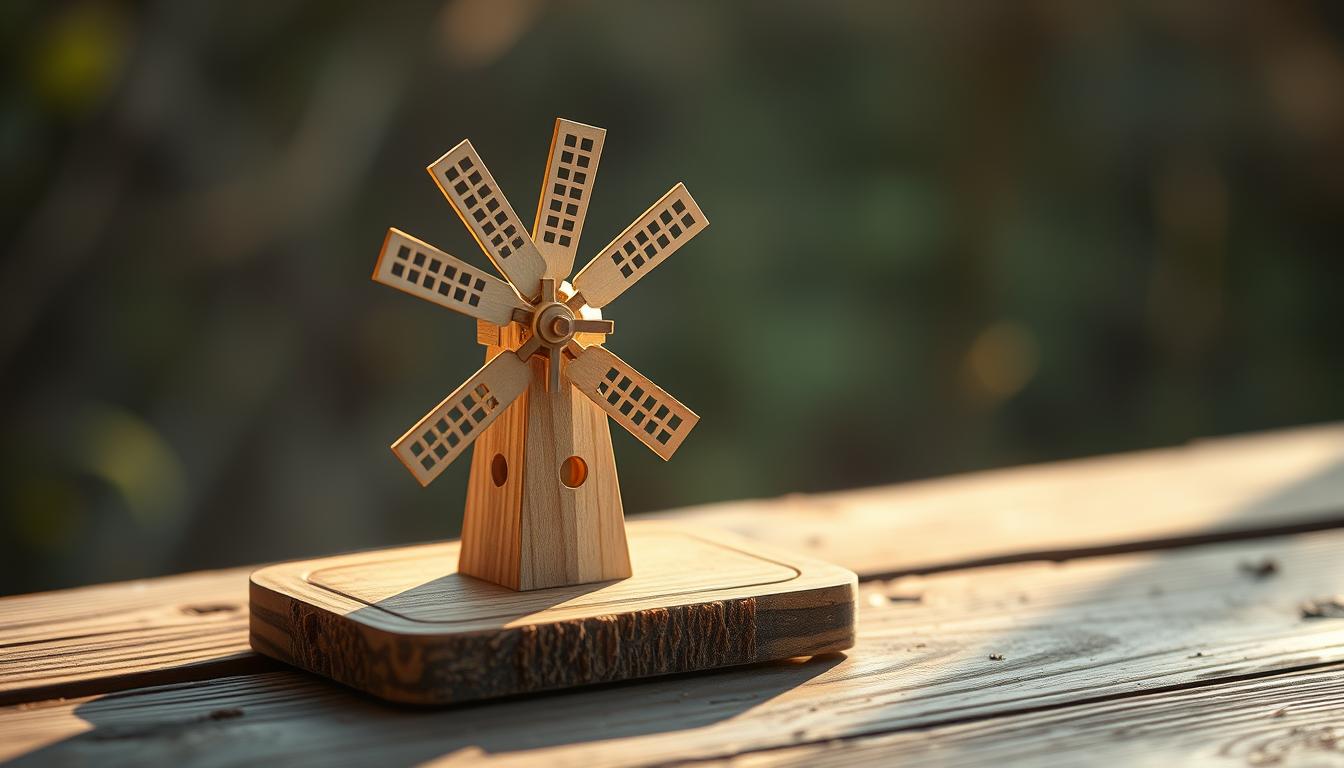
Tabletop Display Models
Tabletop display models are great for showing off your skills in a small way. You can add detailed designs and paint or stain them for a better look. They’re perfect for decorating your home or office.
Garden Ornaments
Garden ornaments can make your outdoor spaces more charming. Design your windmill to withstand the weather. Place them among plants or near water to enhance your garden’s beauty.
Functional Windmills
Functional windmills are more than just decorative. They have mechanisms that let them do real tasks. Here are a few examples:
Water-Pumping Miniatures
Water-pumping miniatures work like old windmills for irrigation. They have a simple pump that shows how windmills were used in the past.
Electricity-Generating Models
Electricity-generating models are a modern take on windmills. They have a small generator that makes electricity. This makes them great for teaching about renewable energy.
Exploring these different types of crafts can be both challenging and inspiring. Whether you’re making something to look at or something that works, the joy of creating is unmatched.
🌟 Ready to Take Your Wooden Craft Skills to the Next Level? 🌟
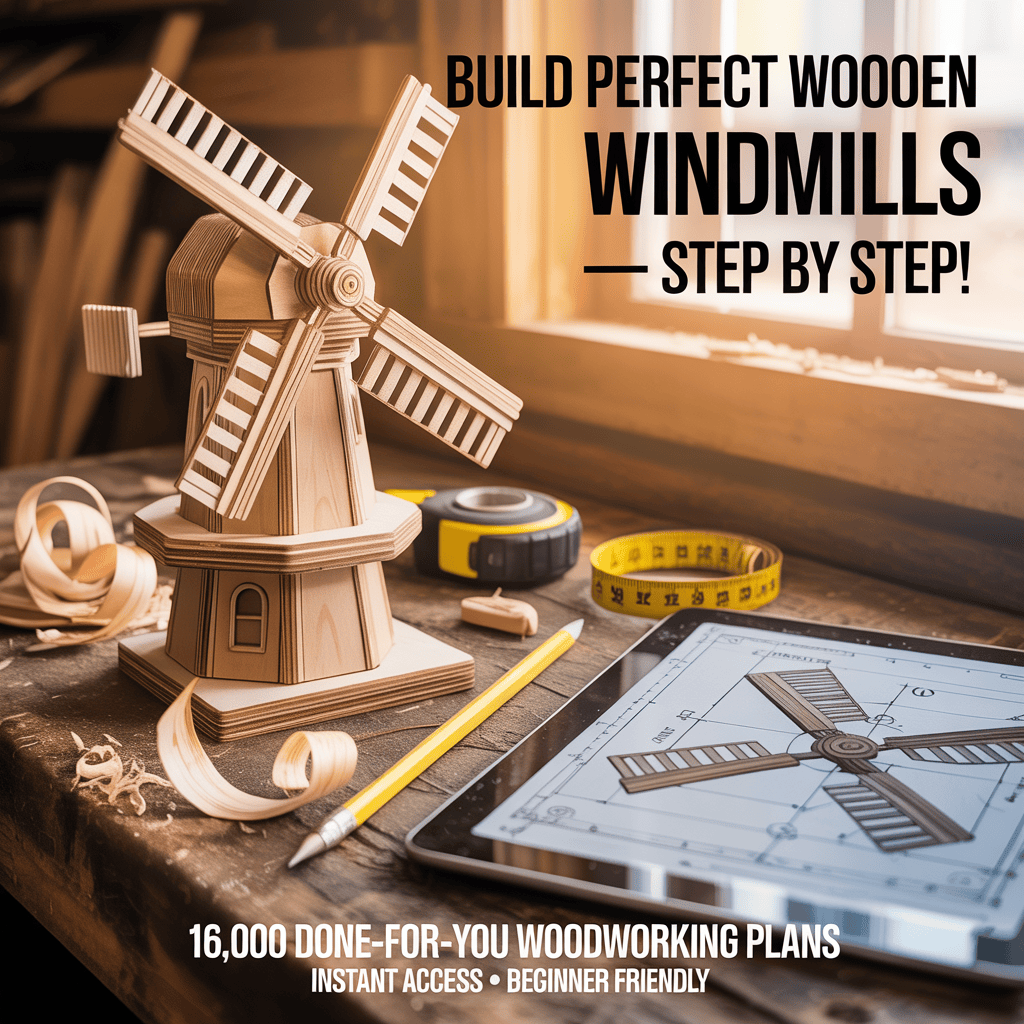
Unlock 16,000+ Done-For-You Woodworking Plans Inside Ted’s Woodworking!
✅ Loved crafting your Miniature DIY Wooden Windmill?
✅ Want to explore thousands more satisfying, creative, and profitable woodworking projects?
Don’t miss this ultimate woodworking collection – perfect for beginners and pros alike!
Here’s what you get with Ted’s Woodworking:
- 📘 Step-by-step instructions – No guesswork, just build with confidence!
- 🪚 Exact cutting & materials lists – Save money, avoid mistakes.
- 🗂️ 16,000+ project blueprints – From windmills to Adirondack chairs and everything in between.
- 🧰 No fancy tools needed – Start with what you already have!
- 🧠 Boost creativity & skills – Learn as you build, even if you’re a complete beginner.
- 🎁 Monthly new plans for life – Keep growing your project library forever!
🎯 👉 Click below and start your next woodcraft masterpiece today! 👇
🔗 Get Instant Access to Ted’s 16,000 Woodworking Plans »
Conclusion: Enjoying Your Handcrafted Wooden Windmill
You’ve finished your DIY wooden windmill project and feel proud. Making something with your hands is very rewarding. Show off your windmill in your home or garden to remember your creativity.
Your DIY windmill can make your garden or home stand out. It’s not just a project; it’s a chance to learn new things. If you’re ready for more, try other DIY projects to show off your skills.
Looking back on your DIY weekend, think about what you learned. DIY crafting is endless, and your windmill is just the start. Keep exploring and creating.
FAQ
What type of wood is best suited for miniature DIY wooden windmill crafts?
For small wooden windmill crafts, use durable yet easy-to-work-with woods. Basswood, pine, or cedar are great choices. They’re perfect for small projects and can be shaped easily.
What are the essential tools needed for a wooden windmill project?
You’ll need a table saw or circular saw for cutting, a drill press or hand drill for precise holes, and sandpaper for smoothing. A jigsaw or coping saw is key for curved cuts. Don’t forget clamps, a hammer, and a measuring tape for assembly.
How can I ensure the stability of my windmill tower?
For a stable windmill tower, start with a strong base and a solid assembly plan. Use a wide base and attach it securely. Reinforce with glue or brackets for extra stability.
What are some common mistakes to avoid when crafting a miniature wooden windmill?
Avoid measurement and cutting errors, assembly issues, and finishing mistakes. Take your time with measurements and cuts. Follow a clear assembly plan and choose the right finish for your wood.
Can I make my miniature wooden windmill functional?
Yes, you can make it functional. Add a rotating mechanism and blades to a hub. Consider adding a small generator or water-pumping mechanism for more complexity.
How can I add authentic details to my miniature wooden windmill?
Use painting or staining for realistic colors. Add metal or materials for details like rivets or hinges. Incorporate textures or patterns to look like real windmills.
What are some variations of miniature DIY wooden windmill crafts that I can try?
Try tabletop models, garden ornaments, or functional windmills. Experiment with designs like Dutch windmills or modern turbines for a unique model.
What safety precautions should I take when working with power tools for my wooden windmill project?
Wear safety glasses, ear protection, and a dust mask. Keep your workspace clean and follow tool instructions to avoid accidents.
How can I scale my miniature DIY wooden windmill craft project?
Scale your project by enlarging or reducing templates, adjusting design proportions, or using different woods. This will help achieve the desired size and texture.


Pingback: How to Build a DIY Wind Generator with Wooden Blades: A Step-by-Step Guide