
Did you know that over 60% of U.S. homeowners love handmade decor like rustic DIY wooden door hangers? They use them to make their homes unique. Whether you need rustic diy wooden door hangers for your front door or personalised wooden signs for the seasons, this guide has you covered. You’ll learn how to make standout pieces without spending a lot.
Free SVG cut files and simple tools make it easy to begin, even if you’re new to woodworking.
Key Takeaways
- Rustic DIY wooden door hangers are a top home decor project for 2024.
- Personalised wooden signs can be 70% cheaper when made at home compared to buying them.
- SVG cut files make design transfers easy for sharp, professional results.
- Rustic styles fit any season—think autumn leaves, winter wreaths, or farmhouse themes all year.
- No power tools? Basic hand saws and sanders work great for these projects.
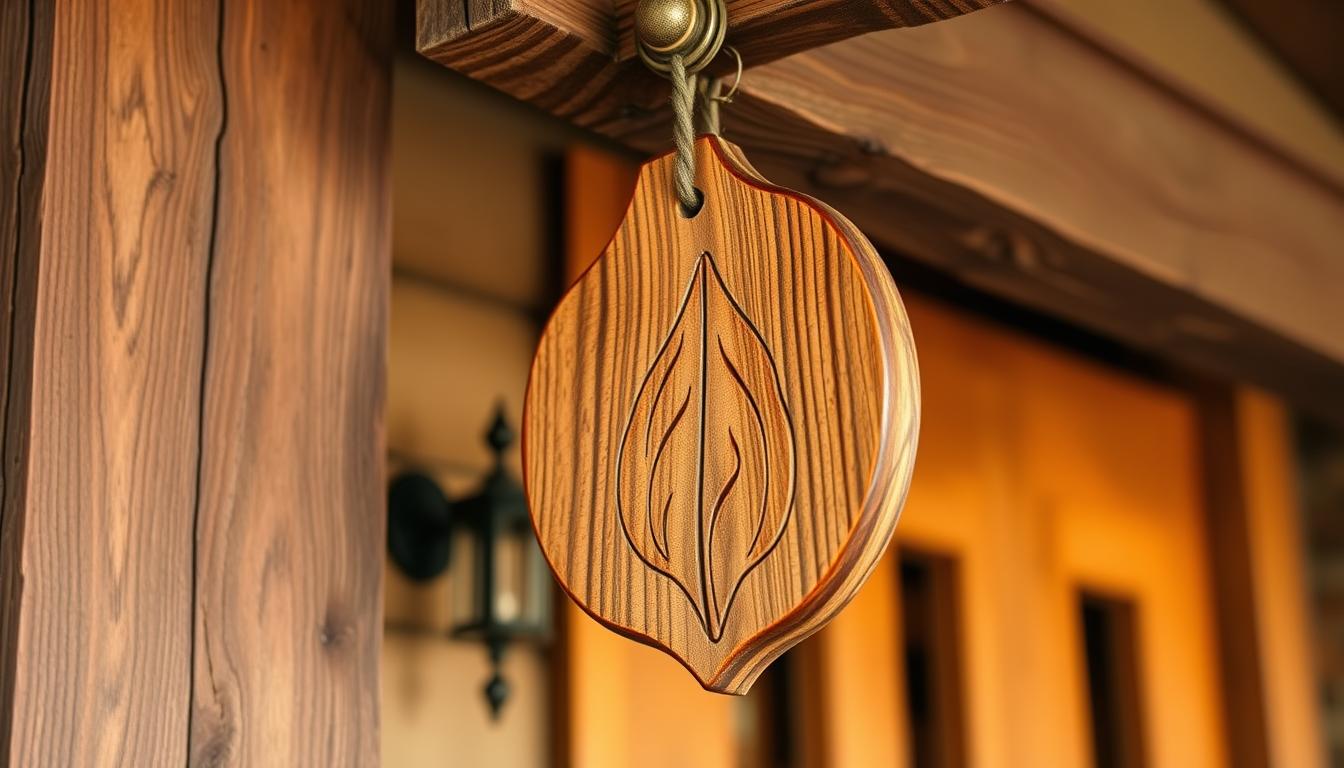
Introduction to rustic diy wooden door hangers
Rustic wood crafts and handmade door decorations add a cosy feel to any entryway. They mix simplicity with character, making homes warmer. Imagine walking into a space where every detail tells a story. This is the charm of rustic design.
Understanding the Rustic Appeal
Natural wood imperfections like knots and grain patterns are celebrated in rustic crafts. Think of pre-drilled wood rounds painted with seasonal themes or reclaimed planks turned into signs. These elements give homes a lived-in look, loved in farmhouse and cabin styles. The handmade door decorations’ rough look appeals to those who value authenticity over perfection.
Benefits of DIY Home Decor
- Personalisation: Customise designs using stencils, stains, or engraved initials.
- Affordability: Repurpose materials like pallets or scrap wood to reduce costs.
- Therapeutic Process: Carving, sanding, or painting lets you unwind while creating.
Handmade door decorations are more than just decor; they’re a way to express your creativity. Whether you’re new to crafting or have experience, these projects offer a chance to try new things. Start with a simple painted sign and then move on to more complex designs. Each piece shows off your unique style.

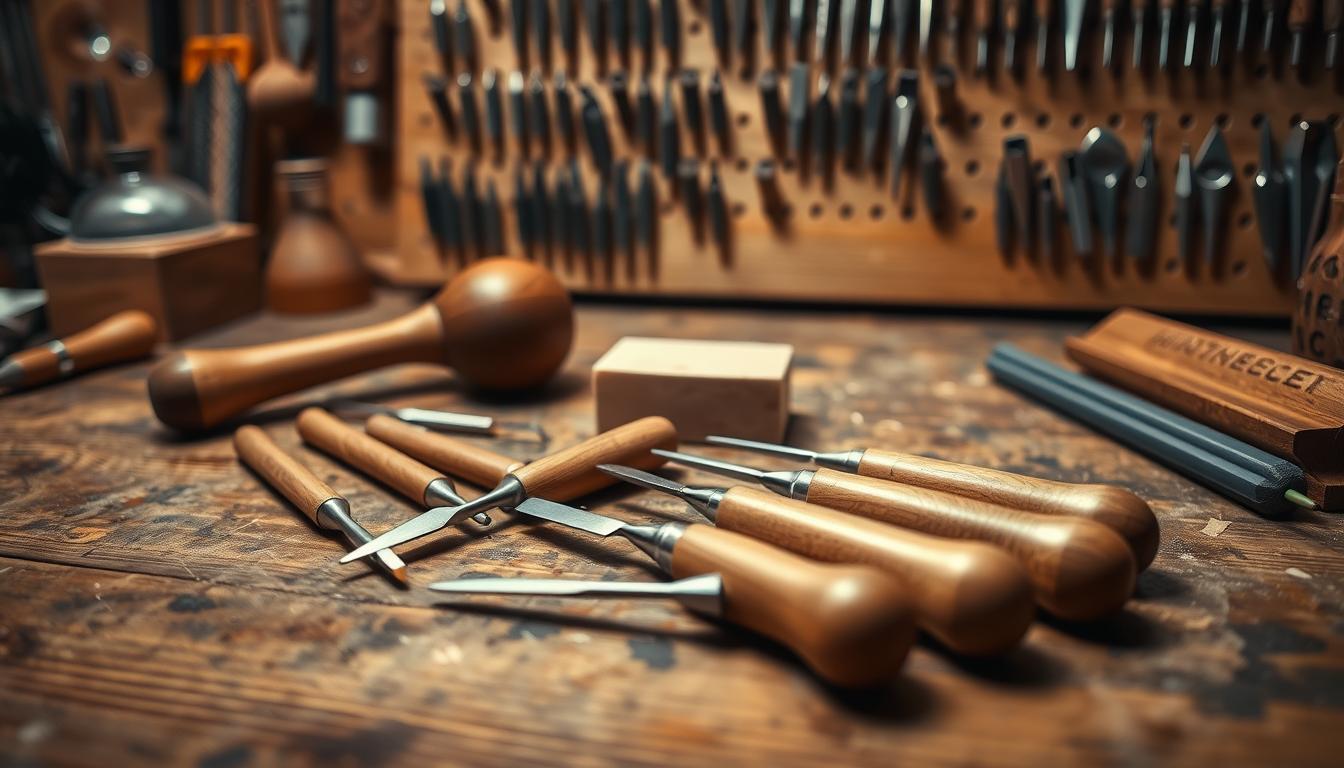
Gathering Supplies and Essential Tools
Starting your diy home decor project needs the right stuff. First, find these must-haves:
- Wood rounds (1-inch thick, 6–8 inches wide)
- 120-grit sandpaper for smoothing surfaces
- Neutral chalk paint (cream, brown, or green hues)
- Heat-resistant vinyl sheets for custom designs
- Foam brushes for even paint application
- X-acto knife or jigsaw for cutting wood
- Drill with bits for hanging hardware
- Safety goggles and work gloves
- Ruler and pencil for measurements
For a good deal, check out Home Depot or HomeGoods for reclaimed wood. Amazon has affordable paint kits. Always check tool sharpness and keep materials in a well-ventilated area. Extras like distress brushes or steel wool can add texture, but aren’t essential. Remember, safety is key in any diy home decor project.
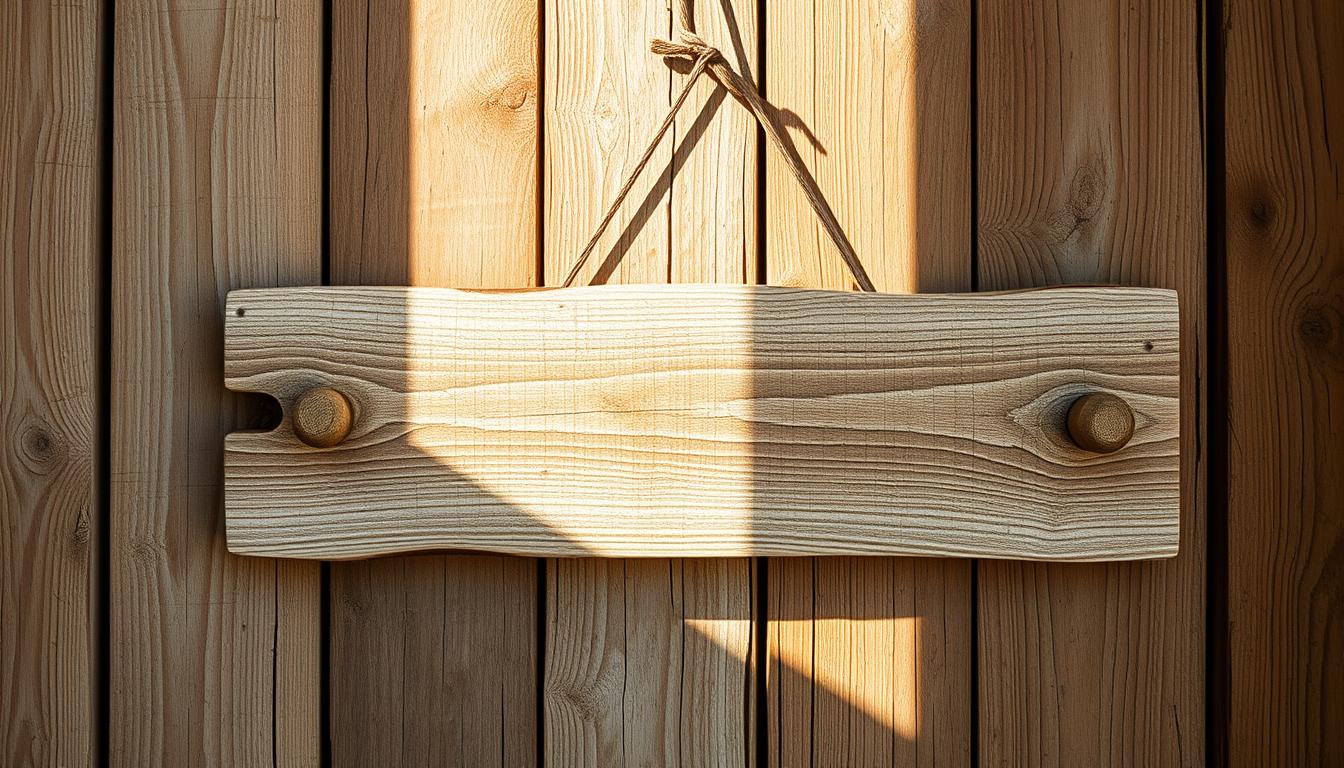
Designing Your Unique Wooden Door Hangers
Before you start carving, take time to look at rustic door hanger ideas that show your style. This step mixes creativity with usefulness. It makes sure your design fits your rustic home.
Inspiration from Farmhouse Style
Farmhouse style is all about warmth and simplicity. Look for rustic door hanger ideas with reclaimed wood, weathered looks, or simple carvings. You’ll find favourites like:
“Farmhouse style thrives on blending practicality with natural beauty.”
Use free SVG templates from Etsy or Pinterest for designs you can download. Sites like DesignScape have farmhouse patterns. Choose shapes like planks, barn cuts, or geometric designs for a unified look.
Sketching Your Initial Idea
Begin by drawing simple shapes on graph paper or with digital tools like Canva. Think about these shapes:
| Shape | Pros | Cons |
|---|---|---|
| Rectangular | Classic look, easy to carve | May appear too basic |
| Oval | Soft edges, space-saving | Requires precise cuts |
| Geometric | Modern twist, unique appeal | Advanced tools needed |
Match shapes with farmhouse touches like engraved vines or initials. Make sure they fit your door’s size—most are 10-18 inches wide. Let these rustic door hanger ideas help you plan before you move on.
Step-by-Step Crafting Instructions
Begin with raw cedar or pine planks for your wooden door hanging crafts. First, sand surfaces smooth to remove rough edges. Start with 120-grit sandpaper, then move to 220-grit for a finer finish.
Preparing the Wood
- Measure and mark dimensions using a carpenter’s square.
- Apply wood conditioner to uneven absorption areas.
- Wipe excess sawdust with a tack cloth before staining.
Cutting and Shaping Techniques
For curved edges, use a jigsaw. For straight cuts, a table saw is best. Sand cut edges right away to avoid splinters. To make arches, trace templates onto wood and cut along the lines.
“Always score cut lines with a utility knife before cutting thicker wood,” advises DIY woodworking expert Laura Thompson in her 2023 guide.
Assembling the Pieces
Attach hardware like hooks or chains with 1-inch wood screws. Apply polycrylic sealer in two coats, letting it dry for 2 hours between layers. Use E6000 adhesive for vinyl cutouts to last longer.
Test the balance by hanging prototypes from a workbench hook. Make any necessary adjustments before finishing.
Achieving a Perfect Rustic Finish
Getting the perfect rustic finish is key to making your wooden door hanger look like a true farmhouse style door hanger. The right materials and techniques will make it look weathered and loved from the start.
Selecting the Right Stain or Paint
Choose finishes that bring out the natural wood texture and are durable:
- Chalk Paint: Brands like Annie Sloan Chalk Paint give soft, muted tones that stick to uneven surfaces.
- Wood Stain: Stains from Minwax or Varathane highlight the wood grain with a clear or colored finish.
- Faux Effects: Mixing milk paint with gel medium adds a crackle texture for an aged look.
Distressing Techniques for Authenticity
Follow these steps to achieve a lived-in look:
- Sand edges with 120-grit paper to remove paint layers.
- Wipe off excess stain with a damp cloth in circular motions.
- Carve shallow grooves with a utility knife for subtle imperfections.
| Option | Benefits | Application Tips |
|---|---|---|
| Chalk Paint | Cover flaws easily | Apply with a dry brush for textured layers |
| Wood Stain | Showcases wood grain | Test on scrap wood first |
Distressing isn’t about perfection—it’s about telling a story through imperfection.
Use a light wax sealant to protect the finish without hiding the rustic charm. Each scratch and stain tells a story, making your farmhouse-style door hangers feel like family heirlooms from the moment they’re hung.
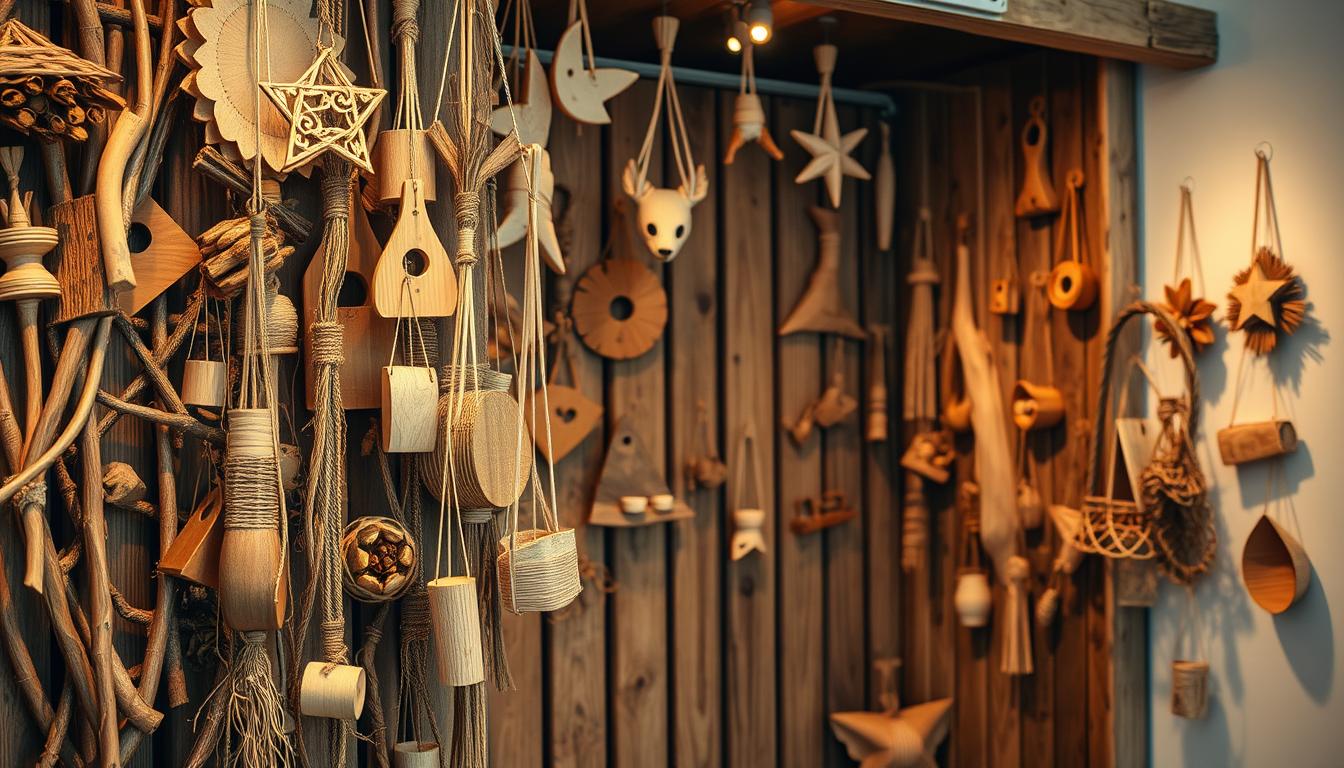
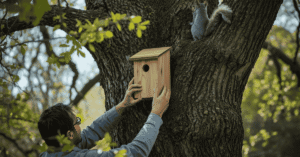
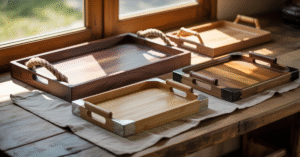
Creative DIY Projects and Rustic Wood Crafts
After finishing your door hanger, explore more creative DIY projects. These projects showcase your rustic woodworking skills. They turn simple materials into unique home decor pieces that show off your style.
Exploring Additional Rustic Ideas
- Make a farmhouse-style candle holder with reclaimed planks
- Create wall-mounted wooden planters for small succulents
- Design a rustic key rack using similar distressing techniques
Try different shapes and sizes for a modern-rustic look. Use tools from brands like Woodcraft or Rockler to improve your craft.
Incorporating Personal Touches
Add personal touches to make your projects special:
- Hand-painted quotes or initials
- Copper accents using patina finishes
- Sanded edges for a weathered texture
Match your door hanger with coasters or trivets for a complete rustic set. Each piece can have its own story, like rope handles or vintage nails.
Personalising Your Handmade Door Decorations
Make your rustic door hanger truly unique with custom touches. You can add initials, quotes, or patterns that mean something to you. This way, your diy home decor becomes a personal statement.
Adding Custom Engravings
Use tools like Dremel rotary carvers or woodburning pens for engravings. Start by outlining your design with a pencil for better precision:
- Rotary tools (diy home decor essentials) for deep carvings
- Woodburning sets for intricate line work
- Laser engravers for precise text or logos

Using Decals and Creative Accents
Apply vinyl decals with Cricut or Silhouette machines. Here’s how:
- Cut designs using adhesive vinyl sheets
- Peel and stick patterns onto wood surfaces
- Seal with polyurethane to prevent peeling
| Method | Tools Needed | Time Required | Outcome |
|---|---|---|---|
| Engraving | Rotary tool, sandpaper | 30-45 mins | Permanent text/patterns |
| Decals | Heat press, vinyl cutter | 15-20 mins | Quick removable designs |
Combine decals with metallic paints or fabric for texture. Stencil with chalk paint for a vintage look. Each step makes your diy home decor a true reflection of your style.
Innovative Installation Ideas for Wooden Door Hangings
Take your rustic wood crafts to the next level with creative installation strategies. Whether you’re decorating interiors or outdoor spaces, proper placement enhances both aesthetics and durability.
Indoor and Outdoor Placement Tips
Experiment with these versatile locations:
- Front doors: Combine with wreaths for seasonal updates
- Patios: Hang over garden gates for rustic garden accents
- Indoor foyers: Pair with lanterns for layered farmhouse decor
| Location | Key Considerations |
|---|---|
| Outdoor | Use marine-grade screws and waterproof sealants |
| Indoor | Opt for decorative hooks matching your decor theme |
Securing and Maintaining Your Hangers
Ensure longevity with these steps:
- Use weather-resistant hardware for outdoor rustic wood crafts
- Check screws annually to prevent loosening
- Clean with mild soap—avoid abrasive materials
For extreme weather areas, apply outdoor wood finishes every 1-2 years. Hanging height should match your door’s centre point for balanced visuals.
Safety Tips and Best Practices for DIY Home Decor
When making handmade door decorations, safety and organisation are key. They help you get great results and stay safe. Whether you’re sanding wood or using power tools, follow these tips to keep your project safe.
Handling Tools Safely
- Wear safety goggles to protect your eyes from debris.
- Use clamps to hold wood pieces instead of your hands.
- Keep blades and saws sharp. Dull tools are dangerous and can hurt you.
Workspace Organization
Keeping your space organised is important. Handmade door decoration projects need:
- A clean area with no clutter.
- Tool storage bins to avoid tripping.
- A dust mask and good ventilation are required when sanding or painting.
Always clean your tools after use. Store chemicals away from your work area. Keep your space tidy to avoid accidents. By following these steps, your handmade door decorations project will be safe and successful.
Troubleshooting and Refining Your Craft
Rustic door hanger ideas can sometimes go off track, but fixes are simpler than you think. Let’s go through common issues and smart solutions to elevate your final project.
Common Pitfalls and How to Avoid Them
- Uneven stain? Lightly sand the surface and apply a second coat in thin layers.
- Warped wood? Let materials acclimate to room humidity before cutting.
- Unbalanced design? Use grid paper to mock up layouts before drilling.
Refinishing and Upcycling Solutions
“Every mistake is a chance to reinvent your rustic door hanger ideas,” say seasoned crafters.
Revive flawed projects with these steps:
- Scrape old finishes with a heat gun to expose bare wood for a fresh start.
- Attach mismatched hardware or salvaged metal scraps to add intentional asymmetry.
- Use chalk paint to cover minor mistakes and distress edges for a weathered look.
Even small adjustments can turn “flaws” into unique rustic door hanger ideas. Experiment with layering stains or adding natural elements like twine for instant charm.
🚀 Want to Make Stunning Wooden Door Hangers (and 16,000+ Other Projects) Easily?
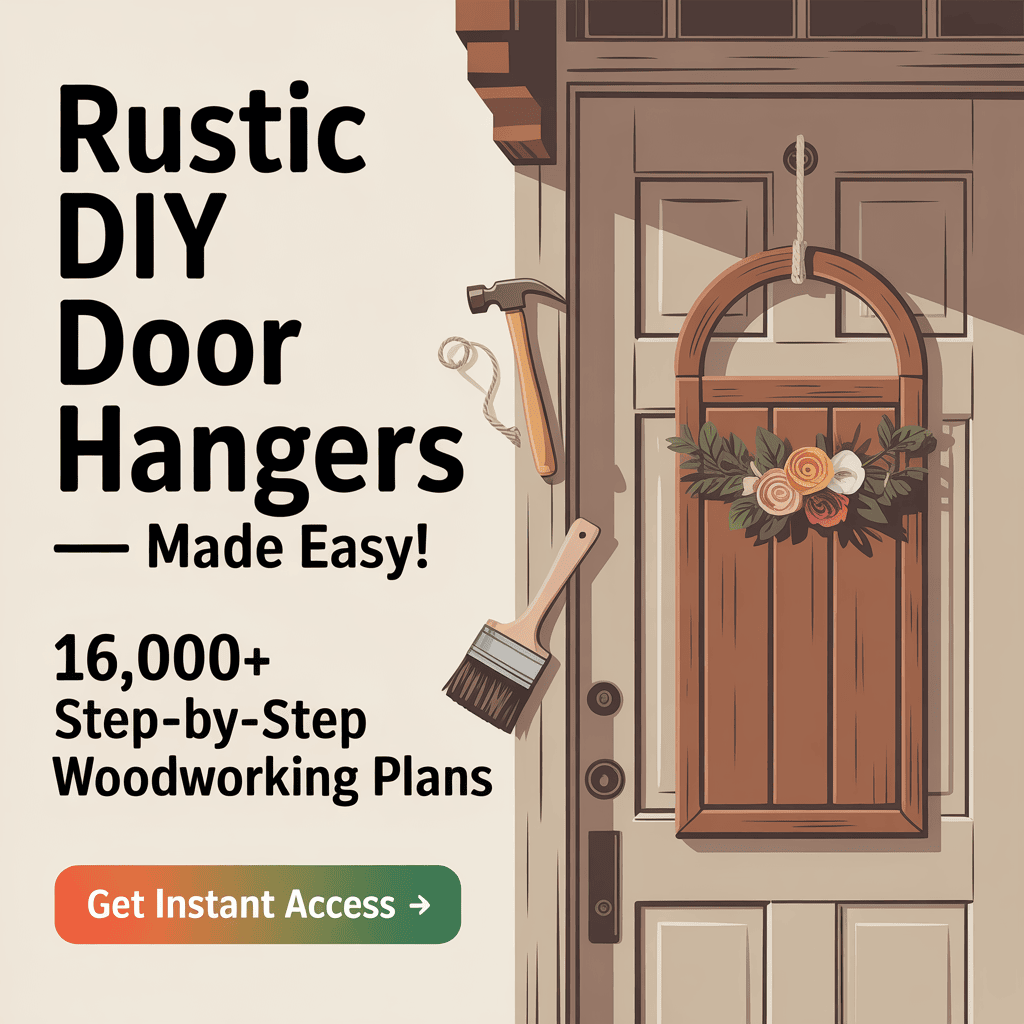
Stop guessing—start building like a pro! With TedsWoodworking, you get:
✅ 16,000+ Done-for-You Plans – Step-by-step blueprints for rustic door hangers, furniture, crafts, and more!
✅ Beginner-Friendly – No expensive tools or workshop needed.
✅ Lifetime Access + Monthly Updates – New plans added regularly.
✅ FREE Bonuses – CAD software, video tutorials, and business guides (worth $190!).
👉 Get Instant Access for Only $67 (Limited Time!)
60-Day Money-Back Guarantee – No risk!
Conclusion
Your rustic wooden door hanger is a true reflection of your creativity. It combines usefulness with a personal touch, making entryways unique. Every detail, from the cut to the stain, tells a story just for you.
Wooden door hanging crafts open up a world of possibilities for making spaces your own. Whether you choose something simple or go for bold farmhouse looks, this project shows how creativity can turn simple materials into something special. The skills you’ve learned can be used in many other DIY projects, like wall art or seasonal decorations.
This door hanger is just the beginning of your journey in making things by hand. As you get better, try new things and mix rustic looks with your own style. Each project brings joy and satisfaction. Share your work, try new ideas, and keep enjoying the process. Your next DIY project is just around the corner, thanks to what you’ve learned here.
FAQ
What materials do I need for crafting rustic DIY wooden door hangers?
You’ll need high-quality wood, paint or stains, and brushes. Twine or ribbon is for hanging. Tools like a saw, sandpaper, and a drill are also necessary. For a budget-friendly option, look for alternatives. Always wear protective gear for safety.
How can I personalise my door hanger?
Personalise your door hanger with custom engravings or decals. Sketch your ideas first. Make sure they fit the rustic theme to show your style.
What techniques can I use to achieve a rustic finish?
To get a rustic look, use the right stains or paints. Apply faux wood finishes and distress the wood. Enhancing the natural wood grain adds to the farmhouse look.
Where is the best place to hang my wooden door hanger?
You can hang it on the front door, in your living room, or outdoors. Make sure it’s securely hung. If it’s outside, consider weather-proofing it.
What are some common challenges I might face while crafting?
Challenges include cutting errors and uneven finishes. Sometimes, the wrong paint is used. Be ready to refine and repeat steps. Upcycling can also help salvage your project.
Can I use alternative materials for my door hanger?
Yes, you can use reclaimed wood, MDF, or plywood. Each material gives a different look and feel to your project.
Are there any safety measures I should consider while crafting?
Always wear protective gear like safety goggles and gloves. Know how to use your tools and keep your workspace clean to avoid hazards.
