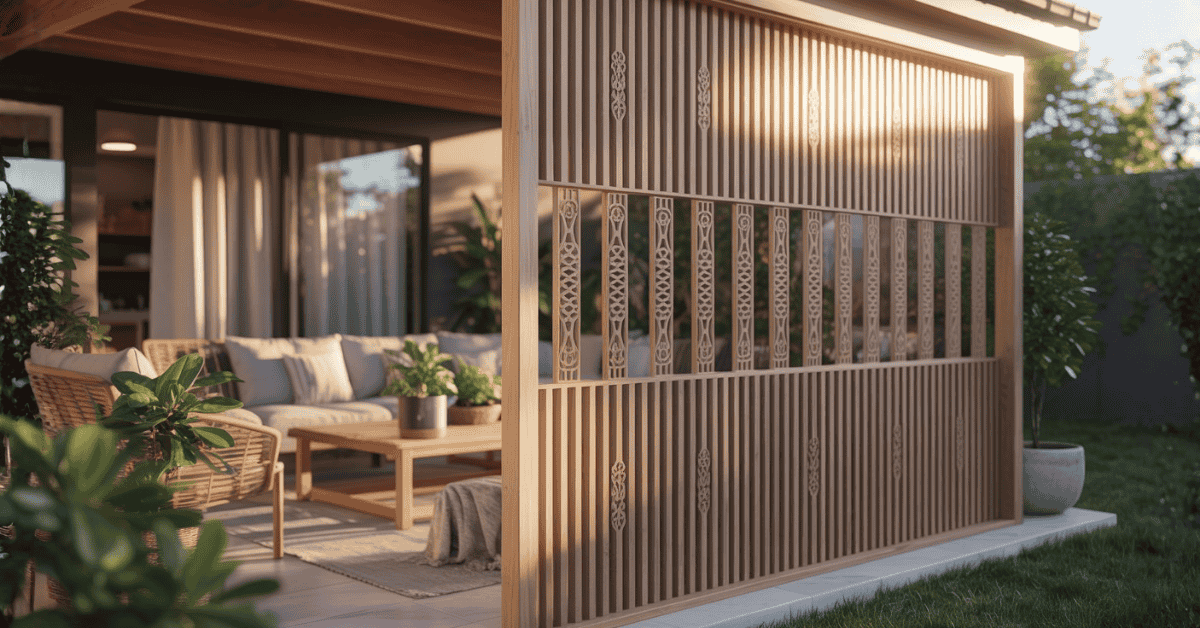
Did you know a private outdoor space can boost your home’s value? It also offers a peaceful escape from the world. Creating a private patio is simpler than you might think.
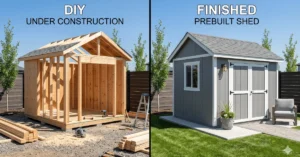
Building a wooden privacy screen is a basic DIY task. It can turn your outdoor area into a quiet retreat. This guide will show you how to make a decorative screen that matches your taste and needs.
With this guide, you can make a stunning and useful wooden screen. It will make your patio more inviting and give you the privacy you want.
Key Takeaways
- Create a private outdoor space with a decorative wooden screen
- Follow a step-by-step guide to build your DIY privacy screen
- Enhance your patio’s ambience with a functional wooden screen
- Increase your home’s value with a private outdoor living area
- Customise your screen to suit your style and needs
Why Your Patio Needs a Wooden Privacy Screen
A wooden privacy screen is a great addition to any patio. It adds both function and beauty. It’s a simple way to make your outdoor space better.
One key reason for a wooden privacy screen is to make a private outdoor sanctuary. It blocks views from neighbours, so you can enjoy your patio without feeling watched. This is crucial in crowded areas or where buildings overlook your yard.
Creating a Private Outdoor Sanctuary
A wooden privacy screen lets you relax in peace. Whether you’re reading, eating, or just enjoying the sun, it creates a secluded spot. This way, you can fully enjoy your outdoor area.
Protection from Elements and Neighbours
It also protects your patio from harsh winds, too much sun, and curious neighbours. This makes your outdoor space more comfy and fun.
Defining Your Outdoor Living Space
A decorative wooden privacy screen can also mark your outdoor area. It creates a clear boundary between your patio and the rest of your yard. This is handy for big backyards or if you want different areas for different things.
Adding a wooden privacy screen to your patio design makes it more welcoming, useful, and private. It meets your needs and improves your outdoor living experience.
Planning Your Decorative Wooden Privacy Screen DIY Project
Before you start building your decorative wooden privacy screen, it’s key to plan well. A good plan makes sure your screen looks great and works well.
Determining the Ideal Dimensions and Placement
To find the perfect size for your privacy screen, measure your patio carefully. Think about the area’s length and width. Also, consider any furniture or plants that might get in the way.
Measuring Your Space Accurately
Use a tape measure to get the patio’s dimensions. Note any odd shapes in your patio.
Considering Sun Angles and Wind Direction
Think about how the sun and wind hit your patio. A privacy screen can offer shade or block strong winds.
Setting a Realistic Budget and Timeline
Set a budget for your project and plan when it will be done. Think about the cost of materials, tools, and any permits you might need.
Obtaining Necessary Permits (If Required)
Find out if you need any permits for your DIY wooden privacy screen project. Check with your local authorities.
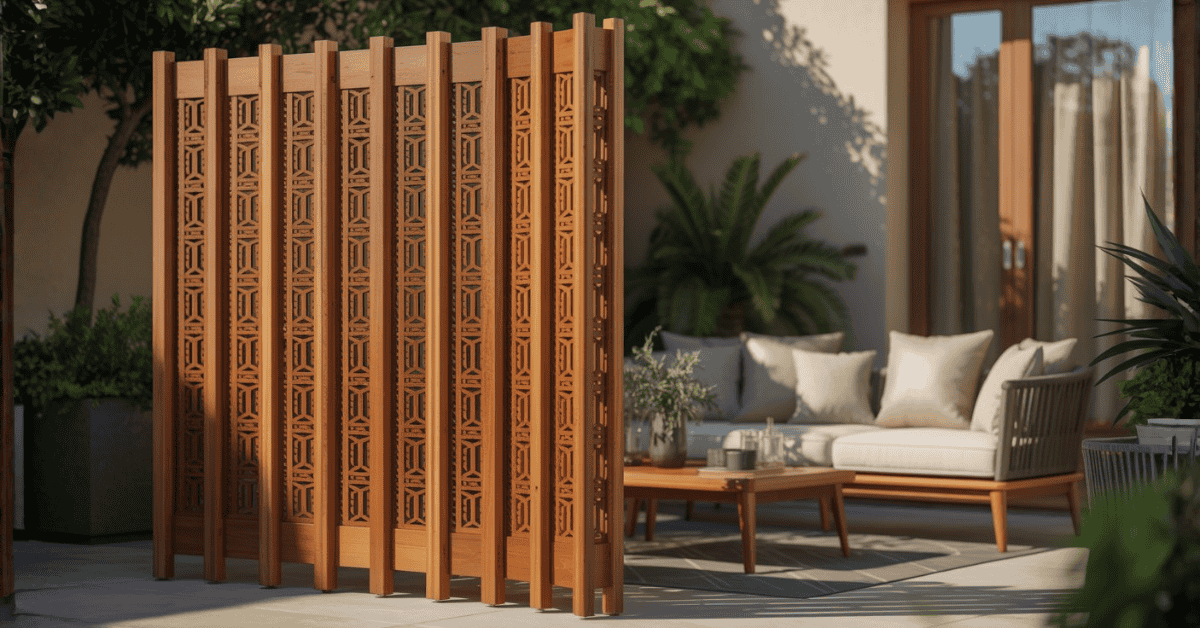
Popular Design Styles for Wooden Privacy Screens
Choosing a design style for your patio’s wooden privacy screen is key. It greatly affects the look of your outdoor space. Your wooden screen panel tutorial can include many elements to fit your decor.
Lattice and Grid Patterns
Lattice patterns are a timeless choice for privacy screens. They mix privacy with a touch of openness. You can make a lattice design with thin wood strips in a grid or crisscross. This style adds beauty to your patio while keeping it private.
Horizontal and Vertical Slat Arrangements
Horizontal and vertical slats are simple yet versatile. You can change the slat spacing for different privacy levels. For a modern vibe, try uneven slat spacing or mix slat widths.
Asian-Inspired Designs
Asian designs use natural materials and simple looks. Adding bamboo or hazel rods to your project brings a peaceful garden feel.
Modern Geometric Patterns
For a modern twist, go for geometric patterns. Think chevron, herringbone, or other shapes. These add a fun, interesting look to your screen.
| Design Style | Description | Privacy Level |
|---|---|---|
| Lattice | Classic grid pattern | Medium |
| Horizontal Slats | Simple, adjustable spacing | Variable |
| Asian-Inspired | Natural materials, minimalist | High |
| Modern Geometric | Contemporary patterns | Variable |
Choosing the right design for your wooden privacy screen can make your outdoor space better. Whether you follow a tutorial or create your own, the design options are endless.
Essential Tools and Materials for Your DIY Privacy Screen

Before starting your decorative wooden privacy screen, gather all needed tools and materials. Having everything ready will make your DIY project easier and more successful.
Complete Tool Checklist
You’ll need a wide range of tools to begin. This includes both power tools and hand tools.
Power Tools Requirements
- Circular saw for cutting lumber
- Drill press for precise drilling
- Jigsaw for curved cuts
- Sander for smoothing wood surfaces
Hand Tools You’ll Need
- Tape measure for accurate measurements
- Level to ensure your screen is perfectly vertical
- Hammer for tapping pieces into place
- Clamps for holding components during assembly
Best Wood Types for Outdoor Privacy Screens
Choosing the right wood is key for both durability and looks. Here are some top picks:
Cedar vs. Redwood vs. Pressure-Treated Options
Cedar and Redwood resist rot and insects well. Pressure-treated wood is also durable, thanks to chemical treatments.
Hardware, Fasteners, and Additional Supplies
You’ll also need hardware and fasteners to put your screen together. This includes screws, nails, and hinges for gates or movable parts. Don’t forget weather-resistant sealants and stains to protect it from the weather.
By picking the right tools and materials, you’ll create a beautiful and useful DIY privacy screen. It will make your outdoor space better.
Safety Precautions for DIY Woodworking Projects
When starting a DIY wooden privacy screen project, safety is key. Working with power tools and wood can be dangerous if you don’t take the right precautions.
Personal Protective Equipment Essentials
Wearing the right personal protective equipment (PPE) is crucial. This includes:
- Safety glasses or goggles to protect your eyes from debris
- Hearing protection to prevent damage from loud power tools
- A dust mask or respirator to avoid inhaling wood dust and particles
- Steel-toed boots to protect your feet from heavy objects
Safe Tool Operation Practices
Knowing how to use your tools safely is essential. Always:
- Read the manufacturer’s instructions before using a new tool
- Keep your work area clean and clear of clutter
- Use push sticks or other safety devices when operating saws
- Keep your fingers away from cutting edges and blades
Environmental Safety Considerations
Your work environment is also important for safety. Make sure there’s good ventilation, enough light, and a clean space. Dispose of waste properly and keep your tools in good condition.
By following these safety tips, you can have a safe and successful DIY wooden privacy screen project.
Preparing Your Work Area and Materials

A clean workspace is essential for a successful DIY privacy screen project. Make sure your area is free from clutter and anything that could cause you to trip.
Setting Up an Efficient Workspace
Choose a specific spot for your project, considering the size of your screen. Good lighting and air flow are important. If you can, set up a dust collector. Keep your tools within reach to make your work easier.
Prepping Your Wood Materials
Getting your wood ready is key to a great finish. First, measure and mark it accurately. Then, sand it lightly to smooth out the surface.
Measuring and Marking Techniques
Use a combination square and a sharp pencil for precise marks. Always double-check your measurements before cutting to avoid mistakes.
Initial Sanding Procedures
Begin with coarse-grit sandpaper (about 80-100 grit) to remove any rough spots. Sand in the direction of the wood grain to prevent scratches.
Organising Your Project Components
Sort your wood, hardware, and other materials by the order you’ll use them. This keeps you organised and helps you work more efficiently.
| Component | Quantity | Status |
|---|---|---|
| Frame pieces | 4 | Cut |
| Slats | 12 | Sanded |
| Screws | 20 | Ready |
By following these steps, you’ll be ready to start building your wooden privacy screen.

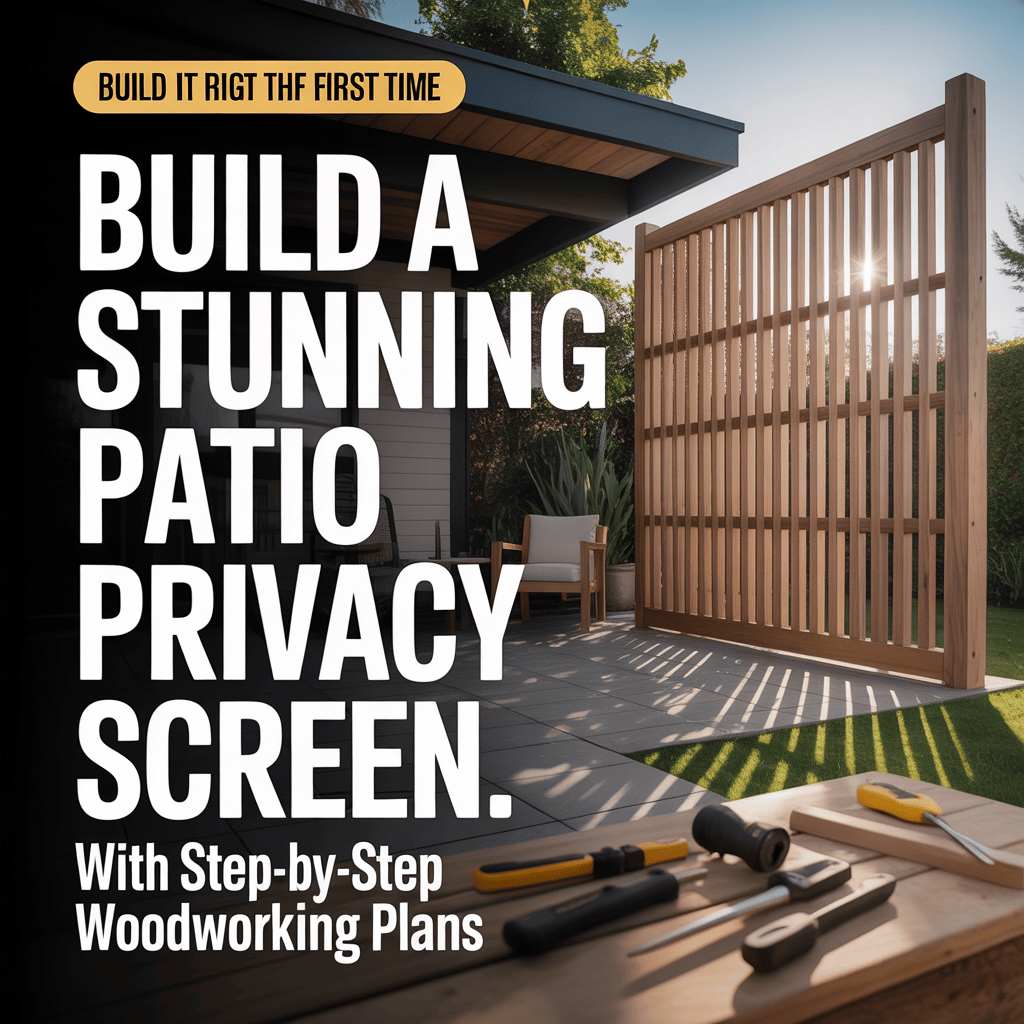
Step-by-Step Guide to Building a Decorative Wooden Privacy Screen
Building a wooden privacy screen for your patio is a fun DIY project. It makes your outdoor space better. You’ll need basic tools and woodworking skills to make a screen that’s both pretty and useful.
Cutting Your Frame Components
First, cut the frame parts for your screen. You’ll need to measure and cut carefully for a strong and straight frame.
Making Precise Measurements and Cuts
Measure your patio to figure out the best size for your screen. Use a mitre saw or circular saw for clean cuts. Remember, precision is key, so double-check your measurements.
Creating Joinery for Stronger Connections
To put the frame together, you’ll need to make joinery. Use mortise and tenon or dado joints for extra strength. As one expert says, “Proper joinery is essential for a sturdy frame that can withstand outdoor conditions.”
Assembling the Main Frame Structure
After cutting your parts, put the main frame together. Use clamps to hold it in place while you screw or nail it together.
Preparing and Attaching the Decorative Elements
Once the frame is built, add the decorative parts. This could be lattice panels, carved designs, or other features that make your screen look great.
Ensuring Structural Integrity
Check your screen for any weak spots or defects. Make any needed fixes to ensure it’s strong and will last a long time.
By following these steps, you can make a beautiful and useful wooden privacy screen. As you finish your project, you’ll enjoy the added privacy and charm it brings to your patio.
Creating Custom Decorative Elements for Your Wooden Screen

To make your wooden privacy screen special, add custom decorative elements that show your style. This boosts its look and makes it a standout in your outdoor area.
Designing Unique Patterns and Cutouts
Adding unique patterns and cutouts can make your screen more interesting. You can find inspiration in nature, shapes, or abstract designs. Think about your patio’s style and privacy needs when designing.
For detailed designs, mix lattice and grid patterns or add Asian-inspired motifs. This can make your screen even more unique.
Techniques for Crafting Decorative Features
There are many ways to decorate your wooden screen. You can use a scroll saw or jigsaw for detailed cuts.
Scroll Saw and Jigsaw Methods
A scroll saw is great for curved cuts, while a jigsaw works best for straight cuts and thicker wood. Both tools help you make complex patterns that enhance your screen’s elegance.
Router Techniques for Elegant Details
A router can add elegant touches to your screen. It’s perfect for decorative edges, patterns, or detailed designs on the wood. Router techniques give your project a professional look.
Incorporating Mixed Materials
Adding materials like metal, glass, or bamboo can make your screen more interesting. For example, hazel or willow rods with wooden slats create a natural look. Make sure the materials you choose fit well with your patio’s design.
With these custom elements, your wooden screen will not only offer privacy but also become a beautiful centrepiece in your outdoor space.
Installing Slats or Panels on Your Privacy Screen
Now that you’ve built the frame, it’s time to add the slats or panels. This step is key to privacy and looks in your outdoor area.
Spacing Options for Different Privacy Levels
The gap between slats or panels affects privacy. Closer gaps mean more privacy, while wider gaps let in more air and views.
Think about your screen’s purpose when choosing spacing. For blocking views, go for tight spacing. For a decorative screen that lets in some light, choose wider gaps.
Secure Attachment Methods
It’s important to attach slats or panels well to your frame. This keeps your screen sturdy and looking good. You can use hidden fasteners or screws, or nails.
Hidden Fastener Techniques
Hidden fasteners give your screen a sleek look. They attach to the back of the slats or panels, so you can’t see them from the front.
Traditional Screw and Nail Applications
For a rustic feel, use screws or nails. Make sure the fasteners are countersunk to avoid sharp edges and for a smooth finish.
Creating Visual Interest with Varied Slat Arrangements
Changing how you arrange slats or panels adds interest. Try alternating slat directions or making patterns with different widths or textures.
Planning how you install slats or panels makes your privacy screen not just functional but also beautiful. It becomes a standout feature of your outdoor space.
Finishing Touches for Your Wooden Privacy Screen
Now that your wooden privacy screen DIY project is almost done, it’s time for the final touches. These steps will make it look better and last longer. The finishing touches protect the wood and bring out its natural beauty.
Sanding for a Professional Finish
Sanding is key to a smooth, professional look. Begin with coarse-grit sandpaper and move to finer grits for a silky feel. This step removes splinters and imperfections, making it ready for staining or sealing.
Staining Options for Different Wood Types
The wood type you choose affects your staining options. Cedar and redwood can stay unstained for a natural look. Other woods might need a stain to show their color. Pick a stain that’s good for outdoors and fits your wood.
Applying Weather-Resistant Sealants
Using a weather-resistant sealant is crucial to keep your screen safe from moisture and UV rays. Choose a sealant that matches your wood and follow the instructions for application.
Adding Decorative Hardware Accents
Decorative hardware can make your screen stand out. Think about using hinges, handles, or other elements that match your outdoor style. Make sure the hardware is strong and won’t rust.
By paying attention to these details, you’ll not only improve your DIY wooden privacy screen’s look. You’ll also make it last longer.
Installation Methods for Your Completed Privacy Screen
The installation process brings your DIY wooden screen ideas to life. It adds privacy and beauty to your space. Proper installation makes sure your screen works well.
Freestanding Installation Techniques
Freestanding installations give you flexibility in where you place them. You can choose between fixed and movable setups.
Using Concrete Footings for Stability
For a lasting solution, consider concrete footings. This involves:
- Digging holes for the footings
- Pouring concrete to create a stable base
- Allowing the concrete to set before attaching the screen
Creating Movable Screen Bases
If you want to move your screen, use heavy-duty casters or wheels. This lets you change its position easily.
Attaching to Existing Structures
Attaching your screen to fences or walls adds stability. Use the right hardware to keep it secure.
Securing Against Wind and Weather
To make your screen last through different weather:
- Use weather-resistant materials for construction
- Secure the screen with heavy-duty fasteners
- Consider adding wind-resistant features like latticework or slatted designs
By following these steps, you can enjoy your new wooden privacy screen. It will stay durable and look great.
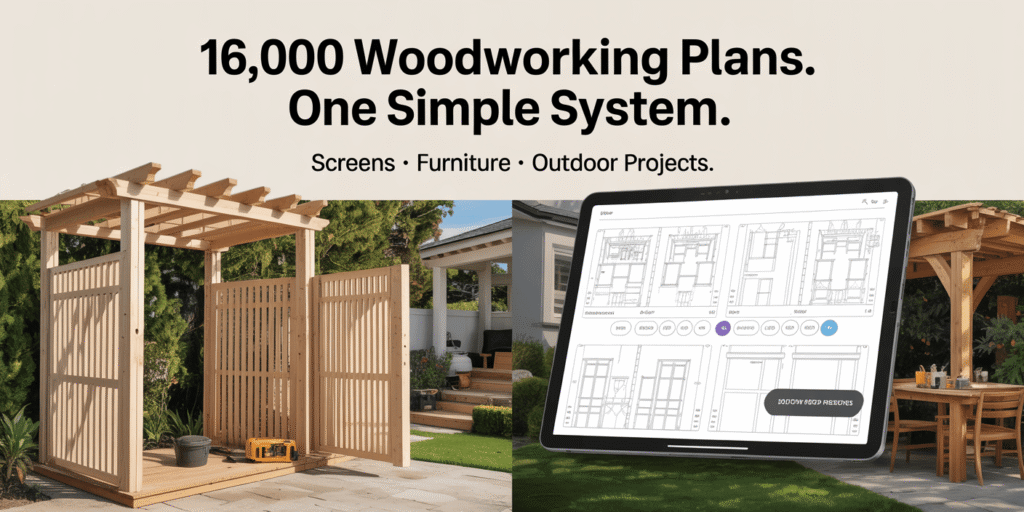
🔨 Want to Build This Patio Screen — and Hundreds More?
Stop guessing measurements and wasting wood. Ted’s Woodworking gives you exact, step-by-step plans so your projects turn out right the first time.
✅ Why Woodworkers Love Ted’s Woodworking:
- ✔ 16,000+ detailed woodworking plans (screens, patios, pergolas & more)
- ✔ Beginner-friendly, step-by-step instructions
- ✔ Exact cut lists & material guides (no waste, no confusion)
- ✔ Clear diagrams & multiple angle views
- ✔ Works with basic tools & small workshops
- ✔ Lifetime access + free monthly plans
- ✔ One-time payment — no monthly fees
💡 If you enjoyed building this decorative wooden privacy screen, this library gives you everything you need for your next project—and the next 100 after that.
👉 Click here to get instant access to Ted’s Woodworking and start building with confidence today!
Conclusion: Enjoying and Maintaining Your New Decorative Wooden Privacy Screen
Now that you’ve made your decorative wooden privacy screen, it’s time to enjoy it. To keep it looking good and working well, you need to take care of it. Make sure it’s safe from strong winds by tying it down.
Think about the wood you used and how it holds up in different weather. Check your screen often for damage. If you find any, use a sealant to protect them.
To keep your screen looking great, don’t let it touch the ground. Make sure water can flow away from it. These steps will help your screen last a long time.
With your new screen, you can relax in a private spot outside. You’ve made your outdoor area better and even increased your home’s value.
FAQ
What is the best wood type for a decorative wooden privacy screen?
The best wood for a privacy screen depends on what you want. Cedar, redwood, and cypress are good because they resist rot and insects. Pressure-treated lumber is also an option, but be careful when using it.
How do I determine the ideal dimensions for my wooden privacy screen?
Measure the area you want to screen to find the right size. Think about how tall you want it to be. Also, consider any obstacles like stairs or plants.
What are the necessary permits are required for building a wooden privacy screen?
Permits depend on where you live, the screen’s size, and local rules. Check with your local government or homeowners association. Some places need a permit for certain sizes or heights.
How do I ensure my wooden privacy screen is secure against wind and weather?
Use strong hardware and fasteners to keep your screen stable. You might also anchor it to the ground or a structure. Concrete footings or a movable base can help, too.
What are some popular design styles for wooden privacy screens?
You can choose from lattice, grid, horizontal, vertical, Asian-inspired, or modern designs. Pick one that fits your outdoor style and privacy needs.
How do I maintain my decorative wooden privacy screen?
Check your screen often for damage and fix it when needed. Use a sealant to protect the wood. Staining or painting can also keep it looking good.
Can I use a wooden privacy screen as a freestanding structure?
Yes, you can make a freestanding screen. Just make sure it’s stable. Use a wide base or anchor it to the ground.
How do I create custom decorative elements for my wooden screen?
Use tools like a scroll saw, jigsaw, or router for unique designs. Adding materials like metal or glass can also make it stand out.
What safety precautions should I take when building a wooden privacy screen?
Always wear protective gear and follow safe tool use. Think about the environment too. This keeps you safe while working.
How do I install slats or panels on my wooden privacy screen?
Choose how far apart to space slats for privacy. Use hidden fasteners or screws and nails for a secure fit. Mixing up slat arrangements can add interest.

