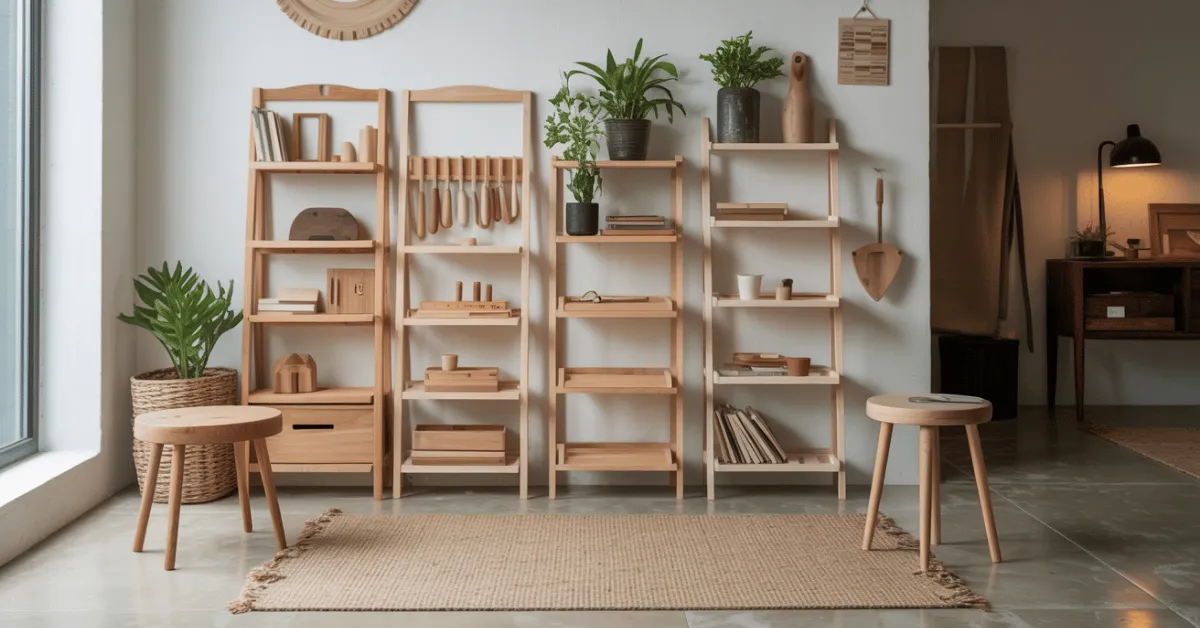
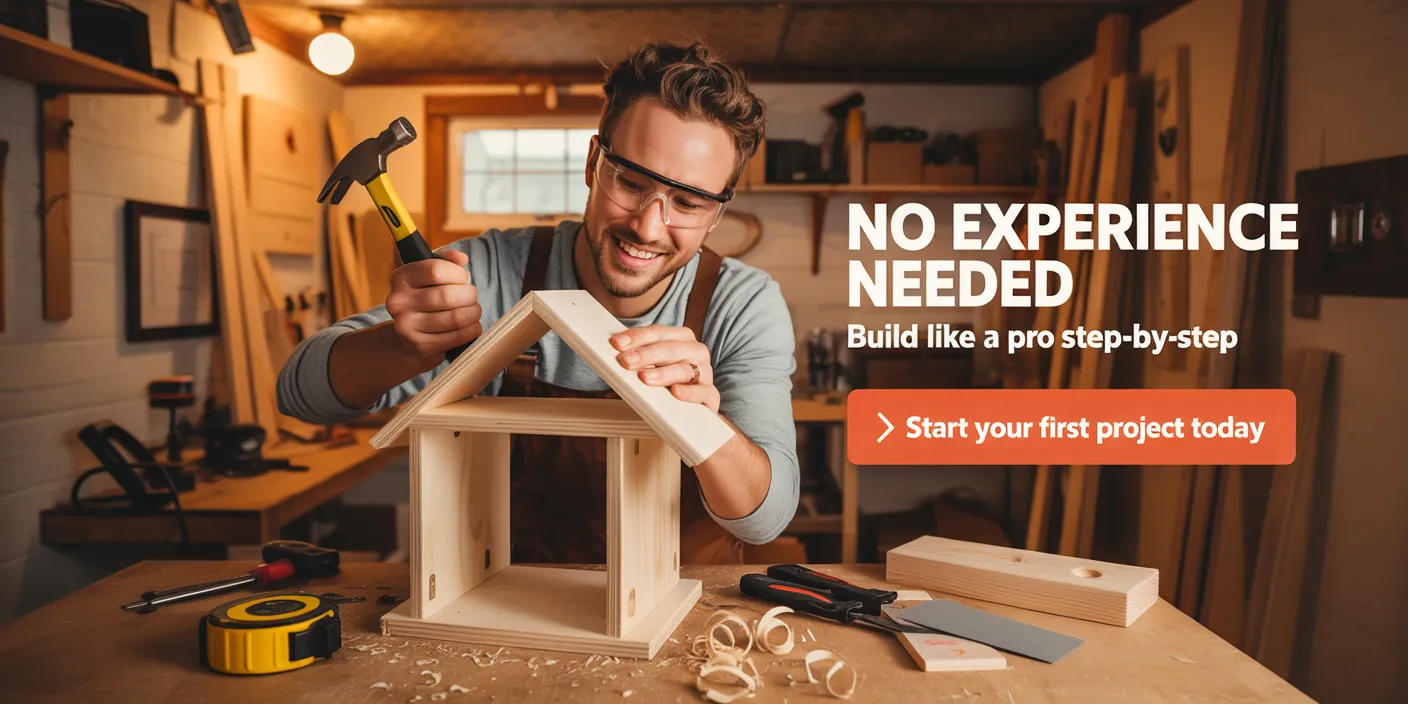
Have you ever looked at beautiful handcrafted furniture and thought you could make it? Many think making custom home decor needs years of training or a fancy shop. But you can start today with basic tools and a clear idea.
Learning this craft is easy with step-by-step woodworking plans for beginners. These guides take away the guesswork. You can enjoy making things without getting stuck on technical stuff. By starting with easy wood projects for beginners, you grow your skills and make items that show off your style.
This guide is your map to turning raw wood into amazing, lasting pieces. You’ll learn to do each step with care and safety. Let’s make your workshop dreams come true, one simple cut at a time.
Key Takeaways
- Start with simple projects to build your skills.
- Clear instructions help avoid mistakes and frustration.
- Focus on essential tools to keep costs low and effective.
- Handcrafted furniture adds unique value and character to your space.
- Regular practice is the best way to master complex skills.
Setting Up Your First Home Workshop
Turning a small part of your home into a workshop is simpler than you might think. You don’t need a huge garage or a professional studio to start. Just setting up a dedicated area for your hobby is the first step in learning how to start woodworking well.
Choosing a small, easy-to-manage space helps you keep things organised. This makes it easier to focus on your beginner woodworking projects without getting lost in clutter. A clean workspace is key to success in building.
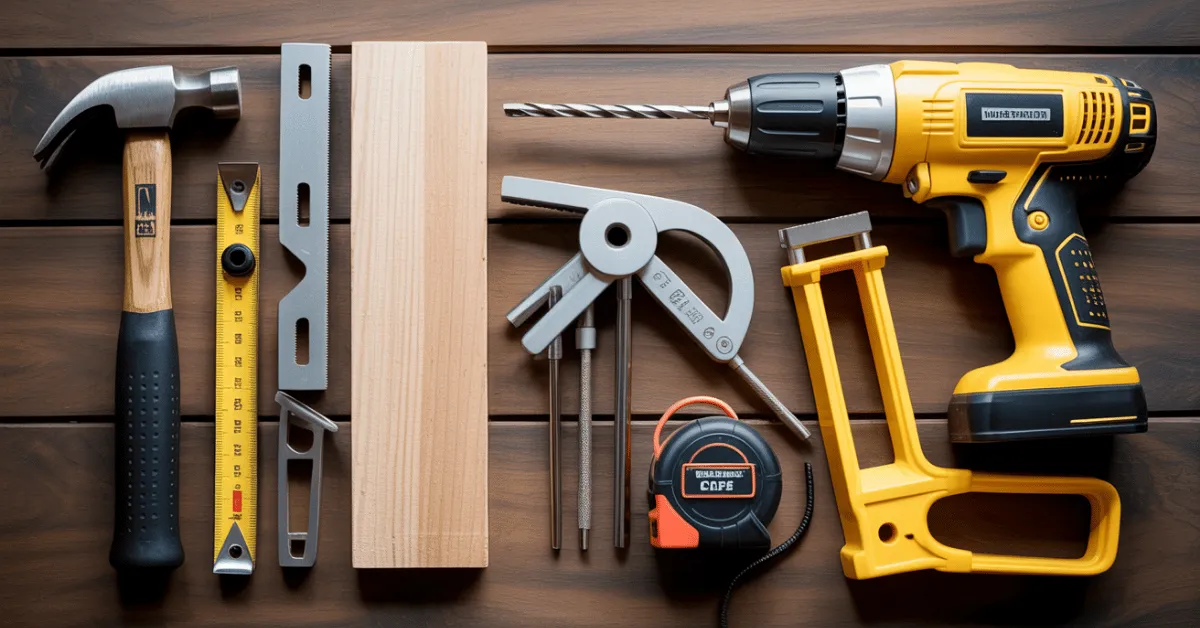
Essential Tools for Your First Projects
Many beginners start with just a few essential tools. You don’t need to buy every tool available to begin. A good drill, a pocket hole jig, and a borrowed mitre saw are enough for many woodworking tools for beginners.
These basic tools let you cut, join, and assemble wood accurately. As you get better, you can add more specialised tools to your collection. Here’s a table showing what these starter tools do.

| Tool Name | Primary Function | Skill Level |
|---|---|---|
| Power Drill | Driving screws and boring holes | Essential |
| Miter Saw | Making accurate crosscuts | Essential |
| Pocket Hole Jig | Creating strong, hidden joints | Beginner-Friendly |
Organising Your Workspace for Efficiency
Keeping your workspace organised means your tools are always easy to find. This is crucial for working efficiently in a small home workshop. When tools have their own spot, you waste less time looking for them and more time building.
A clean workspace also lowers the chance of accidents and makes building more fun. A tidy bench lets you focus fully on your beginner woodworking projects. Remember, getting better at how to start woodworking comes as your workspace gets better.
Understanding Woodworking Plans and Blueprints
Learning to read plans is key to turning an idea into reality. Woodworking plans for beginners are like a map, showing you every step. They help you avoid mistakes that can be frustrating for newbies.
How to Read Woodworking Plans Like a Pro
To read diy woodworking plans well, get to know the symbols and views. Most plans have an exploded view, showing how parts fit together. Always check the cut list first to know what lumber you need.
Look closely at the dimensions and assembly notes in your woodworking blueprints. If a measurement is unclear, check it against the project’s overall dimensions. Consistency is key when turning drawings into real objects.
Why Detailed Blueprints Save Time and Materials
Spending time on detailed woodworking plans saves you money and materials. A precise guide helps avoid mistakes like cutting lumber too short. This way, you can work with confidence, knowing you’re using materials wisely.
The table below shows why good documentation is important for your workshop:
| Feature | Basic Sketch | Detailed Blueprint |
|---|---|---|
| Cut List | Often missing | Included and accurate |
| Assembly Steps | Vague or absent | Step-by-step guidance |
| Material Waste | High risk | Low risk |
| Project Success | Uncertain | Highly likely |
Using detailed guides saves you hours of trouble and frustration. Your projects will come together faster with a clear, logical plan.
Safety First: Essential Tips for New Woodworkers
When you start woodworking, safety is key. It keeps you safe from injuries as you learn. Being careful from the start means a safer and longer woodworking journey.
Personal Protective Equipment You Must Wear
Your workshop needs special gear for safety. Always wear high-quality safety glasses to protect your eyes. Also, hearing protection is crucial when using loud tools to avoid ear damage.
A good dust mask or respirator is also essential. It keeps your lungs safe from sawdust. Having this gear ready shows you’re serious about safety in woodworking.
| Equipment | Primary Purpose | Frequency of Use |
|---|---|---|
| Safety Glasses | Eye Protection | Always |
| Ear Muffs | Hearing Safety | Power Tool Use |
| Dust Mask | Respiratory Health | Sanding/Cutting |
| Work Gloves | Hand Protection | Handling Lumber |
Safe Handling of Power and Hand Tools
Learning to use tools safely is crucial. Always keep your fingers away from blades and ensure safety guards are on. Focus is your best tool; never use tools when tired or distracted.
When using hand tools, cut away from your body to avoid accidents. Secure your work with clamps for stable cuts. These tips help you start woodworking safely and confidently.
Mastering Measuring and Cutting Basics
Getting precise is key to making your project look professional. When starting, it’s tempting to jump straight into building. But taking your time to get the layout right is crucial. The right woodworking tools for beginners help you achieve the accuracy needed for clean joints.
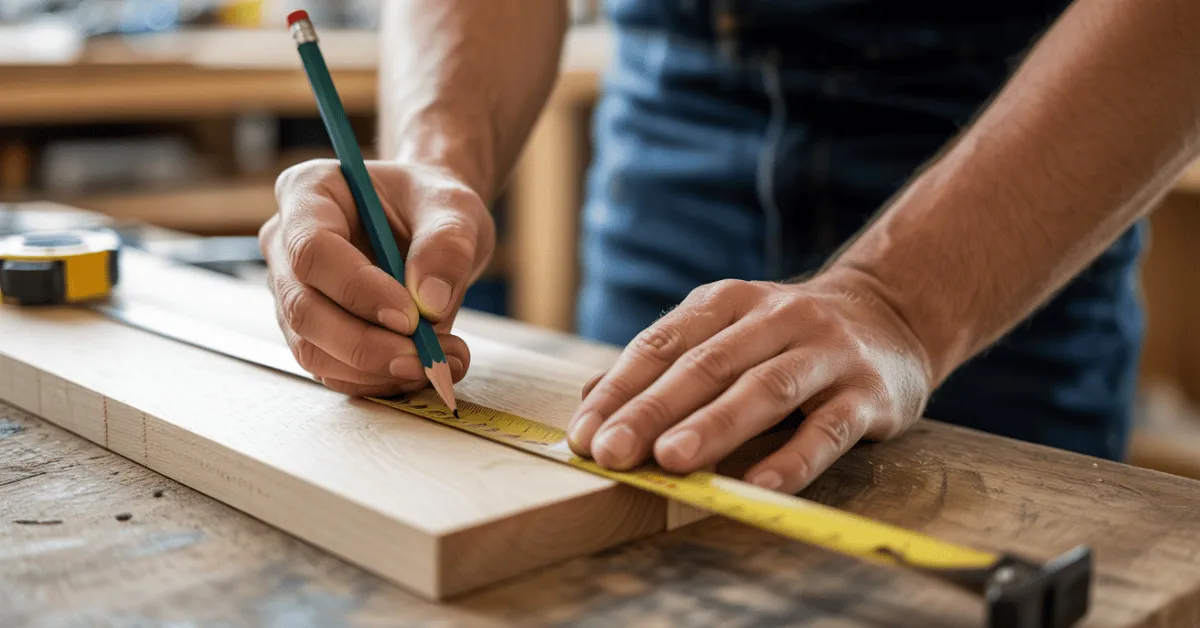
The Importance of Measuring Twice and Cutting Once
The workshop rule is simple: measure twice, cut once. This rule helps avoid wasting materials and ensures parts fit perfectly. If your measurements are off, your project might end up crooked or unstable.
Always mark your cut lines with a sharp pencil or a marking knife for better visibility. Consistency is key when transferring measurements from plans to wood. Double-checking every dimension before cutting saves you from frustration and extra trips to the lumber yard.
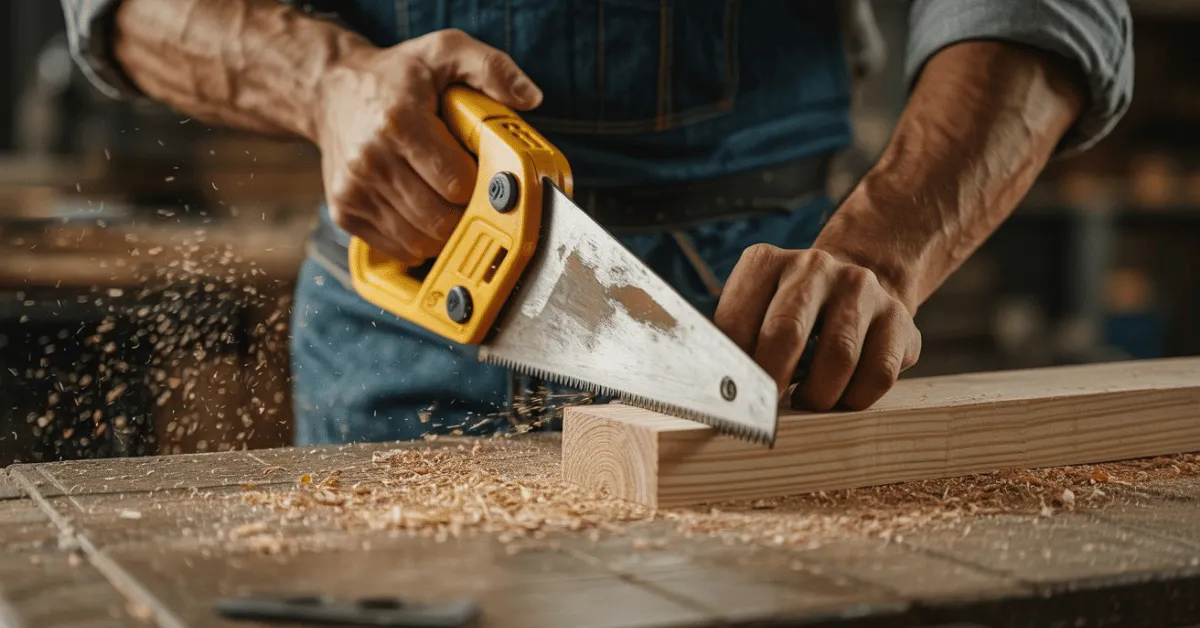
Choosing the Right Saw for Your Project
Picking the right saw is crucial for your success. Different tasks need different blades for smooth, safe cuts. As you build your woodworking tools for beginners collection, consider these common options:
- Hand Saw: Great for small, quick cuts and learning basic control.
- Circular Saw: A versatile power tool for long, straight cuts.
- Jigsaw: Ideal for cutting intricate curves or custom shapes.
- Mitre Saw: Designed for precise, angled cuts on boards.
Before starting, think about the wood’s thickness and the cut you need. Using a saw too big for a delicate piece can cause splintering. A saw too small may struggle. Take your time to choose the right tool for the task, and you’ll see a big improvement in your work’s quality.
Selecting Materials and Managing Your Budget
Building beautiful furniture starts with picking the perfect wood. The right lumber is key for both looks and strength. Learning to source materials wisely helps you save money and complete more projects.
Understanding Different Types of Wood
Wood is divided into softwoods and hardwoods. Softwoods like pine and cedar are cheaper and easier to work with. They’re great for practice or items you’ll paint.
Hardwoods, such as oak and maple, are more durable and have a beautiful grain. They cost more but give your furniture a premium finish. Here’s a table to help you choose:
| Wood Type | Common Use | Workability | Cost Level |
|---|---|---|---|
| Pine | Shelving/Frames | Easy | Low |
| Oak | Tables/Chairs | Moderate | Medium |
| Walnut | Fine Furniture | Moderate | High |
Smart Shopping Tips for Affordable Lumber
Keeping costs down doesn’t mean you have to settle for low quality. Look for deals at local sawmills or in the “cull” section of home improvement stores. These boards have small flaws that can be hidden or cut away.
“The quality of your work is only as good as the materials you choose to start with, but smart sourcing is the secret to a sustainable hobby.”
Plan your cut list before shopping to avoid waste. Buying in bulk or choosing standard sizes can save money. Remember, finding the right deal takes patience, just like the skill to build your project.
Step-by-Step Woodworking Plans for Beginners
If you’re eager to start building, these projects are perfect for beginners. They use step-by-step woodworking plans for beginners to teach you the basics. You’ll learn important skills while making useful items for your home.
Building a Simple Wall-Mounted Shelf
A wall-mounted shelf is great for learning straight cuts and basic mounting. You’ll practice measuring accurately and making sure your boards are square. Precision at this stage is key for a shelf that fits perfectly against the wall.
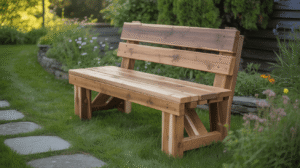
Constructing a Sturdy Garden Bench
For bigger projects, try building a garden bench. These beginner diy furniture plans help you create strong joints. This builds your confidence to tackle more complex projects.
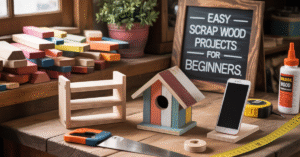
Crafting a Classic Wooden Birdhouse
Building a birdhouse is a popular choice for beginners. It teaches you to work with small wood pieces and basic fasteners. It’s a quick project that shows how different parts come together.
Assembling a Functional Step Stool
A step stool is both useful and a great learning tool. These small woodworking projects focus on balance and stability. Taking your time ensures your stool is safe and durable.
The Step-by-Step Project Process
Mastering the flow of your build is key to finishing projects without stress. Following a consistent, logical sequence makes complex tasks easier. This approach ensures your beginner diy furniture plans look professional every time.
Preparing Your Workspace and Materials
Before starting, organise your workspace to avoid interruptions. A cluttered shop wastes time and causes frustration. By setting up correctly, your step-by-step wood projects stay focused and efficient.
- Clear your workbench of debris and unnecessary items.
- Gather all required lumber and hardware before starting.
- Verify that your tools are sharp, calibrated, and ready for use.
- Review your woodworking blueprints to visualise the entire assembly sequence.
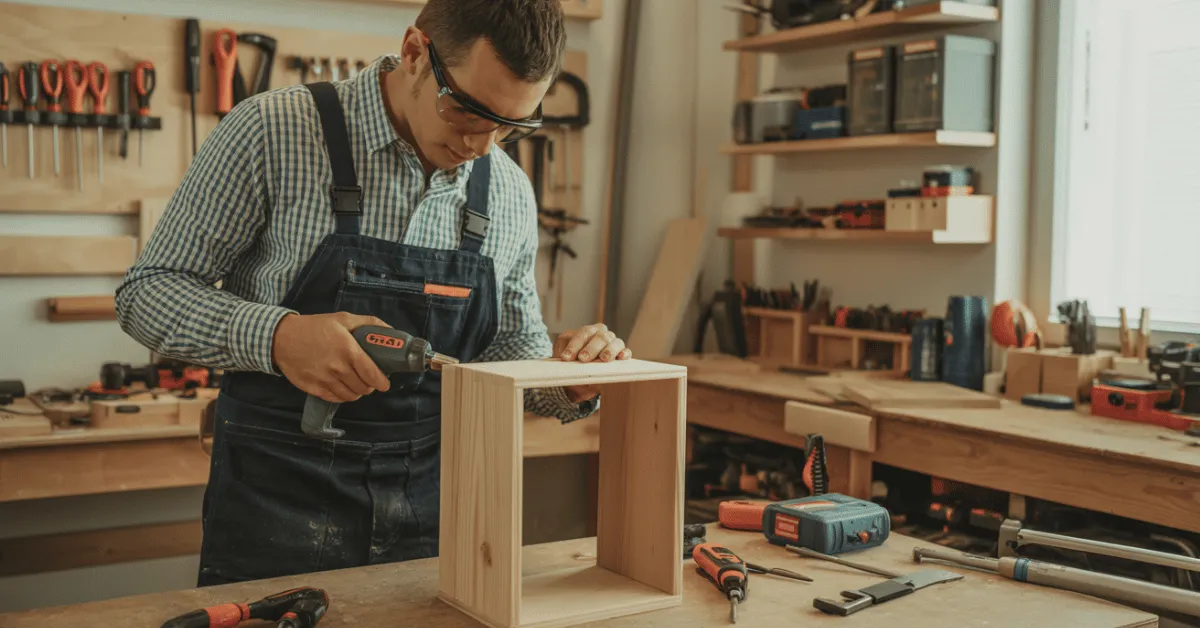
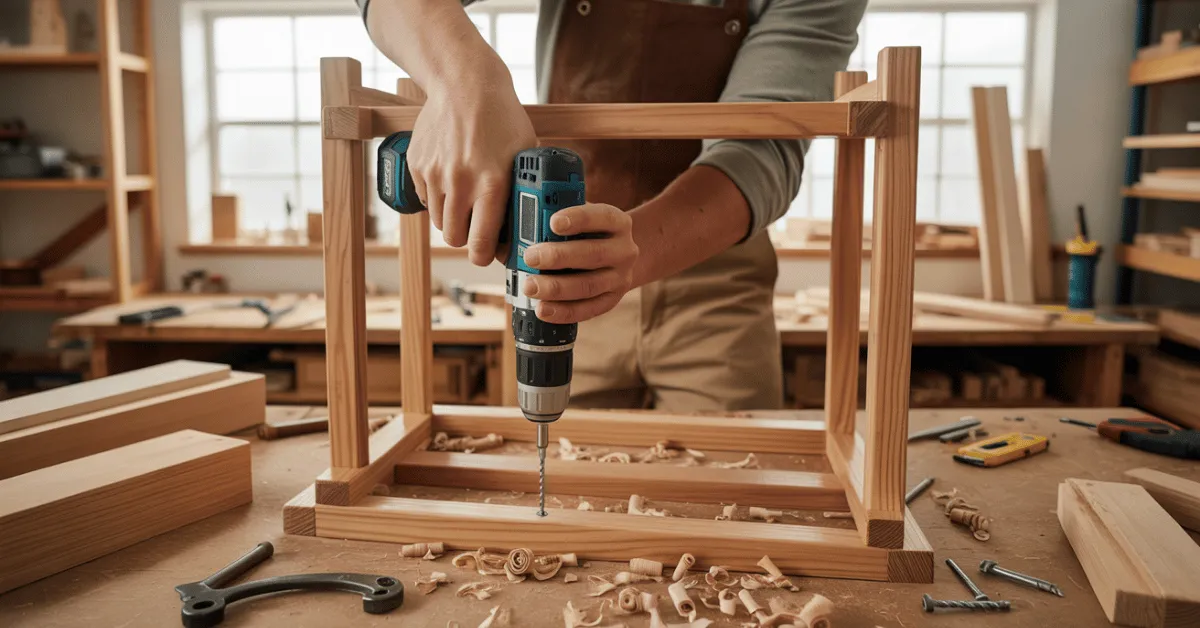
Executing the Build Phase
With your workspace ready, you can start the construction phase confidently. Your preparation helps you focus on the craft. Always have your woodworking blueprints nearby for reference.
Accuracy is crucial for a skilled woodworker. Take your time to ensure joints fit well and components are square. Treating your beginner diy furniture plans as a roadmap keeps your work quality high. Remember, every successful step-by-step wood project journey requires patience and careful execution.
Common Beginner Mistakes to Avoid
Even the most beautiful small woodworking projects can go wrong if you overlook simple things. Every skilled builder was once a beginner, making mistakes along the way. Embrace these challenges as part of your growth, but try to learn from common beginner mistakes.
Preventing Measurement Errors
Measurement mistakes are a common problem in any workshop. Rushing your layout can lead to boards that are too short or angles that don’t align. To keep your small woodworking projects on track, follow these simple habits:
- Use a sharp pencil or a marking knife for precise lines.
- Always measure from the same end of your board to maintain consistency.
- Double-check your numbers before you ever touch a saw blade.
Remember, precision is a skill that takes practice. If you get frustrated, take a break. Coming back with a fresh mind often helps you spot mistakes before they become permanent.
Avoiding Poor Joinery Techniques
Weak joints can make a project feel flimsy or fail over time. To ensure your work stays sturdy, focus on the quality of your connections. Taking your time during assembly makes a big difference.
Before applying glue, do a dry-fit to ensure everything fits perfectly. If the joints don’t fit right, don’t force them, as this can cause the wood to split. By mastering these basic techniques, you’ll create small woodworking projects that last and look professional.
How to Sand and Finish Wood Properly
The finishing stage is where your step-by-step wood projects shine. It’s the last step that turns a rough piece into a polished masterpiece. By focusing on these details, you make sure your work looks professional.
Sanding Techniques for a Smooth Surface
Sanding is key for a professional finish. Start with a coarse grit, like 80 or 100, to remove big flaws. Then, move to finer grits, like 150 and 220, for a smoother surface.
Always sand with the wood grain to avoid scratches. Sanding against the grain can leave marks that show up after staining. Check your work often by feeling the surface with your hand.
Applying Stains and Protective Finishes
When your surface is smooth and clean, it’s time for the finish. Stains add colour and depth, while finishes like polyurethane or wax protect the wood. Use a good brush or cloth for an even coat on your step-by-step wood projects.
Let each coat dry fully before sanding lightly between layers. This builds a strong, beautiful finish that lasts. A consistent finish brings out the wood’s natural beauty.
| Finish Type | Best Use | Durability | Ease of Use |
|---|---|---|---|
| Polyurethane | High-traffic tables | Excellent | Moderate |
| Linseed Oil | Decorative items | Low | Very Easy |
| Paste Wax | Small crafts | Low | Easy |
| Water-based Stain | General furniture | Moderate | Easy |
Gaining Confidence with Easy Builds
If you want to learn woodworking fast, start with simple projects. These beginner woodworking projects help you learn the basics without stress.
Starting Small to Build Your Skill Set

Choosing easy wood projects for beginners sets you up for success. Each project you finish helps you grow in the workshop.
Starting with simple tasks boosts your confidence. Consistency is the secret ingredient to becoming a skilled craftsman.
Learning from Every Project
Every time you work in your shop, you improve. Trying simple woodworking ideas teaches you about wood and tools.
Don’t worry about small mistakes. They are your best teachers. Embrace the process of learning and making mistakes.
| Project Type | Skill Level | Time Required | Confidence Gain |
|---|---|---|---|
| Simple Coasters | Entry | 1 Hour | High |
| Wall Shelf | Beginner | 3 Hours | Very High |
| Garden Bench | Intermediate | 8 Hours | Maximum |
“The secret of getting ahead is getting started.”
Mark Twain
Leveraging Professional Resources for Success
Your journey to becoming a skilled woodworker starts with good instructions. Getting reliable woodworking plans for beginners is key to success. The right resources give you the confidence to handle complex projects.
Free Versus Premium Woodworking Plans
When you look for plans, you’ll find free and paid options. Free plans are easy to find, but they often lack the precision needed for success. You might face frustration due to missing details or unclear instructions.
Detailed woodworking plans offer a clear path to success. These premium plans include cut lists, material needs, and step-by-step guides. Spending on quality diy woodworking plans saves time and avoids costly mistakes.
Exploring Teds Woodworking for 16,000 Plans
If you want a huge library of plans, check out teds woodworking. It offers 16,000 plans for every skill level and interest. Whether it’s a simple shelf or complex furniture, you’ll find the clarity you need.
Using teds woodworking lets you enjoy creating without worrying about missing info. These professional diy woodworking plans help you grow as a maker. With such a vast resource, your workshop stays productive and inspiring.
🔥 🚀 HIGH-CONVERTING CTA (READY TO PASTE)

🧲 Stop Struggling With Confusing Plans…
You don’t need guesswork—you need plans that actually work.
👉 Get instant access to 16,000+ step-by-step woodworking plans designed for beginners and real-world projects.
✅ What You’ll Get Inside:
- ✔️ Step-by-step instructions from start to finish
- ✔️ Exact measurements & cut lists (no mistakes)
- ✔️ Plans built & tested in real workshops
- ✔️ Works with basic tools & small spaces
- ✔️ Thousands of projects (furniture, storage, racks & more)
- ✔️ Save time, money & avoid costly errors
⚡ Don’t Let Your Project Fail Like Most Beginners…
👉 Click below and start building with confidence today
🔥 👉 Get Instant Access to 16,000+ Woodworking Plans Now
Conclusion
Building custom furniture gives you a sense of pride in your home. You can turn raw lumber into beautiful pieces with just a few tools.
Start with small projects to learn woodworking fast. Each project boosts your confidence and sharpens your skills.
Keep your workspace clean to stay focused. Use resources like Teds Woodworking for professional plans. These plans help you avoid mistakes.
Always wear protective gear to stay safe. Double-check your measurements for perfect joints. Patience is key in woodworking.
Your skills will grow with every project. Share your work with friends to celebrate. Grab your tools and start creating today.
FAQ
How can I determine how to start woodworking if I have no prior experience?
Starting woodworking is easier than you think. First, set up a dedicated workspace. Get essential tools like a DeWalt power drill and a Ryobi mitre saw. Start with simple projects to build your skills gradually.
What are the best beginner woodworking projects to try first?
Start with small projects that teach you the basics. Try building a wooden birdhouse, a wall-mounted shelf, or a garden bench. These projects help you practice measuring and cutting without spending a lot.
Why should I use detailed woodworking plans instead of just winging it?
Using detailed plans ensures accurate measurements and efficient material use. Professional blueprints guide you, preventing mistakes like bad joinery or wasted wood. They help you achieve quality results as you learn.
Where is the best place to find reliable diy woodworking plans?
For the best resource, check out Teds Woodworking. It has over 16,000 plans for all skill levels. This vast library gives you everything you need to complete any project confidently.
Are there beginner diy furniture plans that don’t require a full professional shop?
Yes! Many plans, like for a step stool or coffee table, are perfect for home workshops. They use standard lumber and basic tools, letting you create beautiful pieces in your garage or basement.
How important is the “measure twice, cut once” rule in woodworking?
It’s the most important rule! Accuracy is key to every project. Use a good tape measure and double-check your cuts. This rule saves time, frustration, and money by ensuring perfect joints.
