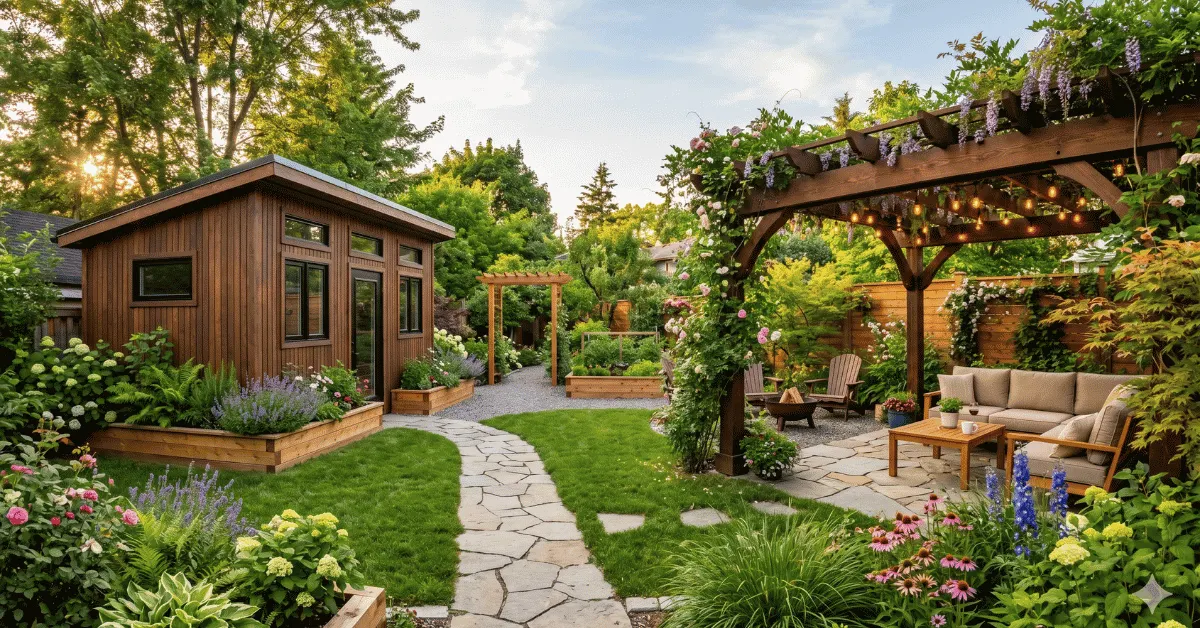
You stand at the gate and imagine a calm corner just outside your door — a place made by your hands that welcomes slow mornings and warm evenings.
Starting this journey with simple plans and basic tools gives you a clear path. You will learn useful skills quickly and safely. These DIY ideas transform a plain backyard into a personal retreat that suits your style.
The right selection of plans helps you build with confidence. Whether you are new or have some experience, these woodworking projects let you finish a satisfying build in a weekend. Use quality wood and care to make work that lasts against the weather in your area.
Key Takeaways
- You can transform your backyard using clear, beginner-friendly plans.
- Basic tools and focused effort unlock meaningful diy progress.
- Choosing quality materials extends the life of your work.
- These woodworking projects teach core skills fast and safely.
- Many builds can be completed in a single weekend with the right guidance.
Why You Should Start Top Outdoor Wood Projects for Backyard Upgrades
Starting small with hands-on builds allows you to learn skills quickly and see daily rewards.
If you’re looking to enhance your outdoor space, simple diy outdoor builds are a smart first step. They use basic materials like 2x4s and fence boards. That keeps costs low and timelines short.
Anika’s approach focuses on empowerment. Follow clear plans, and you’ll gain confidence, not just tools. A planter box or bench gives immediate function and adds a personal touch to your home.
These outdoor woodworking projects are ideal for a summer weekend. You can make a dining stand, a small fence, or a porch bench that fits your size and style. Kids can help with sanding or painting, which makes it a family activity.
| Build | Material Highlights | Time | Skill |
|---|---|---|---|
| Planter box | Fence boards, soil liner | 2–4 hours | Beginner |
| Bench | 2x4s, screws | 4–6 hours | Beginner+ |
| Dining stand | 2×6 top, 2×4 legs | 6–8 hours | Intermediate |
| Small fence | Fence boards, posts | 1–2 days | Beginner |
- Use detailed plans to cut mistakes and save time.
- Start with one small piece to build skills and enjoy the look.
Essential Tools for Your First Woodworking Adventure
A small set of reliable tools will change how fast and well you complete your first build.
Basic Power Tools
Start with three core power tools: a mitre saw, a quality drill, and a belt sander.
The mitre saw handles clean crosscuts and angled cuts. A drill is vital for pocket screws and assembly. A belt sander speeds up smoothing and saves time on rough boards.
These tools make common diy outdoor tasks easier, whether you build a garden planter or a simple patio table.
Safety Gear Essentials
Always protect your eyes and ears when you run power tools. Use goggles, ear protection, and a dust mask.
Keep your workspace tidy and store bits and blades safely. Clean, organised tools last longer and make each project smoother.
| Tool | Primary Use | Beginner Friendly | Pro Tip |
|---|---|---|---|
| Miter Saw | Accurate crosscuts and angles | Yes | Use a stop block for repeat cuts |
| Cordless Drill | Drilling, driving screws, pocket holes | Yes | Keep batteries charged; use clutch settings |
| Belt Sander | Quick smoothing and edge work | Moderate | Start with coarse grit, finish with fine |
| Safety Gear | Eye, ear, and respiratory protection | Essential | Replace masks and goggles as needed |
Selecting the Right Weather-Resistant Lumber
Picking the right lumber is the single best decision you can make before any build begins. Choose species that resist rot and insects to reduce maintenance and protect your investment.
Cedar and redwood are excellent choices; they fend off pests and hold up well in wet climates. If budget is a concern, pressure-treated boards can work, but they need a good seal or paint to last.
“Proper lumber selection ensures your pieces stay sturdy and look better longer.”
- Pick decay-resistant species like cedar, redwood, or cypress when possible.
- If you use pressure-treated lumber, apply a high-quality sealer before installation.
- Always check lumber grade to avoid warping or splitting during assembly.
- Quality materials at purchase save repair time and extend the life of your build.
Remember: plan your diy build around the right materials and finish. That step will pay off with stronger, longer-lasting results.
Building a Sturdy Garden Bench for Relaxation
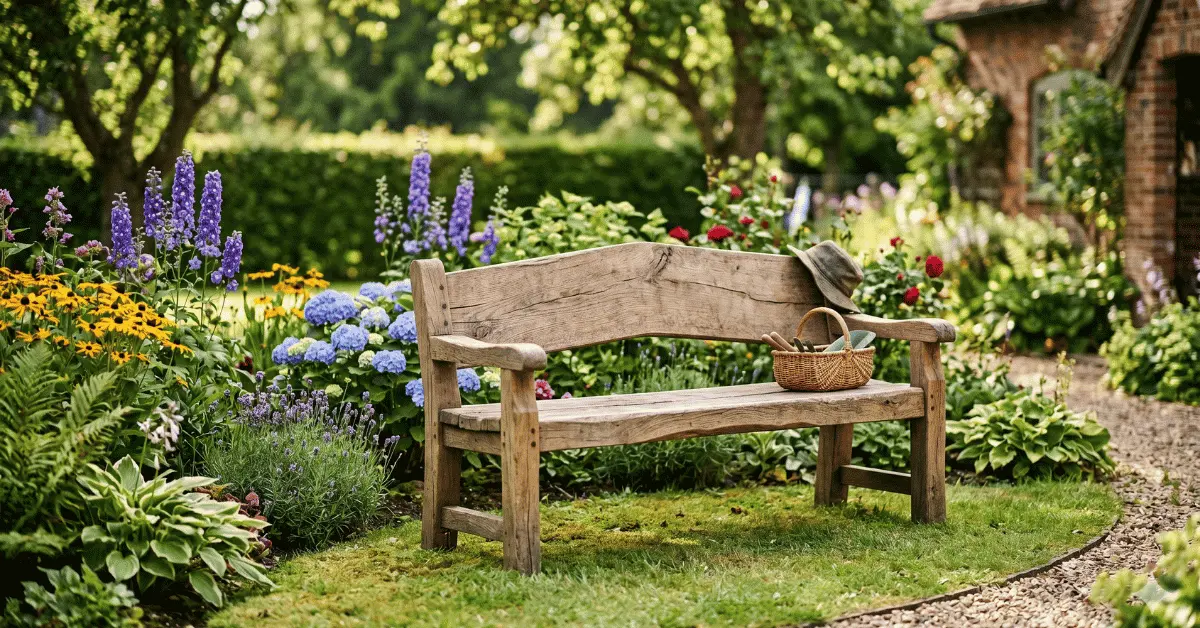
A well-built garden bench turns a small corner into a lasting spot to relax.
This diy outdoor bench is a weekend win. With basic plans and common tools, you can finish it in one weekend. Costs typically range from $100 to $500, depending on the wood you choose.
Choosing the Perfect Wood Finish
Pick a finish that protects and lifts the look of your bench. Cedar or pressure-treated boards give lasting resistance to moisture and insects.
Use a router or biscuit joiner to make strong joints. These tools boost stability and help the bench hold up under daily use.
- Beginner-friendly builds to consider: garden bench, planter boxes, pergola, outdoor table, storage shed, chairs, trellis, fire-pit seating, and plant stand.
- Match finish to your porch or patio furniture so the style and look feel cohesive.
- Apply a UV-resistant sealer to extend colour and reduce maintenance time.
“A custom bench adds comfort and real value to your home garden.”
Crafting Custom Planter Boxes for Vibrant Greenery
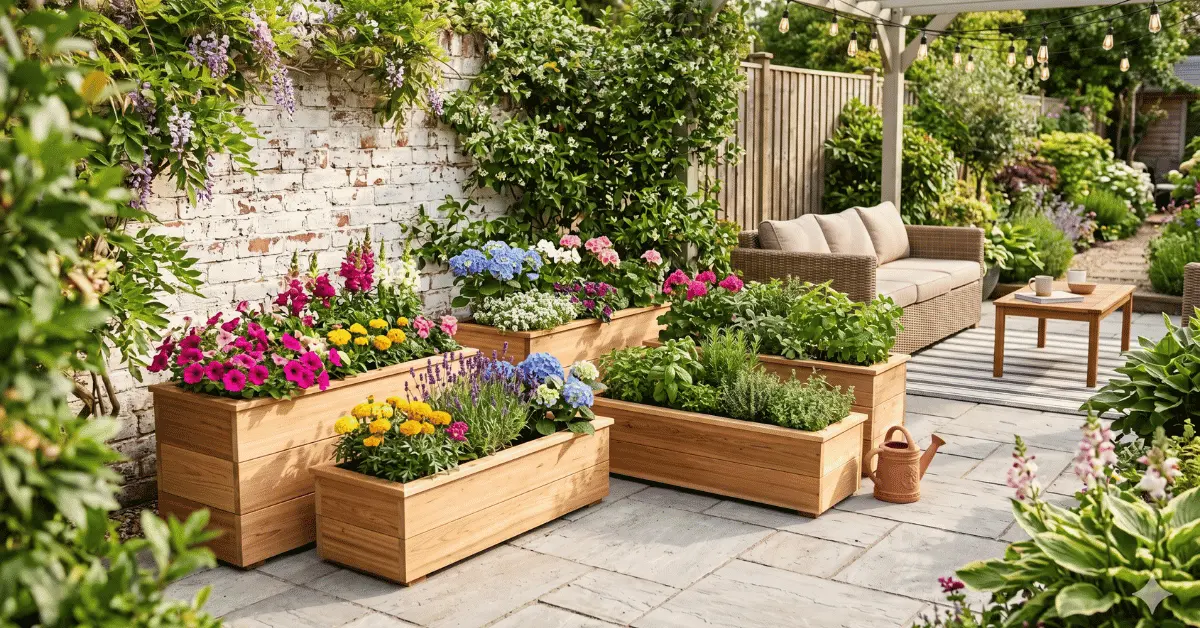
Small planter boxes offer big impact and are one of the fastest diy wins you can make.
Crafting custom planters is a simple way to add vibrant greenery to your outdoor space without advanced skills. You can follow clear plans, use basic tools, and finish a clean planter box in a few hours.
One weekend build idea is a planter-trellis combo. It costs about $100 and uses bamboo and treated wood. That setup supports climbing plants and saves space on a patio.
To extend life, line three-season planter boxes with plastic liners. The liner keeps moisture off the wood and helps plants stay healthy through the growing months.
- Garden bench
- Planter boxes (various sizes)
- Pergola
- Outdoor table
- Storage shed
- Plant stand
- Trellis combo
- Fire-pit seating
- Raised beds
| Planter Type | Cost | Key Feature |
|---|---|---|
| Simple Box | $30–$60 | Fast build, good for herbs |
| Trellis Combo | ~$100 | Supports climbers, saves space |
| Three-Season Box | $50–$120 | Plastic liner prevents rot |
With a few plans, you can build several planters in a single weekend and give your garden a cohesive, planted look that invites family time and quiet moments.
Constructing a Functional Outdoor Dining Table
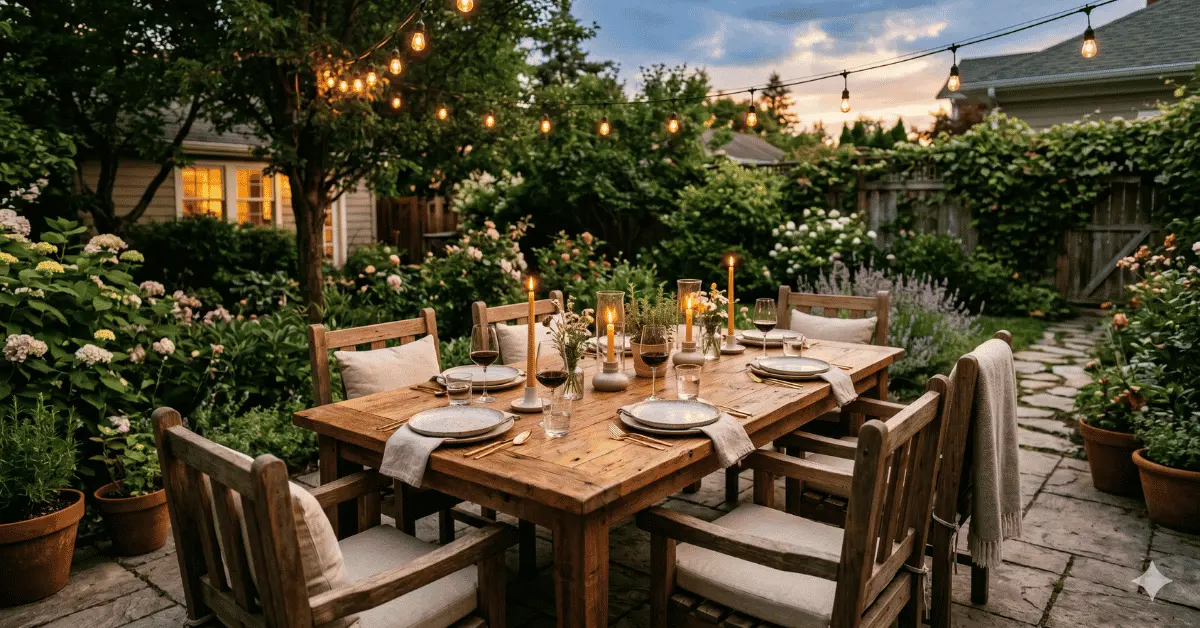
A smart dining table gives your patio real purpose and invites more time outside.
Start with a clear plan and simple cuts. A compact table that seats four fits many small patios and balconies. You can build one in a single weekend using basic tools like a mitre saw and pocket screws.
Space-Saving Designs
Choose a design that tucks chairs under the apron to save space when you are not dining.
Consider a stone-top patio table for a high-end look. A simple stone-top project can cost less than $30 while giving a durable surface that resists heat and stains.
Seating Capacity Tips
You can build a sturdy four-person table with straightforward joinery and a solid top. Use pocket screws and proper bracing so the table handles heavy daily use.
Try these beginner-friendly builds to expand your outdoor furniture set:
- Garden bench
- Planter boxes
- Pergola
- Outdoor table
- Storage shed
- Plant stand
- Trellis combo
- Fire-pit seating
“A custom dining table becomes the centerpiece of your outdoor furniture and makes meals outside feel intentional.”
Practical tips: measure your space, pick a style that matches your porch or patio, and allow time to let finishes cure. With focused time and the right plans, you’ll have a lasting table that fits your garden and entertaining needs.
Adding Vertical Interest with a Garden Trellis
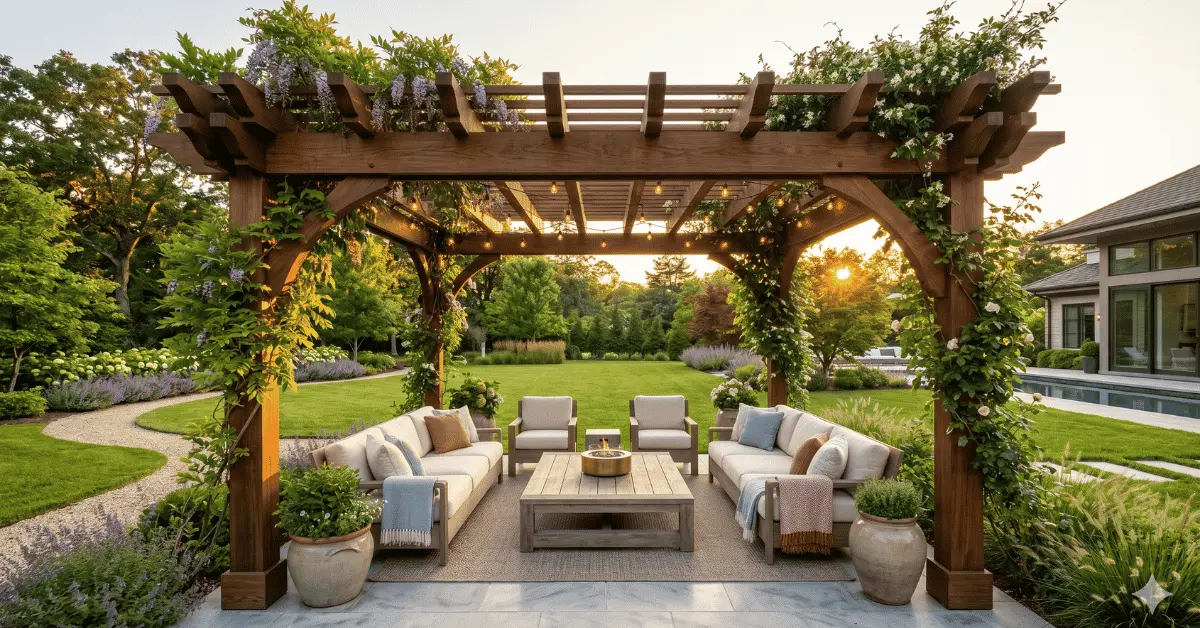
A tall trellis draws the eye skyward and gives climbing plants a place to perform. Use it to add height, privacy, and a living focal point in your yard without heavy work.
A mixed-medium trellis using cedar and copper develops a green patina on the metal and a warm grain on the wood. This combo looks refined and costs under $100 when you choose decay-resistant lumber.
You can build a trellis with simple plans and basic tools in a single weekend. A well-placed screen gives shade and makes your patio feel cosier.
- Garden bench
- Planter boxes
- Pergola
- Outdoor table
- Storage shed
- Plant stand
- Trellis (mixed-medium)
- Fire-pit seating
| Feature | Material | Estimate |
|---|---|---|
| Mixed-medium trellis | Cedar + copper | $50–$100 |
| Privacy screen | Cedar or redwood | Weekend build |
| Customization | Simple plans | Adjustable size |
Creating a Cosy Fire Pit Area with Wooden Accents
A compact fire feature with wooden accents makes evenings feel cosy and intentional. You can add a low-profile fire pit or a DIY fire table that doubles as a coffee table. This gives your patio a centre that invites longer nights and easy conversation.
Safety Considerations for Fire Features
Place any fire or pit well away from structures, dry plants, and overhanging branches. Good clearance reduces risk during windy nights and busy gatherings.
When you build a fire table, include a heat shield and a secure propane tank compartment. These elements protect nearby furniture and the base material.
- Use fire-resistant framing and stone or metal surrounds to limit radiant heat.
- Keep a class B-rated fire extinguisher or garden hose nearby during use.
- Seat guests on simple benches or chairs set back a safe distance from the flame.
- Consider a fitted cover that converts your fire pit into a dining table when cool.
With clear plans and the right tools, you can create a welcoming garden space that balances warmth and safety. Build smart, sit back, and enjoy cool nights around your new fire feature.
The Ultimate Backyard Upgrade: Building Your Own Shed
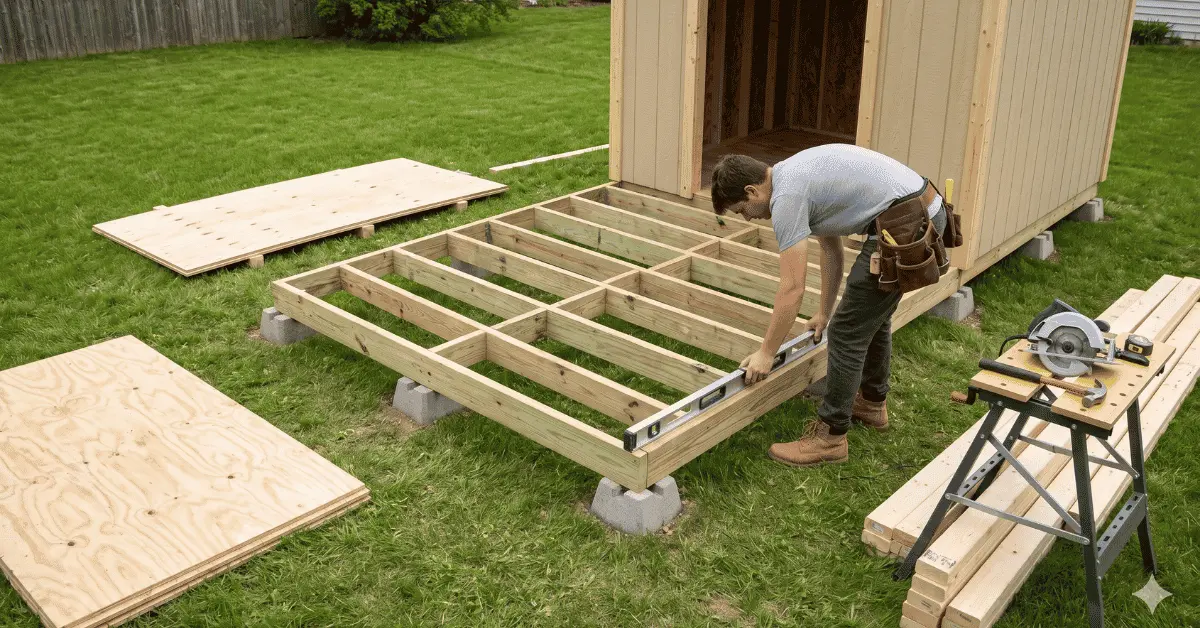
A well-planned shed turns unused space into organised storage and a focal point in your yard.
Building a shed is one of the most valuable diy outdoor efforts you can take on. It creates a custom storage solution that matches your home and garden style. You save money compared to buying a prebuilt unit and gain long-term function.
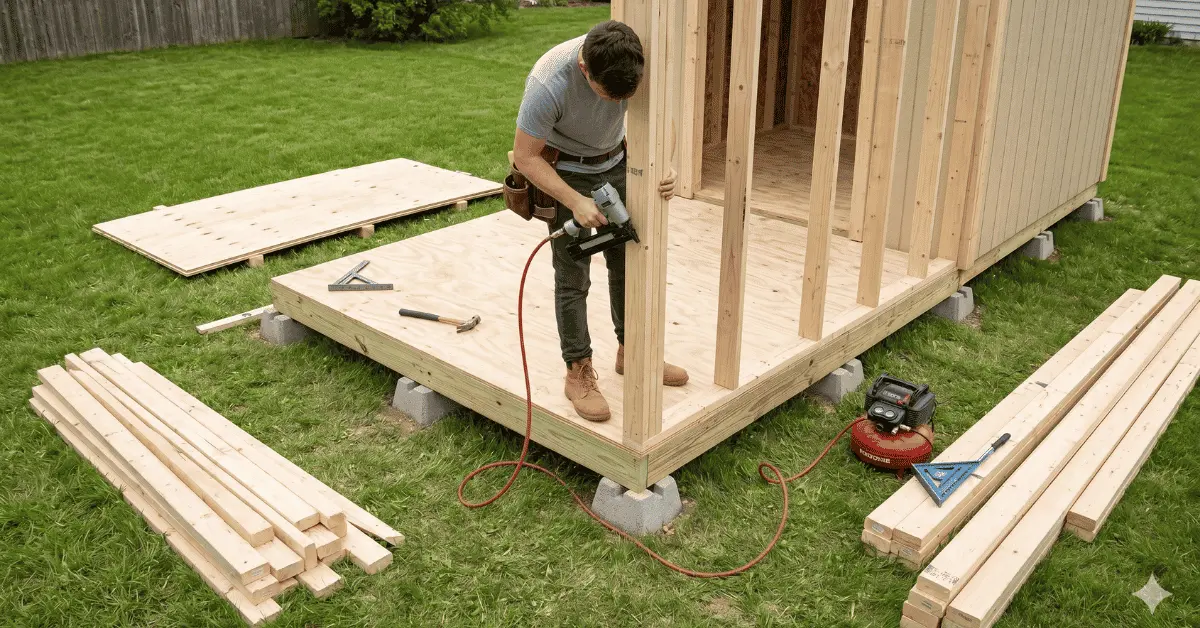
You can finish a sturdy shed in a single weekend with clear plans and basic tools. Pick the right size so the structure fits your available space and storage needs.
Use quality materials to make the shed durable and low-maintenance. That pays off over seasons of use and keeps your equipment protected.
- Create a potting shed or a small studio with shelving and work space.
- Match siding and trim to your porch or patio furniture for a cohesive look.
- Plan door and window placement to suit access and light needs.
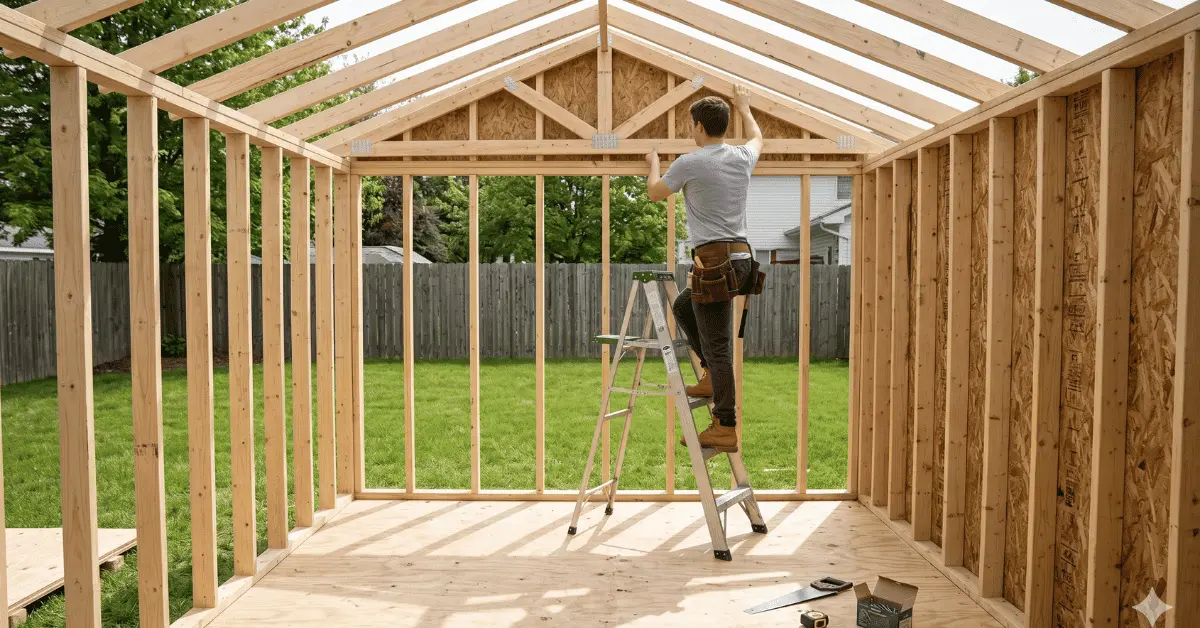
| Benefit | Estimate Time | Key Consideration |
|---|---|---|
| Custom storage | Weekend | Right size and layout |
| Cost savings | Varies | DIY labor vs prefab price |
| Flexible use | Immediate | Studio, potting area, or tool box |
“A well-built shed gives you space, style, and the satisfaction of a weekend well spent.”
Overcoming Common Beginner Challenges with Shed Construction
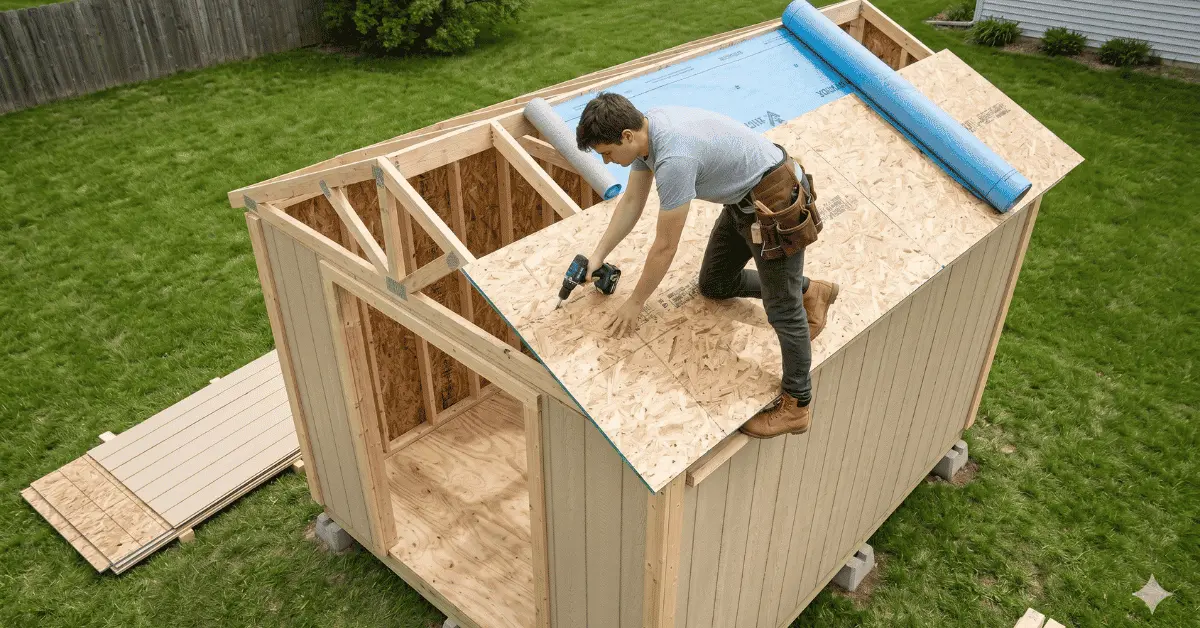
Beginners often hit snags when measurements, material choices, and dense instructions collide.
Confusion with measurements causes the most wasted time. Double-check your dimensions, measure twice, and mark cuts clearly. Use a tape with a clear lock and write the dimensions on the board before cutting.
Confusion with Measurements
Scale your plans to the exact shed size and mark reference lines on framing pieces. A simple square and level keep corners true.
Sourcing Quality Materials
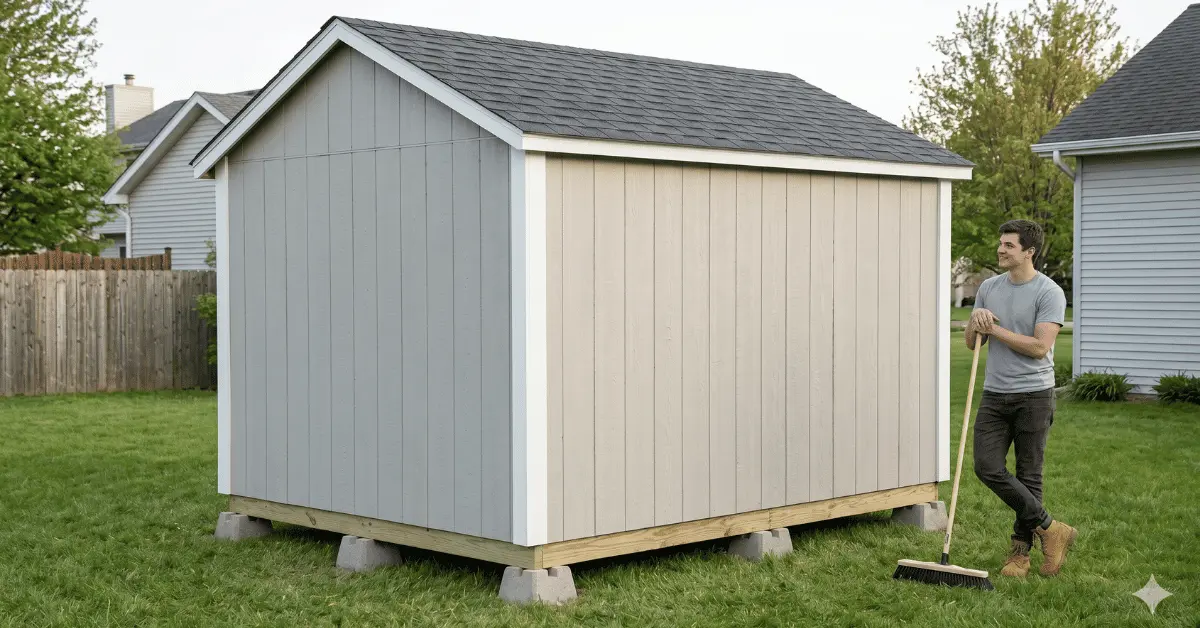
Choose durable materials that fit your budget. Look for decay-resistant options and consistent grading to avoid warped boards.
Navigating Complex Instructions
Break the build into small steps. Follow numbered plans, watch a short video, or use 3D diagrams to see each phase before you cut.
- Measure twice, cut once.
- Buy straight, graded boards to limit surprises.
- Use visual guides if written steps feel dense.
| Issue | Common Result | Quick Fix |
|---|---|---|
| Wrong measurements | Scrap pieces, delays | Re-measure, use stop blocks |
| Poor materials | Warping, rot | Buy graded, sealed lumber |
| Confusing plans | Mistakes in assembly | Follow step-by-step guides or video |
“Proper planning and clear steps turn a daunting build into a manageable weekend win.”
Why Ready-Made Shed Plans Are Your Best Investment
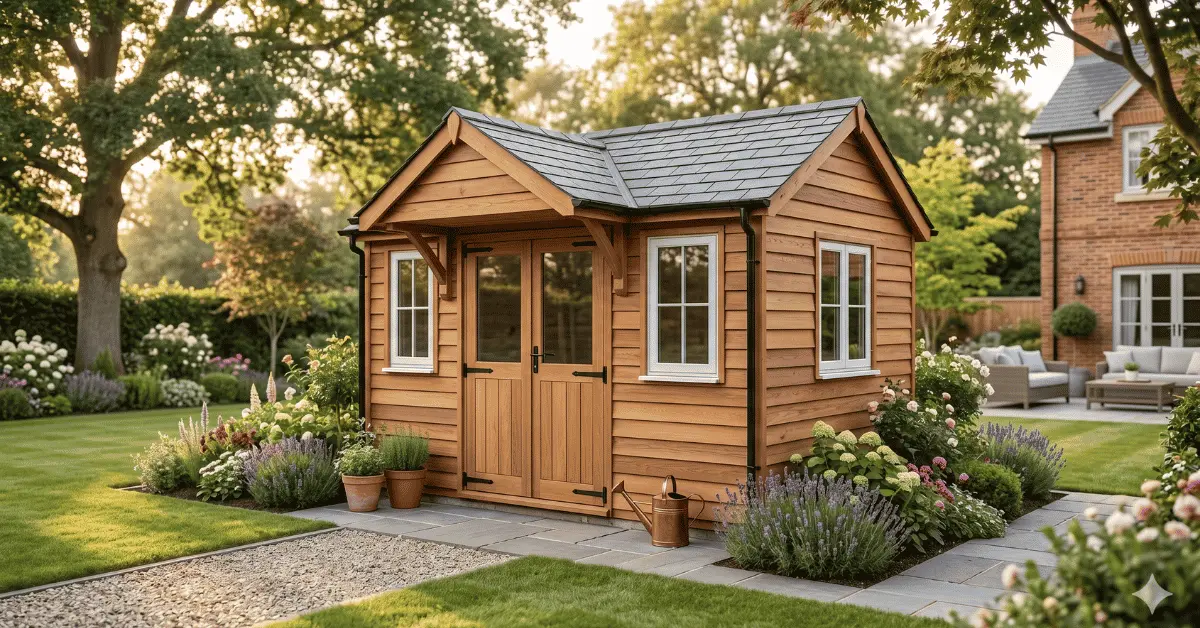
Ready-made shed plans give you the roadmap that turns uncertainty into steady progress.
These plans simplify a large diy task into clear steps. You get step-by-step instructions, a full materials list, and precise cutting plans. That clarity saves time and lowers stress during the build.
3D diagrams help you see the finished shed before you cut a single board. Visual guides reduce mistakes and keep assembly moving fast. When you follow professional plans, you avoid costly rework and wasted materials.
If you’re looking to build a shed, quality plans are the smartest purchase. They suit beginners and make a weekend build realistic. You’ll also get notes on site prep, foundation options, and safe assembly so your structure meets common standards.
| Feature | Benefit | Why it matters |
|---|---|---|
| Step-by-step instructions | Clear sequence | Less guesswork, fewer errors |
| Complete materials list | Accurate shopping | Save time and money |
| Cutting plans & 3D diagrams | Visual clarity | Easier assembly, fewer scraps |
“A good set of plans lets you build with confidence and finish on schedule.”
Enjoying the Satisfaction of a Weekend Build
There’s a special pride that comes from turning a weekend of effort into a lasting structure at your home.
You can build a solid shed in a single weekend and save money compared to buying a prebuilt unit. With clear plans and steady steps, you avoid common mistakes that add cost and delay.
Completing this kind of project adds real value to your backyard and gives you a durable storage solution you designed. Each cut and fastener teaches a skill you will use again.
- There is nothing quite like the satisfaction of finishing a major backyard project in one productive weekend.
- By building your own shed, you save money and avoid errors common with expensive, prebuilt options.
- Explore our collection of professional shed plans to find the right design and materials for your needs.
- Start your journey today by picking a plan and begin building the outdoor projects that matter to you this weekend.
“Every board you cut and screw you drive brings you closer to a finished space you can be proud of.”
Ready to get started? Browse our shed plans now, choose the one that fits your space, and take the first step toward a better yard this weekend.
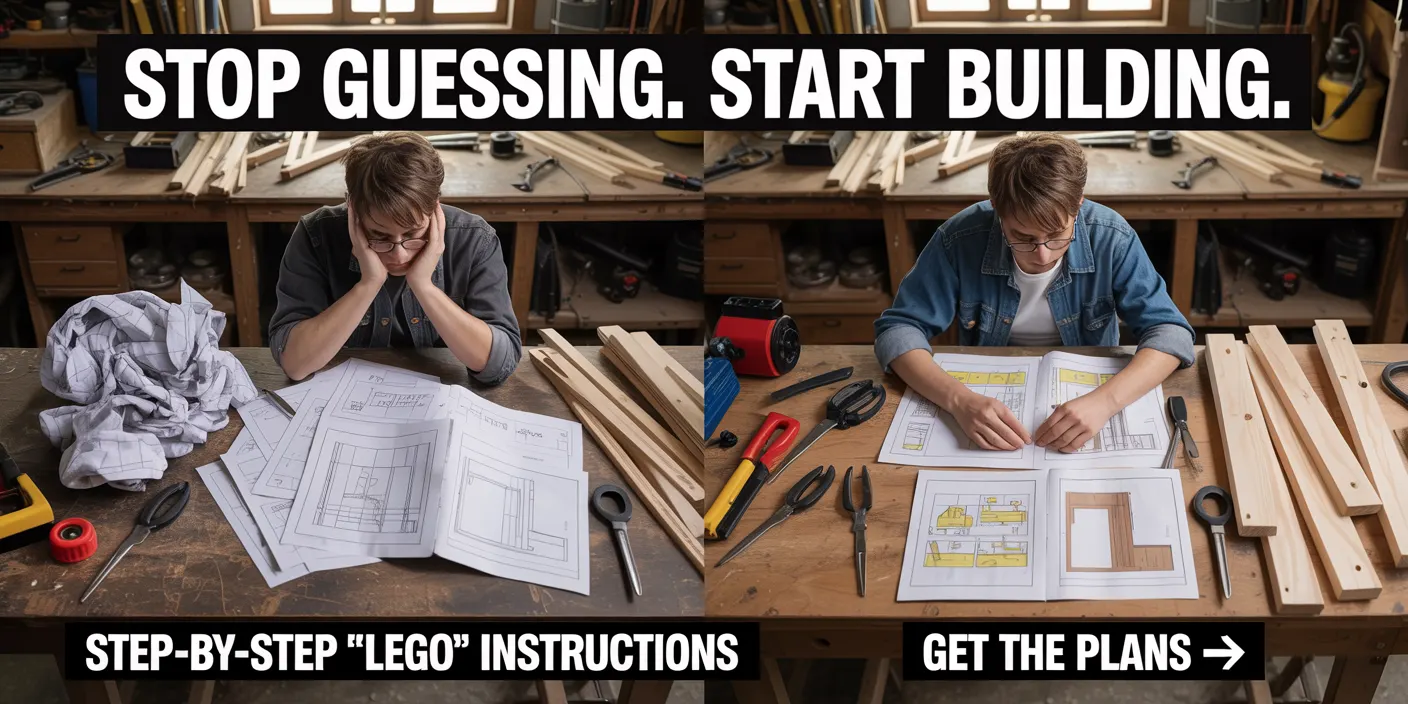
🚀 Build Your Dream Shed Without Confusion or Costly Mistakes
Stop guessing measurements, wasting materials, or getting stuck halfway…
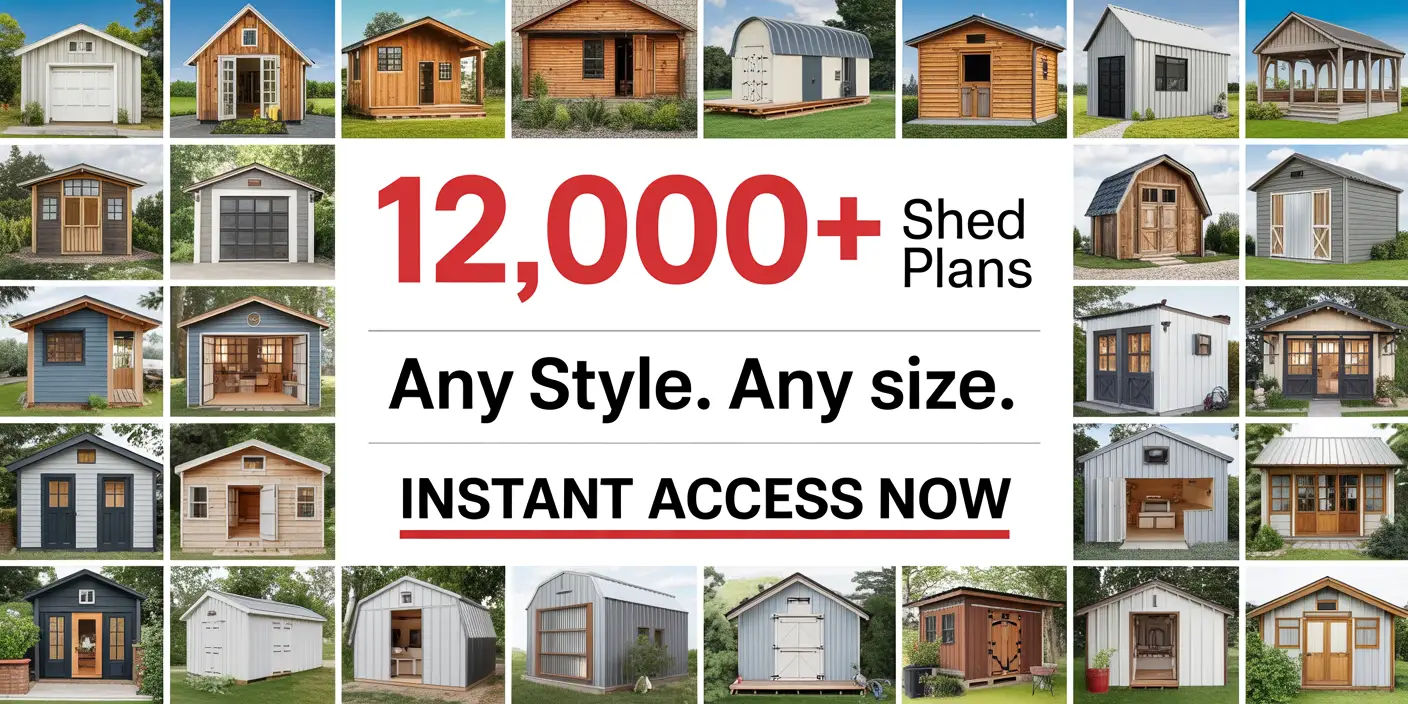
👉 Get instant access to 12,000+ step-by-step shed plans designed for beginners
👉 Click Here to Start Building Your Shed Today
🔥 What You’ll Get (Why It Works)
- ✔️ 12,000+ Shed Plans – Any size, style & design you can imagine
- ✔️ Beginner-Friendly “LEGO Style” Instructions – So simple, anyone can follow
- ✔️ Complete Materials + Cutting Lists – Buy exactly what you need (save money)
- ✔️ 3D CAD Drawings (All Angles) – No confusion, no guesswork
- ✔️ Build in Just a Weekend – Even if you’ve never built before
- ✔️ Save $1000–$3000 vs Prebuilt Sheds
- ✔️ FREE Bonuses Worth $300+ Included
⚡ Limited-Time Deal
💰 Get everything for a one-time low price (massive discount)
🛡️ 100% Risk-Free – 60-Day Money-Back Guarantee
👉 Don’t Miss Out – Start Your Backyard Project This Weekend
Conclusion
A single small build can change how you use and enjoy your backyard every day.
Choose one project, gather the right tools, and follow clear plans. Careful planning and quality materials keep work strong and lasting.
You will learn skills quickly as you finish each piece. A bench, a planter, or a shed adds function and charm. Ready-made plans help you avoid mistakes and speed assembly.
Start with a realistic goal, take steady steps, and enjoy the process. We hope this guide inspires your next project and helps you transform your backyard into a useful, inviting retreat.
FAQ
What basic tools do I need to start these backyard woodworking builds?
You should have a circular saw, power drill, tape measure, speed square, and a random orbital sander. Add clamps and a quality set of bits and blades. These tools let you cut, drill, and finish most plans like benches, planter boxes, and a small shed without buying speciality equipment.
Which lumber holds up best in rainy or humid climates?
Cedar and redwood resist rot and insects naturally, while pressure-treated pine offers cost-effective durability. For decks or dining tables, consider exterior-grade hardwoods like Ipe if budget allows. Always seal with a marine-grade or exterior spar varnish for the longest life.
How do I keep my DIY fire pit area safe when adding wooden accents?
Keep a non-combustible ring—stone, concrete, or metal—around the burn area and place wood benches or decking at least three feet back. Use fire-resistant cushions and maintain a clear zone free of overhanging branches. Follow local fire codes and never leave flames unattended.
Can you recommend simple shed plans for a first-time builder?
Look for one-shed plans labelled “beginner” that include step-by-step diagrams, a material list, and foundation options. Choose a small footprint, like 6×8 or 8×10, to limit framing complexity. Ready-made plans from Habitat for Humanity ReStore guides or familyhandyman.com are reliable starting points.
What finish should I use on garden benches and outdoor furniture?
Use an exterior wood stain with UV protection, followed by a clear spar urethane for added water resistance. For dining tables, apply several coats and sand lightly between layers. Reapply every 1–2 years, depending on exposure.
How do I design planter boxes to prevent root rot and improve drainage?
Drill drainage holes in the bottom and line the inside with landscape fabric to keep soil in while allowing water out. Elevate boxes on blocks or legs to improve airflow and consider mixing perlite or sand into potting soil for better drainage.
What are space-saving tips for building an outdoor dining table and seating?
Use benches instead of individual chairs to tuck seating under the table. Consider a drop-leaf or foldable end for flexibility. A table with built-in storage beneath the benches keeps cushions and tools tidy while saving square footage.
How do I ensure my trellis or vertical garden withstands wind and weather?
Anchor posts in concrete footings or use heavy-duty stainless steel brackets. Choose rot-resistant materials like cedar and add diagonal bracing for strength. Secure climbing plants early so vines don’t create unbalanced loads.
What common measurement mistakes should beginners avoid when building a shed?
Measure twice and cut once: double-check diagonals for squareness, confirm stud spacing, and account for siding overlap and trim. Mark reference lines on framing members and verify door opening sizes before finishing.
Where can I source affordable, quality materials without sacrificing durability?
Check local lumberyards for offcuts and sales, visit Habitat for Humanity ReStore for reclaimed options, and compare prices at Home Depot or Lowe’s for treated lumber. Buy exterior-grade fasteners and stainless-steel hardware to prevent future corrosion.
How long will a weekend build take for items like benches or planter boxes?
Simple benches and planter boxes can be completed in a single weekend if you pre-cut materials and follow a clear plan. Tables or small sheds usually require two to three weekends, accounting for drying times for stains and sealers.
Are there safety gear essentials I must never skip?
Always wear eye protection, hearing protection, a dust mask or respirator when sanding, and work gloves. Use push sticks with table saws and ensure proper ventilation when applying finishes. A first-aid kit nearby is also wise.
Do ready-made shed plans really save time and money?
Yes. Plans reduce guesswork, prevent costly mistakes, and include optimised material lists. They let you estimate costs upfront and often include tips to speed construction. Investing in clear plans pays off in fewer surprises and a sturdier build.
How can I adapt plans to fit a small patio or porch space?
Scale down dimensions proportionally or choose modular designs that snap together. Use folding elements and stackable benches. Prioritise multifunctional pieces like benches with storage to maximise utility in tighter areas.