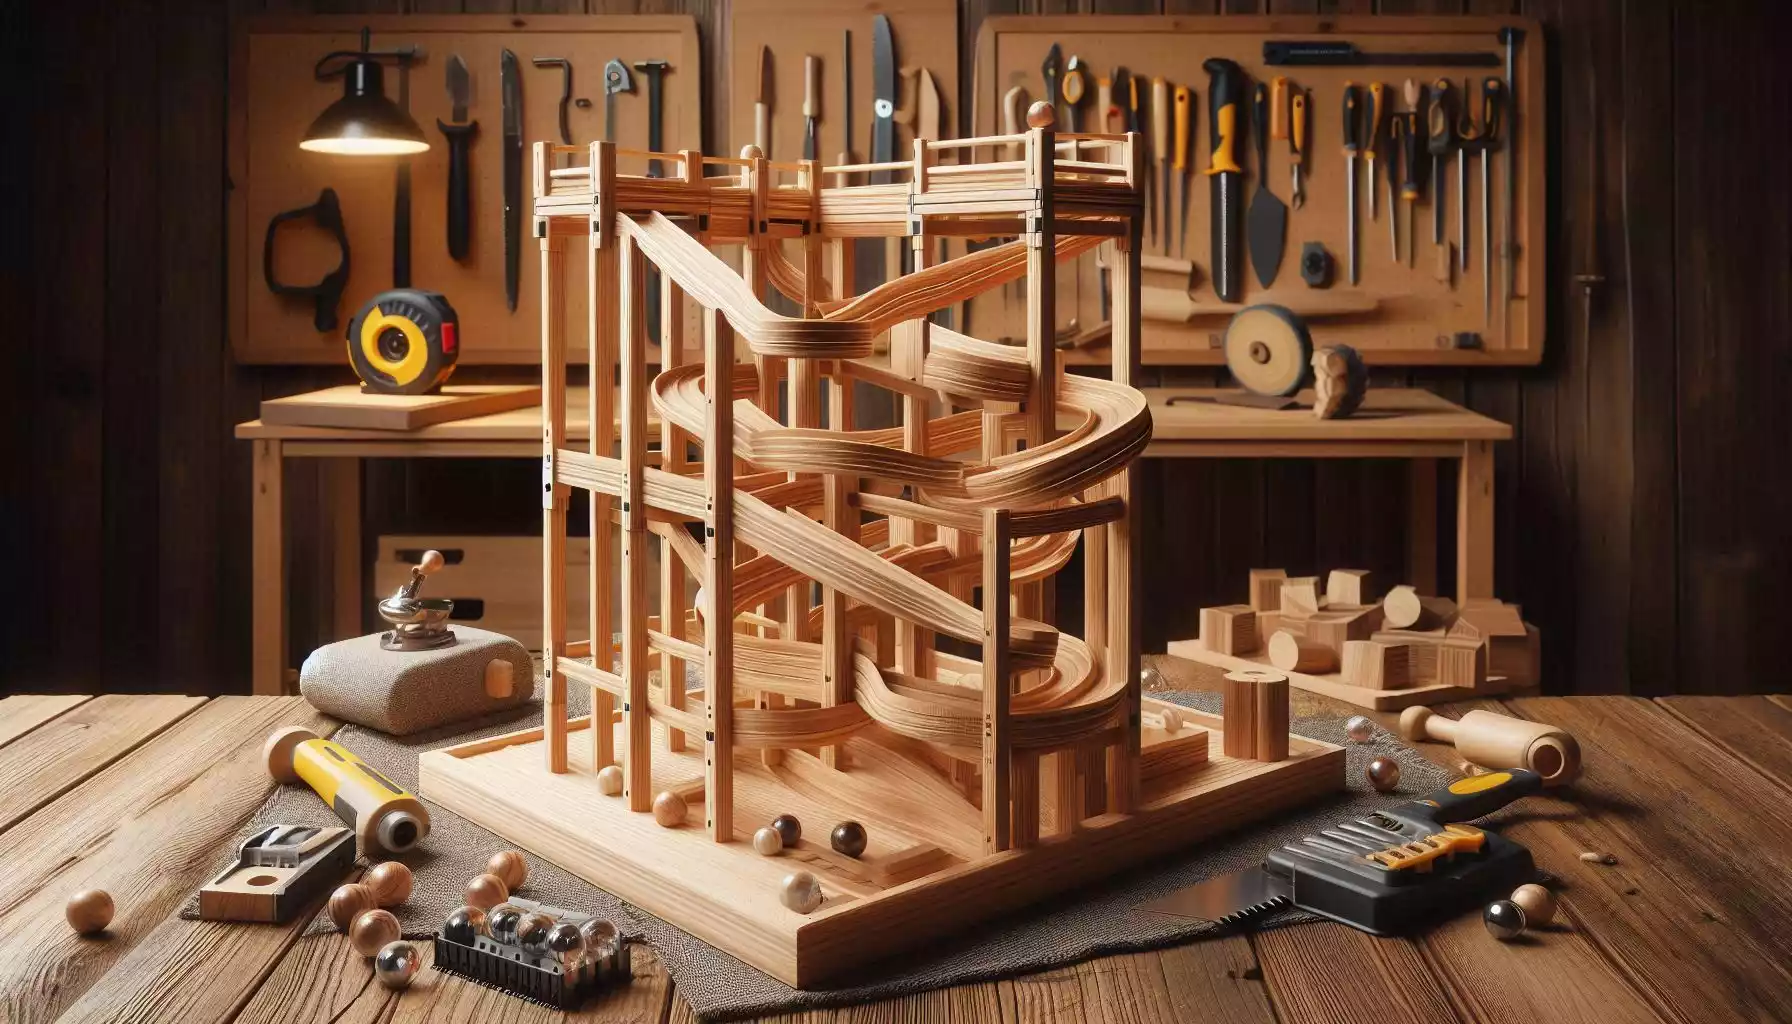
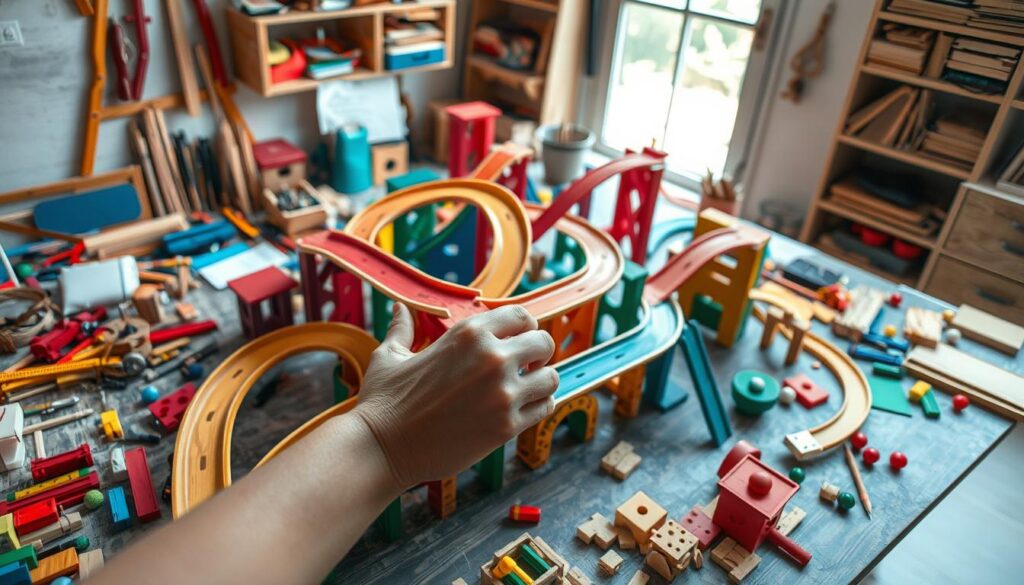
Did you know that making a DIY wooden marble run can take just two days? It’s a fun way to show your creativity and learn about problem-solving and engineering. You only need a 3/4″ thick pine wood board and some basic materials to start. This guide will help you through different wooden marble run designs and what tools and materials you’ll need for your DIY project.
Create a DIY wooden marble run with these easy-to-follow plans! Gather materials like wood, dowels, and glue, then build a track to keep marbles rolling smoothly. With clear step-by-step instructions, you can craft a sturdy, engaging marble run that’s perfect for all ages. Customise the track design for endless fun!
Key Takeaways
- Building your marble run enhances creativity and engineering skills.
- The main material needed is a 3/4″ thick board of pine wood measuring 1ft x 8ft.
- Common tools include a table saw, a mitre saw, and a drill.
- The entire project can typically be completed in about two days.
- Customising your marble run can involve adding features like zigzag tracks.
- Using poplar or white pine can improve the quality of your run.
- Consider careful measurements to ensure smooth marble movement.
Introduction to Wooden Marble Runs
Wooden marble runs are fun toys that teach and entertain. They come in different levels of complexity. This lets you try out many designs and improve your problem-solving skills.
They are perfect for kids aged three and up. Both kids and adults can enjoy them. Working on a marble run project boosts creativity and teamwork.
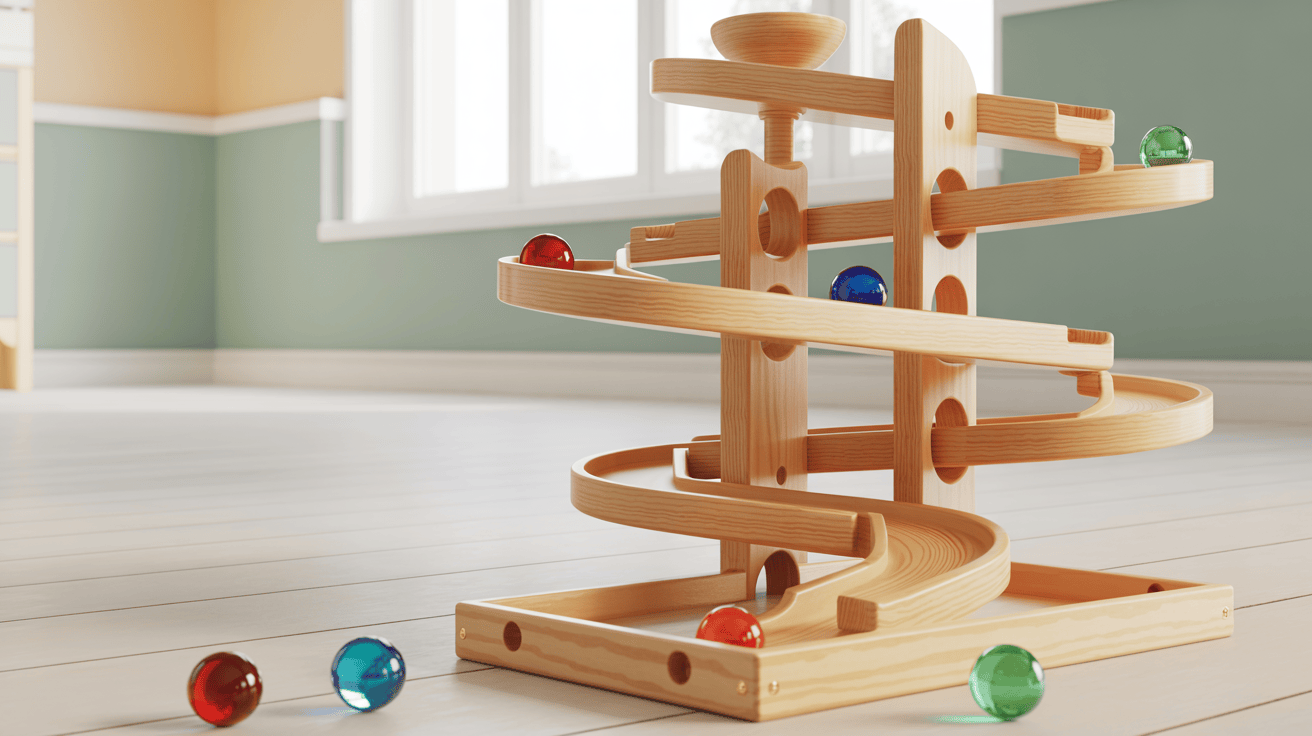
These runs have cool parts like chromed steel balls and tracks. The tracks are made from 3/4″ wide by 1/4″ thick stock. This makes the marble move smoothly.
The Marble Genius Marble Glow Run Race Track Set has 115 pieces. It shows how these projects can be very detailed. Playing with them can make you interested in physics and engineering.
Building a wooden marble run is fun and brings people together. It’s a great way to be creative. You can use different materials and tools to make it even better. Making your marble run can lead to amazing creations. It’s a great way to have fun and learn at the same time.
Benefits of Building Your Marble Track
Building a homemade marble run is a fun and rewarding project. It lets you be creative and helps kids learn important skills. Marble runs improve hand-eye coordination, spatial awareness, and engineering skills, great for young children.
By following guides and using safe materials, you can improve your woodworking skills. This ensures the project is safe for everyone, avoiding harmful chemicals like BPA and phthalates.
This activity creates lasting memories as you work together with your family. Kids learn about gravity and energy through play. They also get better at solving problems and thinking logically.
Working together on this project also helps your family bond. It’s a fun way to spend time together, lasting a couple of hours.
| Benefit | Details |
|---|---|
| Creativity | Encourages imagination through unique design possibilities. |
| Skill Development | Enhances problem-solving, cognitive abilities, and motor skills. |
| Family Bonding | Promotes teamwork and collaboration during the building process. |
| Learning Physics | Provides a hands-on opportunity to explore basic physics principles. |
DIY Wooden Marble Run Plans
Building a wooden marble run needs careful planning and the right materials and tools. You can choose from simple to complex designs. Knowing what materials and tools to use will make the process easier. Here, you’ll learn about the materials, tools, and wood selection for your marble run.
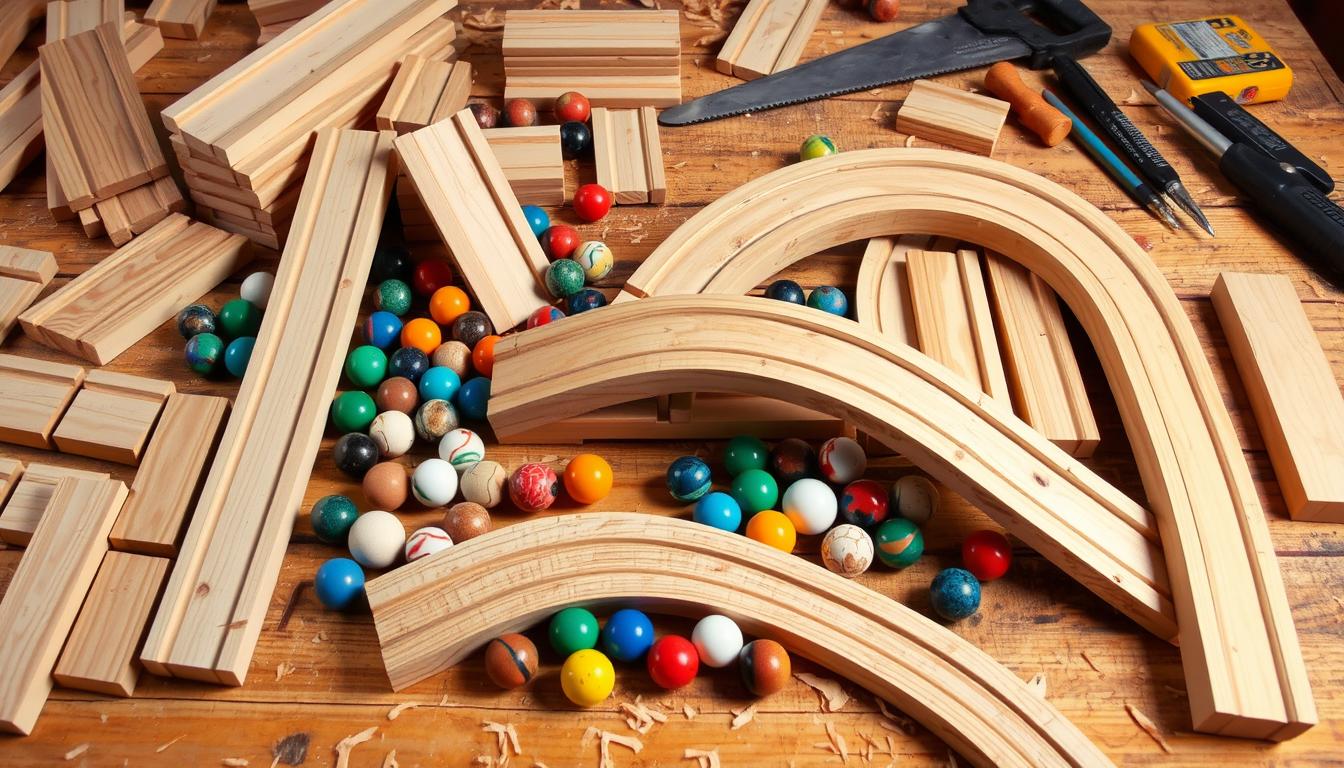
Materials Needed for Your Project
Choosing the right materials is key to your wooden marble run. You want materials that are strong yet easy to work with. Here are some good options:
- 3/4″ thick boards of pine wood
- Wooden dowels
- Glass marbles
- Wood glue
- Paint (for decoration)
Using durable materials means your marble run will last longer. It will also be more fun for everyone.
Essential Tools for Construction
Before you start, make sure you have the right tools. The right tools make building easier:
- Table saw
- Drill
- Measuring tape
- Square
- Clamps
With these tools, you can cut and build your marble run safely and accurately.
Choosing the Right Wood for Your Marble Run
The wood you choose affects your marble run’s quality and safety. Soft woods like pine are great because they’re easy to work with. This makes it easier for DIY beginners to create their project.
In short, having the right materials, tools, and wood will make building your marble run fun and rewarding.
Step-by-Step Marble Run Guide

Building your wooden marble run is a fun project that needs careful planning. This guide will help you through designing, building, and creating a fun marble run. You’ll learn how to design the layout, build the track segments, and make a final product that’s exciting to watch.
Designing Your Marble Run Layout
The first step is designing your marble run layout. Start by drawing your idea on paper or using design software. Think about adding ramps, curves, and obstacles to make it more fun. It’s a good idea to pre-drill screw holes every 6 inches for better alignment.
Also, adding horizontal spacers helps keep the pegboard panels straight and strong.
Building Track Segments and Blocks
Now, it’s time to build marble track segments for your run. Use a 3/4″ thick pine wood board. Make sure the track is about 7/8″ wide, with 1/8″ wood on each side.
To save wood, cut ramp blocks in pairs. This method is efficient and reduces waste. Apply a single coat of varnish to seal the wood without making it slippery.
For complex features, remember to use dowels for the precise fitting of track segments.
Wooden Marble Run Instructions
Building the ramps and supports is key to your wooden marble run. Well-made ramps help marbles flow smoothly. You can make ramp blocks in pairs to save wood and improve stability.
Creating the Ramps and Supports
Begin by using a 3/4″ ball nose router bit for rounded edges. This bit is often found in affordable router bit sets. To stop marbles from bouncing, use a 3/4″ square dadoing bit to square the tracks at the top.
For side exits, drill a hole with a forstner bit, angling it slightly downward. Cut 3/4″ dowels down the middle and glue them into short segments at track ends. This helps prevent marble deflection. Bevel the support blocks’ edges on a bandsaw, allowing tracks to exit at angles less than 90 degrees.
Assembling Your Marble Run
As you assemble the marble run, aligning parts accurately is crucial. Use shim blocks as needed for a perfect fit. The finished box and blocks weigh about 15 kilograms, making them sturdy yet easy to handle12.
Consider adding bridge blocks for marbles to roll through holes. You can also include zigzag tracks or circular bowls for more fun. Once all pieces are built, smooth out sharp edges on a belt sander. Then, apply varnish to seal the wood and prevent slipping.
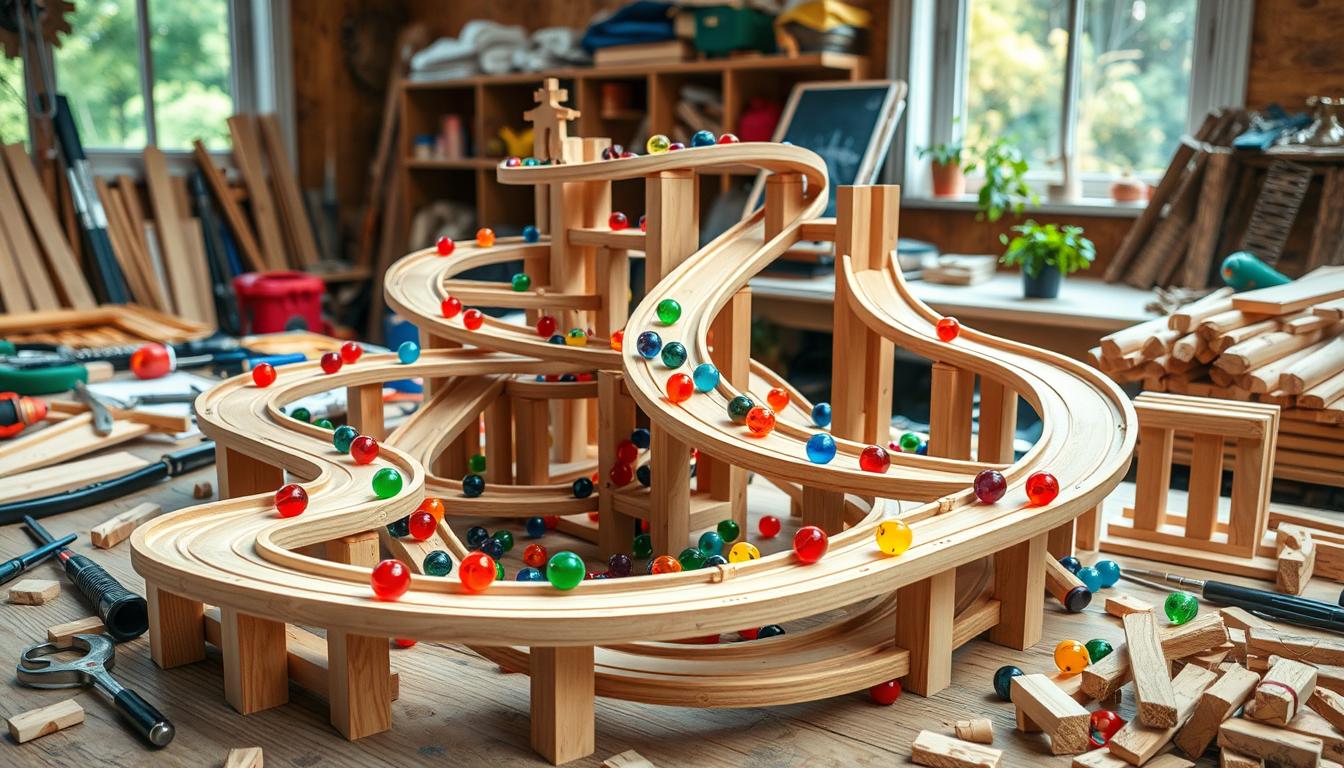
Customising Your Marble Run Design
Customising your marble run design lets you be creative and personal. By adding track features like zigzag paths and bowls, you can slow down the marbles. This makes the play area more dynamic and fun.
Adding these unique elements makes the game better and keeps kids playing longer. It helps them connect more with the structure they built.
Adding Features Like Zigzag Tracks and Bowls
Adding zigzag tracks and bowls changes the layout and makes it more fun. These features bring new challenges and excitement. Marbles have to navigate through complex paths.
It’s important to balance the complexity and simplicity in your design. This way, everyone can enjoy it, making it a fun experience for all.
Integrating Additional Elements for Fun
You can also add features like loops, ramps, and obstacles to your DIY wooden marble run. Using different materials and trying out designs can lead to unique structures. These structures can be both captivating and entertaining.
The possibilities for customising marble run design are endless. You can create a play structure that shows off your interests and creativity.
Safety Tips for DIY Marble Run Projects

When you start a DIY marble run project, safety comes first. Wear protective gear like gloves and goggles to protect yourself. Also, keep your workspace clean and clutter-free to avoid accidents.
When building your wooden marble run, use the tools correctly. For example, the Hakko FX888D soldering iron at 780°F works best. Beginners should start with the Hakko FX60101 or 503F. Always use fume extraction when soldering to avoid harmful fumes.
Think about the size and materials you’re using. The Oatey plumbing kit’s lead-free solder is great for strong bonds. Make sure to use the right bolt sizes: a ½” bolt for the lift spiral and a 7/16” bolt for cross pieces.
Be careful when putting everything together. The marble machine’s blocks can fill a milk crate quickly if not organised. Building it for over 100 hours requires patience and precision. Always wash your hands after handling soldering materials.
| Safety Tip | Description |
|---|---|
| Protective Gear | Wear gloves and goggles to protect against injuries. |
| Clean Workspace | Keep your area tidy to avoid accidents. |
| Proper Tool Use | Follow recommended settings for tools, like the soldering iron. |
| Component Fit | Ensure proper fit for bolts and other components for stability. |
| Hygiene Practices | Wash hands after working with materials to avoid contamination. |
Enhancing Playtime with Your Wooden Marble Maze
After you finish your wooden marble maze, you can make playtime even better. Try setting up family challenges or races. This makes your play area a place of fun and learning.
Adding games that test your skills is a great idea. Letting friends design their paths adds a creative twist. Hosting races keeps the excitement alive, making every playtime special.
Change the maze layout often to keep it interesting. Introduce new obstacles or shortcuts to keep things fresh. This way, every play session is a new adventure.
| Feature | Benefit |
|---|---|
| Family Challenges | Encourages group bonding and teamwork. |
| Timing Races | Enhances competitive spirit and excitement. |
| Creative Reconfiguration | Prolongs the lifespan of play by keeping it fresh. |
| Obstacle Introduction | Develops critical thinking and problem-solving skills. |
These activities make your wooden marble maze a favourite in your home. Keep finding new ways to make playtime fun and memorable. This way, you create a space where creativity and joy grow.
🧠 Ready to Build More Brilliant Wooden Projects?
If you loved creating your marble run, you’re going to thrive with this…
🔨 Discover 16,000+ DIY Woodworking Plans in One Powerful Toolkit!
Turn your ideas into stunning builds with Ted’s Woodworking – the internet’s #1 woodworking plan collection.
✅ Step-by-step, beginner-friendly instructions
✅ Exact cut lists & colourful schematics – no guesswork
✅ Suitable for small spaces & basic tools
✅ Bonus: 150 video tutorials + 200-page woodworking guide
✅ Includes wooden toys, trays, furniture, decor & more!
🎁 One-time deal – Get lifetime access for just $67!
👉 Click Here to Unlock the Full Library of 16,000 Plans »
Conclusion
Making a DIY wooden marble run is a fun way to mix creativity, learning, and fun. As more kids want to build their tracks, it shows how engaging this activity is. This article has given you the tools and steps to make your wooden marble run. You’ve learned how to pick materials and design tracks that your kids will love.
Adding features like ramps and tunnels makes it even more exciting. It lets kids dive deeper into learning. As you work on your marble run, focus on watching and understanding. This is key for young learners. The process of designing, testing, and improving is a big part of the learning journey.
When building your marble run, think about how to save money and choose the right materials. Doing this will not only make playtime better but also create lasting memories and skills for you and your kids.
FAQ
What materials do I need to build a marble run?
You’ll need a 3/4″ thick pine wood board, wooden dowels, and glass marbles for your DIY marble run. You can also add wood pieces or decorations to make it unique.
What tools are necessary for constructing the marble run?
You’ll need a table saw, drill, wood glue, and clamps. These tools help you cut, shape, and put your marble run together.
How can I ensure my marble run is safe for children?
Always wear goggles and gloves when working. Make sure the marble run is stable and all parts are securely attached to avoid accidents.
Can I customise my marble run design?
Yes! You can add zigzag tracks, bowls, or other features to slow down marbles. Let your imagination run wild!
What age group is best suited for building a wooden marble run?
Wooden marble runs are great for all ages, from toddlers to adults. They encourage creativity and can be tailored to different skill levels.
What are the educational benefits of building a marble run?
Building a marble run improves fine motor skills, problem-solving, and creativity. It also fosters teamwork and family bonding, making it both fun and educational.
Are there any tutorials available for building a DIY wooden marble run?
Yes! There are many DIY marble rollercoaster tutorials online. They offer step-by-step guides and tips to help you build your marble run.
