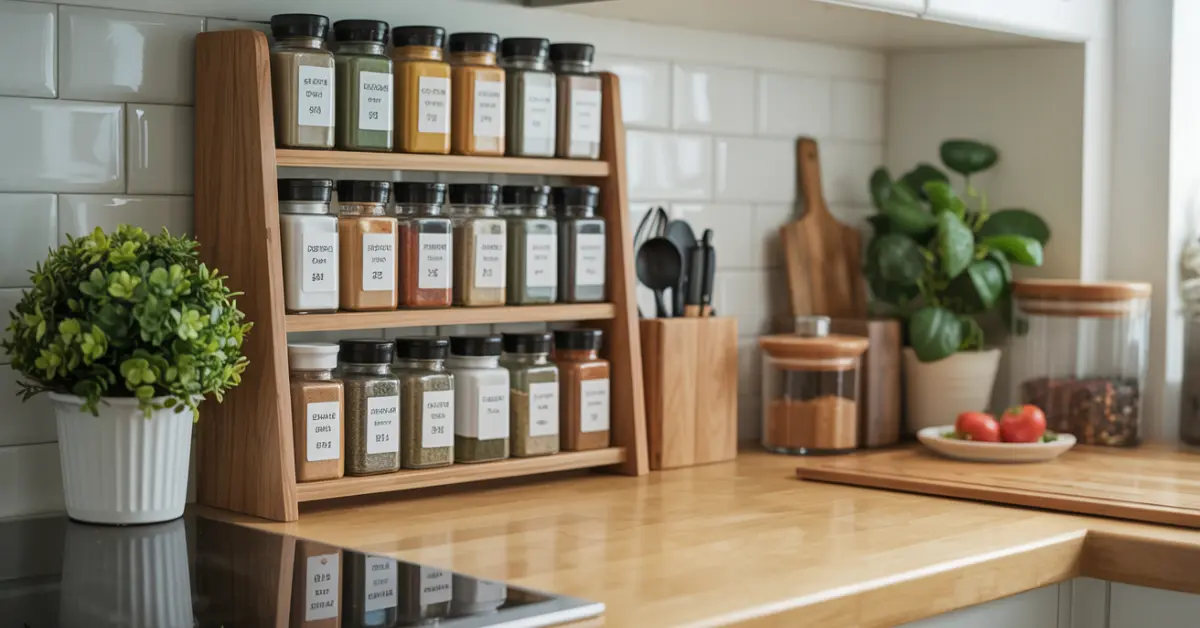
Have you ever felt the pure frustration of hunting for a single jar while your dinner slowly burns on the stove? It is time to stop the madness of messy cabinets where duplicates hide and clutter grows daily. Choosing to create a custom storage unit is the perfect diy project to reclaim your kitchen space and restore order.
Many people procrastinate because they fear that woodworking is too hard. However, most beginners find it surprisingly easy once they start. This shift toward better organisation saves you money and precious time every single day.
Constructing your own wooden spice rack means taking total control of your environment. You do not need expensive tools or advanced skills for this beginner-friendly task. Imagine the pride you will feel when guests admire a professional-looking piece that you made with your own hands.
This guide provides the clear steps needed to transform your kitchen from chaotic to calm this weekend. You can actually complete a beautiful rotating unit in just one day without spending a fortune at big-box stores. Join thousands of others who have successfully turned their messy pantries into efficient workspaces.
Key Takeaways
- Save money by avoiding expensive retail storage solutions.
- Maximise kitchen efficiency with a custom-designed solution.
- Eliminate duplicate purchases by keeping ingredients visible.
- Complete a professional-looking item in just one day.
- Gain confidence for future home improvement tasks.
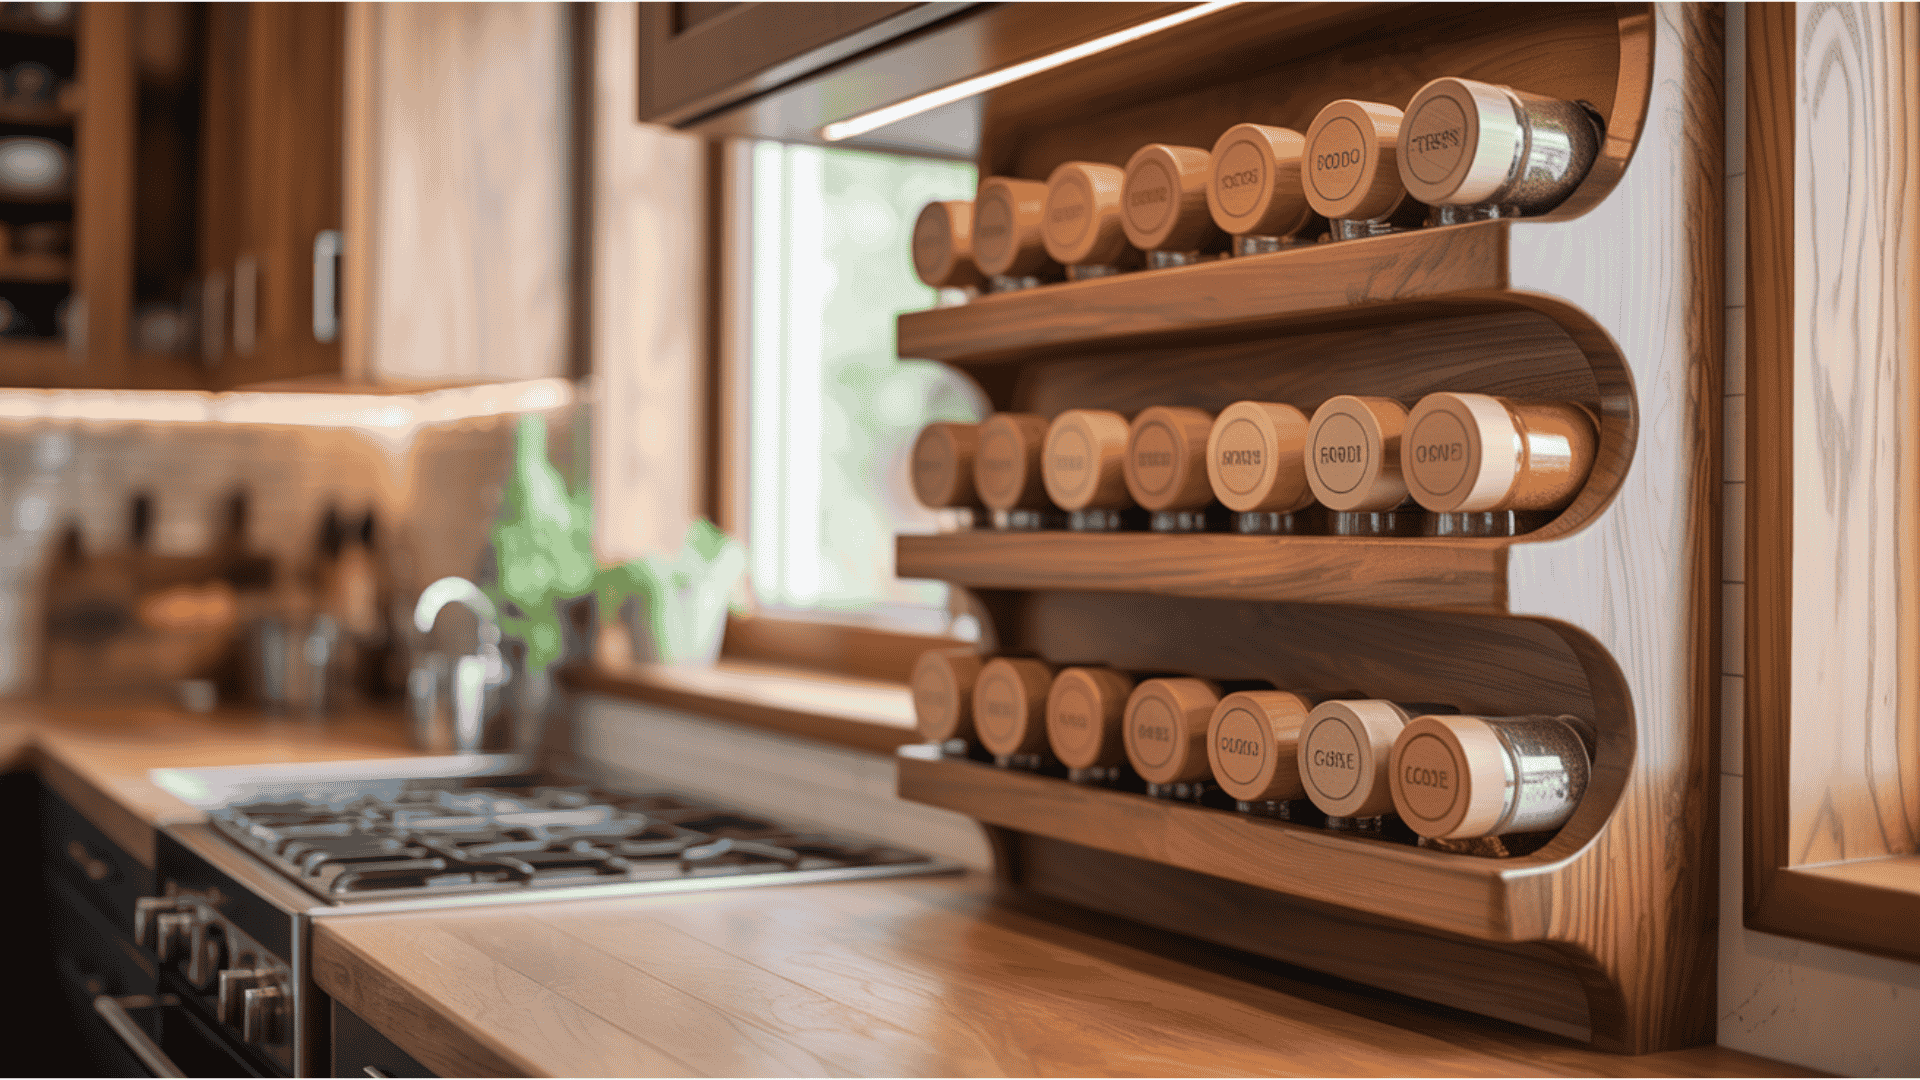
- Arrange up to sixteen different jars in a small area.
Transform Your Messy Spice Cabinet Into an Organised Kitchen Space
Stop letting your messy cabinet dictate how long it takes to prepare a simple dinner on a Tuesday night. You probably feel like your spices are “multiplying like rabbits” every time you look in the back of your pantry for a specific ingredient.
“My spice jars were multiplying like rabbits, and I couldn’t find a single thing when I needed it.”
This lack of organisation turns every meal into a stressful scavenger hunt for that one missing bottle. You are wasting money on duplicates while your cooking space feels cramped and overwhelming because you cannot see your inventory.
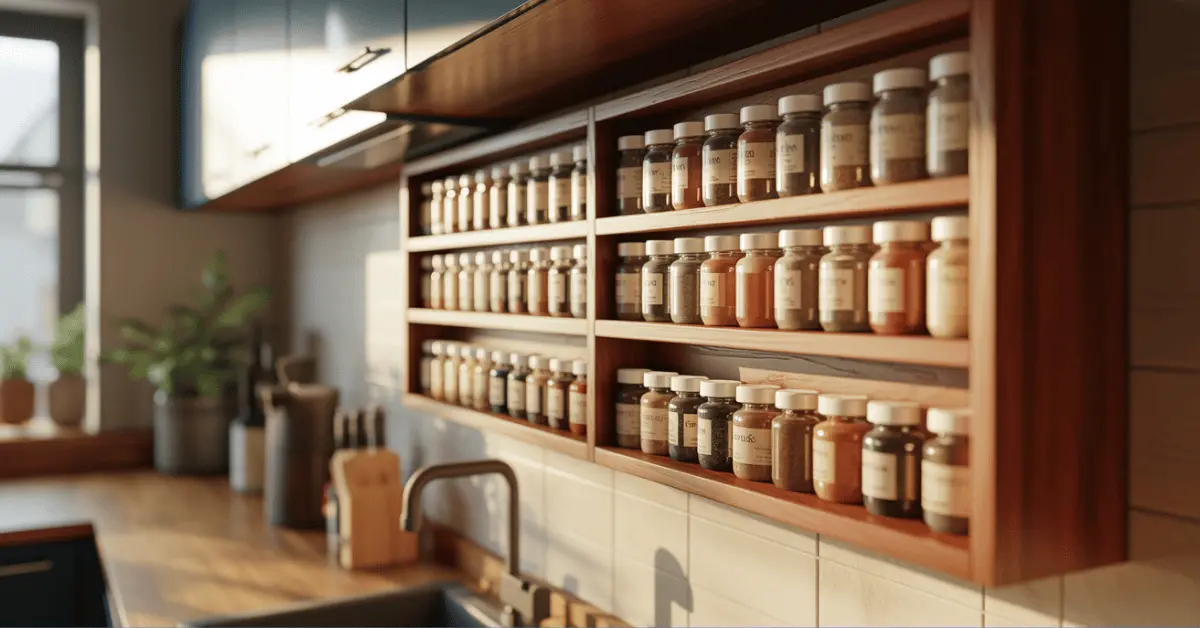
A custom wooden spice rack provides instant visual access to everything you own. You can even purchase matching glass jars at stores like Bed Bath & Beyond for as little as 99 cents each to finish the professional look. Reclaim your kitchen now and stop the cycle of buying what you already have.

Better storage doesn’t just look good; it makes you a faster, more efficient cook. By organising your collection, you save precious minutes and stop the financial drain of grocery store errors.
| Storage Problem | Financial Impact | DIY Solution |
|---|---|---|
| Hidden Bottles | Duplicate Purchases | Visual Access |
| Stacked Containers | Wasted Cooking Time | Custom Wood Rack |
| Messy Shelves | Frustration & Stress | Better System |
Why Building Your Own Wooden Spice Rack Saves Money and Looks Better
Stop throwing money away on expensive, generic organisers from big-box stores. While pre-made options often cost up to $150, you can create a superior diy version for under $30 in materials. This project allows you to stop settling for generic solutions that never quite fit your cabinets.
Choosing premium wood like oak or walnut ensures your spice rack outlasts cheap plastic alternatives by decades. You gain the freedom to select a custom stain colour that matches your existing kitchen décor perfectly. This level of customisation is something mass-produced products simply cannot offer to homeowners.
Investing a small amount of time during your weekend results in a professional-looking piece of furniture. Your guests will likely ask which high-end boutique sold you such a beautiful rack. There is genuine satisfaction in knowing you built something functional with your own two hands.
- Cost Efficiency: Spend less than thirty dollars on materials instead of over triple that at retail stores.
- Perfect Fit: Design the dimensions to meet your specific storage needs and space requirements.
- Durability: Solid lumber provides a sturdy structure that handles daily use far better than particle board.
Building something yourself transforms a house into a home, adding value that money cannot buy.
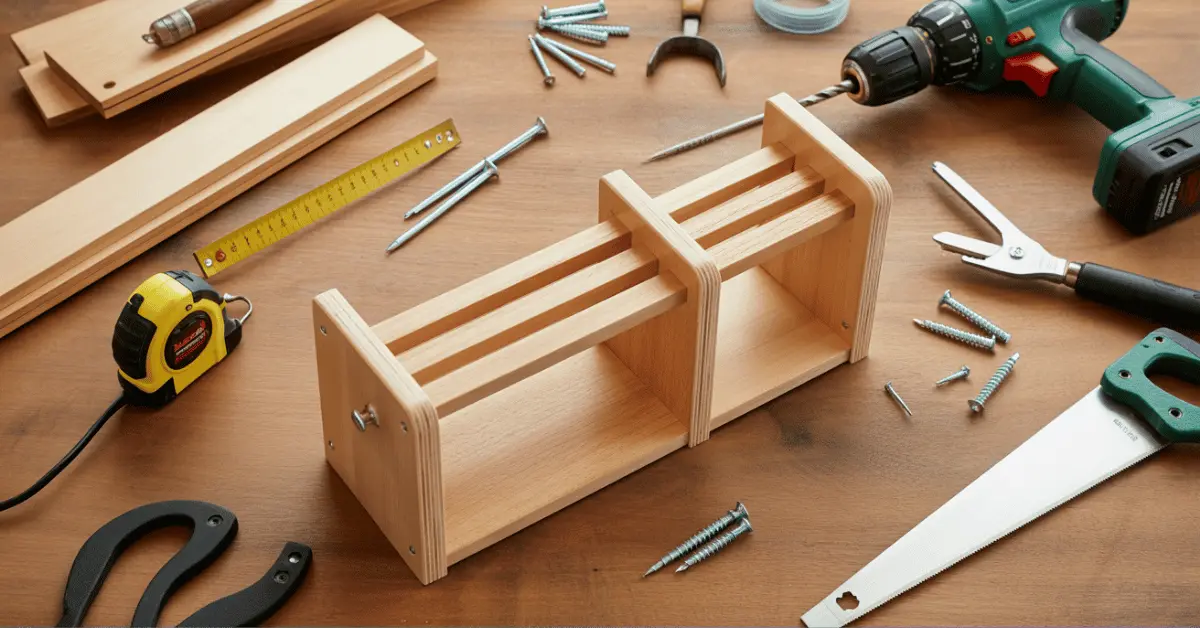
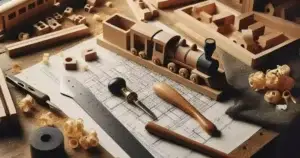
Essential Tools and Materials You’ll Need
Transforming raw wood into a functional kitchen accessory requires a specific set of tools and materials. You will achieve the best results when you prepare your workspace with everything on this list.
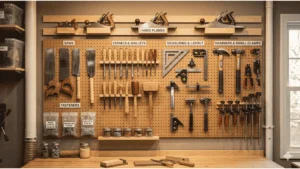
Basic Tools for This Project
You do not need a massive workshop to finish this build. A basic beginner woodworking tools set containing a drill, a saw, and some sandpaper will handle most of the work.
Having a reliable tape measure is also vital for accuracy. These simple items allow you to create a professional-looking rack without a huge investment.
Wood, Hardware, and Supplies
Choosing the right lumber makes the assembly much easier. Using pine boards for woodworking is a smart choice because they are affordable and easy to sand.
You will also need wood glue and small finish nails or screws. These supplies ensure your new spice rack stays sturdy for years of daily use.
Measurements and Cutting Plan for Your Spice Rack
Precise measurements separate beautiful custom racks from frustrating failures. Measuring twice and cutting once isn’t just a saying; it’s the difference between success and wasted materials.
Your specific dimensions depend on available wall space and how many spices you need to store. However, using professional plans eliminates the guesswork by providing exact cutting lists.
- Standard dimensions like 14″ x 32″ work for most kitchens, with shelves typically spaced 5 1/2″ apart.
- A floating shelf version uses 6 cm-wide by 60 cm-long strips for a sleek look.
- Drill holes 3/4″ from the edge and 1 1/4″ from the shelf location to ensure a perfect fit.
- Accurate measurements are critical for floating designs where tolerance is minimal and even slight errors prevent assembly.
Custom sizing ensures your rack fits perfectly in your exact space without awkward gaps. A proven cutting plan provides the hole spacing calculations so you never have to wonder if you are doing it right.
How to Build Wooden Spice Rack DIY: Step-by-Step Instructions
You have prepared your workspace, so let’s dive into the physical steps of transforming those wood boards into a functional kitchen masterpiece. Building your own storage solution is a rewarding project that improves your kitchen’s workflow while adding a custom touch to your home decor. By following these clear steps, you will create a professional-grade item that rivals expensive store-bought versions.
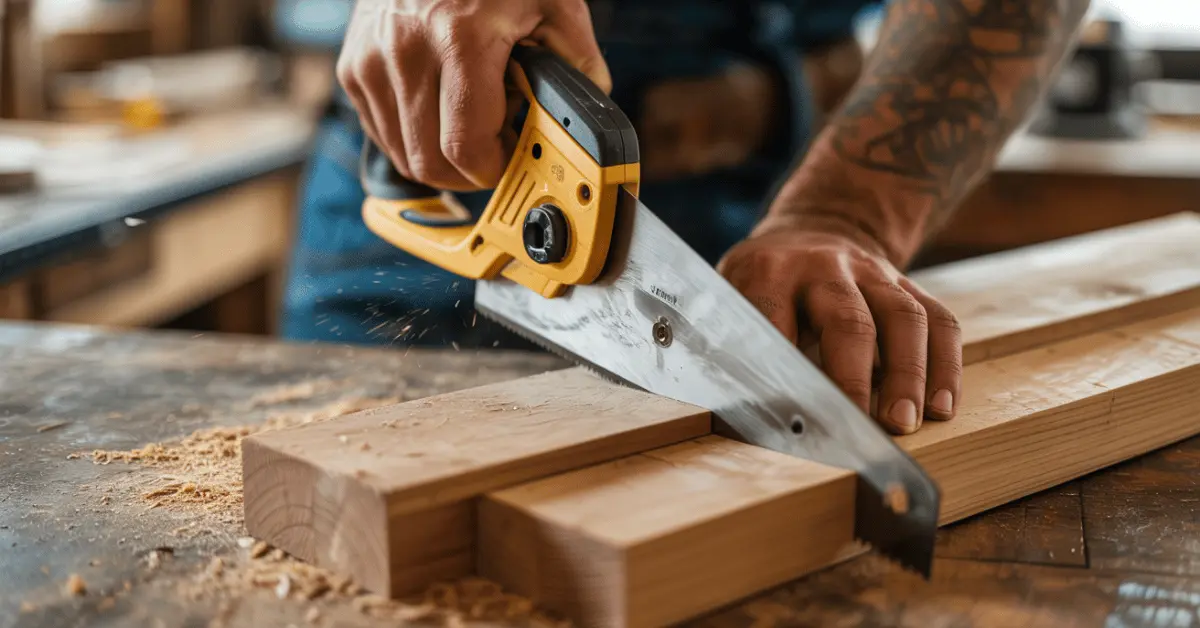
Step 1: Cut Your Wood to Size (Precise Measurements Matter)
Precision is the foundation of any successful woodworking project. You should measure your boards twice and mark them with a sharp pencil before making a single cut with your saw. Use a mitre saw to achieve clean, square ends on your side rails and shelves to ensure the rack fits together perfectly without gaps.
Step 2: Mark and Drill Holes for Spice Bottles
Standard spice jars usually require specific spacing to look organised and remain accessible. You must mark the centre points for each bottle location on your shelves before you begin drilling. Use a spade bit or a hole saw to create uniform recesses, which will prevent your jars from sliding around when you open or close nearby cabinet doors.
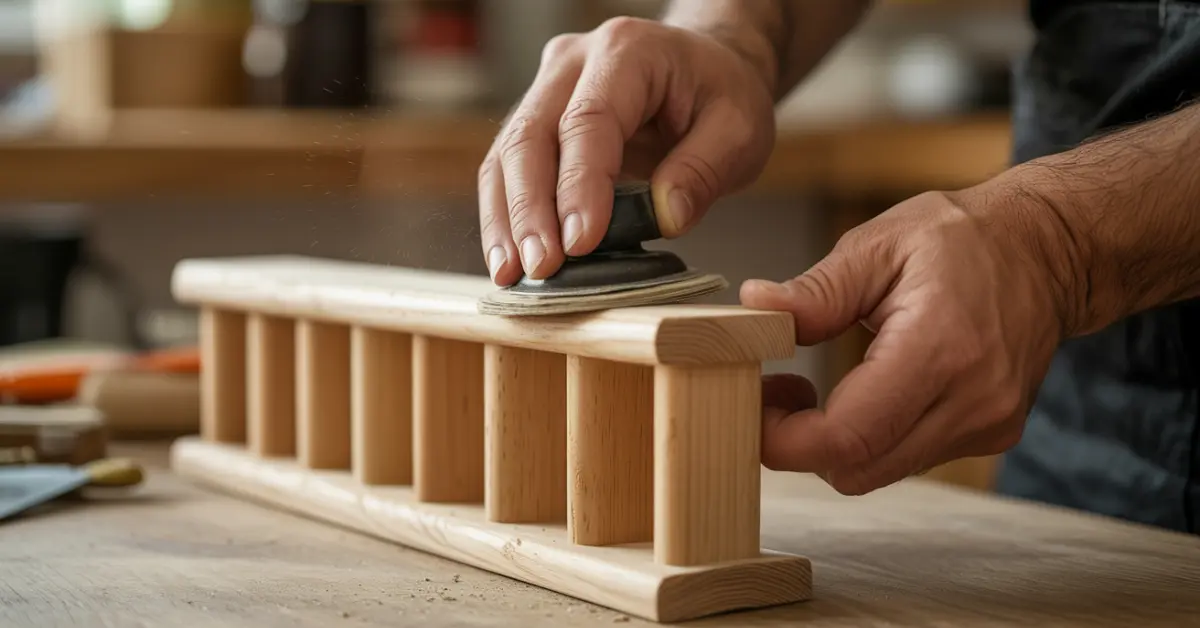
Step 3: Sand All Surfaces Smooth
Sanding is the secret to a high-end finish that feels great to the touch. You should start with 80-grit sandpaper to remove rough marks and work your way up to a fine 220-grit paper. Smoothing the wood now ensures that your stain or paint will adhere evenly and look flawless under your kitchen lights.
Step 4: Assemble the Frame with Wood Glue and Screws
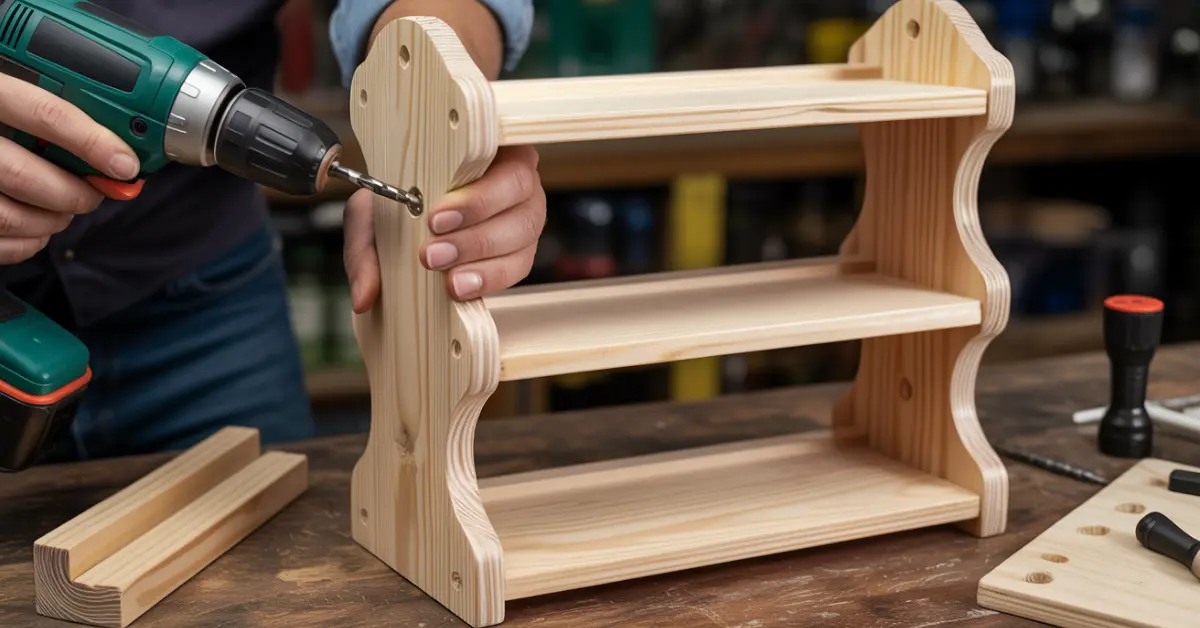
Apply a thin layer of wood glue to all joining surfaces to create a chemical bond that is stronger than the wood itself. You should then drive your screws into the pre-drilled pilot holes to pull the pieces together tightly. This double-fastening method ensures your rack remains sturdy even when it is fully loaded with heavy glass jars.
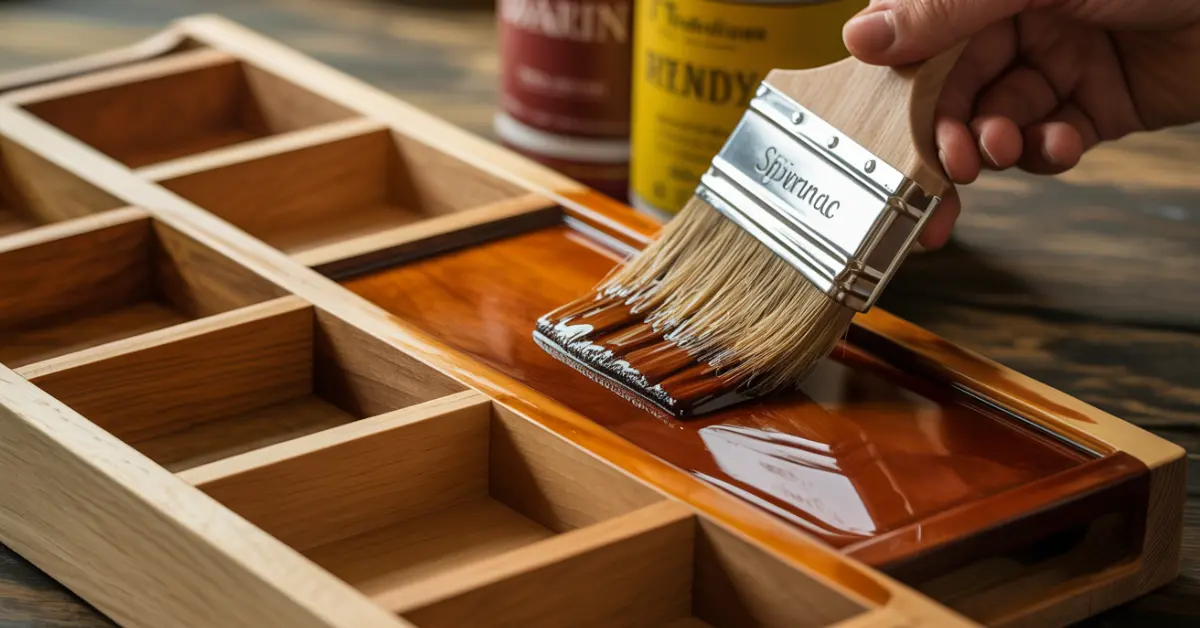
Step 5: Apply Stain or Paint and Finishing Coat
Select a finish that complements your existing cabinetry or choose a bold colour for a modern look. You must apply at least two coats of paint or stain, followed by a clear polyurethane topcoat for protection. This protective layer repels grease and moisture, making it much easier to wipe down your shelves during deep cleaning sessions.
Step 6: Mount Your Spice Rack Securely to the Wall
Proper installation ensures the shelf stays secure for years. You can use D-ring hangers on the back of the shelf for a traditional look, or dowel screws for a floating appearance. If you choose the floating method, pop wall plugs into the wall and screw the dowel screws into them before slotting the shelf on for a very tight fit.
| Mounting Method | Hardware Needed | Best Wall Type |
|---|---|---|
| Standard Hanging | D-Ring Hangers | Studs or Drywall |
| Floating Look | Dowel Screws & Plugs | Solid Masonry or Studs |
| Heavy Duty | Drywall Anchors | Hollow Drywall |
For maximum safety, you should always try to locate wall studs with a stud finder. If studs are not available where you need them, use high-quality drywall anchors rated for at least 50 to 100 pounds. Even though D-rings claim high capacities, adding extra screws through the bottom shelf provides essential security for your heavy glass containers.
- Use a laser level or a spirit level to ensure a perfectly straight installation, as even a slight tilt will look unprofessional.
- Mount your rack at a comfortable height, typically between 36 and 48 inches from the floor, so you can reach every bottle without straining.
- Apply Gorilla glue to the mounting holes if a floating shelf fit isn’t tight enough to prevent any wobbling.
- Always perform a firm tug test before you place your jars to verify that the mounting hardware is rock-solid.
- Mark your screw locations carefully on the wall using a template to avoid drilling unnecessary holes in your drywall.
“A well-mounted shelf is the difference between a functional kitchen and a dangerous hazard; never compromise on hardware quality.”
Home Improvement Journal
Safety Tips Every Beginner Must Follow
Taking the time for proper safety practices doesn’t slow you down; it prevents project-ending injuries. These essential habits ensure your diy experience remains productive and stress-free. Following safety protocols prevents accidents that might otherwise discourage you from starting your next woodworking project.
“Safety is not a gadget but a state of mind that protects your passion for building.”
Safety glasses are not optional during any stage of construction. Flying wood chips from drilling and fine sawdust from sanding can cause permanent eye damage in an instant. Always wear high-quality eye protection every single time you operate a tool or handle raw materials.
Dust masks or respirators protect your lungs from fine particles and finish fumes. These hazards cause immediate discomfort and long-term respiratory problems that you cannot reverse later. Always work in well-ventilated spaces when applying stains or paints to avoid dangerous chemical exposure.
Power tools require your complete attention to ensure a successful project outcome. Distractions while using drills or routers lead to mistakes that range from ruined wood to emergency room visits. Drill carefully to ensure straight holes and maintain a firm grip on your equipment at all times.
Secure all loose clothing and tie back long hair before you start your workshop session. Remove jewellery because entanglement in spinning bits or blades causes devastating injuries in split seconds. A safe approach makes your woodworking journey rewarding rather than a regrettable disaster.
| Safety Category | Protective Gear | Required Action |
|---|---|---|
| Vision Protection | Safety Glasses | Wear during all drilling and sanding |
| Respiratory Health | Dust Mask | Use when cutting or applying finishes |
| Skin & Body | Snug Clothing | Remove jewelry and tie back long hair |
| Air Quality | Open Ventilation | Work outdoors or near open windows |
Common Mistakes That Ruin DIY Spice Racks (And How to Avoid Them)
Avoiding common pitfalls is the secret to turning your woodworking vision into a professional reality. You might feel tempted to rush, but small errors often lead to big frustrations. Understanding these risks helps you achieve a polished look.
Why Most DIY Projects Fail Without Proper Plans and Measurements
The number one reason a diy project fails is starting without a roadmap. Eyeballing your dimensions leads to misaligned holes and wobbly frames. You might end up wasting expensive wood because your bottles won’t fit the finished rack.
Inaccurate hole spacing is a frequent disaster for any spice rack build. If the holes are too loose, jars fall through; if they are too tight, you cannot use them at all. Skipping the planning phase means you only find these errors after it is too late to fix them.
Professional plans provide exact cutting lists and step-by-step instructions. They eliminate the guesswork that causes most beginners to quit in frustration. By following a proven blueprint, you ensure every measurement is completely accurate and every step is simple to follow.
Investing in high-quality guidance saves more money than it costs. You will avoid the material waste that happens when you experiment blindly. Secure a successful project today by using a guide that guarantees a beautiful, functional spice rack for your kitchen.
Conclusion: Build Your Perfect Spice Rack This Weekend
Take the first step today to organise your kitchen spices with this rewarding diy instruction. Stop digging through a messy cabinet and create a professional finish on your own wooden rack. Use a sharp drill bit to create perfect holes for your favourite spice jars.
Apply glue to every edge and smooth the top surface for a clean look. Using quality affiliate woodworking plans ensures your spice rack holds sixteen or more spices. These affiliate guides help you make holes without splitting the wood during assembly.
Organise all your spices this weekend. You will feel genuine pride in your handiwork with these spices. Start your spice project today to save time and money every time you cook in your beautiful new space.
🚀 🔥 Stop Guessing… Start Building Like a Pro!

You don’t need to struggle with confusing plans, wrong measurements, or wasted wood anymore.
👉 Get instant access to 16,000+ step-by-step woodworking plans that are already built, tested, and proven to work
✅ Why This Is a Game-Changer:
- ✔️ 16,000+ detailed plans – build anything you want
- ✔️ Step-by-step instructions – no confusion, even for beginners
- ✔️ Exact measurements & cut lists – no more costly mistakes
- ✔️ Built & tested in real workshops – not just theory
- ✔️ Works with basic tools & small spaces
- ✔️ Lifetime access + new plans every month (FREE)
- ✔️ Save money by building instead of buying expensive furniture
⚡ Limited-Time Opportunity
👉 Stop wasting weekends searching for plans…
👉 Start building projects you’re proud of
🔽 Click Here to Get Instant Access Now
Build your wooden projects faster, easier, and smarter today!
FAQ
What is the best method for joining the timber?
Use strong Titebond wood glue and metal screws for a durable bond. Applying glue along each edge ensures the boards remain stable. This essential step prevents your jars from falling while you cook.
Which bit works for making circular openings?
An Irwin Forstner bit is perfect for creating holes for your glass containers. Using a DeWalt drill with this tool keeps the surface clean. A good organisation needs clean drilling holes for its spices.
Will this project fit inside a kitchen cabinet?
You can easily adjust the plans for any small space. Measure the interior height before you build the frame. Good organisation saves time and keeps your kitchen cabinet counter clear.
What is required for a professional finish?
Sanding the wood with 3M sandpaper creates a smooth texture before you apply Minwax paint. A quality finish protects the wooden boards from high heat. This ensures your spice rack looks great for years.
Where can I find affiliate tool recommendations?
Expert diy guides show how elite results are achieved and provide affiliate links for the best gear. These resources help you find the right top-tier tools quickly. Following expert plans makes the assembly process much faster.
