Did you know a well-maintained DIY wooden windmill can last up to 50% longer?
Harsh weather can harm your wooden windmill’s durability and performance. It’s key to weatherproof it to protect your investment and keep it working well.
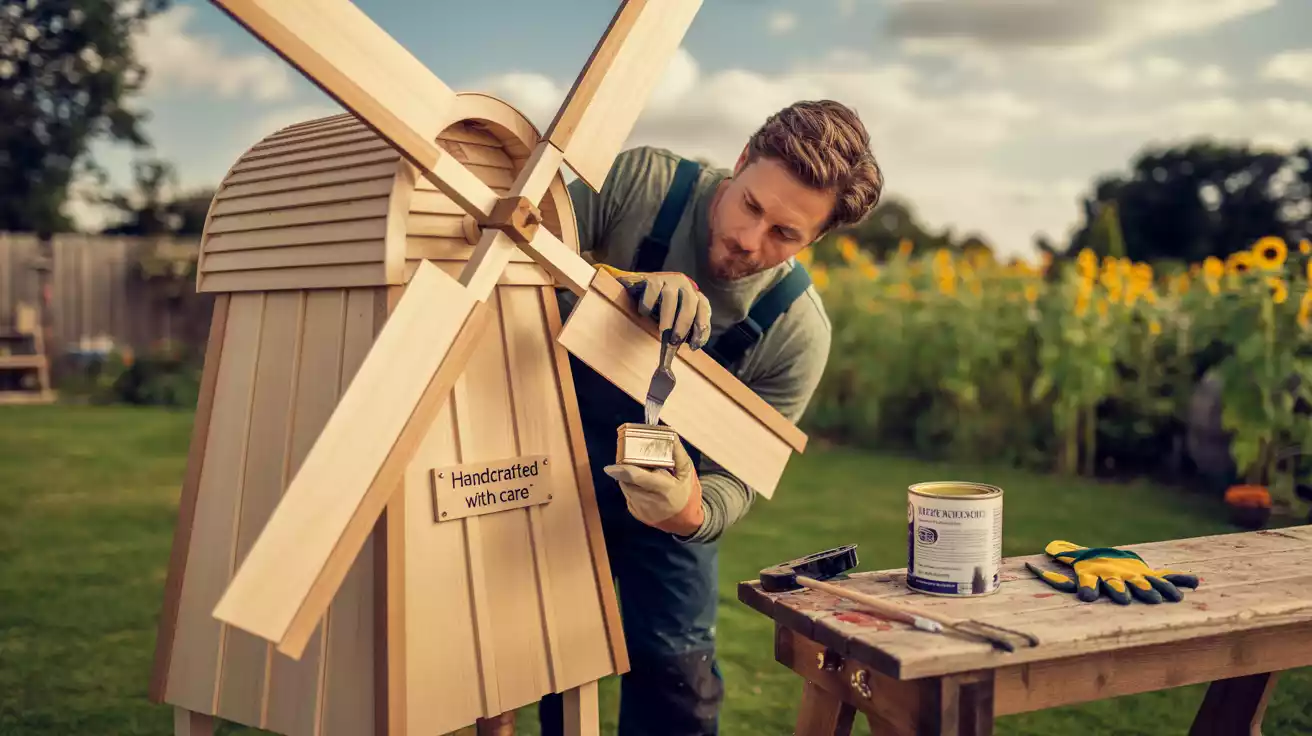
Weatherproofing your wooden windmill makes it stronger against rot, decay, and damage from insects and UV rays. This guide will show you the materials and techniques to weatherproof your DIY project effectively.
Key Takeaways
- Understand the importance of weatherproofing for your DIY wooden windmill.
- Learn about the materials needed for weatherproofing.
- Discover effective techniques for protecting your windmill.
- Enhance the durability and performance of your windmill.
- Increase the lifespan of your DIY wooden windmill.
Understanding DIY Wooden Windmills and Weather Challenges
Before starting your DIY wooden windmill project, it’s key to know the different types and weather challenges they face. A good understanding will help you build a strong and useful windmill.
Types of Wooden Windmills for DIY Projects
There are many types of wooden windmills for DIY projects. You can choose from horizontal-axis wind turbines and vertical-axis wind turbines. Horizontal-axis wind turbines have big, rotating blades. Vertical-axis wind turbines are smaller and better for areas with changing winds.
Common Weather Threats to Wooden Structures
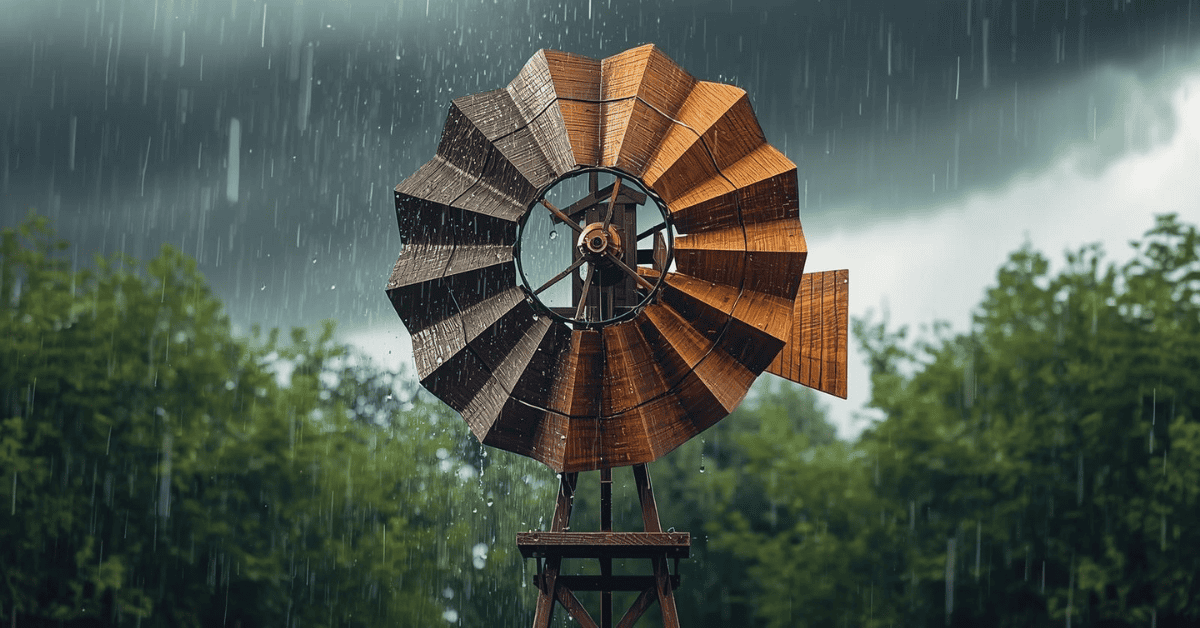
Wooden windmills face many weather challenges, like rain, snow, and extreme temperatures. Rain and snow can cause wood to rot, while extreme temperatures can make it warp or crack. Knowing these threats helps you take steps to prevent damage.
Benefits of a Properly Weatherproofed Windmill
A well-weatherproofed windmill can withstand harsh weather, lasting longer and working better. Weatherproofing makes the windmill more durable, cutting down on repairs and upkeep. By following a step-by-step windmill construction guide and adding weatherproofing, your DIY wooden windmill will be functional and last a long time.
Planning Your Weatherproof DIY Wooden Windmill Project
To make your wooden windmill last, you need to plan well. A good outdoor windmill project is durable and works well.
Assessing Your Local Climate Conditions
First, know your local weather. Think about wind speed, rain, and extreme weather. This helps pick the right windmill for you.
Determining Size and Placement Considerations
Size and where you put your windmill matter a lot. Make sure it’s not blocked by trees or buildings. Also, pick a size that fits the space and what you want to achieve.
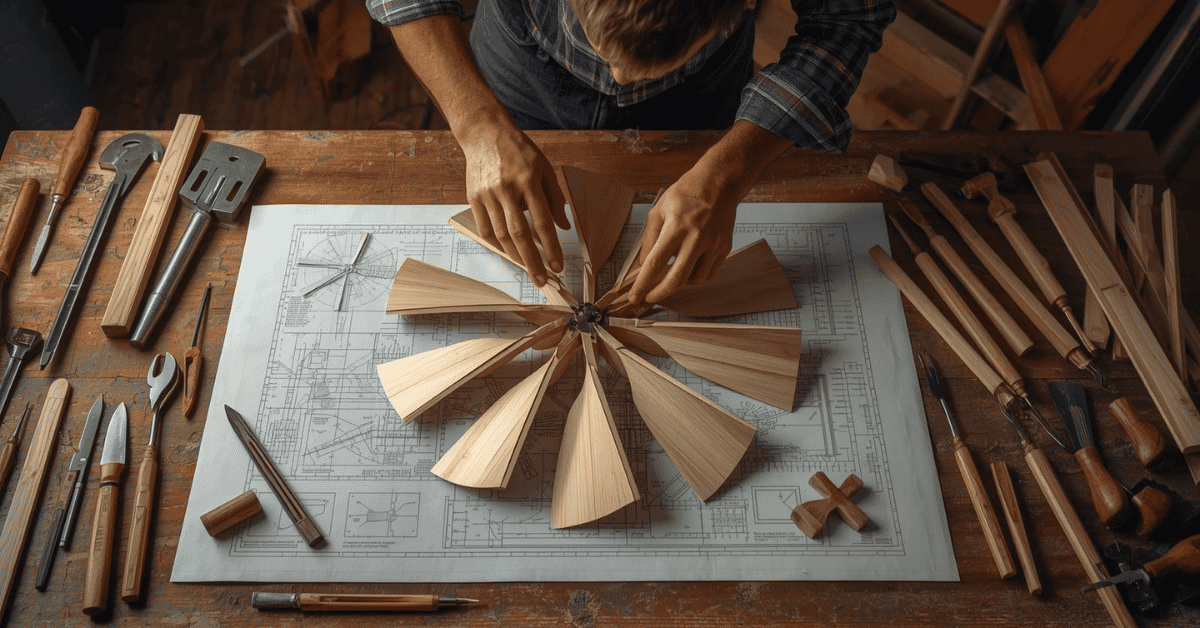
Creating a Weather-Resistant Design Blueprint
Make a detailed design plan. Choose the best materials and design it to resist weather. Make sure all parts are strong and go together well.
Safety Considerations for Construction and Operation
Always think about safety when building and using your windmill. It should handle different weather and not harm people or things nearby.
Plan your DIY wooden windmill carefully. This way, you’ll have a strong and useful outdoor windmill project for many years.
Essential Tools and Materials for a Weather-Resistant Windmill
To build a weather-resistant windmill, you need the right tools and materials. A good DIY wooden windmill starts with the right tools and materials. This ensures your project can withstand different weather conditions and last a long time.
Required Woodworking Tools
You’ll need some basic woodworking tools to start. You’ll need a table saw for cutting, a drill press for precise drilling, sandpaper for smoothing, and clamps for assembly. Investing in quality tools will help your project run smoothly and make your windmill more efficient.
Weather-Resistant Wood Selection Guide
Choosing the right wood is key to your windmill’s durability. Look for woods like cedar or redwood that resist rot and insects. When selecting lumber, think about the size and amount you need for your project. You’ll need 2.8m of 150 x 20mm PAR board and 1m of 100 x 20mm PAR board, as your plans show.
Hardware and Fasteners for Durability
The hardware and fasteners you pick are important for your windmill’s durability. Choose galvanized or stainless steel fasteners to avoid rust. Make sure all metal parts match your wood to avoid chemical problems.
Weatherproofing Materials Checklist
To keep your windmill safe from the weather, you’ll need some special materials. You’ll need waterproof adhesives, sealants, and finishes. Always check the product specs to make sure they’re good for outdoor use and work with your wood.
Selecting the Best Weather-Resistant Woods
Choosing the right wood is key to a durable DIY wooden windmill. The wood you pick affects how it handles rain, sun, and extreme temperatures.
Cedar, Redwood, and Other Naturally Resistant Options
Cedar and redwood are great for outdoor projects because they resist rot and insects. Cedar has oils that keep insects away and fight moisture, perfect for a windmill’s outside parts.
- Cedar: Known for its aromatic properties and natural resistance to rot and insects.
- Redwood: Durable and resistant to decay, often used for outdoor constructions.
- Cypress: Another wood type that is naturally resistant to moisture and insects.
Pressure-Treated Lumber Considerations
Pressure-treated lumber is also good for a weatherproof DIY wooden windmill. It’s treated with chemicals to fight rot, decay, and insects. But think about the environmental and health effects of these chemicals.
Composite Materials as Alternatives
Composite materials, made from wood fibres and plastic, are durable and easy to care for. They resist rot, insects, and weather, great for outdoors.
Cost vs. Durability Analysis
When picking weather-resistant woods, think about cost and durability. Naturally resistant woods and composites cost more upfront. But, they save money in the long run by needing fewer repairs or replacements.
Comprehensive Weatherproof DIY Wooden Windmill Guide
Building a weatherproof DIY wooden windmill requires careful planning. You need to focus on the foundation, tower, blades, and tail vane. This ensures your windmill can handle different weather.
Foundation and Base Weatherproofing Techniques
A strong foundation is key to your windmill’s stability and life span. To protect the base, use pressure-treated lumber. Also, apply a waterproof sealant around it.
- Choose durable materials for the base that can handle moisture and extreme temperatures.
- Make sure there’s proper drainage around the foundation to avoid water buildup.
Tower Construction for Weather Stability
The tower’s build is vital for the windmill’s stability. Use weather-resistant woods like cedar or redwood for the tower.
- Design the tower with a strong base that can handle high winds.
- Use the right hardware and fasteners to hold the tower’s parts together.
Blade Design for Wind and Weather Resistance
The blades’ design and build are key to the windmill’s performance and durability. Choose durable, weather-resistant materials for the blades.
- Design the blade shape for the best wind capture.
- Apply a protective coating to the blades to fight off weather damage.
Tail Vane Weather Considerations
The tail vane is crucial for pointing the windmill towards the wind. It must be made to withstand different weather.
- Choose lightweight yet strong materials for the tail vane.
- Make sure the tail vane is well attached to the windmill.
By following these steps, you can make a weatherproof DIY wooden windmill. It will be both useful and long-lasting.
Step-by-Step Construction Process
To make a weather-resistant windmill, you must follow a detailed process. This includes several key stages. These stages are important for your DIY wooden windmill’s durability and efficiency.
Building a Solid Weather-Resistant Foundation
The foundation is the base of your windmill, providing stability and support. To build a weather-resistant foundation, choose the right materials and follow a precise method. Use pressure-treated wood or naturally rot-resistant wood to withstand moisture and rot.
The foundation should be deep enough to anchor the windmill securely. A general rule of thumb is to bury the foundation at least 3 feet underground to ensure stability.
Constructing the Main Tower Structure
The main tower structure is critical for the overall stability and height of your windmill. Use durable wood and precise joinery to construct the tower. The tower’s design should be sturdy enough to withstand various weather conditions, including strong winds.
When constructing the tower, consider using an octagonal shape for better stability and aesthetics. Ensure that the tower is well-supported and securely attached to the foundation.
Creating and Attaching Durable Blades
The blades are a crucial component of your windmill, responsible for capturing wind energy. Choose the right material and design for your blades to ensure they are durable and efficient.
When creating the blades, consider the size, shape, and angle. A well-designed blade will maximise energy capture while minimising wear and tear.
Installing the Rotation Mechanism
The rotation mechanism allows your windmill to adjust to changing wind directions. This involves installing bearings and a tail vane.
Ensuring Proper Balance and Movement
Proper balance is essential for the smooth operation of your windmill. Ensure that the blades are evenly balanced and that the rotation mechanism is smooth and free from obstruction.
Weather-Resistant Bearing Selection
The bearings used in your windmill’s rotation mechanism should be weather-resistant to withstand exposure to the elements. Select bearings that are designed for outdoor use and can resist corrosion.
| Bearing Type | Weather Resistance | Cost |
|---|---|---|
| Stainless Steel | High | Moderate |
| Bronze | High | High |
| Standard Steel | Low | Low |
By following these steps and selecting the right materials, you can build a weatherproof DIY wooden windmill. It will withstand various weather conditions and provide efficient service.
Essential Weatherproofing Techniques for Wood
To keep your wooden windmill safe from the weather, you need to know how to weatherproof it. It’s not just about painting it. You must follow a durable windmill construction guide to make it last long.
Sealing and Waterproofing Methods
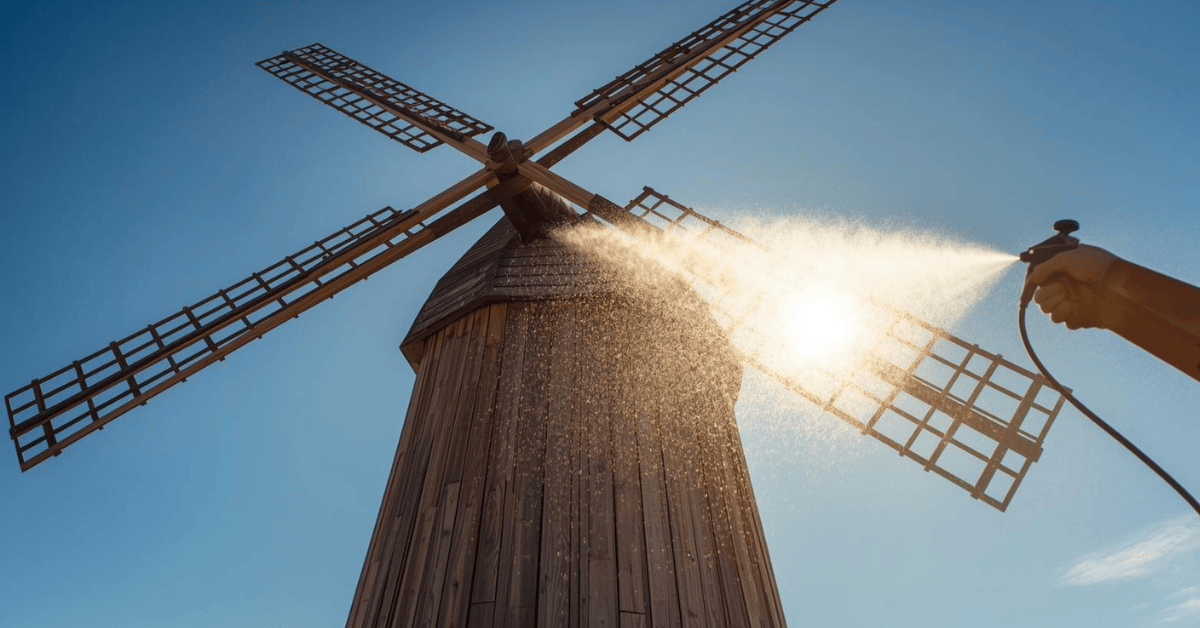
Sealing and waterproofing are key to protecting your windmill from moisture. You can use silicone sealants, waterproof adhesives, or wood sealers. For example, yacht varnish adds extra protection against bad weather.
- Apply sealants around joints and edges.
- Use waterproof adhesives for assembly.
- Seal cut ends of wood to prevent moisture ingress.
Applying Weather-Resistant Finishes
Choosing the right finish can make your windmill last longer. You can use oil-based paints, water-repellent stains, or clear varnishes. Think about the wood type and local weather when picking a finish.
For example, cedar and redwood look great with a clear finish that protects them.
Edge and Joint Protection Strategies
Edges and joints are easy targets for weather damage. Make sure to seal them well and use strong joints. Durable hardware also helps keep your windmill strong.
“Properly sealing the edges and joints of your wooden windmill can significantly extend its lifespan.”
UV Protection for Extended Lifespan
UV light can harm wood, causing it to fade and weaken. Use a UV-resistant finish or wood treated with UV protectants to prevent this.
By using these weatherproofing methods in your wooden wind turbine plans, your DIY windmill will stay strong and work well for many years.
Testing and Reinforcing Your Windmill’s Weather Resistance
To keep your wooden windmill working well, you need to test and strengthen it. A good guide for making a weatherproof DIY wooden windmill stresses the need to handle different weather conditions.
Conducting Water and Wind Resistance Tests
Start by testing how well your windmill stands up to water and wind. Use a fan or blower to mimic wind, and a hose or spray bottle for water. Watch how it does in these tests to find spots that need more support.
Identifying and Addressing Weak Points
Look closely at any weak spots, like joints, edges, or where the blades meet. Seal any gaps or cracks with materials that won’t let water in to avoid damage.
Reinforcement Strategies for High-Wind Areas
If you live where the winds are strong, add extra support to your windmill. Use sturdier materials for the blades and tower. This will keep your windmill steady and safe in bad weather.
Creating Drainage and Ventilation Points
To make your windmill even more weather-resistant, add drainage and ventilation. This helps keep water away and stops rot or damage. Good drainage and air flow are key to your DIY wooden windmill’s health.
Maintenance and Protection Schedule for Long-Term Durability
To keep your DIY wooden windmill in top shape, regular checks and protective steps are key. A good maintenance plan helps your windmill last longer and work better.
Seasonal Inspection Checklist
It’s important to check your windmill often to catch problems early. Your checklist should cover blade wear, lubricate the moving parts, and check the base for damage or erosion.
- Check blades for damage or wear
- Lubricate the rotation mechanism
- Inspect the foundation for damage
Applying Protective Coatings and Treatments
Protective coatings and treatments are crucial for your windmill’s durability. Reapply a waterproof sealant every year or more often if your area’s weather is harsh.
Addressing Minor Damage Before It Worsens
Don’t ignore small damages, as they can grow into big problems. Keep an eye out for any damage and fix it right away to stop it from getting worse.
Winter Preparation Techniques
Get your windmill ready for winter by securing loose parts, making sure drainage works, and applying a protective coat. A well-prepared windmill can handle snow, ice, and strong winds better.
| Season | Maintenance Task |
|---|---|
| Spring | Inspect for winter damage, clean debris |
| Summer | Check for wear, apply protective coatings |
| Autumn | Prepare for winter, secure loose parts |
| Winter | Monitor for ice and snow damage |
⭐ Ready to Build a Weatherproof Wooden Windmill That Lasts for YEARS?

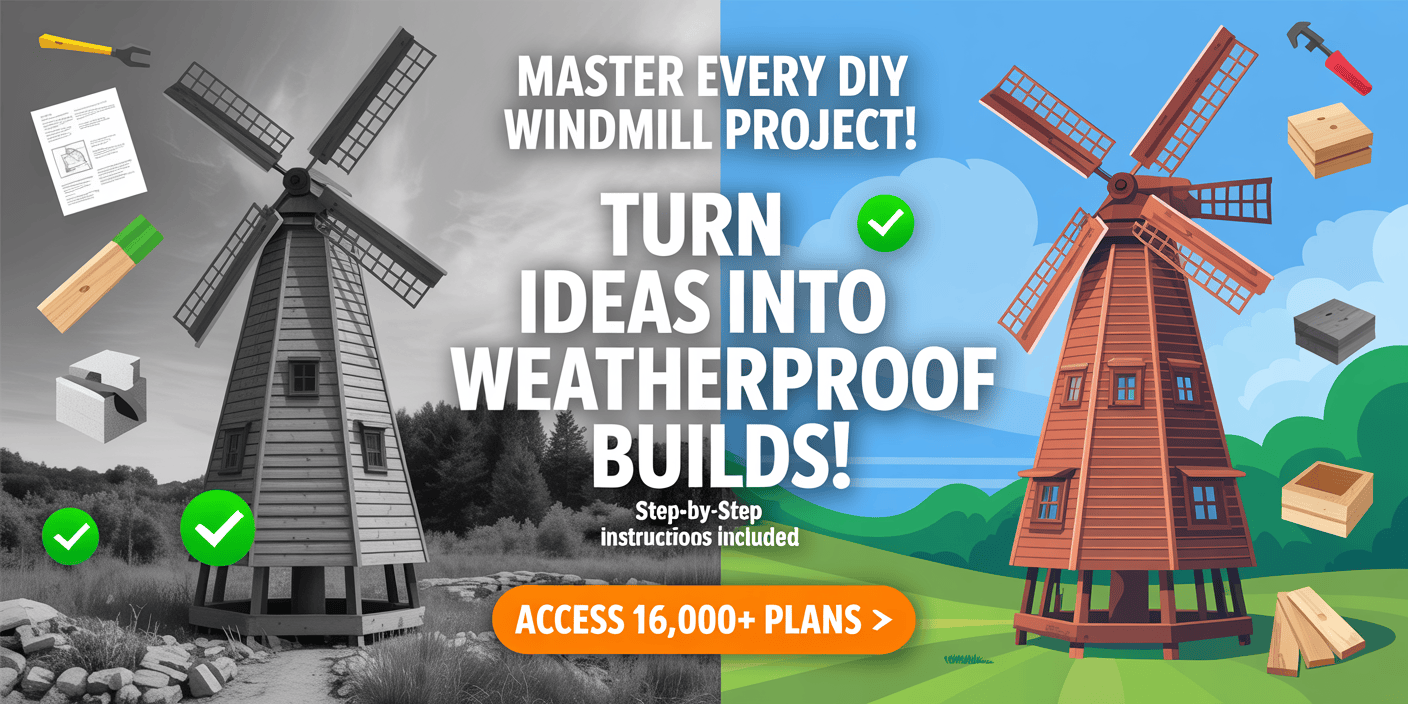
Stop guessing. Build confidently with pro-level woodworking plans trusted by over 54,000 woodworkers. Whether you’re crafting a garden windmill or upgrading your DIY skills, Teds Woodworking gives you everything you need to build it right the first time.
🔥 Why DIY Builders Love Teds Woodworking
- 16,000+ done-for-you woodworking plans with step-by-step instructions
- Exact cutting & materials lists — no more costly mistakes
- Beginner-friendly designs that require no expensive tools
- Detailed schematics & multiple-angle views for zero guesswork
- Free lifetime monthly plans + custom plan requests
- 150+ woodworking training videos to sharpen your skills
👉 Transform Your DIY Wooden Windmill Project Today!
Click below to unlock 16,000+ easy, accurate, and weatherproof-ready woodworking plans — perfect for your next outdoor project.
✅ Start Building with Confidence → Get Teds Woodworking Now
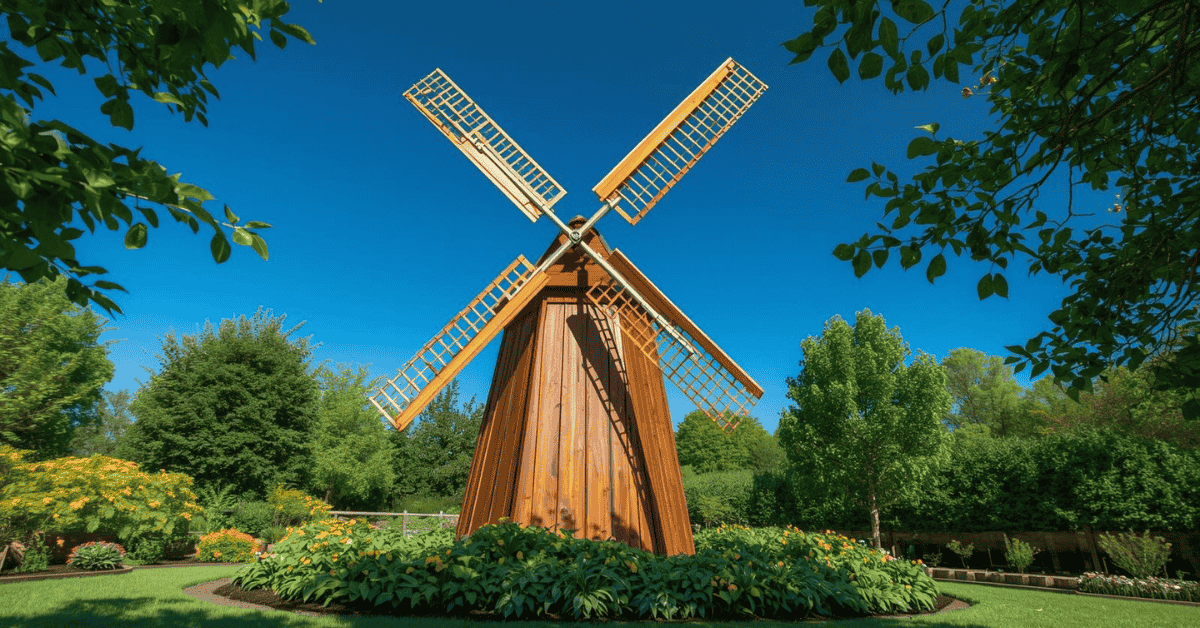
Conclusion: Enjoying Your Durable DIY Wooden Windmill
Now that you’ve finished your weatherproof DIY wooden windmill, you can enjoy it. You followed the guide’s weather-resistant windmill instructions. This means you built a strong and beautiful garden feature that can handle different weather.
Building your own windmill taught you a lot. You learned about choosing the right materials and designing a structure that can resist the weather. You also applied protective coatings to make it last longer. Your DIY wooden windmill is not just useful but also adds beauty to your outdoor area.
With some care and checks, your windmill will keep working well. It will bring peace to your garden for many years. Be proud of your work and enjoy the feeling of having made a weatherproof DIY wooden windmill that can stand up to the weather.
FAQ
What type of wood is best suited for a weatherproof DIY wooden windmill?
Western red cedar, redwood, and cypress are great choices. They resist rot, decay, and insects well.
How do I protect my wooden windmill from harsh weather conditions?
Use a weather-resistant finish and seal all edges and joints. Also, ensure good drainage and ventilation to avoid water damage.
What are the essential tools required for building a weather-resistant windmill?
You’ll need a table saw, drill press, sandpaper, and weather-resistant wood glue. Don’t forget fasteners and hardware made for outdoor use.
Can I use pressure-treated lumber for my DIY wooden windmill?
Yes, but follow the manufacturer’s guidelines carefully. Also, take safety precautions when handling treated wood.
How often should I inspect and maintain my weatherproof DIY wooden windmill?
Check it seasonally. Apply protective coatings and fix minor damage as needed to keep it durable.
What are some common weather-related challenges faced by wooden windmills?
High winds, rain, snow, and UV can cause damage. This leads to rot, decay, and wood degradation over time.
Can I build a weatherproof DIY wooden windmill in areas with extreme weather conditions?
Yes, but design it for your local climate. Use materials and techniques that can handle your area’s weather challenges.
How do I ensure the foundation of my windmill is weather-resistant?
Use durable materials and design the base to withstand wind and water. A waterproof coating can also protect the foundation from moisture.
What are the benefits of using composite materials for my DIY wooden windmill?
Composite materials are durable, low-maintenance, and resistant to rot, decay, and insects. They’re a good alternative to traditional wood.
How can I test my windmill’s weather resistance?
Test it with water and wind resistance tests. This will help you find and fix weak points to ensure it can handle different weather conditions.


Pingback: The Complete Guide to Building a DIY Wooden Windmill for Your Garden