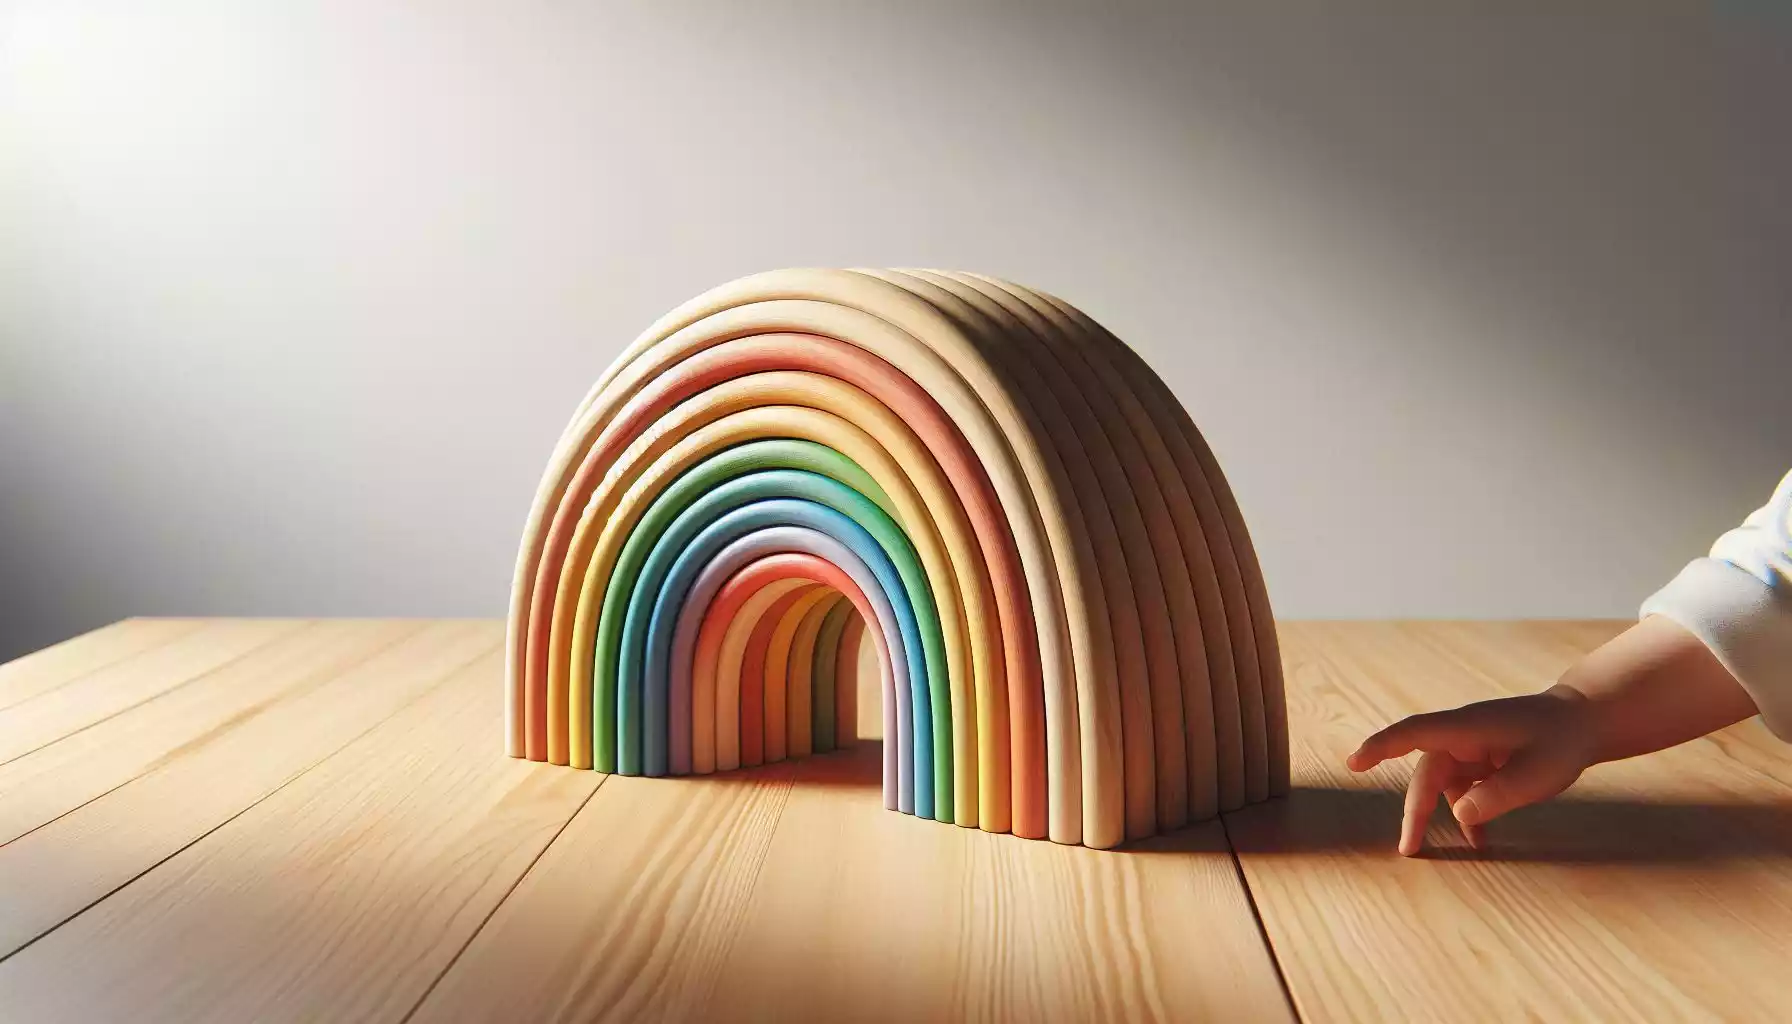
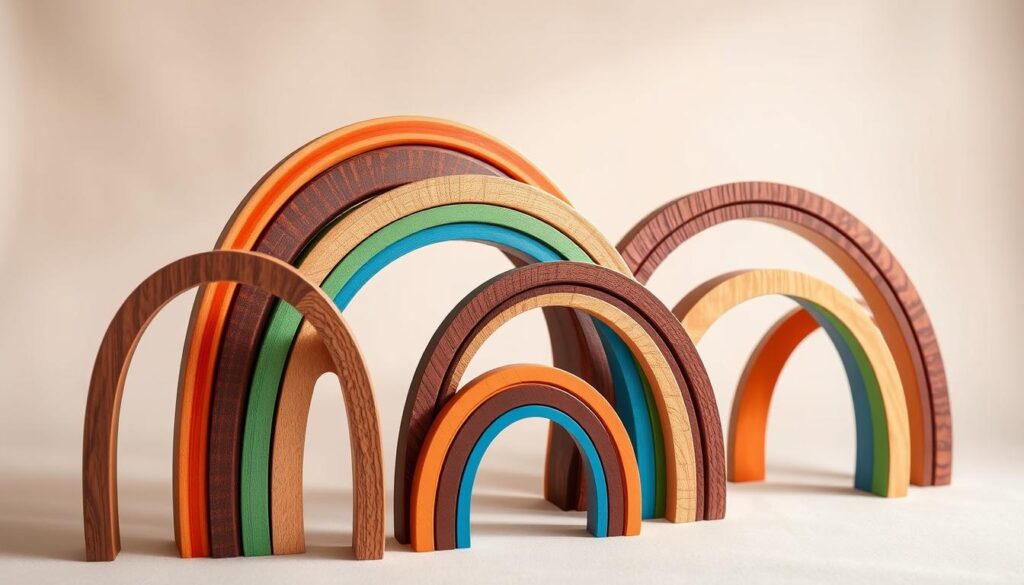
Did you know the original Grimm’s Rainbow toy can be pricey? But you can still make a beautiful wooden rainbow stacker at home. This DIY project boosts motor skills and encourages creative play.
This DIY project is inspired by the Grimm’s Rainbow, offering a budget-friendly option. By making your own, you can tailor it to your child’s tastes and values.
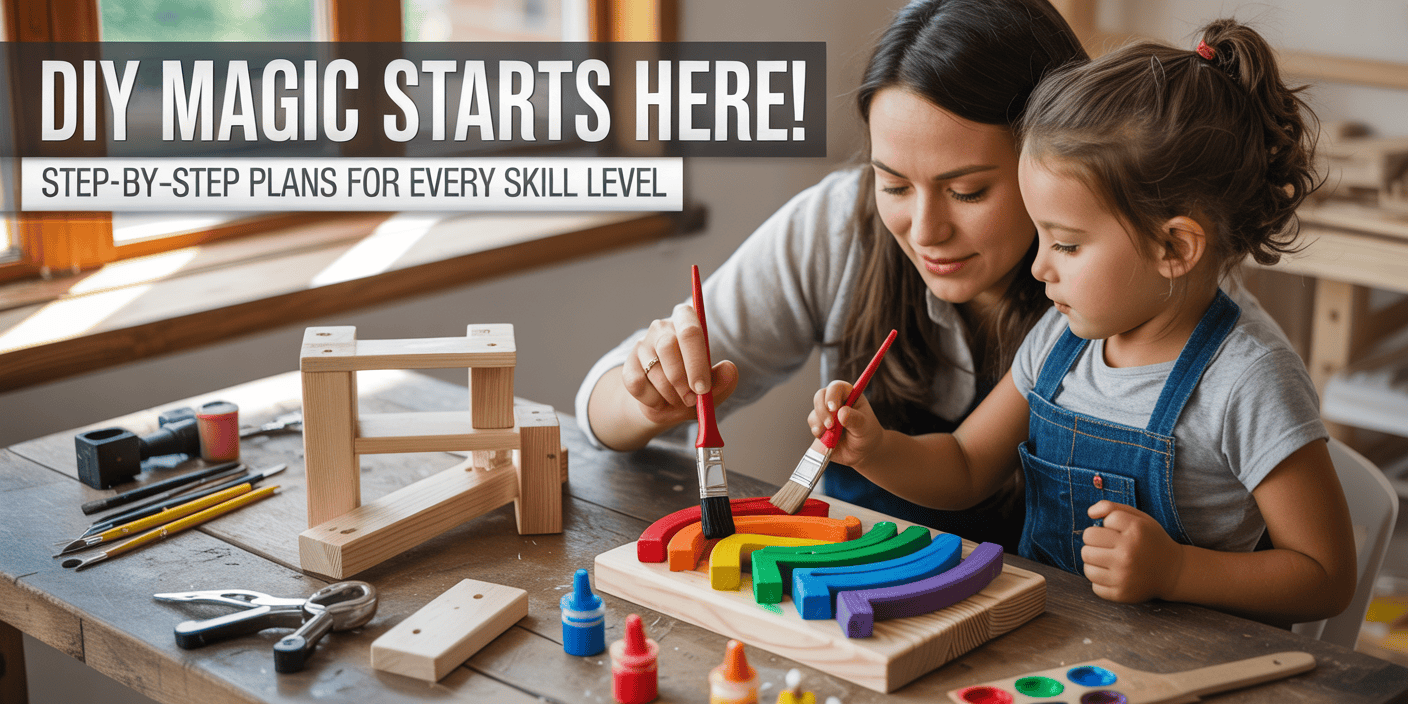
In this guide, you’ll learn what tools and materials you need. We’ll show you how to cut, sand, and finish the blocks. It’s a fun DIY project that’s rewarding to complete.
Key Takeaways
- Create a beautiful, customizable wooden rainbow stacker for your child’s playroom
- Enhance your child’s motor skills and provide endless creative play opportunities
- Explore a cost-effective alternative to expensive store-bought rainbow stackers
- Discover the essential tools and materials needed for this DIY project
- Dive into the step-by-step process of crafting your own wooden rainbow stacker
Understanding the Magic of Wooden Rainbow Stackers
Wooden rainbow stackers have won the hearts of kids all over the world. These toys are not just fun to look at. They also help kids grow and learn.
Origins and Educational Benefits
These toys come from the Waldorf education, which uses natural materials to help kids learn and explore. They help kids with their fine motor skills, color recognition, and even imagination.
Why Make Your Own Instead of Buying
Making your wooden rainbow stackers can be fun and save money. You can make them fit your child’s interests. Plus, making them yourself can teach your child about hard work and creativity.
| Features | Grimms Medium Rainbow |
|---|---|
| Material | Lime wood, non-toxic water-based stain |
| Recommended Age | 1 year and above |
| Dimensions | 17cm length |
| Pricing | Almost a third of the cost of the larger version |
| Versatility | Wooden toy shops, Waldorf and Montessori stores, and online retailers |
| Cleaning | Damp cloth and soapy water, avoid disinfectants and heat |
| Availability | Grimm’s Medium Rainbow |
Learning about wooden rainbow stackers can help parents and teachers. It shows how these toys can spark a love for learning and nature.
“Wooden rainbow stackers are not just toys; they are tools that spark creativity, nurture development, and cultivate a deep appreciation for the natural world.”
Essential Materials and Tools Needed
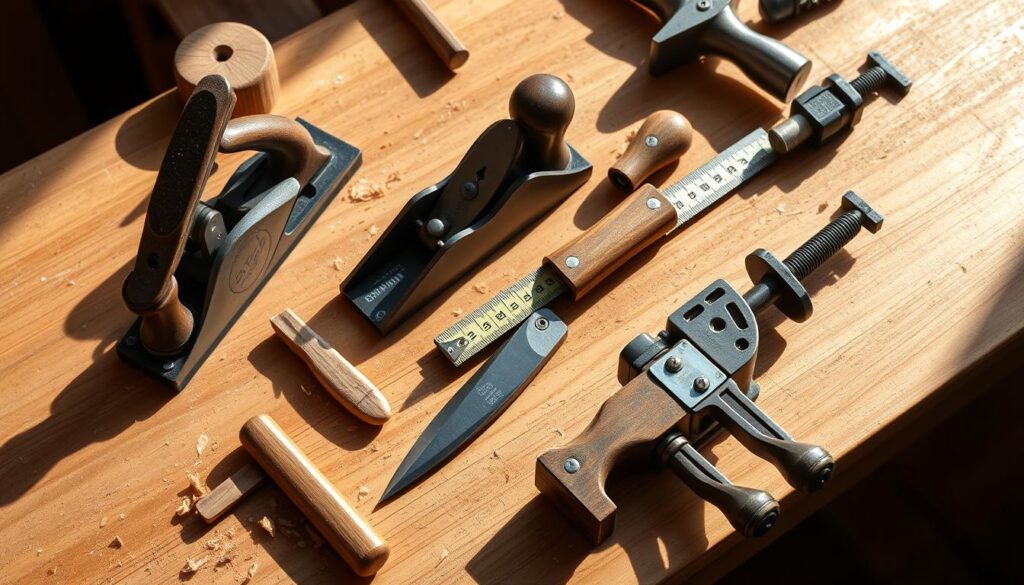
Making your wooden rainbow stacker for DIY projects is fun and rewarding. You’ll need a few key materials and tools to start. First, get a high-quality pine board, 5/4 x 6 inches. This strong wood will be the base for your colourful rainbow arches.
You’ll also need wood glue to hold your project together. A random orbital sander and an oscillating belt sander are crucial for smoothing and shaping the wood. And, a scroll saw is essential for cutting the curved rainbow pieces accurately.
To finish it off, use spray paint or liquid watercolours to make your stacker pop. These craft supplies let you pick the colors, making each piece special. Make sure to pick safe, non-toxic materials for your kids’ safety.
With the right woodworking tools and materials, you’re ready to make a stunning wooden rainbow stacker. It will be both beautiful and educational, exciting young minds everywhere.
Selecting the Right Wood for Your Stacker
Choosing the right wood is key to making a beautiful and lasting wooden rainbow stacker. The best pine boards are affordable and easy to work with, perfect for DIY projects.
Best Types of Pine Board
Pine boards have unique grain patterns and natural beauty, making them great for your project. Choose untreated, child-safe pine boards without harmful chemicals or additives.
Wood Safety Considerations
When picking wood for a DIY project, especially for kids, safety comes first. Choose hardwoods like basswood, limewood, or rubberwood for their durability and safety. Make sure the wood is certified by the Forest Stewardship Council (FSC) for sustainable and safe practices.
Thickness and Dimensions Guide
For your wooden rainbow stacker, use a 5/4 x 6 pine board, 15 inches long. This size is stable and easy for kids to handle. The wood’s thickness affects the project’s weight and durability, so choose carefully for a safe play experience.
| Brand | Pieces | Arch Thickness | Nest/Stack | Texture |
|---|---|---|---|---|
| Grimms | 12, 10, 6 | Varying | Yes | Smooth |
| Myers Natural | 12, 6 | Consistent | Yes | Slightly Textured |
| Ocamora | 6, 9, 12 | Consistent | Yes | Smooth |
By picking the right wood, focusing on safety, and using the right dimensions, you can make a beautiful and durable wooden rainbow stacker. It will offer endless hours of fun and learning for your child.
Preparation and Safety Measures
Making a wooden rainbow stacker for your child needs careful planning and safety focus. This DIY project requires protective steps for a smooth and safe experience.
Start by wearing the right safety gear. Use strong safety goggles to protect your eyes from wood chips or dust. Also, wear a dust mask to keep your lungs safe from wood dust. Make sure your workspace has good air flow, especially when painting or staining.
It’s important to keep small parts and tools out of children’s reach. Always think about their safety while working. Set up a safe area for your project and keep it clean and tidy.
By focusing on safety and following good practices, you’ll have a fun DIY time. You’ll also make a special wooden rainbow stacker that your child will adore.
“Woodworking is an art form that requires patience, precision, and a keen eye for safety. By embracing these principles, you’ll not only craft a beautiful wooden rainbow stacker but also safeguard the wellbeing of your little one.”
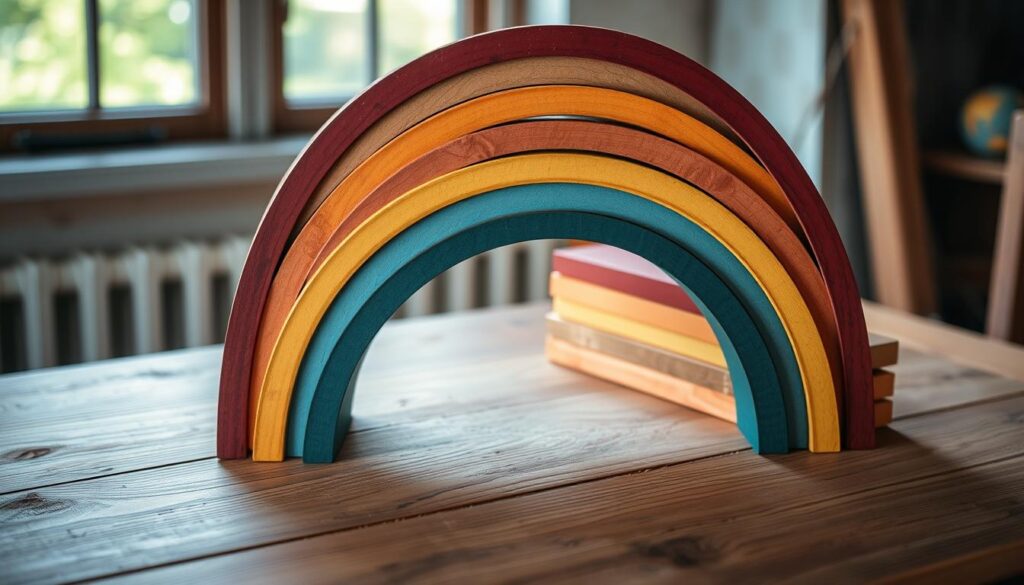
Creating Your Template for the Perfect Rainbow Arches
Making the perfect wooden rainbow stacker starts with a custom template. To get your rainbow arches just right, follow a few important steps.
Measuring and Drawing Guidelines
First, get a strong paint stick or a long, thin piece of wood. Space holes evenly along it, using a ruler or template for accuracy. These holes will help you trace the arches on your wood.
Then, measure the size of the original Grimm’s Rainbow. It’s about 13.5 inches for the outer edge. Use this to size your template for a perfect fit.
Template Printing and Assembly Tips
For a more precise template, print one out. Many DIY sites have printable rainbow arch designs. Stick the template to your wood with spray adhesive or double-sided tape for accurate tracing.
Now, your template is ready. You’re closer to making beautiful, personalised rainbow arches for your stacker. Enjoy the process and let your creativity flow!
Wooden Rainbow Stacker DIY Step-by-Step Process
Making a wooden rainbow stacker is a fun DIY project. It can spark creativity and keep kids busy for hours. First, you need to get the right materials and tools. You’ll need 5 pieces of wood in different lengths, from 1 1/4″ to 2 1/4″. You’ll also need a scroll saw or a mitre saw to cut the rainbow shapes.
- Start by cutting 4 lengths of 15-inch pine boards.
- Glue the long sides of the boards together to make two rectangles. Sand them until they’re smooth.
- Trace the rainbow pattern on the rectangles and cut the arched shapes with a scroll saw.
- Glue the matching pieces together and clamp them until the glue dries.
- After the glue dries, sand the edges and surfaces for a smooth finish.
With patience and care, you’ll make a beautiful wooden rainbow stacker. Let it dry overnight before removing the clamps and rubber bands. It will be a durable toy that can last for many years.
This DIY project lets you customise colours and shapes. By combining woodworking skills with creativity, you can make a unique rainbow stacker. It will be a special part of any child’s playtime.
| Material | Quantity | Dimensions |
|---|---|---|
| Pine Board | 4 | 15 inches |
| Balsa Wood | 1 | 1/16 x 3 x 36 inches |
| Apple Barrel Acrylic Paint Set | 1 | 5 colors |
| Wooden Pieces | 5 | 2 1/4″, 2″, 1 3/4″, 1 1/2″, 1 1/4″ |
Whether you’re experienced or new to woodworking, this project is great. It’s a way to be creative and give a timeless toy to children. With simple steps and the right tools, you can make something beautiful and fun.
Cutting and Shaping the Rainbow Pieces
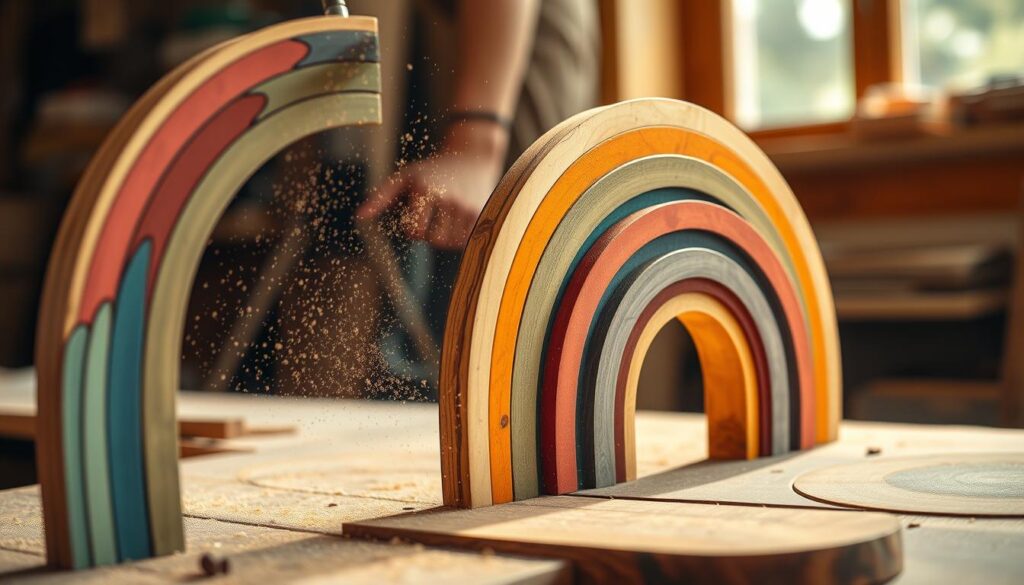
To make the stunning rainbow arches for your DIY wooden stacker, you need to cut and shape them carefully. The scroll saw is the best tool for this job. It lets you make detailed curved cuts with great control and precision.
Scroll Saw Techniques
When using the scroll saw, take your time and keep your cuts straight. Remember, both sides of the cut will show in the final piece. So, it’s important to keep your hand steady and cut at a consistent speed.
For thicker wood, you might need to cut more slowly to get clean, smooth edges. Do this for both boards to get the right thickness for each rainbow arch.
Precision Tips for Curved Cuts
Getting precise curved cuts is key to making the perfect rainbow shape. Hold the scroll saw firmly, apply gentle pressure, and move slowly along the curve. Being patient and careful will help you get even, beautiful, rainbow pieces.
By learning scroll saw techniques and precision cutting, you’ll make a beautiful wooden rainbow stacker. The effort you put into this step will make your final product amazing.
Sanding and Smoothing Techniques
To get a perfect finish on your wooden rainbow stacker DIY, you need to sand and smooth it properly. Begin by using an oscillating belt sander to line up the pieces. This makes sure each arch fits well with the others. Sand both sides of each bow, starting with medium grit and moving to fine for a smooth finish.
Then, use a chamfer technique to soften the wood edges. Adjust the sanding table angle to make a safe finish without sharp corners or splinters. Finish by hand-sanding each piece with 220-grit sandpaper. This carefully removes any last imperfections.
The care in sanding and smoothing makes your wooden rainbow stacker look great and safe for kids. With a smooth finish, your DIY project is ready for the next steps. You can leave it natural, stain it with bright colors, or paint it with safe paints.
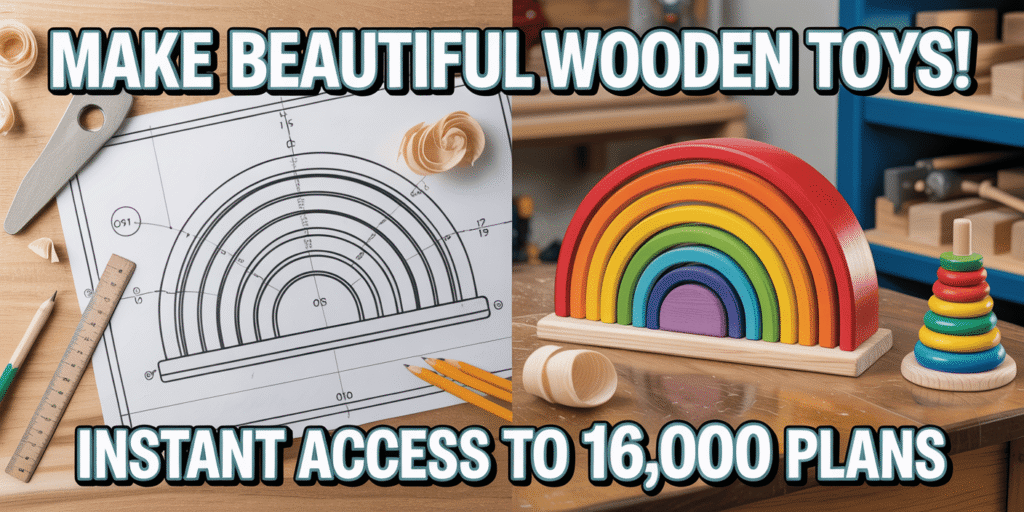
🔥 Ready to Build More Space-Saving, Stylish Creations?
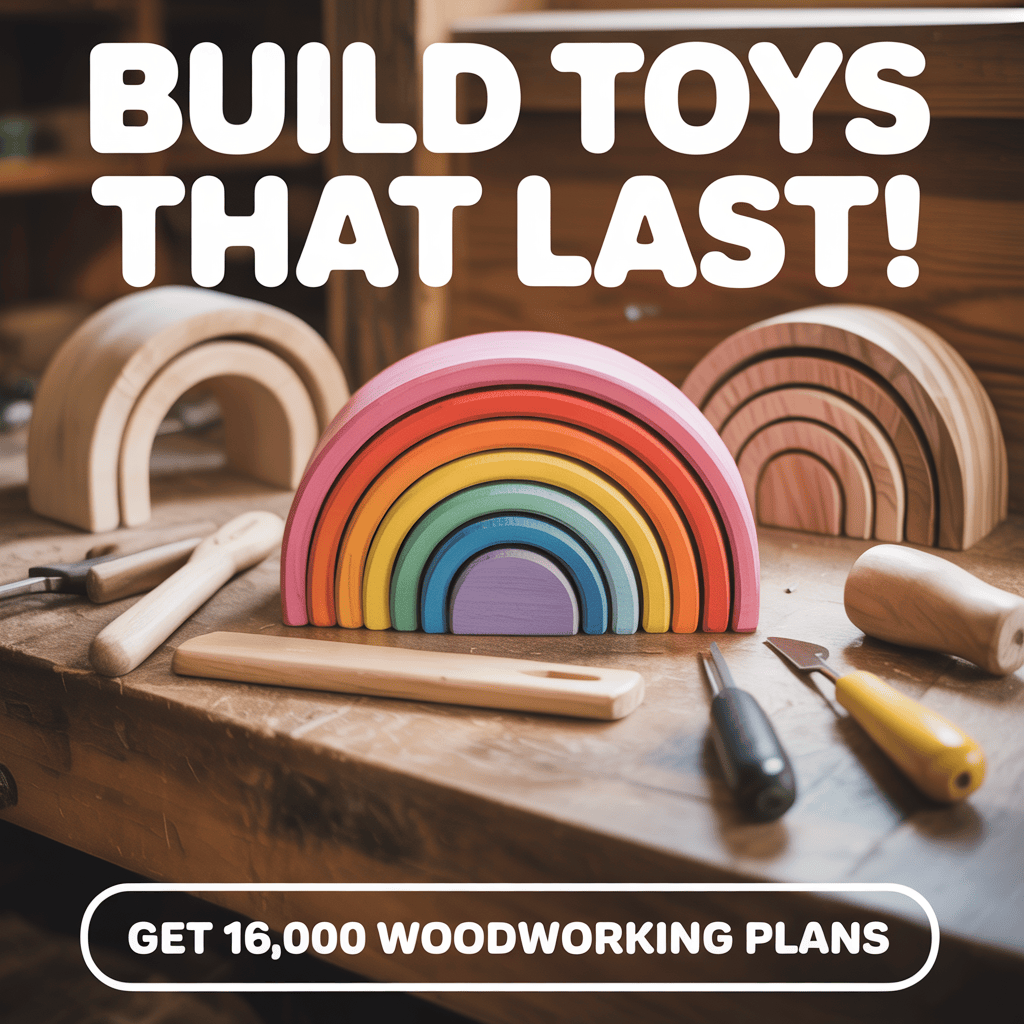
Unlock 16,000+ woodworking plans—perfect for compact living, creative DIY builds, and minimalist furniture lovers!
✅ Why Ted’s Woodworking is a Must-Have:
- 📚 Thousands of beginner-friendly projects—even if you’ve never held a saw!
- 🪵 Includes clever bookshelf, toy, and compact furniture designs ideal for tight spaces
- 📏 Detailed cutting lists, blueprints & step-by-step tutorials—no guesswork, no waste
- 🧰 Build with basic tools in a small workshop or apartment corner
- 🌈 Perfect for parents, crafters & makers looking to create beauty with function
👉 Grab Ted’s Woodworking for Just $67 (One-Time Only!) and start crafting your dream projects today!
FAQ
What is a wooden rainbow stacker?
A wooden rainbow stacker is a handmade toy inspired by Grimm’s Rainbow toys. It’s a set of colorful wooden arches. It helps improve motor skills and offers endless play for kids.
What are the benefits of wooden toys for child development?
Wooden toys like the rainbow stacker boost motor skills, color recognition, and spatial awareness. They fit with Waldorf education and are eco-friendly, unlike plastic toys.
Why should I make my wooden rainbow stacker instead of buying one?
Making your own offers customisation, savings, and a fun DIY project. You control the materials and quality, unlike store-bought ones.
What materials and tools do I need to make a wooden rainbow stacker?
You’ll need a pine board, wood glue, and various sanders. You can also use liquid watercolours or tie-dye kits. Make sure all materials are safe for kids.
What type of wood is best for a wooden rainbow stacker?
Pine board is a good choice for its affordability and ease of use. It should be untreated and free from harmful chemicals. Use 15″ lengths of 5/4 x 6 pine board for stability and safety.
How do I ensure safety during the construction process?
Wear goggles and dust masks for safety. Ensure good ventilation when painting or staining. Keep small parts and tools out of children’s reach.
How do I create the template for the rainbow arches?
Use a paint stick or a printable template. The template should match the Grimm’s Rainbow size. Attach it to the wood for accurate tracing.
What are the steps for cutting and shaping the rainbow arches?
Cut 4 lengths of 15″ from the pine board. Glue the sides together to form rectangles. Sand and trace the rainbow pattern. Cut the arches with a scroll saw, glueing and clamping for alignment. Sand the edges for a smooth finish.
How do I sand and smooth the wooden rainbow stacker?
Use an oscillating belt sander for perfect alignment. Sand both sides of each bow. Chamfer the edges for a kid-friendly finish. Hand-sand with 220 grit for the final touch before painting.
