Did you know the original Adirondack chair was made over 100 years ago, in 1903, by Thomas Lee? This classic outdoor seat has been loved for over a century. Now, you can make your foldable version. It’s perfect for saving space on your patio, deck, or lawn.
With simple plans and a design that works for many, you’re on your way. You’ll build a stylish and useful Adirondack chair. Plus, it folds up for easy storage when not in use.
Key Takeaways:
- Discover the history and origins of the classic Adirondack chair design.
- Learn the benefits of a foldable Adirondack chair for your outdoor living space.
- Understand the essential tools and materials required to build your DIY version.
- Follow step-by-step instructions for constructing the chair, from preparing the lumber to adding the folding mechanism.
- Explore design customisation options to personalise your Adirondack chair.
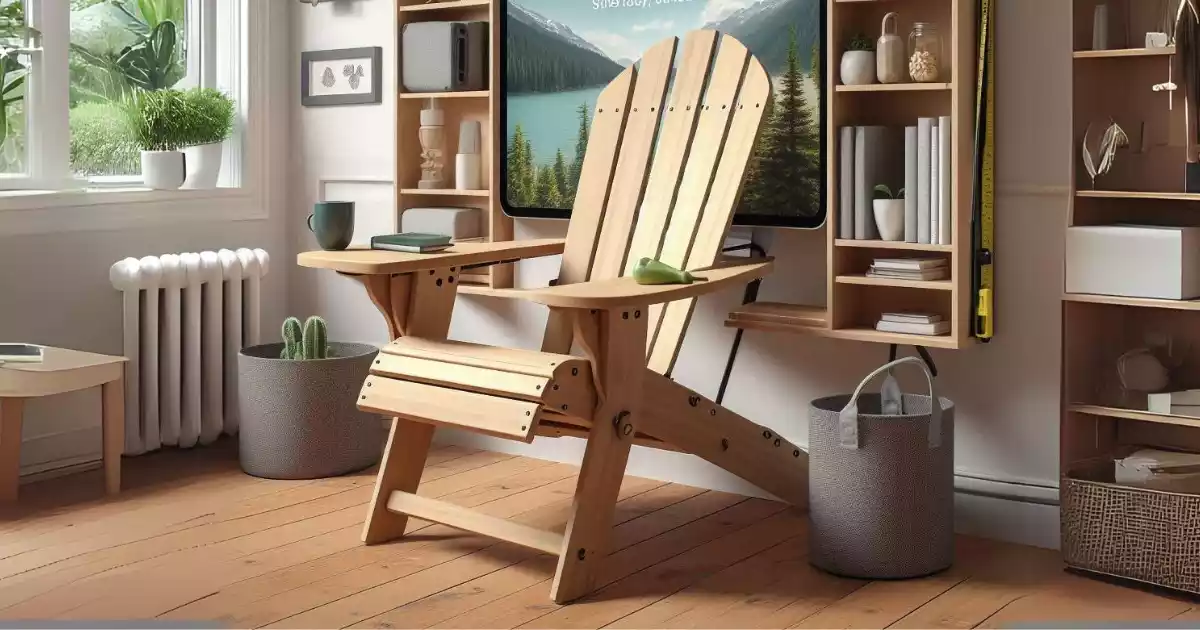
What is a Foldable Adirondack Chair?
The Adirondack chair is a classic outdoor seating style, created in 1903 by Thomas Lee in Westport, New York. These chairs are known for their wide arms and slatted backs, designed for comfort. The foldable Adirondack chair is a modern twist, folding flat for easy storage and portability. They’re perfect for small spaces, easy rearranging, and seasonal use, as they can be tucked away when not needed.
Origins and History of Adirondack Chairs
The Adirondack chair has a long history, starting in the early 20th century. It was first made in the Adirondack Mountains of New York. These chairs were made for a comfy outdoor seating experience. The design has changed over time, but it still keeps its classic look.

Benefits of Foldable Adirondack Chairs
Foldable Adirondack chairs are great for outdoor living spaces. They save space and are easy to move around, perfect for small areas. You can fold them up for easy storage, keeping your outdoor area tidy. They’re also easy to take on trips or to the beach.
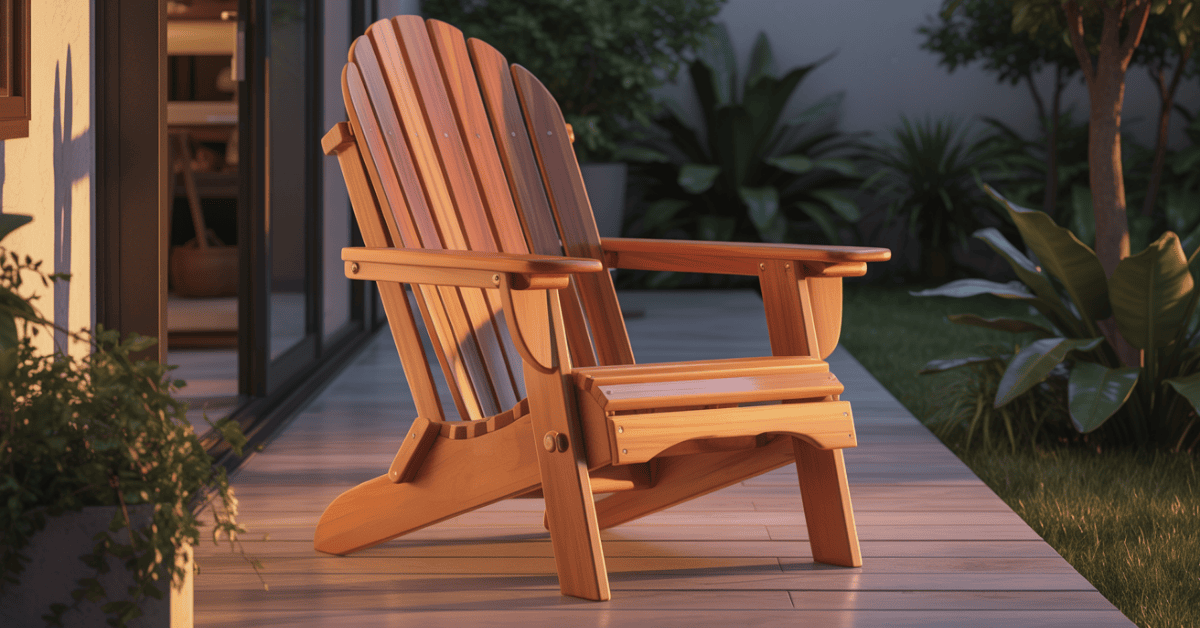
In summary, the foldable Adirondack chair is a mix of classic design and modern convenience. It’s ideal for creating a cosy spot on your patio or for small backyards. It’s both stylish and practical.
Required Tools and Materials
To make your own foldable Adirondack chair, you’ll need a few tools. You’ll need a mitre saw, drill/driver, and a circular saw. You might also use a Kreg Rip Cut and Kreg AccuCut cutting guides, a pocket hole jig, and a speed square.
For the materials, you’ll need 1x8x8, 1x6x8, and 1x4x8 boards. You’ll also need 1 1/4″ exterior pocket hole screws, 1 1/4″ exterior wood screws, and wood glue. Cedar, redwood, cypress, or white oak are good wood types for outdoor use.
The Adirondack chair building supplies you need can be found at most hardware stores or lumberyards. With the right tools and materials, you can make a beautiful and useful foldable Adirondack chair.
“The key to a successful DIY Adirondack chair project is having the right tools and materials on hand.”
With the right outdoor furniture, woodworking tools and Adirondack chair building supplies, you can confidently start this DIY patio chair project. You’ll create a comfy and stylish piece for your outdoor space.
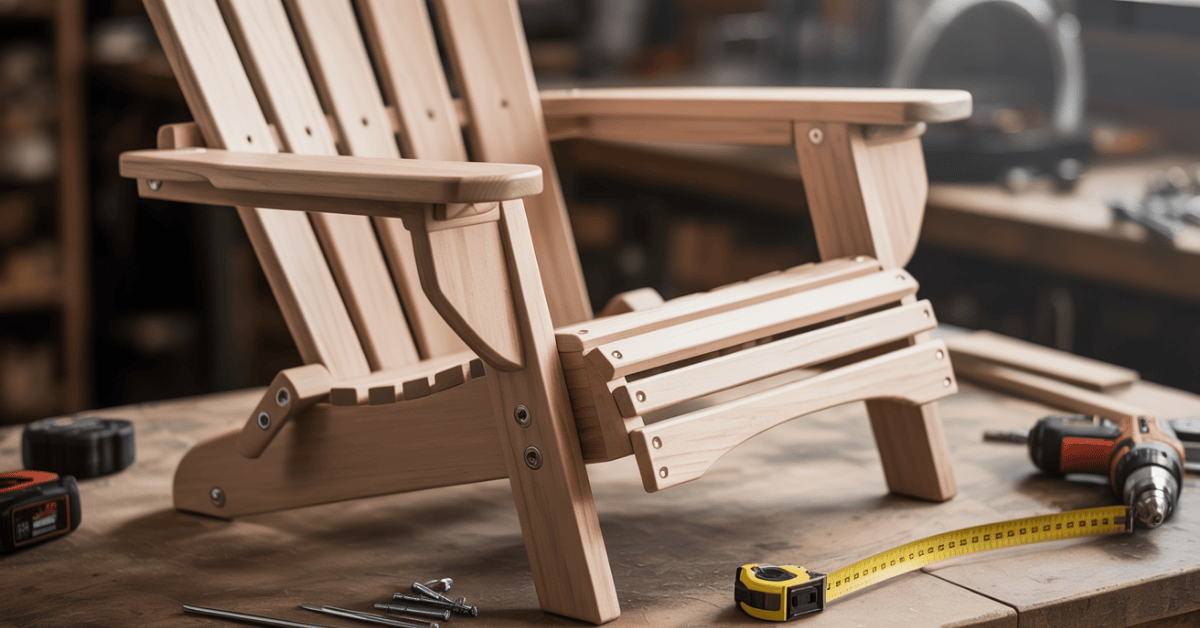
Step-by-Step Instructions
Making your own foldable Adirondack chair is a great DIY project. It’s both stylish and practical. First, cut the lumber to the right size with a mitre saw and circular saw. The chair uses clear-grade western red cedar, which fights off moisture, rot, and bugs.
Constructing the Seat Frame
Start by putting together the seat frame. Connect the front and back leg pieces, then add the seat supports. To make the seat, cut the back legs from 1-1/2″ stock. Use a grid to draw the legs with straight lines and a French curve.
Assembling the Back and Arms
Then, build a rectangular frame for the back and arms. Use wood glue and weather-resistant screws to attach it to the seat. Add the rear seat stretcher, backrest pivots, and backrest stops to the back legs. Use a table saw for these cuts.
To make the backrest foldable, create long supports with slots at a router table. Drill holes for attaching the arms later.
Finish the chair by attaching slats, supports, and hardware. You’ll need various tools like a circular saw, jigsaw, belt sander, and drill.
By following these steps, you can make a beautiful and useful foldable Adirondack chair. Sand the pieces to 220 grit before putting them together. Use high-quality epoxy resin and exterior varnish to protect the chair.
Cutting and Attaching the Slats
Now that your DIY foldable Adirondack chair’s frame is ready, it’s time for the slats. These slats will make the seat and back of your chair. They’re key for both looks and comfort.
Begin with the back slats. Cut four cedar fence pickets to 25″ lengths. Place them evenly on the back frame and screw them in place. The slats should slope slightly, with the top rail 4-1/2″ from the top and the bottom 12″ from the same point.
Then, focus on the seat. Cut four 23″ pickets, leaving a 1/4″ gap between each one. Attach them to the front and back legs. The seat’s shape is designed for comfort, with the slats fitting snugly for a natural feel.
To finish the seat, add a half-width slat to the front. This detail improves the chair’s look and makes it more comfortable for guests.
Your DIY foldable Adirondack chair is taking shape. It will soon be a beautiful part of your outdoor space. Make sure to use the right screws for a strong, lasting chair.
Adding the Folding Mechanism
To turn your Adirondack chair into a foldable wonder, you need a clever folding mechanism. The pivot point is key. It lets the chair fold flat for easy storage and moving.
Understanding the Pivot Points
Finding the right pivot points is crucial for smooth folding. Look for a spot near the bottom of the back, close to the legs. This is where a small block will pivot the chair.
Pre-drill the block to avoid splitting. Make sure it’s tight enough to pivot well, but not too tight.
Installing the Hardware
Now, add the hardware to make your chair foldable. You’ll need stainless-steel bolts, nuts, and washers. Follow the instructions for smooth folding and unfolding.
With the right pivot point and hardware, your chair becomes a space-saving outdoor gem. It folds easily for storage.
Finishing Touches
After assembling your foldable Adirondack chair, it’s time for the final touches. Sanding and staining or painting are key steps. They protect the wood from the outdoors and make it look better.
Sanding and Staining
Start by sanding all the chair’s surfaces. Use a power sander or sand by hand. This makes the wood smooth and ready for protection.
When picking a stain or paint, go for outdoor formulas. They can handle sun, rain, and more. Apply the stain or paint in thin layers. Let each layer dry before adding the next. This creates a strong, lasting finish that highlights the wood’s natural beauty.

Try out different colors to make your chair unique. This way, it becomes truly yours.
| Weather-Resistant Wood Types | Benefits |
|---|---|
| Cedar | Natural resistance to rot and insects |
| Redwood | Durable and naturally weather-resistant |
| Teak | Exceptional durability and natural oil content |
| Mahogany | Elegant appearance and strong, weather-resistant properties |
After the finish cures, your chair is ready for the outdoors. It will last for years, offering comfort and style. With the right care and techniques, your DIY chair will be a backyard gem.
Success in making an Adirondack chair comes from focusing on the details. Sanding, staining, and sealing ensure it looks great and lasts long. Enjoy your handcrafted, foldable Adirondack chair and be proud of it!
Foldable Adirondack Chair Plans
Looking for free plans for a foldable Adirondack chair? There are many options online. These plans come with step-by-step instructions, cut lists, and diagrams. They are great for beginners, costing between $9.99 and $19.993.
The DIY Folding Adirondack Chair project has 12 easy steps. The plans suggest using oil-based paint or stain for better protection. They also recommend applying thin coats and letting the paint or stain dry completely.
These plans might also offer designs for other outdoor furniture, like porch swings and rocking chairs. Some plans include affiliate links, helping the author earn from purchases. For a visual guide, some plans suggest watching a video tutorial.
When buying materials, look for lumber and screws at local stores. You might find discounts. The folding feature makes the chair portable and practical.
| Material | Quantity |
|---|---|
| 5/4×8 Lumber | 30 linear feet |
| Lumber for Footrest | 9 linear feet |
| 2″ Stainless Steel Screws | 68 for the chair, 32 for the footrest |
| 1/4″ Carriage Bolts, Nuts, and Washers | 6 for the chair, 2 for the footrest |
The plans suggest using epoxy resin and varnish for the chair. They also list tools like a circular saw and drills.
With these free plans, you can make a stylish outdoor chair that’s easy to store or move.
Design Variations and Customisations
Foldable Adirondack chairs offer endless design possibilities. You can choose from many customizable Adirondack chair designs to match your style and outdoor decor. Options range from color and stain to decorative elements, all based on your creativity.
Color and Stain Options
Color and stain are great ways to make your foldable Adirondack chair unique. You can keep the wood natural or add a clear sealant. For a rustic look, try staining it in earthy tones like walnut or oak. Or, go for a modern vibe with painted finishes in bold colors like navy, forest green, or bright white.
Decorative Elements
Enhance your foldable Adirondack chair with decorative elements. DIY chair decoration techniques include carved details, inlaid patterns, or custom hardware. Adding a cushion or throw pillow in matching fabric can also boost comfort and style.
Foldable Adirondack chairs are perfect for showcasing your painted outdoor furniture ideas. Whether you like classic or modern designs, your imagination is the only limit.
“The options are endless when it comes to customizing your foldable Adirondack chair. With a little creativity, you can turn a functional piece of outdoor furniture into a true work of art.”
Outdoor Furniture Arrangement Ideas
Setting up your foldable Adirondack chairs can turn your outdoor area into a cosy spot. They’re great for fire pits, porches, decks, pergolas, or scenic spots. Try out different setups to match your style.
Grouping chairs can make cosy spots for talking. Or, line them up for a view to relax and think. You can also mix them with other furniture for a comfy lounge. Their foldable design lets you easily change layouts for new looks.
“Arranging your outdoor furniture is an opportunity to create a space that reflects your personal style and encourages relaxation and connection with nature.”
Foldable Adirondack chairs are perfect for any outdoor setup. They help you create cosy spots or big areas for parties. With some creativity, your outdoor space can become a stylish retreat.
Maintenance and Care Tips
To keep your foldable Adirondack chairs looking great, regular care is essential. Check the hardware often and tighten any loose parts. Clean the chairs with a mild detergent and warm water, using a soft brush. Make sure to rinse well and let them dry.
Apply furniture wax or teak oil every two to three months. This will help keep the chairs looking good and last longer.
When you’re not using the chairs, store them in a dry, covered spot. Poly lumber chairs can stay outside all year and just need a quick clean with water and soap. For other materials like cedar, IPE, Brazilian walnut, or pine, follow the maker’s cleaning and care tips.
By taking care of your DIY Adirondack chairs, they’ll bring joy to your outdoor space for many years. The Best Adirondack Chair Company uses eco-friendly materials. They choose wood from sustainable forests and recycled plastic from a certified supplier.
“Proper maintenance is the key to ensuring your Adirondack chairs maintain their beauty and durability for years to come.”
🚀 Ready to Build Your Adirondack Chair the Easy Way?
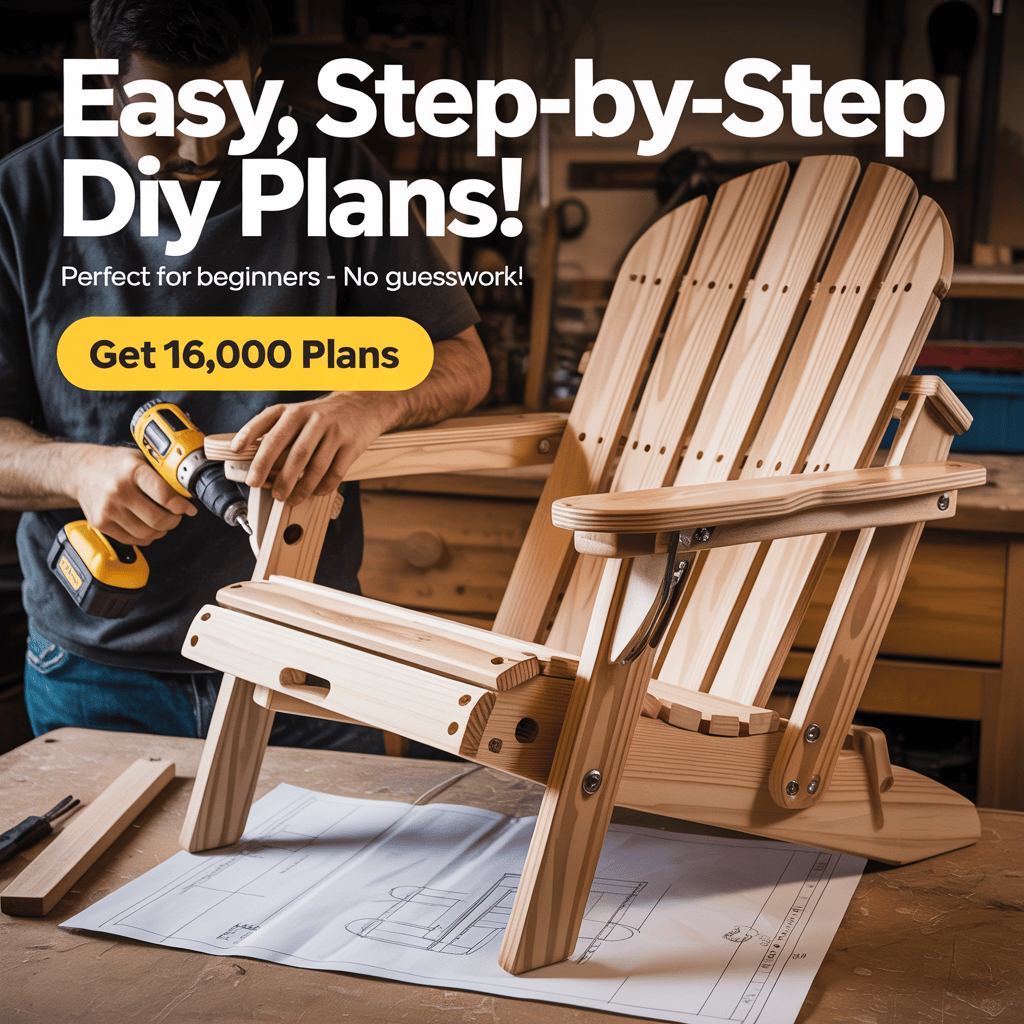
Stop guessing and start building with the world’s largest woodworking plan collection. Whether you’re a total beginner or a seasoned DIYer, Ted’s Woodworking gives you everything you need to build stunning projects—accurately, confidently, and fast.
⭐ Why Woodworkers Love Ted’s Woodworking
- 16,000+ step-by-step plans with cutting lists & detailed blueprints
- Beginner-friendly, “hold-you-by-the-hand” instructions
- Sharp schematics & multiple angle views—zero guesswork
- Perfect for small workshops (no expensive tools needed)
- Lifetime access + new monthly plans
- 150 premium videos + CAD viewer + woodworking guides (BONUS!)
- One-time price: Only $67
🔥 Build Your Next Project Without Stress, Confusion, or Costly Mistakes!
👉 Click here to unlock instant access to all 16,000 plans and start building like a pro—even if you’re a beginner.
Conclusion
Building your own foldable Adirondack chair is a fun DIY project. It adds style, comfort, and function to your outdoor area. By following the steps and customising it, you can make a unique piece that will impress your neighbours.
The foldable design makes it easy to store and move around. This maximises your patio, deck, or yard space. With the right tools and a bit of woodworking skill, you can enjoy making your chair.
Looking to improve your outdoor look or add rustic charm? Building a DIY foldable Adirondack chair is a great choice. It’s a practical and rewarding project that offers years of comfort and fun. The benefits, like customisation and a sense of accomplishment, make it a great DIY project for anyone.
FAQ
What are the key tools needed to build a foldable Adirondack chair?
You’ll need a mitre saw, drill/driver, and a circular saw. Also, a Kreg Rip Cut and Kreg AccuCut cutting guides, a pocket hole jig, and a speed square.
What type of wood is best for an outdoor foldable Adirondack chair?
Cedar, redwood, cypress, or white oak are great. They’re durable and weather-resistant.
How do you add the folding mechanism to the Adirondack chair?
Add a small block near the bottom of the back assembly. It’s close to the main leg. This block is the pivot point for folding the chair flat.
Can I customise the design of my foldable Adirondack chair?
Yes, you can make it your own. Choose wood stain or paint colors, and use reclaimed wood for a rustic look. You can also add decorative elements like carved details or custom hardware.
How do I properly maintain and care for my foldable Adirondack chair?
Check the hardware often and tighten loose screws or bolts. Clean the chairs with mild soap and water. Touch up any worn spots with outdoor paint or stain. Store them in a dry, covered area when not in use.
